manuals.online logo
Brands
  1. Home
  2. •
  3. Brands
  4. •
  5. Amroad
  6. •
  7. Intercom System
  8. •
  9. Amroad DP101 User manual

Amroad DP101 User manual

Installin
g
Procedures
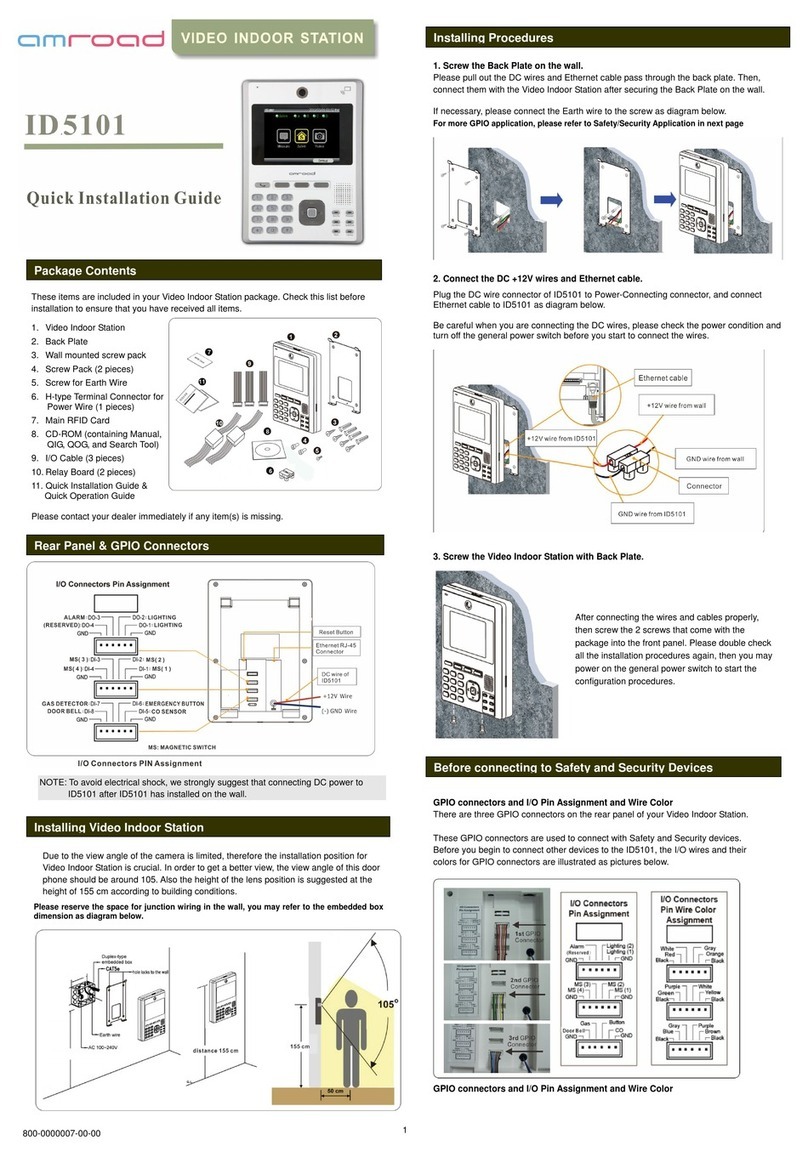
Screw the Back Plate on the wall
Packa
g
e Contents
Rear Panel
The Alarm Sensor is burglarproof function, it will send out the louder warning sound from speaker when
Alarm Sensor is triggered!
WARNING: DO NOT connect the AC power Until DP101/R is deployed on the wall.
Suggested Installation Positions
Due to the view angle of the camera is limited,
therefore the installation position for Video Door
Phone is crucial. In order to get a better view, the
view angle of this door phone should be around
105o. Also the height of the lens position is
suggested around 155cm according to building
conditions. For more details please refer to Figure
right.
WARNING: Avoid eyes exposure to the beam of the
WL (White Light) LED for a long time, or it may
cause discomfort to your eyes.
Installin
g
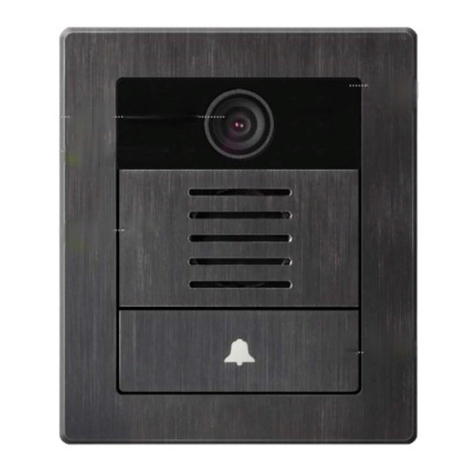
Video Door Phone
Package Contents
2. Connect the AC (Universal 110~240VAC) wires and Ethernet cable.
Plug the AC cable connector of DP101/R to Power-Connecting connector, and connect Ethernet cable to
DP101/R as Figure below. Be careful when you are connecting the AC wires, please check the AC condition
and turn off the general power switch before you start to connect the wires.
3. Screw the Video Door Phone with Back Plate.
After connecting the wires and cables properly, then screw the 4 screws and water stopper that come with
the package into the front panel, put back front cover.Please double check all the installation procedures
again, then you may power on the general power switch to start the configuration procedures.
Note: To fasten the Video Door Phone with the back plate properly to improve the waterproof function.
Usin
g
Video Door Phone & RFID Card Reader
(
O
p
tional
)
Screw the Video Door Phone with Back Plate wall
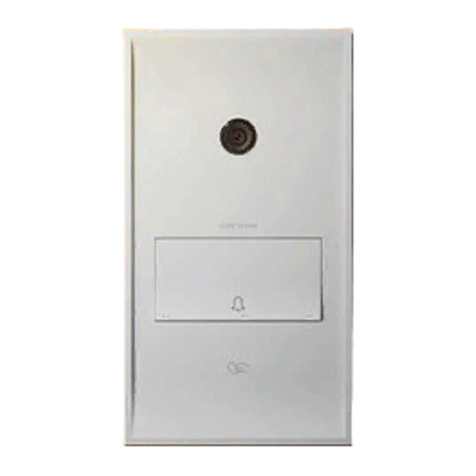
Making Calls on Video Door Phone
Using the Video Door Phone is quite simple. You will see “Door
bell” on the front side.Press “Door Bell” to make a call.
If there is no one answering this call, the bell sounds
(Ding-Dong) will continuously ring and the call will be
disconnected automatically after 15 seconds. (The time out
can be set at Web for 15, 30, 45 and 60 seconds).
Answering Calls on IP Video Phone/Video Indoor Station
To answer the call from Video Door Phone on IP Video Phone is
same as normal call. You may answer with following ways:
Press the SPEAKER button.
Press “Answer” soft-function key.
Pick up the handset/ Press the button.
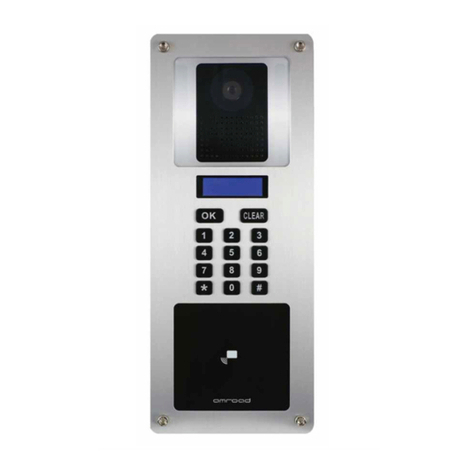
DP101R RFID Card Usage
Residents scan RFID card on the reader. DP101R will verify the
database to determine whether to open Electric-Door-Lock or
not.
Issue Master RFID Card First Time
For the first time, after the installation of DP101R is
completed, take the Master RFID Card from package contents
to scan on the DP101R RFID reader. This Master RFID card will
be used as Master Card1.
Upgrade new cards with Master Card:
Scan Master Card on DP101R First.
Then Scan New RFID Card on DP101R, DP101R will store New
ID into Database.
RFID Card Usage
The following items are included in your Video Door
Phone package. Check this list before installation to
ensure that you have received all items.
1. Front Panel
2. Video Door Phone Unit
3. Back Plate
4. Screw Pack (4 pieces of M4 x 10mm)
5. Wrench
6. Water Stopper (4 pieces of silicon rubber)
7. Screw for Earth Wire
8. Wall mounted screw pack
9. Terminal Connector
10. H type Terminal Connector for Power
Wire
11. Tool for removing the Front Panel from
Video Door Phone Unit
12. Relay Board
13. Master RFID Card (For RFID module only)
14. Quick Installation Guide and Quick Start Guide
(English and Chinese versions)
Please contact your dealer immediately if items are
missing.
1. Screw the Back Plate on the wall.
Making a hole that is able to let the AC wires and Ethernet cable pass
through. Hence, connect with the Door phone unit after screwing the
Back Plate on the wall. If necessary, Please connect the Earth wire to
the screw as Figure below.
Please be noted to reserve the space for junction wiring in the
wall as left diagram!
800-0000012-00-00 V1.0
Door Bell
Electric Lock
The DP101/R series can connect with various electric lock, including Electric Strike, Electric Bolt
Lock and Electromagnetic locks.
Wiring Connection and Web Page Setup
There are two types of electric door lock applications as below, one is Electric Strike and the
other is Electric Bolt. For more electric locks, please follow the same method for connection.
Electric Strike with O
p
en Button
Electric Strike
After the wire connection is completed, you need to select the “Controller Function Case
A” of DO2 Function on the webpage and save it.
When the Video Door Phone is ringing, you can answer it with Video Phones and press the
pound (#) key to open the door.
Connected the wire between +12V to DI2 and select the “Controller Function Case B” of
DO2 Function on the webpage and save it.
This function can let you not only press the pound (#) key to open the door when the Video
Door Phone is ringing but open the door with the Open Button directly.
Electric Bolt
Electric Bolt with O
p
en Button
After the wire connection is completed, you need to select the “Controller Function Case A”
of DO2 Function on the Webpage and save it.
When the Video Door Phone is ringing, you can answer it with Video Phones and press the
pound (#) key to open the door.
Wire connecting between +12V to DI2, then select the “Controller Function Case B” and save
it. This function lets you not only press the pound (#) key to open the door when the Video
Door Phone is ringing but open the door with the Open Button directly.
800-0000012-00-00 V1.0 AmRoad Technology Inc. www.amroad.com.tw

Other manuals for DP101

2

This manual suits for next models

1

Other Amroad Intercom System manuals

Amroad DP3010R User manual

Amroad

Amroad DP3010R User manual

Amroad XL COMMUNITY STATION User manual

Amroad

Amroad XL COMMUNITY STATION User manual

Amroad DP3211 User manual

Amroad

Amroad DP3211 User manual

Amroad DP101R User manual

Amroad

Amroad DP101R User manual

Amroad DP3210 User manual

Amroad

Amroad DP3210 User manual

Amroad ID5101 User manual

Amroad

Amroad ID5101 User manual

Amroad VP115 User manual

Amroad

Amroad VP115 User manual

Amroad AMROAD P3 User manual

Amroad

Amroad AMROAD P3 User manual

Amroad DP101 Quick setup guide

Amroad

Amroad DP101 Quick setup guide

Amroad ID5101-RN User manual

Amroad

Amroad ID5101-RN User manual

Amroad AMROAD P3 User manual

Amroad

Amroad AMROAD P3 User manual

Amroad DP3010R User guide

Amroad

Amroad DP3010R User guide

Amroad DP100-25 User manual

Amroad

Amroad DP100-25 User manual

Amroad DB3100R User manual

Amroad

Amroad DB3100R User manual

Amroad AMROAD P3 User manual

Amroad

Amroad AMROAD P3 User manual

Amroad DP101 User manual

Amroad

Amroad DP101 User manual

Amroad DP3210 User manual

Amroad

Amroad DP3210 User manual

Amroad DP3211 User manual

Amroad

Amroad DP3211 User manual

Amroad DP3210 User manual

Amroad

Amroad DP3210 User manual

Amroad DP100 User manual

Amroad

Amroad DP100 User manual

Amroad ID5101 User manual

Amroad

Amroad ID5101 User manual

Popular Intercom System manuals by other brands

ACO GLASS-IP-7 Installer manual

ACO

ACO GLASS-IP-7 Installer manual

Aiphone IX System Operation manual

Aiphone

Aiphone IX System Operation manual

Clarson public Instructions for installation

Clarson

Clarson public Instructions for installation

Vimar Elvox 885E/S Installer's guide

Vimar

Vimar Elvox 885E/S Installer's guide

urmet domus 1722 manual

urmet domus

urmet domus 1722 manual

Harding Instruments Microcomm IEB-400 installation instructions

Harding Instruments

Harding Instruments Microcomm IEB-400 installation instructions

PNI SafeHome PT720MW user manual

PNI

PNI SafeHome PT720MW user manual

Comelit 6304 user manual

Comelit

Comelit 6304 user manual

Blakeglow Aiphone GH-1AD User instructions

Blakeglow

Blakeglow Aiphone GH-1AD User instructions

urmet domus sentry 1704 installation guide

urmet domus

urmet domus sentry 1704 installation guide

Bticino 367521 installation manual

Bticino

Bticino 367521 installation manual

Tunstall 29 0701 30BS installation instructions

Tunstall

Tunstall 29 0701 30BS installation instructions

urmet domus 1150/35 quick start guide

urmet domus

urmet domus 1150/35 quick start guide

Sewosy CARE-IN KVA1 installation instructions

Sewosy

Sewosy CARE-IN KVA1 installation instructions

ABB M22301 series user manual

ABB

ABB M22301 series user manual

Honeywell Home DC915 Series manual

Honeywell Home

Honeywell Home DC915 Series manual

Aiphone IC-D1 instructions

Aiphone

Aiphone IC-D1 instructions

Aiphone JK-DVF-XP user manual

Aiphone

Aiphone JK-DVF-XP user manual

manuals.online logo
manuals.online logoBrands
  • About & Mission
  • Contact us
  • Privacy Policy
  • Terms and Conditions

Copyright 2025 Manuals.Online. All Rights Reserved.