manuals.online logo
Brands
  1. Home
  2. •
  3. Brands
  4. •
  5. Anova
  6. •
  7. Outdoor Furnishing
  8. •
  9. Anova L1392S User manual

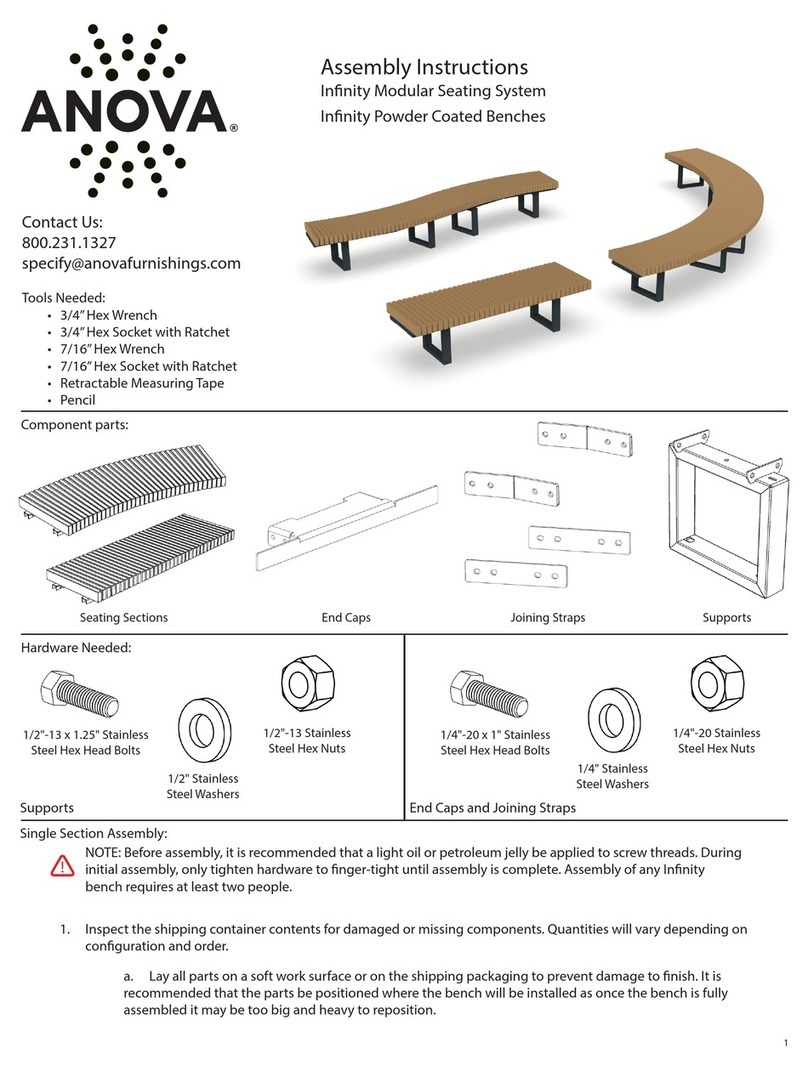
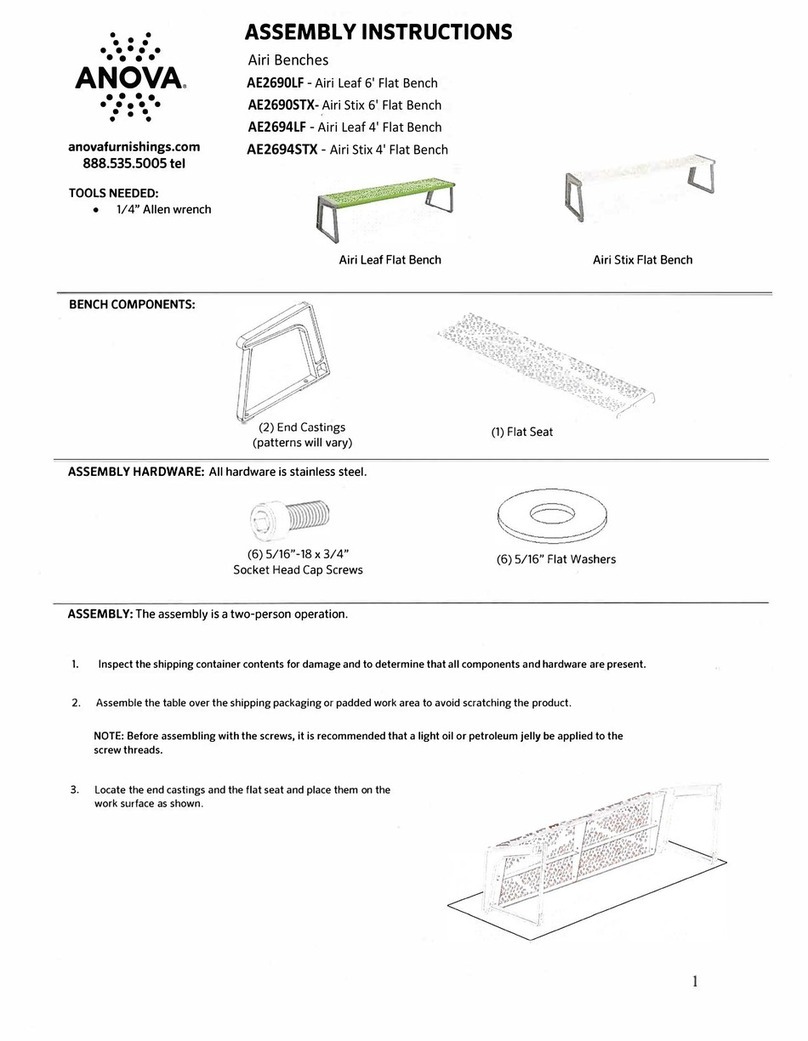
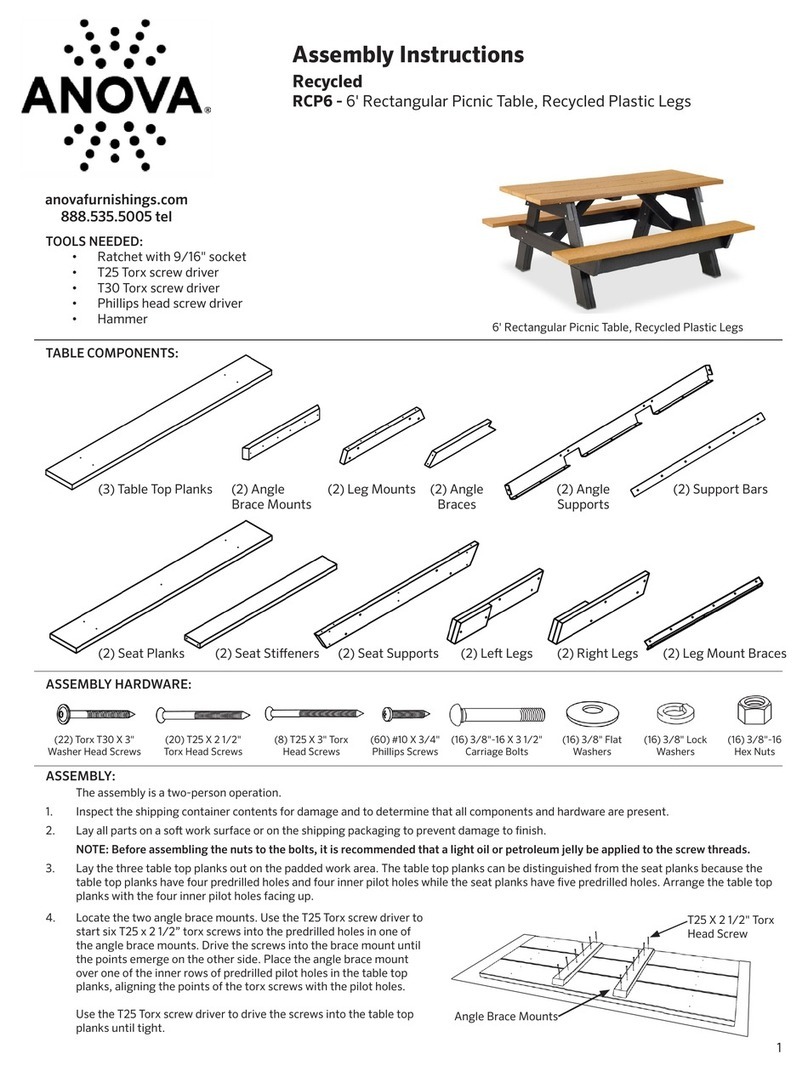
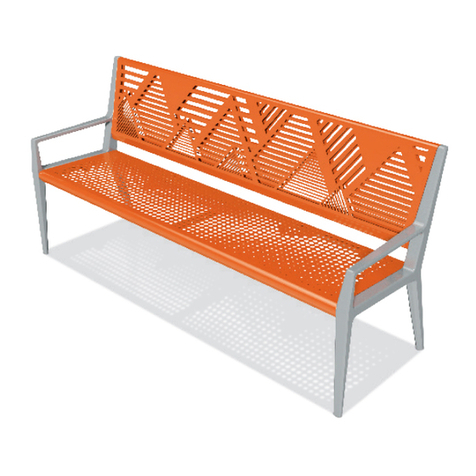
Anova L1392S User manual

anovafurnishings.com
888.535.5005 tel
ASSEMBLY INSTRUCTIONS
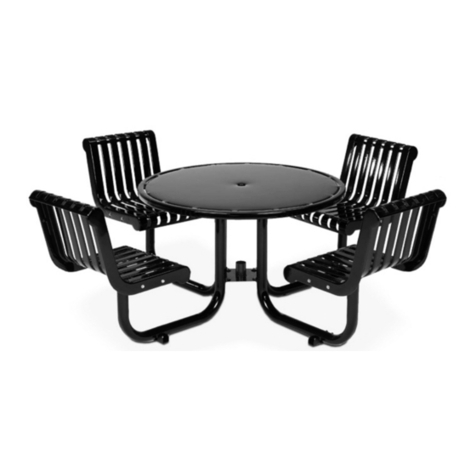
L1392S 6-Seat Rendezvous Table with Contour Swivel Seats
L1446S 6-Seat Latitude Table with Contour Swivel Seats
TOOLS NEEDED:
Ratchet with 1/2” Socket• 
1/2” Open End or Box End Wrench• 
5/32” Allen Wrench• 
Rubber Mallet• 
6 x
Plug
36 x
5/16 X 1.0”
Hex Head Bolt
ASSEMBLY:
The assembly is a two-person operation.
Inspect the shipping container contents for damage and to determine that all components and hardware are present.1.
Assemble the Table over the shipping packaging or padded work area to avoid scratching the product.2.
NOTE: Before assembling the Nuts to the Bolts, it is recommended that a light oil or petroleum jelly be applied to the screw threads.
Open the Hardware package and nd the six black plastic Plugs. Insert a Plug in the hole on the bottom of each of the Seat3.
Supports. Use the Rubber Mallet to seat the Plugs.
TABLE COMPONENTS:
6 x Seat Support1 x Lower Leg
Bracket
36 x
5/16”
Flanged Nut
1 x Table Top
ASSEMBLY HARDWARE:
72 x
5/16” Flat
Washer
6 x Seat Mount
14 x
1/4”
Flat Washer
1 x Table Top Pan
Plug
Seat Support
14 x
1/4” x 1.5” Long Button
Head Allen Screw
6 x Contour Seat
(Pattern may vary)
Rendezvous model shown
seat pattern may vary
6 x Seat
Swivel
48 x
1/4 x 5/8” Long Button
Head Allen Screw
48 x
1/4”
Flanged Nut
2 of 4
Locate the Lower Leg Bracket. Install a 5/16”4.
Flat Washer on one of the 5/16” Hex Head
Bolts and insert the Bolt through one of the
mounting holes in the Lower Leg Bracket
and into the lower mounting hole in one of
the Seat Supports. Place a 5/16” Flat Washer
and Flanged Nut on the end of the Bolt and
tighten nger tight.
Table Top Pan
5/16” Hex Head Bolt
Seat Support
5/16” Flat Washer
Seat Support
Flanged Nut
5/16” Flat Washer
Seat Support
Lower Leg Bracket
5/16” Bolt
5/16” Flat
Washer
Flanged Nut
5/16” Flat Washer
Packing cardboard or
other so work surface
Repeat Step 4 for the remaining ve5.
Seat Supports using 5/16” Bolts with a
5/16” Flat Washer on the top and bottom
and Flanged Nuts to secure. Leave the
hardware nger tight until aer the Table
Top Pan is secured (Step 7).
Locate the Table Top Pan and place it on top of the platform created by the raised ends of the Seat Supports. Adjust the6.
placement of the Table Top Pan until one set of mounting holes in the Pan align with the corresponding set of mounting holes in
one of the Seat Supports.
Place a 5/16” Flat Washer on the end of one of the 5/16” Hex Head Bolts and insert the Bolt through the Pan mounting hole in
the inner bolt circle and through hole in the Support. Fasten the Bolt using a 5/16” Flat Washer and Flanged Nut on the bottom
of the Bolt. Leave the Bolt and Nut nger tight. Repeat this for the remaining ve 5/16” Hex Head Bolts. You may have to adjust
the Seat Supports or the Table Top Pan in order to get the mounting holes to align.
3 of 4
Place a 1/4” Flat Washer on the end of one of7.
the longer (1.5” long) Button Head Allen Screws
and insert the screw through one of the Pan
mounting holes in the outer bolt circle and into
the corresponding threaded hole in the Seat
Support. Leave the Screw nger tight. Repeat
this for the remaining ve 1/4” Button Head Allen
Screw locations in the top of the Table Top Pan.
You may have to adjust the Seat Supports or the
Seat Swivel
Seat Support
Mounting Plate
Table Top Pan
5/8” long Button
Head Allen Screw
1.5” Long Button
Head Allen Screw
1/4” Flat Washer
1.5” LongButton
Head Allen Screw
1/4” Flat Washer
1/4” Flanged Nut
Seat Mount
5/8” Long Button
Head Allen Screw
1/4” Flanged Nut
Table Top Pan in order to get the mounting holes to align.
Aer all the Button Head Allen Screws are installed, tighten
all of the hardware in the Lower Leg Bracket and in the Table
Top Pan. Be careful not to over tighten the Button Head Allen
Screws; the inserts they thread into could unseat and begin to
spin with the Screw.
Locate one of the Seat Swivels. Position the Seat8.
Swivel on the lower end of one of the Seat Supports so
that the mounting holes in the Seat Swivel align with
the mounting holes in the Seat Support Mounting
Plate.
NOTE: The word “Front” is stamped into the frame of the
swivel. This should be oriented toward the center of
the Table assembly.
Install four of the shorter (5/8” long) 1/4” Button
Head Allen Screws through the bottom plate of the
Swivel and the Support Mounting Plate. Add 1/4”
Flanged Nuts and tighten the Nuts aer all four
Screws are installed.
Install the remaining Seat Swivels in the same manner.
The Screw heads must be inside the Swivel and the
Flanged Nuts must be outside of the Swivel for the
Swivel to work properly.
Locate one of the Seat Mounts. Position the Seat Mount on the lower end of one of the Seat Swivel/Seat Supports so that the9.
mounting holes in the Seat Mount align with the mounting holes in the top plate of the Seat Swivel. Install four 5/8” long Button
Head Allen Screws through the Seat Mount and the top plate of the Seat Swivel, add Flanged Nuts and tighten the hardware
aer all four Screws are installed.
Install the remaining Seat Mounts in the same manner. The Screw heads must be inside the swivel and the Flanged Nuts must
be outside of the Swivel for the Swivel to work properly.
Do not drag the assembled unit across any surface.• 
This product requires only periodic cleaning with a sponge and a solution of mild detergent and water to• 
remove surface dirt. Do not clean with a solvent or petroleum based products.
Furniture must not be used other than for its intended purpose and should be inspected regularly for loose,• 
missing, or broken hardware, and general instability.
Furniture that is damaged or appears to be unstable must be removed from service and be repaired or replaced.• 
Repairs must be made using only factory authorized parts and methods.• 
WARNING
CARE AND
MAINTENANCE
211 North Lindbergh Blvd.
St. Louis, MO 63141
tel: 888.535.5005
web: anovafurnishings.com
11/2012
Li the Table Top and move it over the top of the Table Top Pan. Rotate the Table Top until the square frame on the bottom of the10.
Table Top matches the orientation of the Table Top Pan. Carefully lower the Table Top down onto the Table Top Pan.
Secure the Table Top to the Table Top Pan using the remaining eight 1.5” long Button Head Allen Screws (2 screws on each side)
with a 1/4” Washer on each of the Screws. You may have to li the Table Top slightly to get the holes to align.
Leave the Screws nger tight until all the Screws are started, then use the 5/32” Allen Wrench to tighten the Screws. Be careful
not to over tighten the Screws; the inserts they thread into could unseat and begin to spin with the Screw.
5/16” Flat
Washer
5/16” Hex
Head Bolt
5/16” Flat
Washer
Flanged Nut
Contour Seat
(Pattern may vary)
Table Top
Table Top Pan
1.5” Long Button
Head Allen Screw
1/4” Flat Washer
1.5” Long Button
Head Allen Screw
1/4” Flat Washer
Place one of the Contour Seats over one of the Seat Mounts. Use four 5/16” Hex Head Bolt with 5/16” Flat Washers (inside and11.
outside) and Flanged Nuts.
Install the remaining Seats in the same manner.
Move the Table to the location where it will be used.12.
Aer two weeks, retighten all hardware.13.

This manual suits for next models

1

Other Anova Outdoor Furnishing manuals
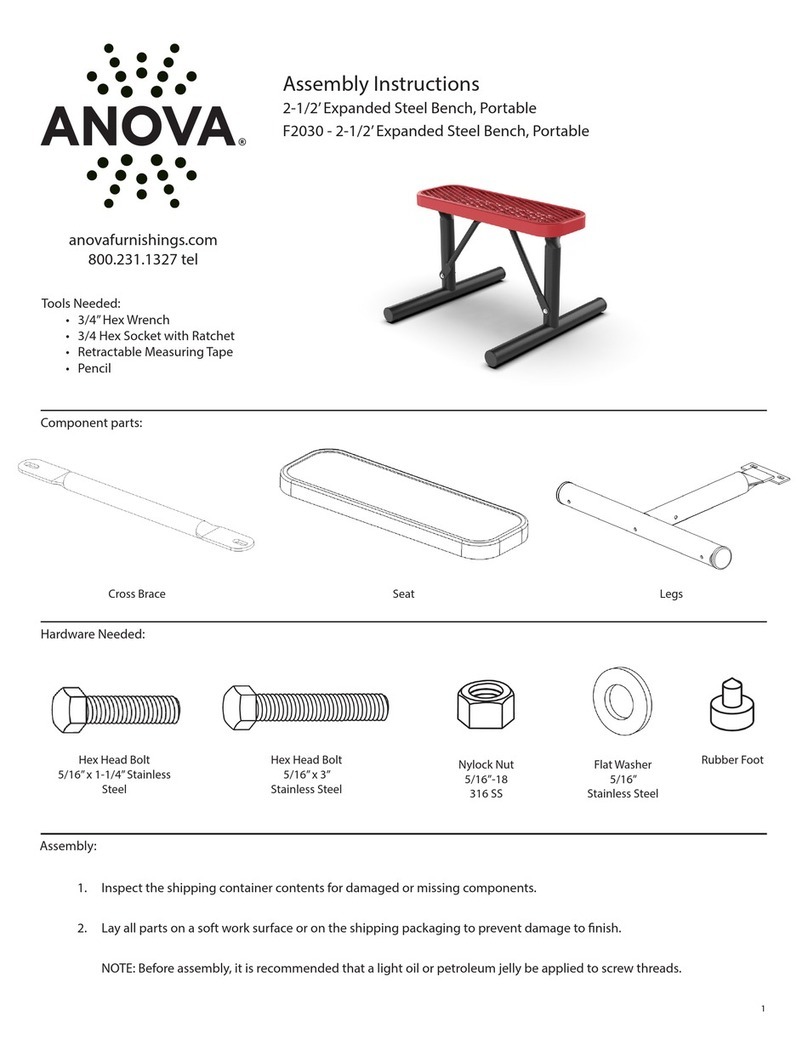
Anova F1032 User manual

Anova

Anova F1032 User manual

Anova L1364 User manual

Anova

Anova L1364 User manual

Anova Perforated Steel Café Chair D1145 User manual

Anova

Anova Perforated Steel Café Chair D1145 User manual

Anova RCPHEXADA User manual

Anova

Anova RCPHEXADA User manual

Anova Infinity Modular Seating System User manual
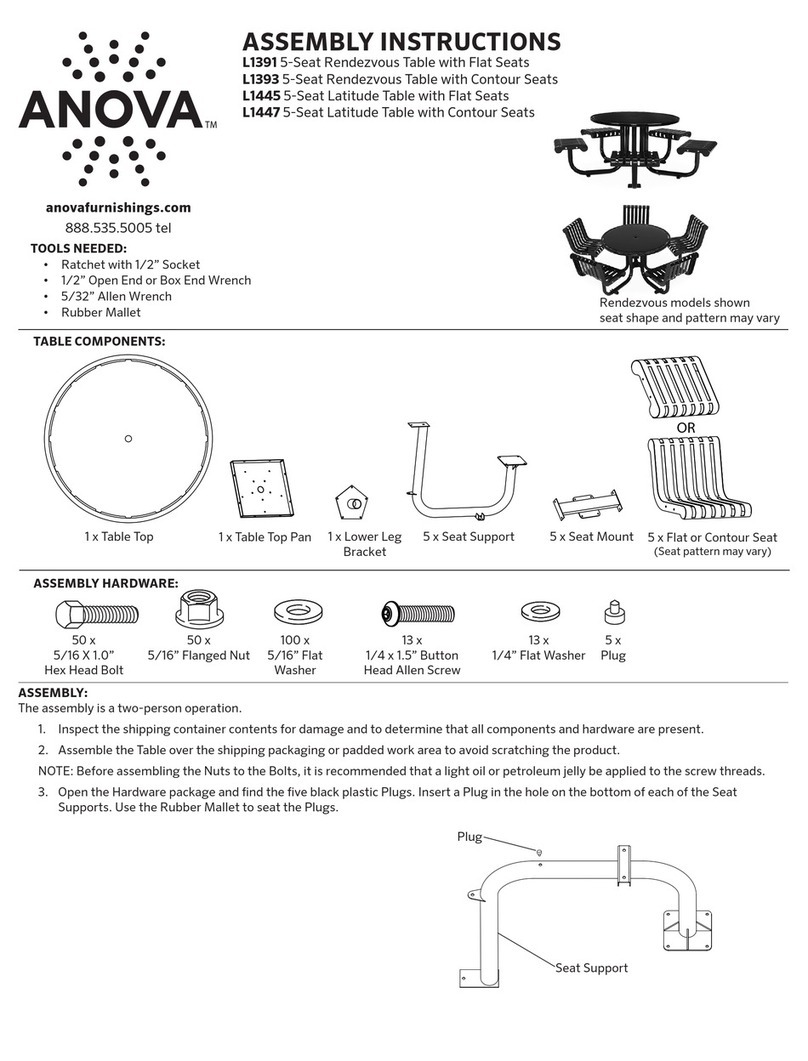
Anova

Anova Infinity Modular Seating System User manual

Anova RCPTC4 User manual

Anova

Anova RCPTC4 User manual

Anova RCPTC6 User manual

Anova

Anova RCPTC6 User manual

Anova D1111 User manual

Anova

Anova D1111 User manual

Anova Perspective series User manual

Anova

Anova Perspective series User manual

Anova Rendezvous L1387 User manual

Anova

Anova Rendezvous L1387 User manual

Anova Tuscany T2267R User manual

Anova

Anova Tuscany T2267R User manual

Anova Wainwright RCPWT63A User manual

Anova

Anova Wainwright RCPWT63A User manual

Anova BRP101 User manual

Anova

Anova BRP101 User manual

Anova D1121 User manual

Anova

Anova D1121 User manual

Anova D1007 User manual

Anova

Anova D1007 User manual

Anova Rendezvous L1360 User manual

Anova

Anova Rendezvous L1360 User manual

Anova Airi AE2690LF User manual

Anova

Anova Airi AE2690LF User manual

Anova L1391 User manual

Anova

Anova L1391 User manual
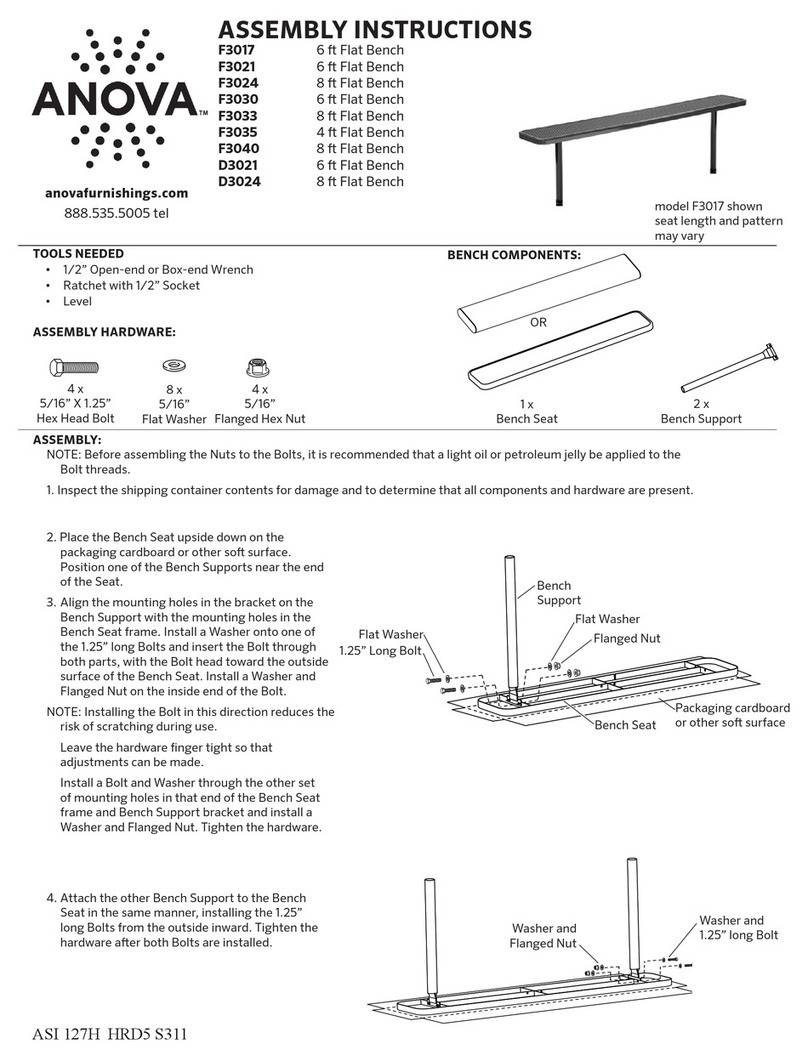
Anova F3017 User manual

Anova

Anova F3017 User manual
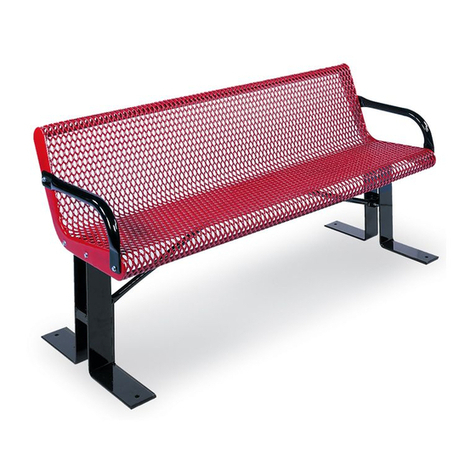
Anova L1364 User manual

Anova

Anova L1364 User manual

Anova FBW6R User manual

Anova

Anova FBW6R User manual

Anova Courtyard F1030 User manual

Anova

Anova Courtyard F1030 User manual

Anova SS1001-TRI User manual

Anova

Anova SS1001-TRI User manual

Anova Wainwright RCPWT63 User manual

Anova

Anova Wainwright RCPWT63 User manual

Popular Outdoor Furnishing manuals by other brands

Marquee EASY UP 0259184 Assembly instructions

Marquee

Marquee EASY UP 0259184 Assembly instructions

Suncast PA1012 owner's manual

Suncast

Suncast PA1012 owner's manual

Colibri 0722.107 Assembly instructions

Colibri

Colibri 0722.107 Assembly instructions

Blumfeldt 10031458 manual

Blumfeldt

Blumfeldt 10031458 manual

Costway NP10970 manual

Costway

Costway NP10970 manual

Allen + Roth PERGOLA A106000902 manual

Allen + Roth

Allen + Roth PERGOLA A106000902 manual

Palmako Carport CP3651 installation manual

Palmako

Palmako Carport CP3651 installation manual

Safavieh PAT6752 quick start guide

Safavieh

Safavieh PAT6752 quick start guide

Hanover High Dining Table owner's manual

Hanover

Hanover High Dining Table owner's manual

leco 14530 114 instructions

leco

leco 14530 114 instructions

Broyhill BS22111-C Assembly instructions

Broyhill

Broyhill BS22111-C Assembly instructions

stilum sedis1 Mounting instruction

stilum

stilum sedis1 Mounting instruction

X-METAL CARPORT Assembly instructions

X-METAL

X-METAL CARPORT Assembly instructions

leco Single Lounger 39211103 manual

leco

leco Single Lounger 39211103 manual

deVRIES Trendy Greenline 140 XL CARE & ASSEMBLY INSTRUCTION / INSTRUCTION FOR USE

deVRIES

deVRIES Trendy Greenline 140 XL CARE & ASSEMBLY INSTRUCTION / INSTRUCTION FOR USE

Breezesta Skyline SK-0401-36 Assembly instructions

Breezesta

Breezesta Skyline SK-0401-36 Assembly instructions

VonHaus 2500327 manual

VonHaus

VonHaus 2500327 manual

Allen + Roth GF-12S004B-1 manual

Allen + Roth

Allen + Roth GF-12S004B-1 manual

manuals.online logo
manuals.online logoBrands
  • About & Mission
  • Contact us
  • Privacy Policy
  • Terms and Conditions

Copyright 2025 Manuals.Online. All Rights Reserved.