manuals.online logo
Brands
  1. Home
  2. •
  3. Brands
  4. •
  5. Anova
  6. •
  7. Outdoor Furnishing
  8. •
  9. Anova RCPWF6 User manual

Anova RCPWF6 User manual

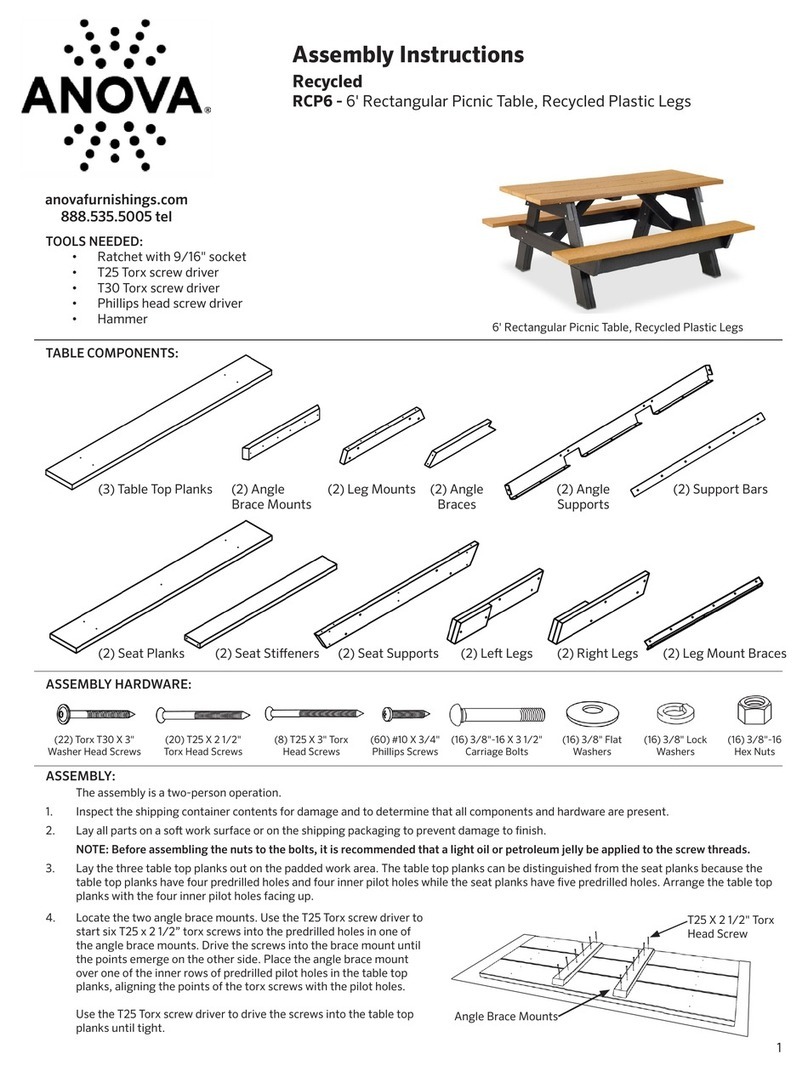
anovafurnishings.com
888.535.5005 tel
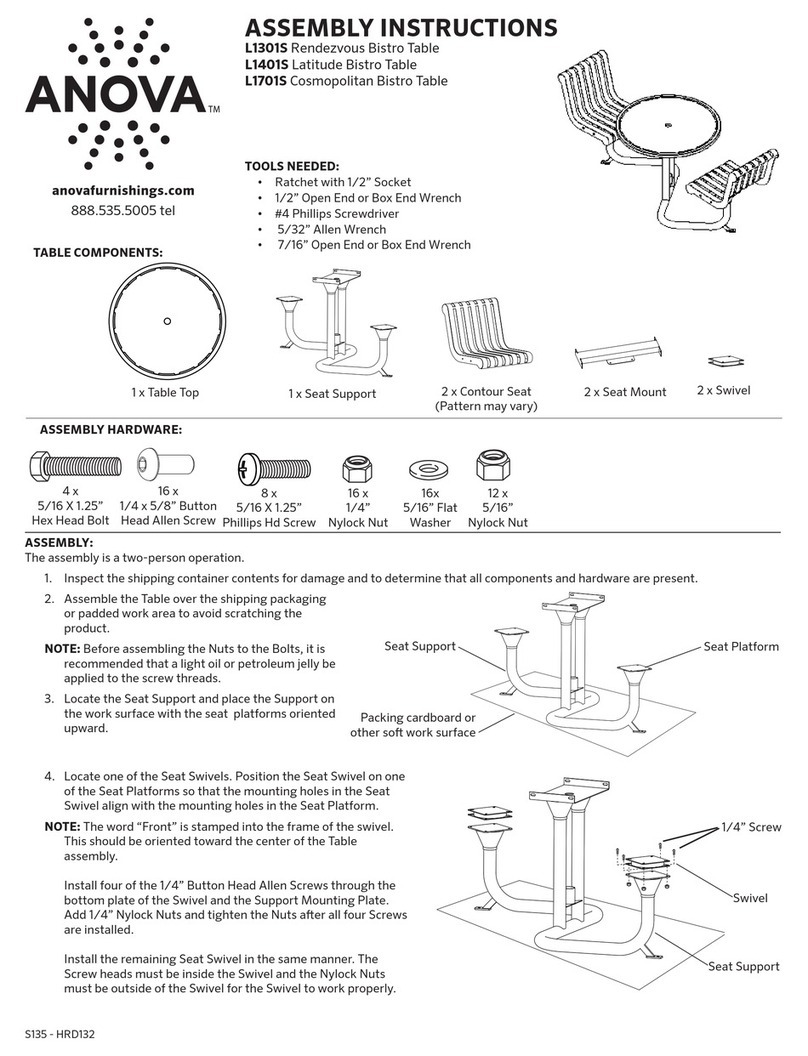
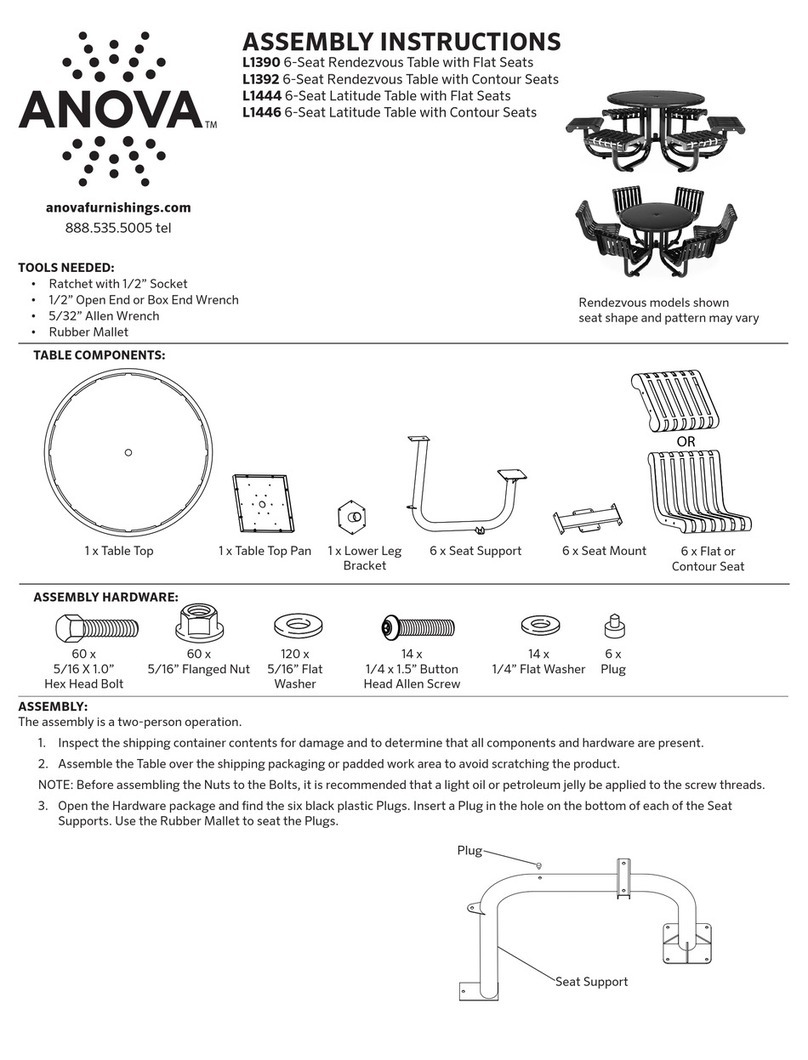
ASSEMBLY INSTRUCTIONS
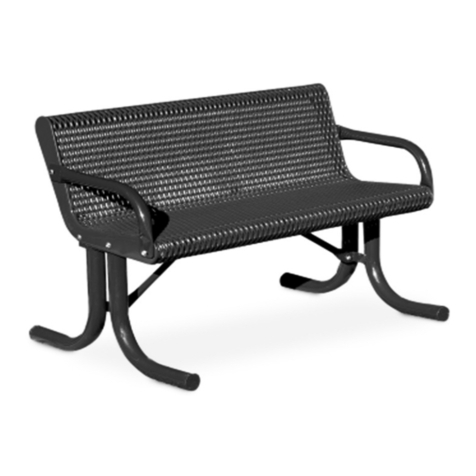
RCPWF6 6  Flat Bench
TOOLS NEEDED:
•  9/16” Open-end or Box-end Wrench
•  Ratchet with 9/16” Socket
•  18v (or more) Driver with No. 3 Phillips Head Bit
2 x
3/8” X 1.25”
Hex Head Bolt
8 x
3/8”
Lock Washer
2 x
3/8” X 3.00”
Carriage Bolt
ASSEMBLY:
The assembly is a two-person operation.
1. Inspect the shipping container contents for damage and to determine that all components and hardware are present.
ASSEMBLY HARDWARE:
BENCH COMPONENTS:
2 x
Bench Support
5 x
Seat Plank
Seat End Cap
Seat Plank
2.25” long
Carriage Bolts
packaging cardboard
or other so surface
Flat Washer
Nylock Nut
2 x
Seat Brace
8 x
3/8” X 2.25”
Carriage Bolt
14 x
3/8”
Flat Washer
3. Place the ve Seat Planks across the two Seat End Caps allowing the
Carriage Bolts to pass through the predrilled mounting holes.
NOTE: When laying out the Planks, make sure the face of the Planks with
the predrilled pilot holes faces upward.
Seat End Cap
1 x
Seat Support
2 x
Seat End Cap
10 x
3/8-16
Nut
10 x
Phillips Head Screw
Lock Washer
packaging cardboard
or other so surface
Flat Washer
Nylock Nut
Lock Washer
2.25” long
Carriage Bolt
Seat Plank
Bench Support
Seat End Cap
2 x
3/8-16
Nylock Nut
3.0” long
Carriage Bolt
3” Long
Carriage Bolt
4. Place a Bench Support over each end of the Planks allowing the carriage bolts to pass through the mounting holes.
Install a Flat Washer, Lock Washer, and Nut on each of the 2.25” Bolts. Tighten the hardware nger tight so adjustments can be
made later.
2. Locate the two Seat End Caps and place them about 6  apart on the
packaging cardboard or other so surface to avoid scratching the product.
Insert a 3” Carriage Bolt through the center hole in each End Cap.
Insert 2.25” Carriage Bolts through the other 4 holes in each of the End
Caps.
Bench
Support
•  Do not drag the assembled unit across any surface.
•  This product requires only periodic cleaning with a sponge and a solution of mild detergent and water to
remove surface dirt. Do not clean with a solvent or petroleum based products.
•  Furniture must not be used other than for its intended purpose and should be inspected regularly for loose,
missing, or broken hardware, and general instability.
•  Furniture that is damaged or appears to be unstable must be removed from service and be repaired or replaced.
•  Repairs must be made using only factory authorized parts and methods.
WARNING
CARE AND
MAINTENANCE
211 North Lindbergh Blvd.
St. Louis, MO 63141
tel: 888.535.5005
web: anovafurnishings.com
11/2012
Seat Support
Phillips Head Screws
Seat Braces
Phillips Head
Screws
Seat End Cap
3.0” Carriage Bolt
Hex Nut
Lock Washer
Flat Washer
3” Long
Carriage Bolt
Nylock Nut
Lock Washer
Flat Washer
Seat Plank
Seat Support
Bench Support
Hex Head Bolt
Flat Washer
Flat Washer
Lock Washer
Hex Nut
Seat End Cap
Bench Support
5. Locate the two Seat Braces and position each one about 2  from the ends of the Bench. Use the Driver with Phillips Head Bit to
drive Phillips Head Screws through the Seat Brace mounting holes and into the predrilled pilot holes in the Seat Planks.
NOTE: Do not install Phillips Head Screws into the center Plank until
instructed in Step 7.
6. Locate the Seat Support and position it so that the ange with
the mounting holes align with the mounting holes in the Bench
Support and the pilot holes in the Plank - you may have to switch
the ends of the Seat Support to get all the holes to line up.
7. Place a Flat Washer on one of the Hex Head Bolts and install the Bolt through the mounting holes in one end of the Bench
Support and the Seat Support. Put a Flat Washer, Lock Washer, and Nut on the end and tighten nger tight.
Install the remaining Hex Head Bolt with Flat
Washers, Lock Washer, and Nut through the
mounting holes at the other end of the Bench.
Leave the Hex Head Bolt nger tight to allow for
adjustments.
Use the Driver with Philips Head Bit to install
Phillips Head Screws through the Seat Support,
Backrest Brace, and into the predrilled pilot holes
in the Seat Plank.
8. Place a Flat Washer and Nylock Nut on the end of both 3.0” Carriage Bolts. Tighten all the Carriage Bolt and Hex Head Bolt
hardware sets.
9. Turn the Bench upright and move it to the desired location.
10. Retighten hardware two weeks aer initial assembly.

Other Anova Outdoor Furnishing manuals
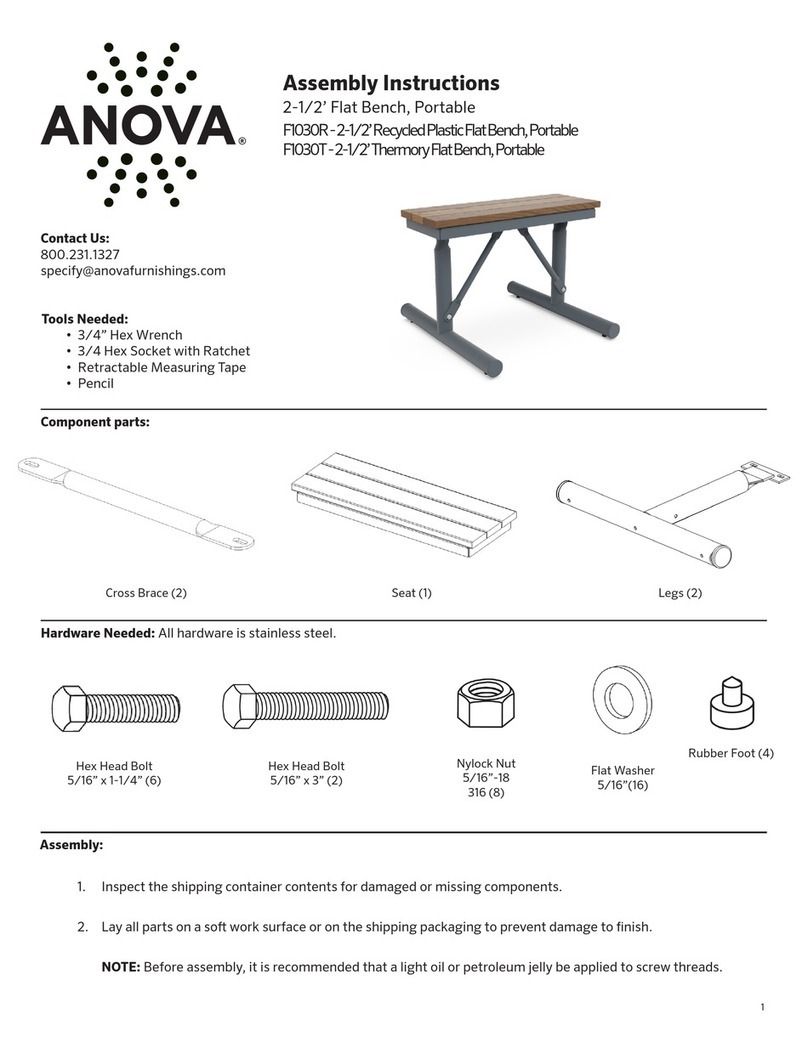
Anova RCPTC6 User manual

Anova

Anova RCPTC6 User manual
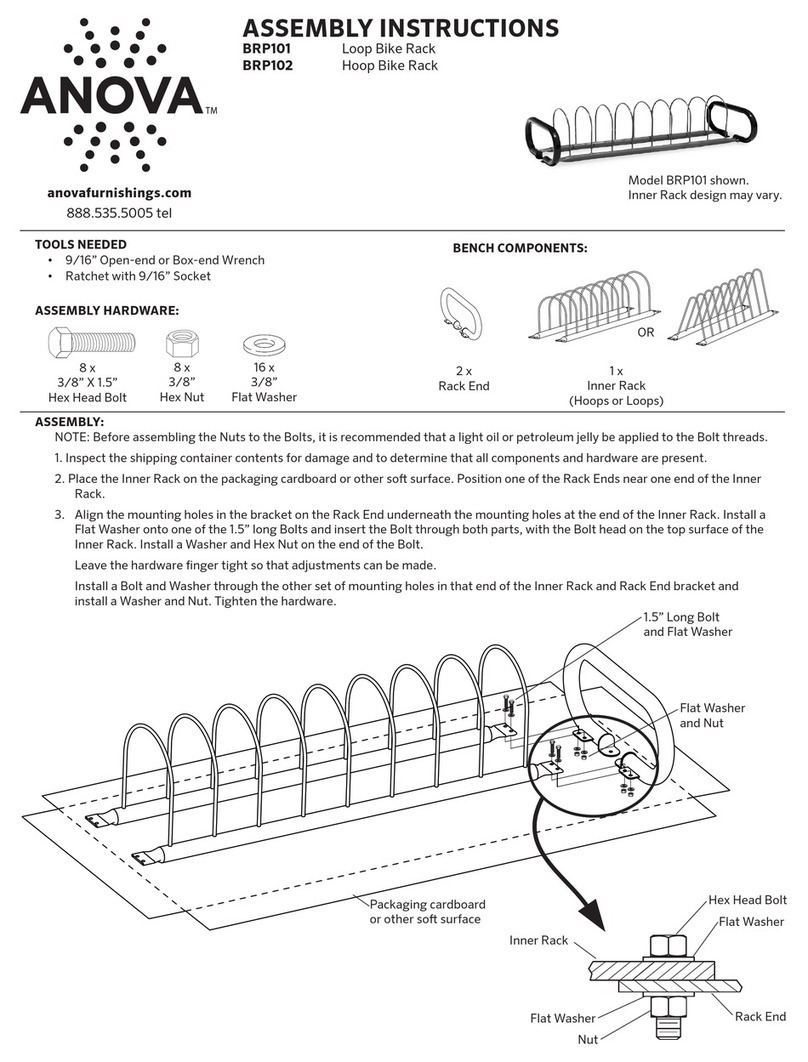
Anova L1260 User manual

Anova

Anova L1260 User manual

Anova L1392S User manual

Anova

Anova L1392S User manual

Anova L1391 User manual

Anova

Anova L1391 User manual

Anova RCPTC4 User manual

Anova

Anova RCPTC4 User manual

Anova RCPSC6 User manual

Anova

Anova RCPSC6 User manual

Anova SS1001-TRI User manual

Anova

Anova SS1001-TRI User manual

Anova L1301S User manual

Anova

Anova L1301S User manual

Anova F1030R User manual

Anova

Anova F1030R User manual

Anova Courtyard F1030 User manual

Anova

Anova Courtyard F1030 User manual

Anova L1364 User manual

Anova

Anova L1364 User manual

Anova BRP101 User manual

Anova

Anova BRP101 User manual
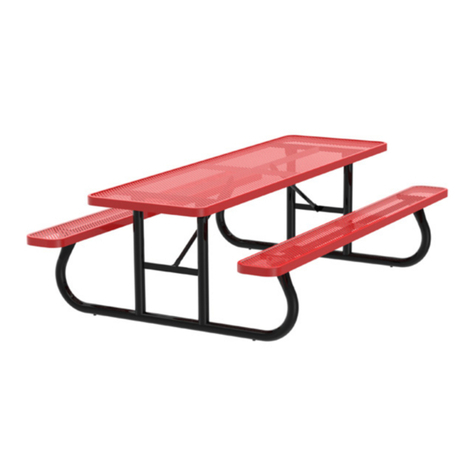
Anova RCP6 User manual

Anova

Anova RCP6 User manual

Anova Signature L1501 User manual

Anova

Anova Signature L1501 User manual

Anova D1007 User manual

Anova

Anova D1007 User manual
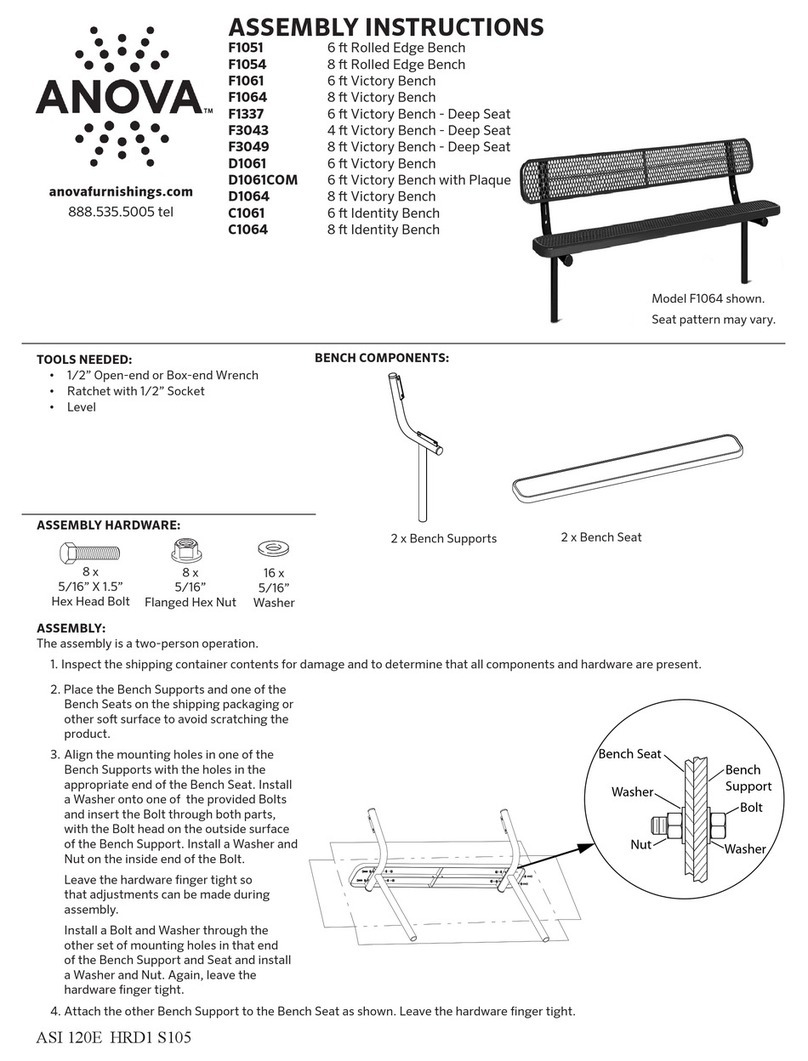
Anova Perspective series User manual

Anova

Anova Perspective series User manual

Anova RCPWF6 User manual

Anova

Anova RCPWF6 User manual

Anova Wainwright RCPWT63 User manual

Anova

Anova Wainwright RCPWT63 User manual

Anova F3017 User manual

Anova

Anova F3017 User manual

Anova Perforated Steel Café Chair D1145 User manual

Anova

Anova Perforated Steel Café Chair D1145 User manual

Anova F1031 User manual

Anova

Anova F1031 User manual

Anova Infinity Modular Seating System User manual

Anova

Anova Infinity Modular Seating System User manual

Anova FBW6R User manual

Anova

Anova FBW6R User manual
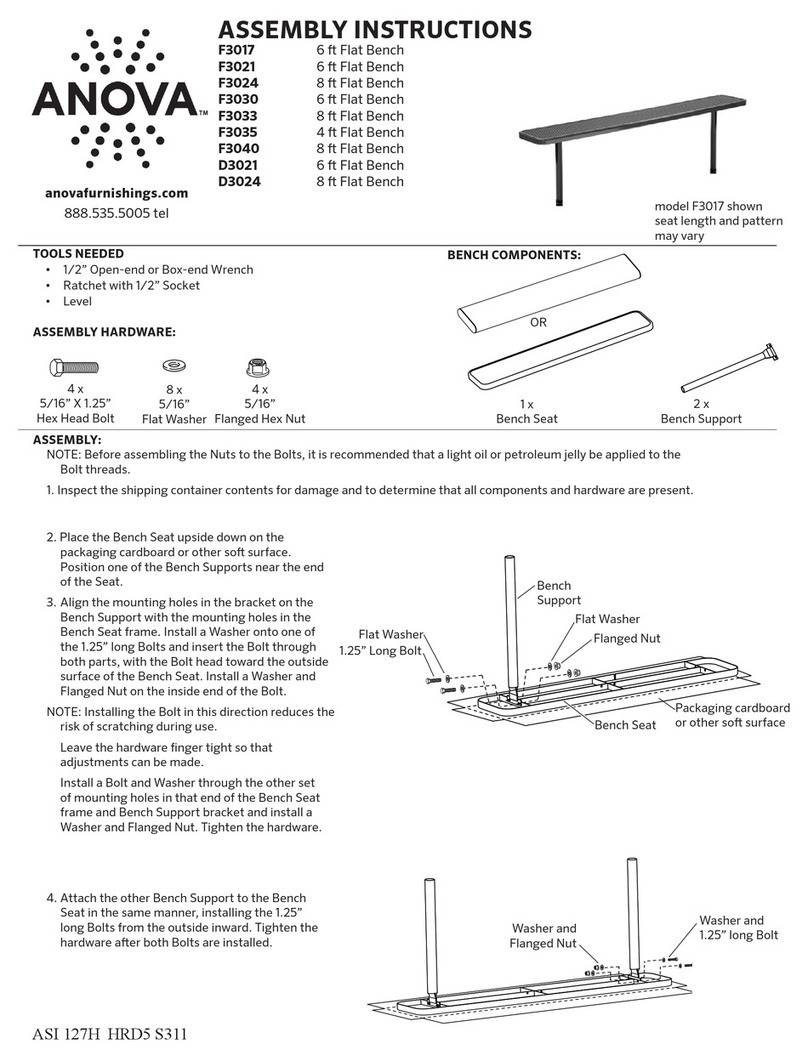
Anova D1121 User manual

Anova

Anova D1121 User manual

Popular Outdoor Furnishing manuals by other brands

HAMPTON BAY WINDSOR 2PK Use and care guide

HAMPTON BAY

HAMPTON BAY WINDSOR 2PK Use and care guide

Polywood NB48 Assembly instructions

Polywood

Polywood NB48 Assembly instructions

HAMPTON BAY STATESVILLE FRS60696AS-ST Use and care guide

HAMPTON BAY

HAMPTON BAY STATESVILLE FRS60696AS-ST Use and care guide

Members Mark Newcastle BFK01301-5SC Assembly instructions & user manual

Members Mark

Members Mark Newcastle BFK01301-5SC Assembly instructions & user manual

Polywood CLGNB484 Assembly instructions

Polywood

Polywood CLGNB484 Assembly instructions

Polywood Quattro QNR10 Assembly instructions

Polywood

Polywood Quattro QNR10 Assembly instructions

Home Styles 88 5555 33 quick start guide

Home Styles

Home Styles 88 5555 33 quick start guide

Polywood PWNAC2280 Assembly instructions

Polywood

Polywood PWNAC2280 Assembly instructions

Dura Trel Wellington Arbor 11179 Assembly instructions

Dura Trel

Dura Trel Wellington Arbor 11179 Assembly instructions

FLORABEST 317230_1904 Assembly, operating and safety instructions

FLORABEST

FLORABEST 317230_1904 Assembly, operating and safety instructions

HAMPTON BAY D12237-C Use and care guide

HAMPTON BAY

HAMPTON BAY D12237-C Use and care guide

Polywood 8000 Assembly instructions

Polywood

Polywood 8000 Assembly instructions

HAMPTON BAY St. Lucia 7 Piece Dining Set SP-K-609SET7N Use and care guide

HAMPTON BAY

HAMPTON BAY St. Lucia 7 Piece Dining Set SP-K-609SET7N Use and care guide

Dura Trel 11120 VICTORIAN ARBOR Assembly instructions

Dura Trel

Dura Trel 11120 VICTORIAN ARBOR Assembly instructions

J D Williams EQ763 Assembly instructions

J D Williams

J D Williams EQ763 Assembly instructions

Dura Trel CAMELOT PLANTER ARBOR SEAT Assembly instructions

Dura Trel

Dura Trel CAMELOT PLANTER ARBOR SEAT Assembly instructions

HAMPTON BAY L-GG019PST-C Use and care guide

HAMPTON BAY

HAMPTON BAY L-GG019PST-C Use and care guide

FLORABEST 295761 Instructions for use

FLORABEST

FLORABEST 295761 Instructions for use

manuals.online logo
manuals.online logoBrands
  • About & Mission
  • Contact us
  • Privacy Policy
  • Terms and Conditions

Copyright 2025 Manuals.Online. All Rights Reserved.