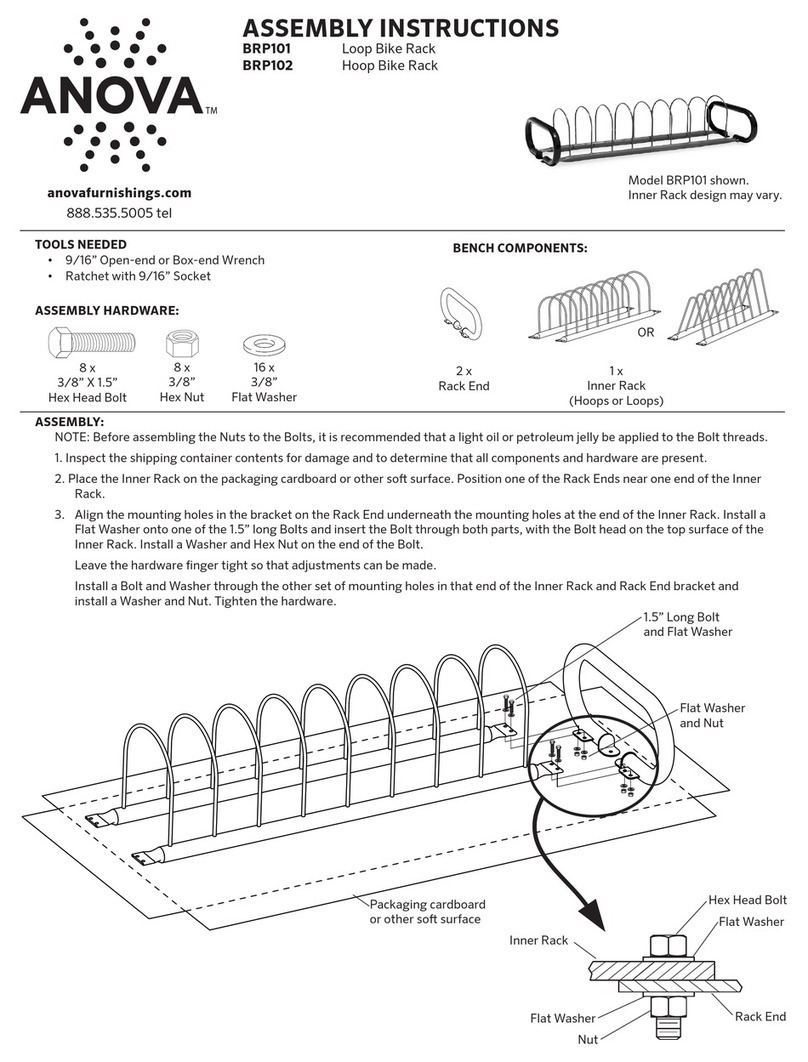
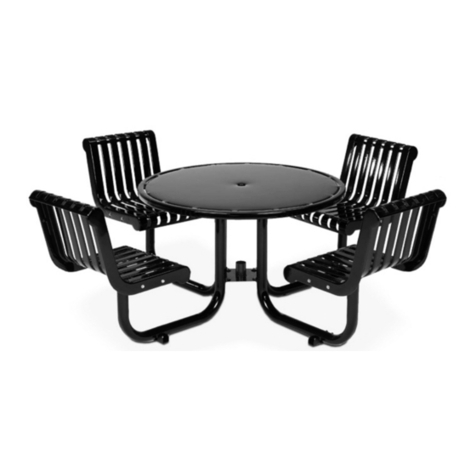
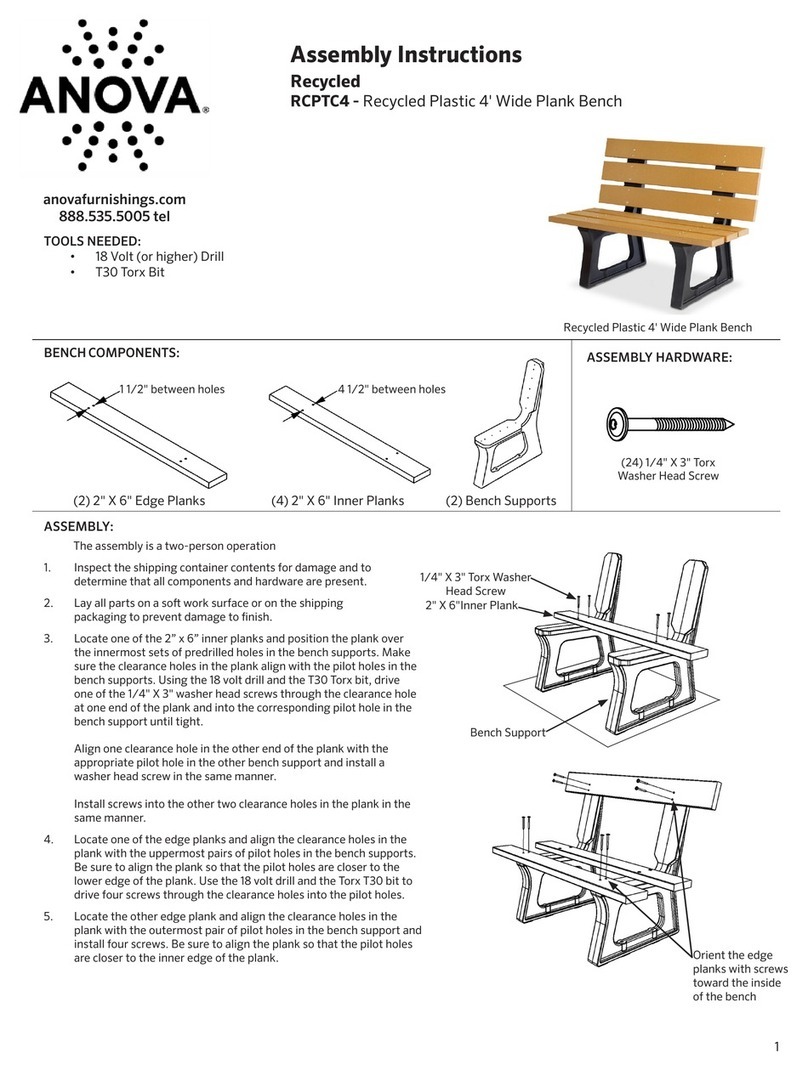
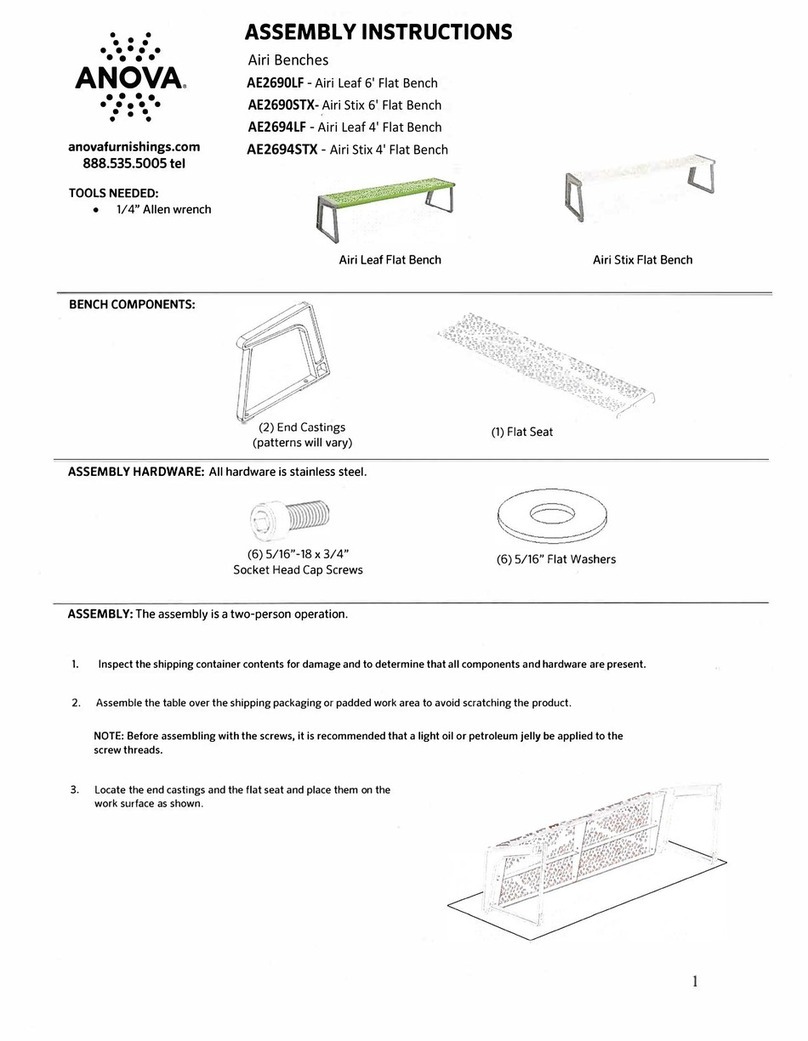
manuals.online logo
Brands
  1. Home
  2. •
  3. Brands
  4. •
  5. Anova
  6. •
  7. Outdoor Furnishing
  8. •
  9. Anova F1051 User manual

Anova F1051 User manual

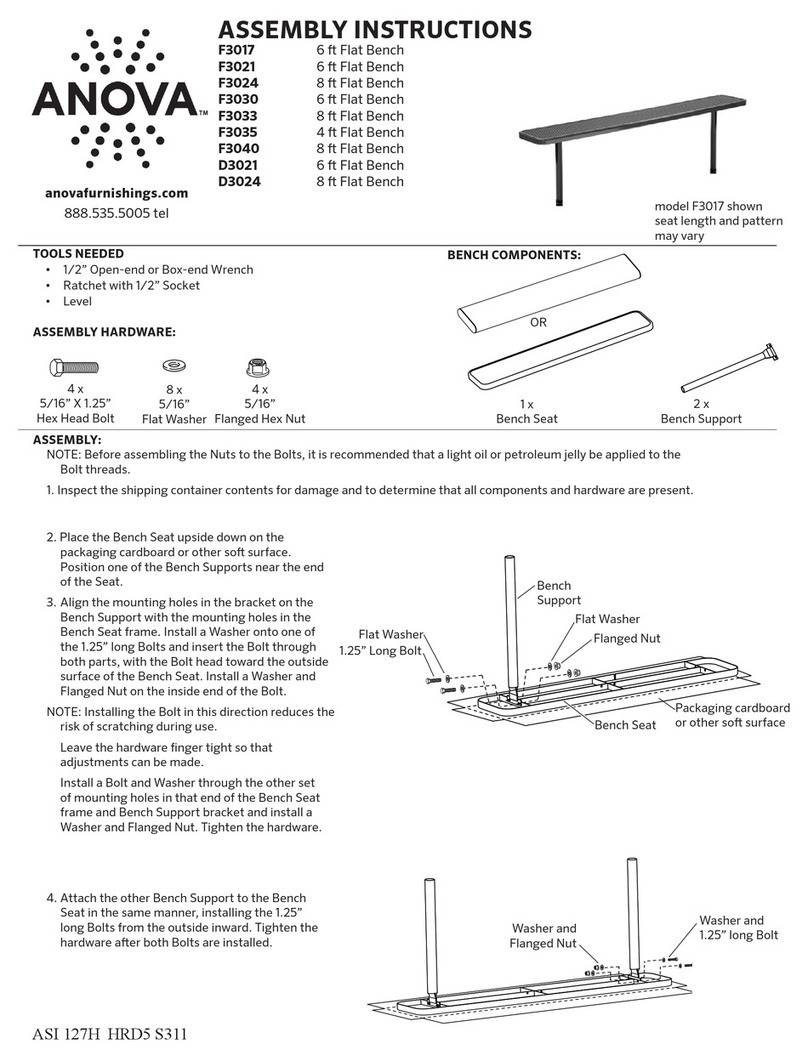
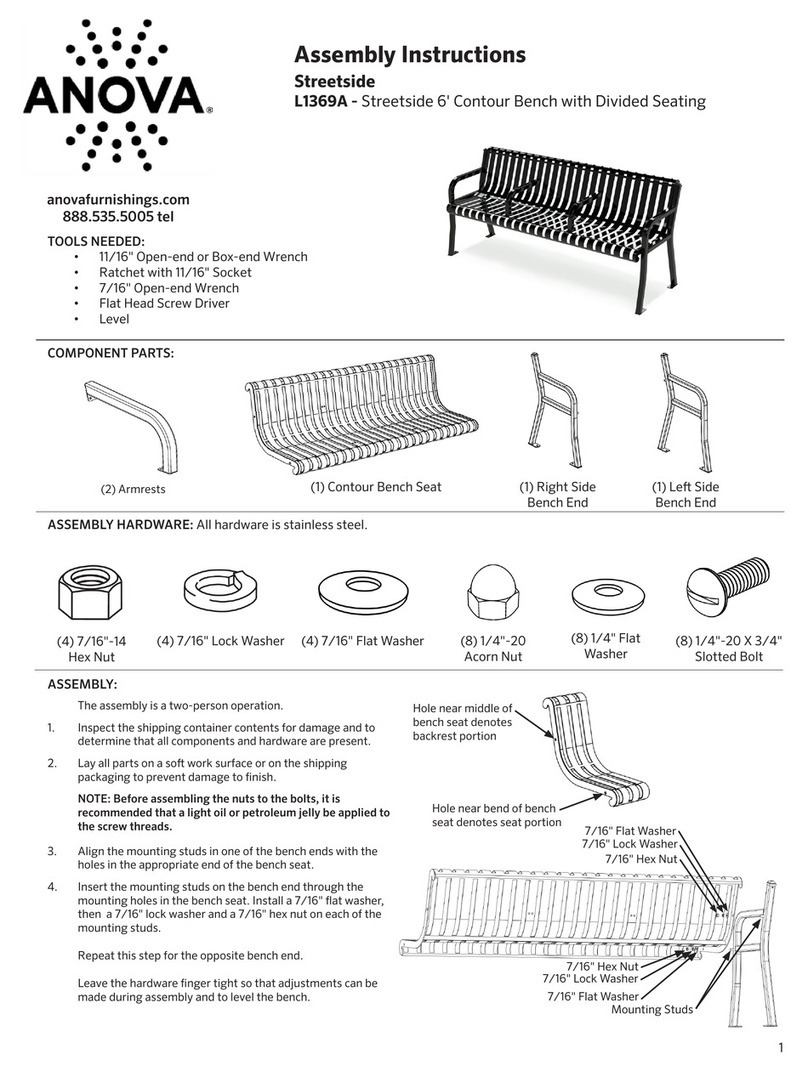
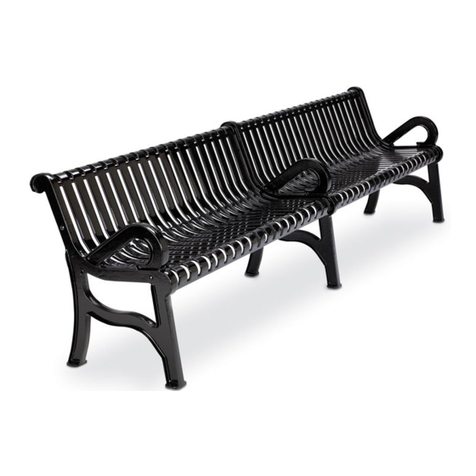
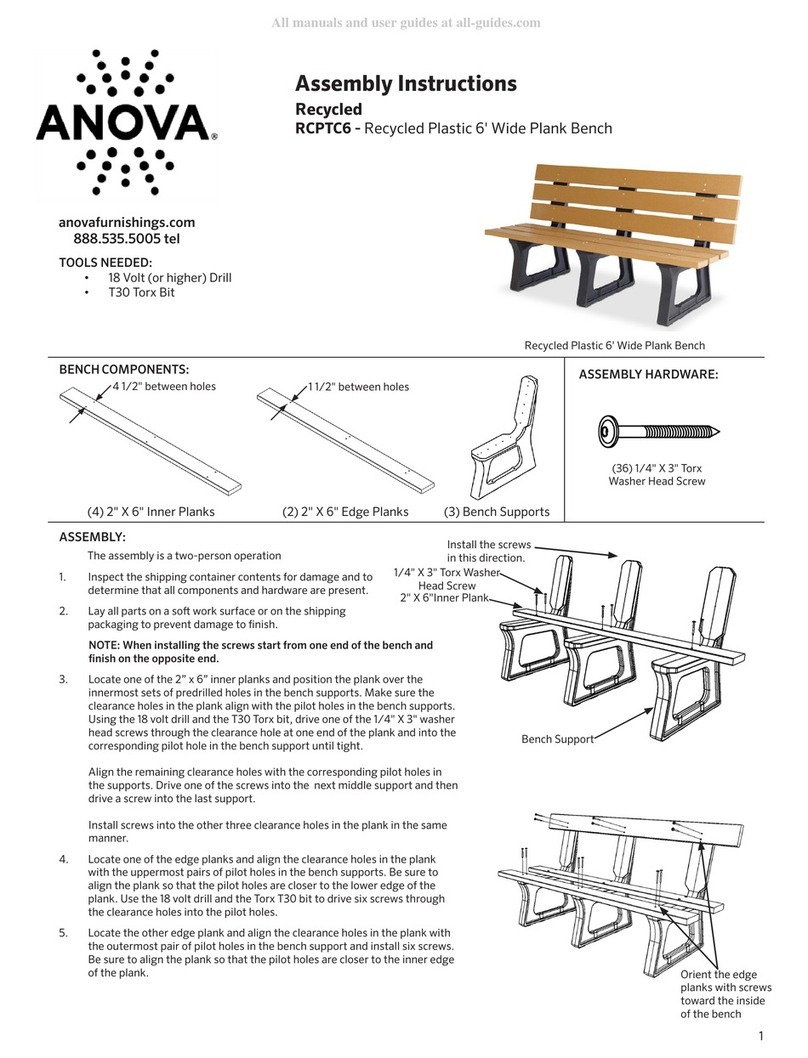
2 x Bench Supports 2 x Bench Seat
ASSEMBLY INSTRUCTIONS
F1051 6  Rolled Edge Bench
F1054 8  Rolled Edge Bench
F1061 6  Victory Bench
F1064 8  Victory Bench
F1337 6  Victory Bench - Deep Seat
F3043 4  Victory Bench - Deep Seat
F3049 8  Victory Bench - Deep Seat
D1061 6  Victory Bench
D1061COM 6  Victory Bench with Plaque
D1064 8  Victory Bench
C1061 6  Identity Bench
C1064 8  Identity Bench
Bench
Support
Bolt
Washer
Nut
Bench Seat
Bench
Support
Bolt
Washer
Nut
Bench Back
Washer
Washer
TOOLS NEEDED:
1/2” Open-end or Box-end Wrench• 
Ratchet with 1/2” Socket• 
Level• 
16 x
5/16”
Washer
8 x
5/16”
Flanged Hex Nut
8 x
5/16” X 1.5”
Hex Head Bolt
ASSEMBLY:
The assembly is a two-person operation.
1. Inspect the shipping container contents for damage and to determine that all components and hardware are present.
ASI 120E HRD1 S105
2. Place the Bench Supports and one of the
Bench Seats on the shipping packaging or
other so surface to avoid scratching the
product.
3. Align the mounting holes in one of the
Bench Supports with the holes in the
appropriate end of the Bench Seat. Install
a Washer onto one of the provided Bolts
and insert the Bolt through both parts,
with the Bolt head on the outside surface
of the Bench Support. Install a Washer and
Nut on the inside end of the Bolt.
Leave the hardware nger tight so
that adjustments can be made during
assembly.
Install a Bolt and Washer through the
other set of mounting holes in that end
of the Bench Support and Seat and install
a Washer and Nut. Again, leave the
hardware nger tight.
Model F1064 shown.
Seat pattern may vary.
ASSEMBLY HARDWARE:
BENCH COMPONENTS:
4. Attach the other Bench Support to the Bench Seat as shown. Leave the hardware nger tight.
anovafurnishings.com
888.535.5005 tel
Bench
Support
Bolt
Washer
Nut
Bench Seat
Bench
Support
Bolt
Washer
Nut
Bench Back
Washer
Washer
5. The remaining Bench Seat becomes the Bench Back. Align the mounting holes in one of the Bench Supports with the holes in the
appropriate end of the Bench Back. Install a Washer onto one of the Bolts and insert the Bolt through both parts, with the Bolt
head on the outside surface of the Bench Support. Install a Washer and Nut on the inside end of the Bolt.
10/2012
Leave the hardware nger tight so
that adjustments can be made to
the Bench Back.
Install a Bolt and Washer through
the other set of mounting holes in
that end of the Bench Support and
Back and install a Washer and Nut.
Again, leave the hardware nger
tight.
6. Attach the other Bench Support to
the Bench Back as shown. Leave
the hardware nger tight.
7. Tighten the Bench hardware using
the Open End or Box End Wrench
and Ratchet Wrench; minor
adjustments can be made while
tightening the hardware to make
the Seat and supports square.
8. Determine the location for bench, locate
underground utilities and avoid them while digging
holes for concrete bases.
9. The walls of the concrete base should be vertical and
smooth to minimize the eects of frost upheaval.
This can be achieved with the use of concrete forms,
such as Sonotube. Consider extending the concrete
base below the frost line to eliminate the possibility
of frost upheaval. Consult a professional for loose or
unusual soil conditions.
10. Create a temporary structure that will be used to
support the bench, at the desired height and level,
while the concrete is curing.
11. Fill forms with concrete and insert supports,
centered in concrete, until bench is supported by
the temporary structure. Allow supports to ll
with concrete. Crown the concrete cap to optimize
drainage.
12. Aer concrete has cured remove temporary
structure and retighten all hardware.
18.38”
12.00”
20.38”
Do not drag the assembled unit across any surface.• 
This product requires only periodic cleaning with a sponge and a solution of mild detergent and water to• 
remove surface dirt. Do not clean with a solvent or petroleum based products.
Furniture must not be used other than for its intended purpose and should be inspected regularly for loose,• 
missing, or broken hardware, and general instability.
Furniture that is damaged or appears to be unstable must be removed from service and be repaired or replaced.• 
Repairs must be made using only factory authorized parts and methods.• 
WARNING
CARE AND
MAINTENANCE
211 North Lindbergh Blvd.
St. Louis, MO 63141
tel: 888.535.5005
web: anovafurnishings.com

This manual suits for next models

11

Other Anova Outdoor Furnishing manuals
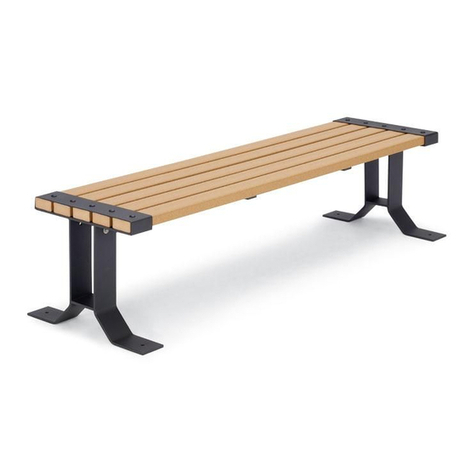
Anova F3017 User manual

Anova

Anova F3017 User manual

Anova Wainwright RCPWT63A User manual

Anova

Anova Wainwright RCPWT63A User manual

Anova Courtyard F1030 User manual

Anova

Anova Courtyard F1030 User manual

Anova BRP101 User manual

Anova

Anova BRP101 User manual

Anova L1390 User manual

Anova

Anova L1390 User manual

Anova L1301S User manual

Anova

Anova L1301S User manual

Anova L1369A User manual

Anova

Anova L1369A User manual

Anova L1392S User manual

Anova

Anova L1392S User manual

Anova FBW6R User manual

Anova

Anova FBW6R User manual

Anova D1121 User manual

Anova

Anova D1121 User manual

Anova Rendezvous L1360 User manual

Anova

Anova Rendezvous L1360 User manual

Anova FBW6R User manual

Anova

Anova FBW6R User manual

Anova Signature L1501 User manual

Anova

Anova Signature L1501 User manual

Anova RCP6 User manual

Anova

Anova RCP6 User manual

Anova L1260 User manual

Anova

Anova L1260 User manual
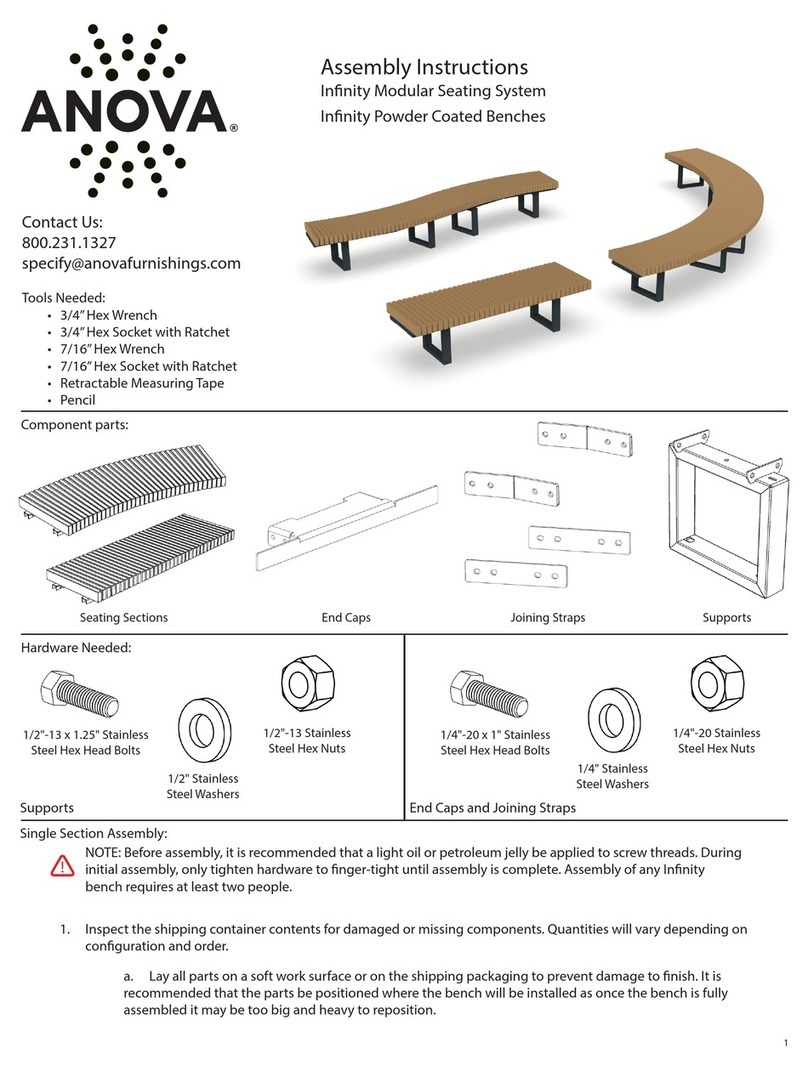
Anova F1030R User manual

Anova

Anova F1030R User manual

Anova F1031 User manual

Anova

Anova F1031 User manual

Anova BRP121 User manual

Anova

Anova BRP121 User manual

Anova SS1001-TRI User manual

Anova

Anova SS1001-TRI User manual

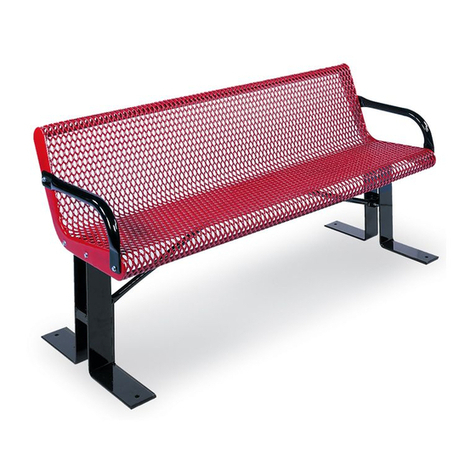
Anova Infinity Modular Seating System User manual
Anova

Anova Infinity Modular Seating System User manual

Anova Rendezvous L1360 User manual

Anova

Anova Rendezvous L1360 User manual

Anova D1007 User manual

Anova

Anova D1007 User manual

Anova Airi AE2690LF User manual

Anova

Anova Airi AE2690LF User manual

Anova Rendezvous L1387 User manual

Anova

Anova Rendezvous L1387 User manual
Popular Outdoor Furnishing manuals by other brands

Sukkah Center SNAP SUKKAH 12x16 Assembly instructions

Sukkah Center

Sukkah Center SNAP SUKKAH 12x16 Assembly instructions

Replas PREMIER SETTING 1.8m Free Standing Assembly instructions

Replas

Replas PREMIER SETTING 1.8m Free Standing Assembly instructions

Canvas BALA YD-BALAC Assembly instructions

Canvas

Canvas BALA YD-BALAC Assembly instructions

Backyard Discovery TRENTON 2105133 Assembly instructions

Backyard Discovery

Backyard Discovery TRENTON 2105133 Assembly instructions

Kozyard KZLPG1212 Assembly manual

Kozyard

Kozyard KZLPG1212 Assembly manual

LuxCraft 4x6 Rectangle Double Pedestal Table Assembly instructions

LuxCraft

LuxCraft 4x6 Rectangle Double Pedestal Table Assembly instructions

A&B Accessories BASIC 10' x 14' GAZEBO quick reference

A&B Accessories

A&B Accessories BASIC 10' x 14' GAZEBO quick reference

Alice's Garden VINCI WKVS007 Assembly

Alice's Garden

Alice's Garden VINCI WKVS007 Assembly

real living OAKMONT GB19-517 Assembly instruction

real living

real living OAKMONT GB19-517 Assembly instruction

YOTRIO MS18-301-002-10 Assembly instruction

YOTRIO

YOTRIO MS18-301-002-10 Assembly instruction

Outsunny 312-026 Assembly instruction

Outsunny

Outsunny 312-026 Assembly instruction

Pawleys Island Durawood Essentials/Sunrise Chair Assembly instructions

Pawleys Island

Pawleys Island Durawood Essentials/Sunrise Chair Assembly instructions

Joyside A08 Series instruction manual

Joyside

Joyside A08 Series instruction manual

Forever Redwood LATTICE GAZEBO Assembly instructions

Forever Redwood

Forever Redwood LATTICE GAZEBO Assembly instructions

Kozyard 12 Ft.x16 Ft. Alexander Hardtop Gazebo Assembly manual

Kozyard

Kozyard 12 Ft.x16 Ft. Alexander Hardtop Gazebo Assembly manual

Isotra ARTOSI Technical manual

Isotra

Isotra ARTOSI Technical manual

Forever Redwood THE MONTVALE PERGOLAS Assembly instructions

Forever Redwood

Forever Redwood THE MONTVALE PERGOLAS Assembly instructions

SUNS Alvaro A Assembly instruction

SUNS

SUNS Alvaro A Assembly instruction

manuals.online logo
manuals.online logoBrands
  • About & Mission
  • Contact us
  • Privacy Policy
  • Terms and Conditions

Copyright 2025 Manuals.Online. All Rights Reserved.