manuals.online logo
Brands
  1. Home
  2. •
  3. Brands
  4. •
  5. Argos
  6. •
  7. Indoor Furnishing
  8. •
  9. Argos Habitat hygena Square+ 4 x 2 620/2493 User manual

Argos Habitat hygena Square+ 4 x 2 620/2493 User manual

MADE IN
BRITAIN
Dimensions
If you need help or have damaged or missing parts, please visit www.argos-support.co.uk
or email: Help@ClickSpares.co.uk (quoting your original order number)
Alternatively, call the Spares Helpline on: 0370 112 1928.
For any other queries please contact the Customer Helpline on: 0345 640 2020
Important - Please read these instructions fully before starting assembly
WARNING!
In order to prevent overturning, this product must be
used with the 2 wall attachment devices provided
Square + 4 x 2
Assembly Instructions - Please keep for future reference 620/2493
617/4260
622/9919
616/6182
Width - 75.9cm
Depth - 39.1cm
Height - 145.5cm
Issue 1 - 28/11/16
hygena
Safety and Care Advice
Important - Please read these instructions fully before starting assembly
• Warning: This unit weighs
approximately 35kgs.
Please lift with care.
• Check you have all the
components and tools listed on
pages 2 and 3.
• Remove all fittings from the
plastic bags and separate them
into their groups.
• Keep children and animals
away from the work area, small
parts could choke if swallowed.
• Parts of the assembly will be
easier with 2 people.
• Make sure you have enough
space to layout the parts before
starting.
• Do not stand or put weight on
the product, this could cause
damage.
• Assemble the item as close to
its final position (in the same
room) as possible.
• Assemble on a soft level
surface to avoid damaging the
unit or your floor (use opened
out unit carton).
1
Care and maintenance
• Only clean using a damp cloth
and mild detergent, do no use
bleach or abrasive cleaners.
• From time to time check that
there are no loose screws on
this unit.
• This product should not be
discarded with household
waste. Take to your local
authority waste disposal centre.
Note: If required the next page
can be cut out and used as
reference throughout the
assembly. Keep this page with
these instructions for future
reference.
• We do not
recommend the
use of power
drill/drivers for
inserting screws,
as this could damage the unit.
Only use hand screwdrivers.
• Safety note: To prevent
possible overbalancing this unit
must be secured to a wall
using the 2 overbalance
protector kits supplied or, an
alternative fixing method of
your choice.
• Dispose of all packaging
carefully and responsibly.
Components - Panels
If you need help or have damaged or missing parts, please visit www.argos-support.co.uk
or email: Help@ClickSpares.co.uk (quoting your original order number)
Alternatively, call the Spares Helpline on: 0370 112 1928.
For any other queries please contact the Customer Helpline on: 0345 640 2020
Please check you have all the panels listed below
When applicable, remove any protective film
from the panels before they are used
2
1Top/Base (DF8709)
(75.9 x 39.1cm) x 2
2End Panel (DF8714)
(138.5 x 39.1cm) x 2
3Shelf Panel (DF8711)
(68.5 x 38.7cm) x 3
4Divider (DF8712)
(33.5 x 38.3cm) x 4
Please check you have all the fittings listed below
Note: The quantities below are the correct amount to complete the assembly. In some cases
more fittings may be supplied than are required.
Components - Fittings
If you need help or have damaged or missing parts, please visit www.argos-support.co.uk
or email: Help@ClickSpares.co.uk (quoting your original order number)
Alternatively, call the Spares Helpline on: 0370 112 1928.
For any other queries please contact the Customer Helpline on: 0345 640 2020
3
D
C
Minifix nut (F650) x 8
Tools required
Rule Scissors Hammer
Eye protection
(when using a
hammer or drill)
Cross-head
screwdriver
B
E
Metal dowel (F649) x 8
A
Large wooden dowel (F40) x 44
Felt pad (F433) x 4
Overbalance protector
kit (F474) x 2
Electric drill
(do not use for
fitting screws)
Ruler - Use this ruler to help correctly identify the screws
mm 10 20 30 40 50 60 70 80 90 100 110 120 130 140 150 160 170
Assembly Instructions
4
Step 1
Step 2
Step 3
Fit 2 shelves to an
end panel
Push 2 of the shelves
down onto an end panel
. .
Now carefully lay the
unit onto its side.
3
x 2
x 3
C
C
C
C
C
Prepare the 2 end
panels
Insert 4 minifix nuts
into both of the end
panels .
Note: The arrow on the
minifix nuts must point
towards the hole in the
edge of the panel.
2
C
2
2
A
A
A
A
Prepare the 3 shelves
Gently tap 8 long
wooden dowels into
each shelf until they
‘’bottom out’’.
A
3
A
A
A
A
3
3
3
2
A
A
A
A
Assembly Instructions
5
Step 4
Fit a divider
Position a divider
between the 2 shelves .
Gently tap 4 long
wooden dowels
through the holes in each
shelf and into the
divider until they
‘’bottom out’’.
Step 5
4
A
A
A
A
3
3
4
3
A
3
4
3
Warning: The
unit is heavy.
Lift with care.
4
4
Fit another divider
Carefully turn the unit
back onto its end
panel.
Push a divider onto
the shelf .
Note: Support this
divider until the final shelf
has been fitted in the
next step.
Step 6
Fit the final shelf
Push the shelf down
onto the end panel .
Gently tap 4 long
wooden dowels
through the holes in the
shelf and into the
divider until they
‘’bottom out’’.
4
3
A
A
A
A
3
3
2
3
A
4
2
Assembly Instructions
Step 7
Fit the remaining end
panel
Push the remaining end
panel down onto the
3 shelves .
Step 8
6
3
3
3
2
2
3
Fit a divider
Carefully stand the
unit upright.
Push a divider down
onto the shelf .
Gently tap 4 long
wooden dowels into
the divider until they
‘’bottom out’’.
4
3
3
4
Warning: The
unit is heavy.
Lift with care. A
A
A
A
A
4
Assembly Instructions
7
Step 9
Step 10
B
B
B
B
Prepare the base
panel
Stick a felt pad into
each corner of the base
panel .
Turn the base over
Screw 4 metal dowels
into the base panel .
Note: Tighten the metal
dowels up fully against
the panels.
1
B
B
1
D
D
D
D
Turn the
base over
D
1
1
Fit the base panel
Push the base down
onto the assembly.
Use a screwdriver to
tighten the 2 minifix nuts
. fitted to each of the
end panels .
Note: Turn the minifix
nuts as far as they will
go - more than 1/2 a
turn.
C
C
2
1
2
1
2
C
B
Assembly Instructions
Step 11
8
Step 12
Fit the final divider
Carefully turn the unit
over.
Push a divider down
onto the shelf .
Gently tap 4 long
wooden dowels into
the divider until they
‘’bottom out’’.
4
3
3
4
Warning: The
unit is heavy.
Lift with care. A
A
A
A
A
4
B
B
B
B
Prepare the top panel
Screw 4 metal dowels
into the top panel .
1
B
1
Assembly Instructions
9
Step 13
2
1
Fit the top panel
Push the top down
onto the assembly.
Use a screwdriver to
tighten the 2 minifix nuts
. fitted to each of the
end panels .
C
2
1
2
Assembly Instructions
Step 14
10
Fit the 2 overbalance
protector kits
Important: A bracket
must be fitted on both
sides of the unit and they
must be at least 25mm in
from the end panels.
To prevent possible
overbalancing this unit
must be secured to a
suitable wall by fitting of
the 2 overbalance
protector kits to the
unit, or an alternative
fixing method of your
choice.
Wall fixings are not
supplied as they will
need to suit the wall
type.
Note: Take care when
drilling the wall that you
do not drill into any
pipes, wires etc.
If in doubt, consult an
expert.
Assembly is complete
E
WARNING!
In order to prevent overturning
this product must be used with the
2 wall attachment devices provided
E
Underside
of top
25mm
x 2
Assembly Instructions
If you need help or have damaged or missing parts, please visit www.argos-support.co.uk
or email: Help@ClickSpares.co.uk (quoting your original order number)
Alternatively, call the Spares Helpline on: 0370 112 1928.
For any other queries please contact the Customer Helpline on: 0345 640 2020
11 ALR3368
Step 15
Door
Insert
If required, fit your
door or drawer inserts
If you have purchased
door or drawer inserts,
please refer to the
assembly instructions
packed with them.
Drawer
Insert

This manual suits for next models

3

Other Argos Indoor Furnishing manuals

Argos 457/2156 Manual

Argos

Argos 457/2156 Manual

Argos Dalton 246/6422 User manual

Argos

Argos Dalton 246/6422 User manual

Argos Mia 3 Drawer Chest User manual

Argos

Argos Mia 3 Drawer Chest User manual

Argos Eastleigh Ant Pewter 09H User manual

Argos

Argos Eastleigh Ant Pewter 09H User manual

Argos Rattan 752/6965 User manual

Argos

Argos Rattan 752/6965 User manual

Argos Camden 259/3773 User manual

Argos

Argos Camden 259/3773 User manual

Argos HOME New Pagnell 3 Dr 4 Drw Wardrobe... User manual

Argos

Argos HOME New Pagnell 3 Dr 4 Drw Wardrobe... User manual

Argos 906/5716 User manual

Argos

Argos 906/5716 User manual

Argos Brooklyn Wardrobe White 8106951 User manual

Argos

Argos Brooklyn Wardrobe White 8106951 User manual

Argos Small Mustard Fabric Ottoman 716/5467 User manual
Argos

Argos Small Mustard Fabric Ottoman 716/5467 User manual

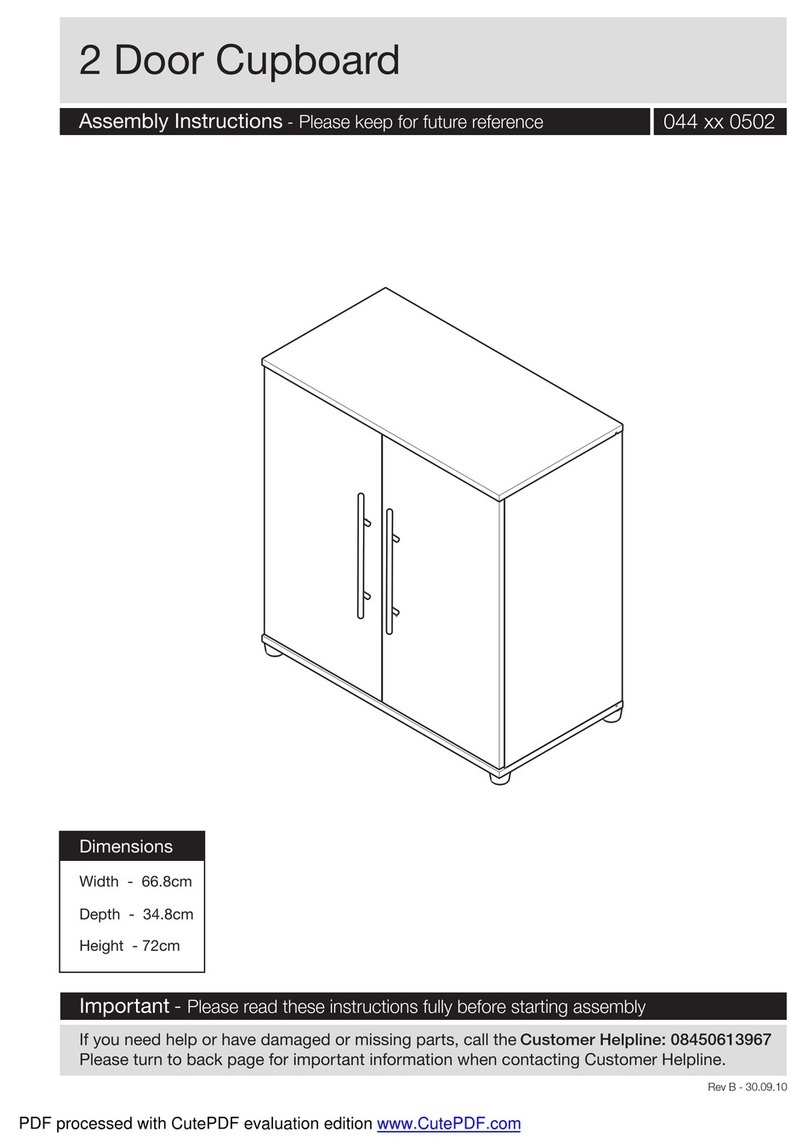
Argos High Back Sofa Set 743/7377 User manual

Argos

Argos High Back Sofa Set 743/7377 User manual

Argos Canterbury 3 DR Robe User manual

Argos

Argos Canterbury 3 DR Robe User manual

Argos Suki 609/7426 User manual

Argos

Argos Suki 609/7426 User manual

Argos 719/3594 User manual

Argos

Argos 719/3594 User manual

Argos Aston Chair User manual

Argos

Argos Aston Chair User manual

Argos Hygena 600/5968 User manual

Argos

Argos Hygena 600/5968 User manual

Argos Santos Recliner Chair And Foot stool User manual

Argos

Argos Santos Recliner Chair And Foot stool User manual

Argos Porto 650/3037 User manual

Argos

Argos Porto 650/3037 User manual

Argos Montana 397/6571 User manual

Argos

Argos Montana 397/6571 User manual

Argos 395/8953 User manual

Argos

Argos 395/8953 User manual

Argos 932/7722 User manual

Argos

Argos 932/7722 User manual

Argos 875/7276 User manual

Argos

Argos 875/7276 User manual

Argos EMPEROR 6031561 User manual

Argos

Argos EMPEROR 6031561 User manual

Argos Washington 02BS User manual

Argos

Argos Washington 02BS User manual

Popular Indoor Furnishing manuals by other brands

Furniture of America CM4777-3PK Assembly instructions

Furniture of America

Furniture of America CM4777-3PK Assembly instructions

WorkSimpli PL215 Assembly instructions

WorkSimpli

WorkSimpli PL215 Assembly instructions

Next BRONX FIXED A18914 Assembly instructions

Next

Next BRONX FIXED A18914 Assembly instructions

ORISON THE WIDE FILE Assembly instructions

ORISON

ORISON THE WIDE FILE Assembly instructions

Coaster 508322 Assembly instructions

Coaster

Coaster 508322 Assembly instructions

Techni Mobili RTA-80X5 Assembly instructions

Techni Mobili

Techni Mobili RTA-80X5 Assembly instructions

Bunkers LOLINE LONGWALL Series Assembly instructions

Bunkers

Bunkers LOLINE LONGWALL Series Assembly instructions

Perludi AMBERintheSKY Assembly instructions

Perludi

Perludi AMBERintheSKY Assembly instructions

Easylife EL-DHM-70S instruction manual

Easylife

Easylife EL-DHM-70S instruction manual

Balt Spine Align Chair 34556 manual

Balt

Balt Spine Align Chair 34556 manual

BRW NIKA MNKD-60/82 Assembly manual

BRW

BRW NIKA MNKD-60/82 Assembly manual

SEI KA981500TX Assembly instructions

SEI

SEI KA981500TX Assembly instructions

CB2 ROUTE Assembly instructions

CB2

CB2 ROUTE Assembly instructions

IFO Option 47185 Operating and maintenance instructions

IFO

IFO Option 47185 Operating and maintenance instructions

Coaster 724218 Assembly instructions

Coaster

Coaster 724218 Assembly instructions

Zap LINN LOW DRESSER Assembly guide

Zap

Zap LINN LOW DRESSER Assembly guide

Dedeman BURGUNDY UP 01310 Assembling Instruction

Dedeman

Dedeman BURGUNDY UP 01310 Assembling Instruction

FSC CANNES 180 Assembly instructions

FSC

FSC CANNES 180 Assembly instructions

manuals.online logo
manuals.online logoBrands
  • About & Mission
  • Contact us
  • Privacy Policy
  • Terms and Conditions

Copyright 2025 Manuals.Online. All Rights Reserved.