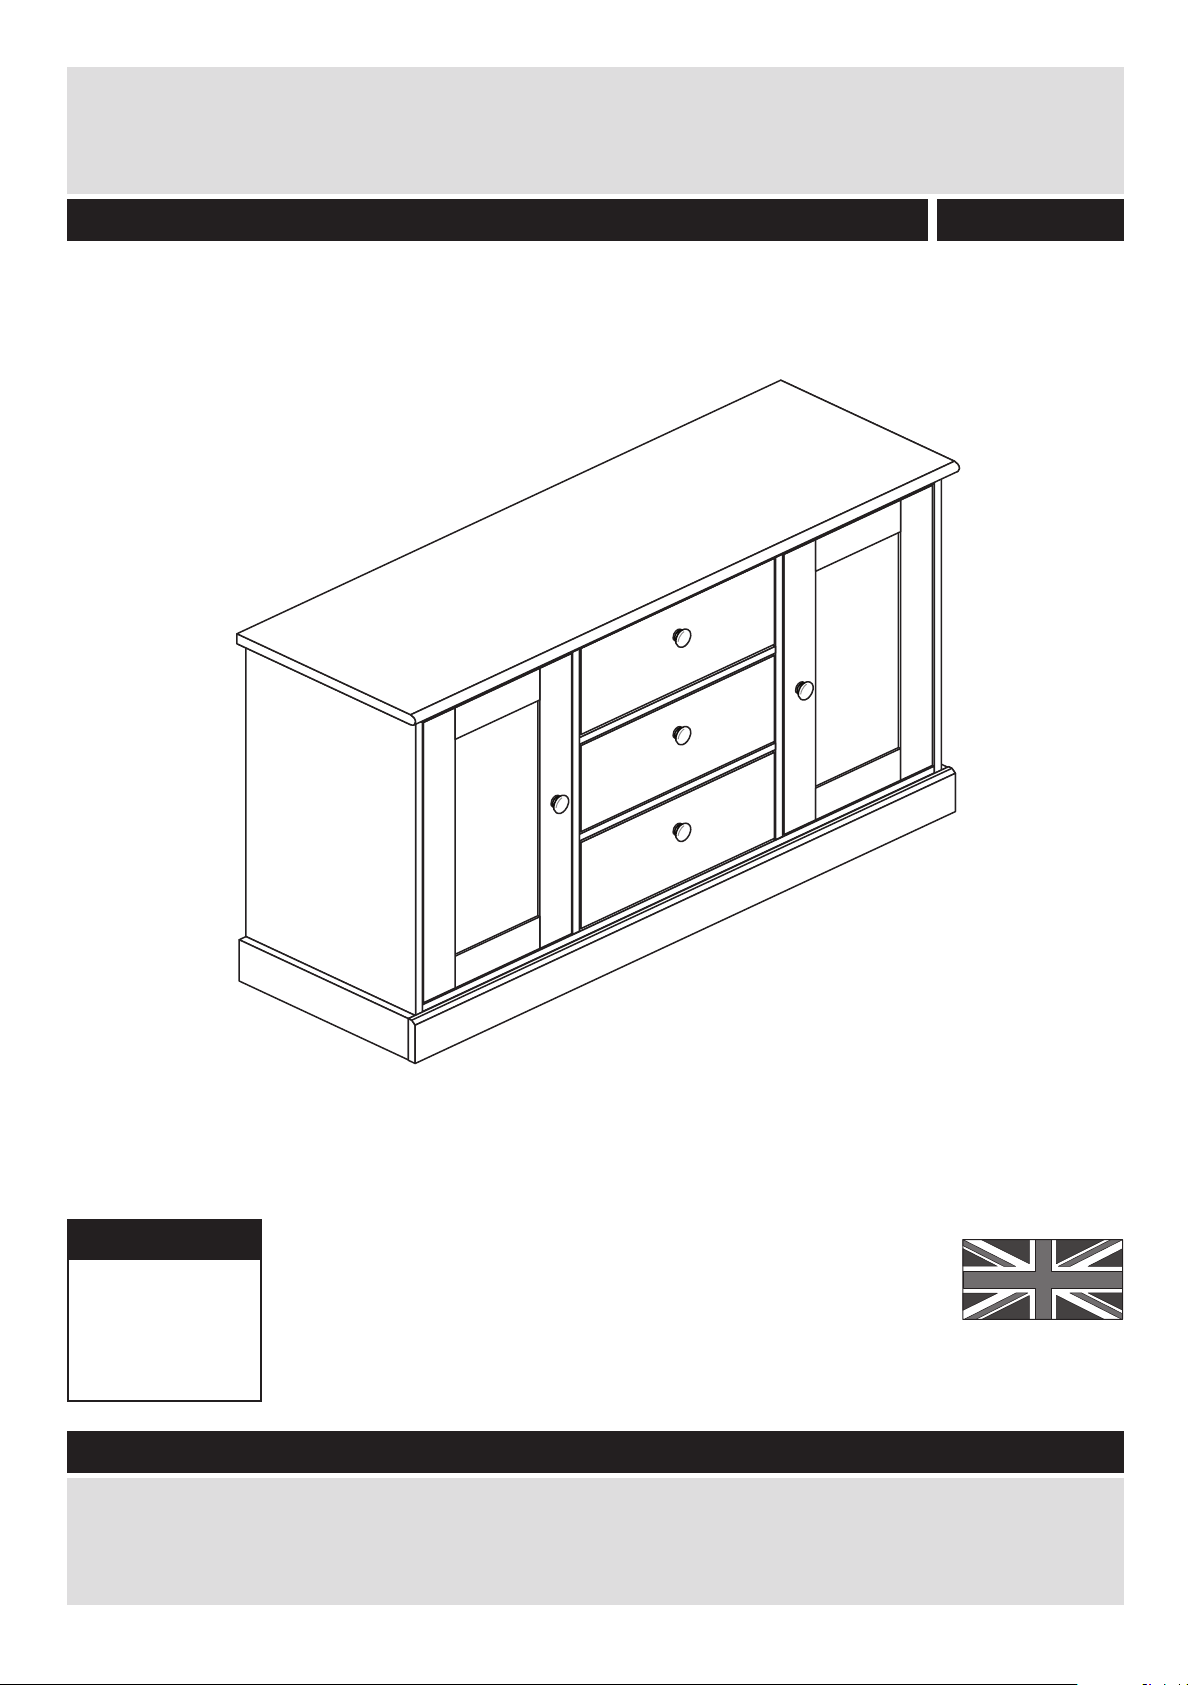
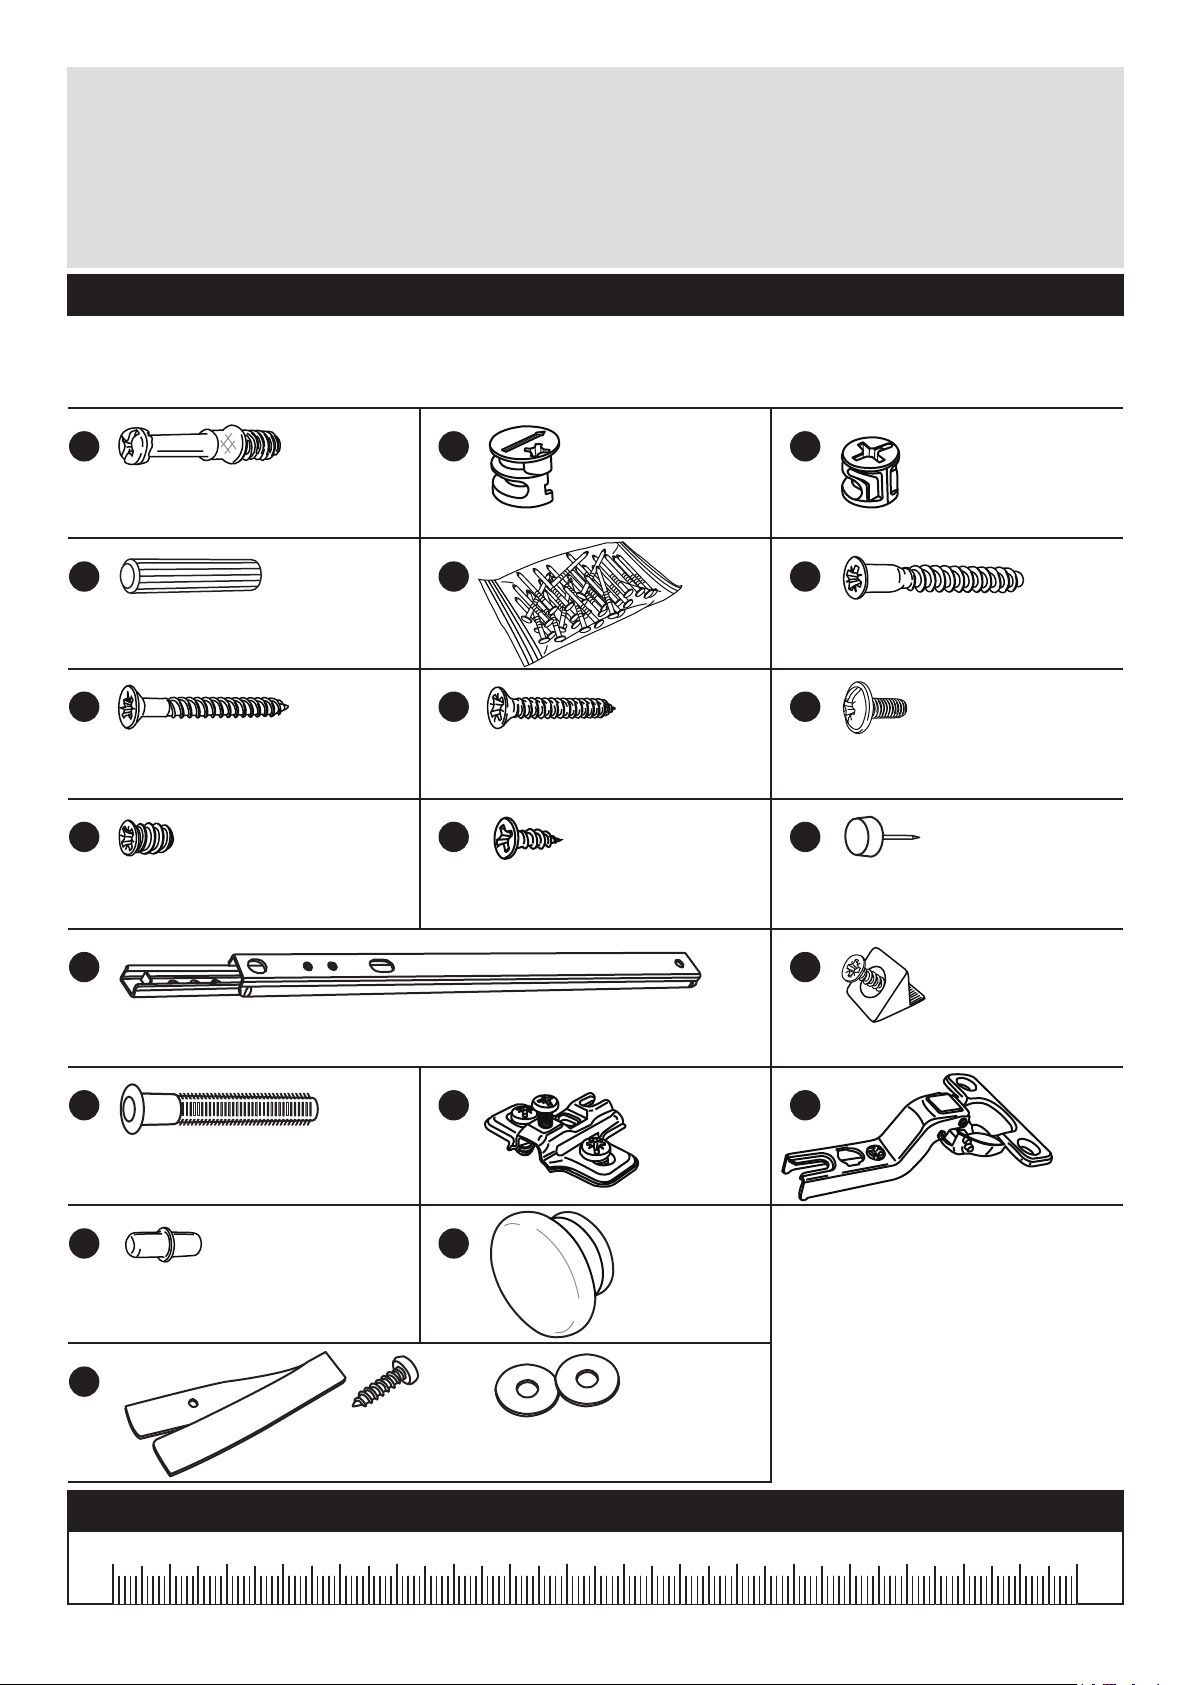
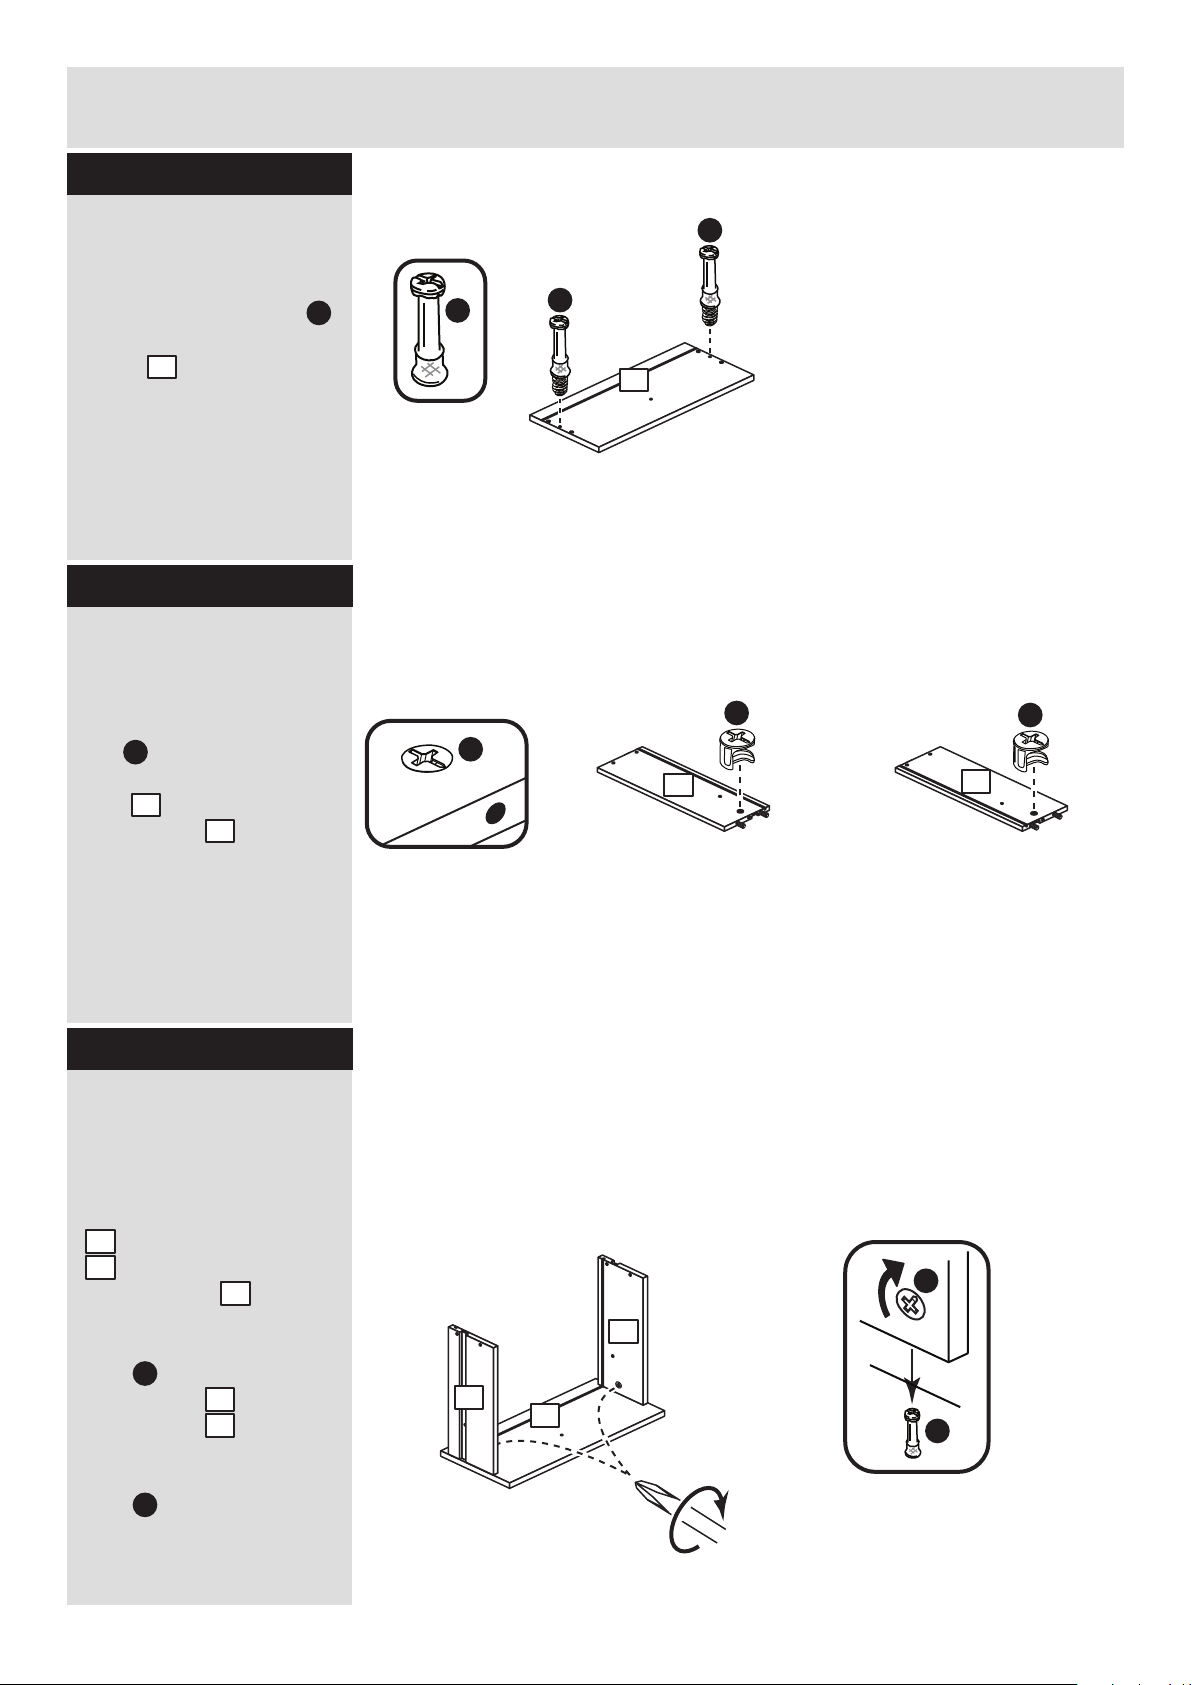
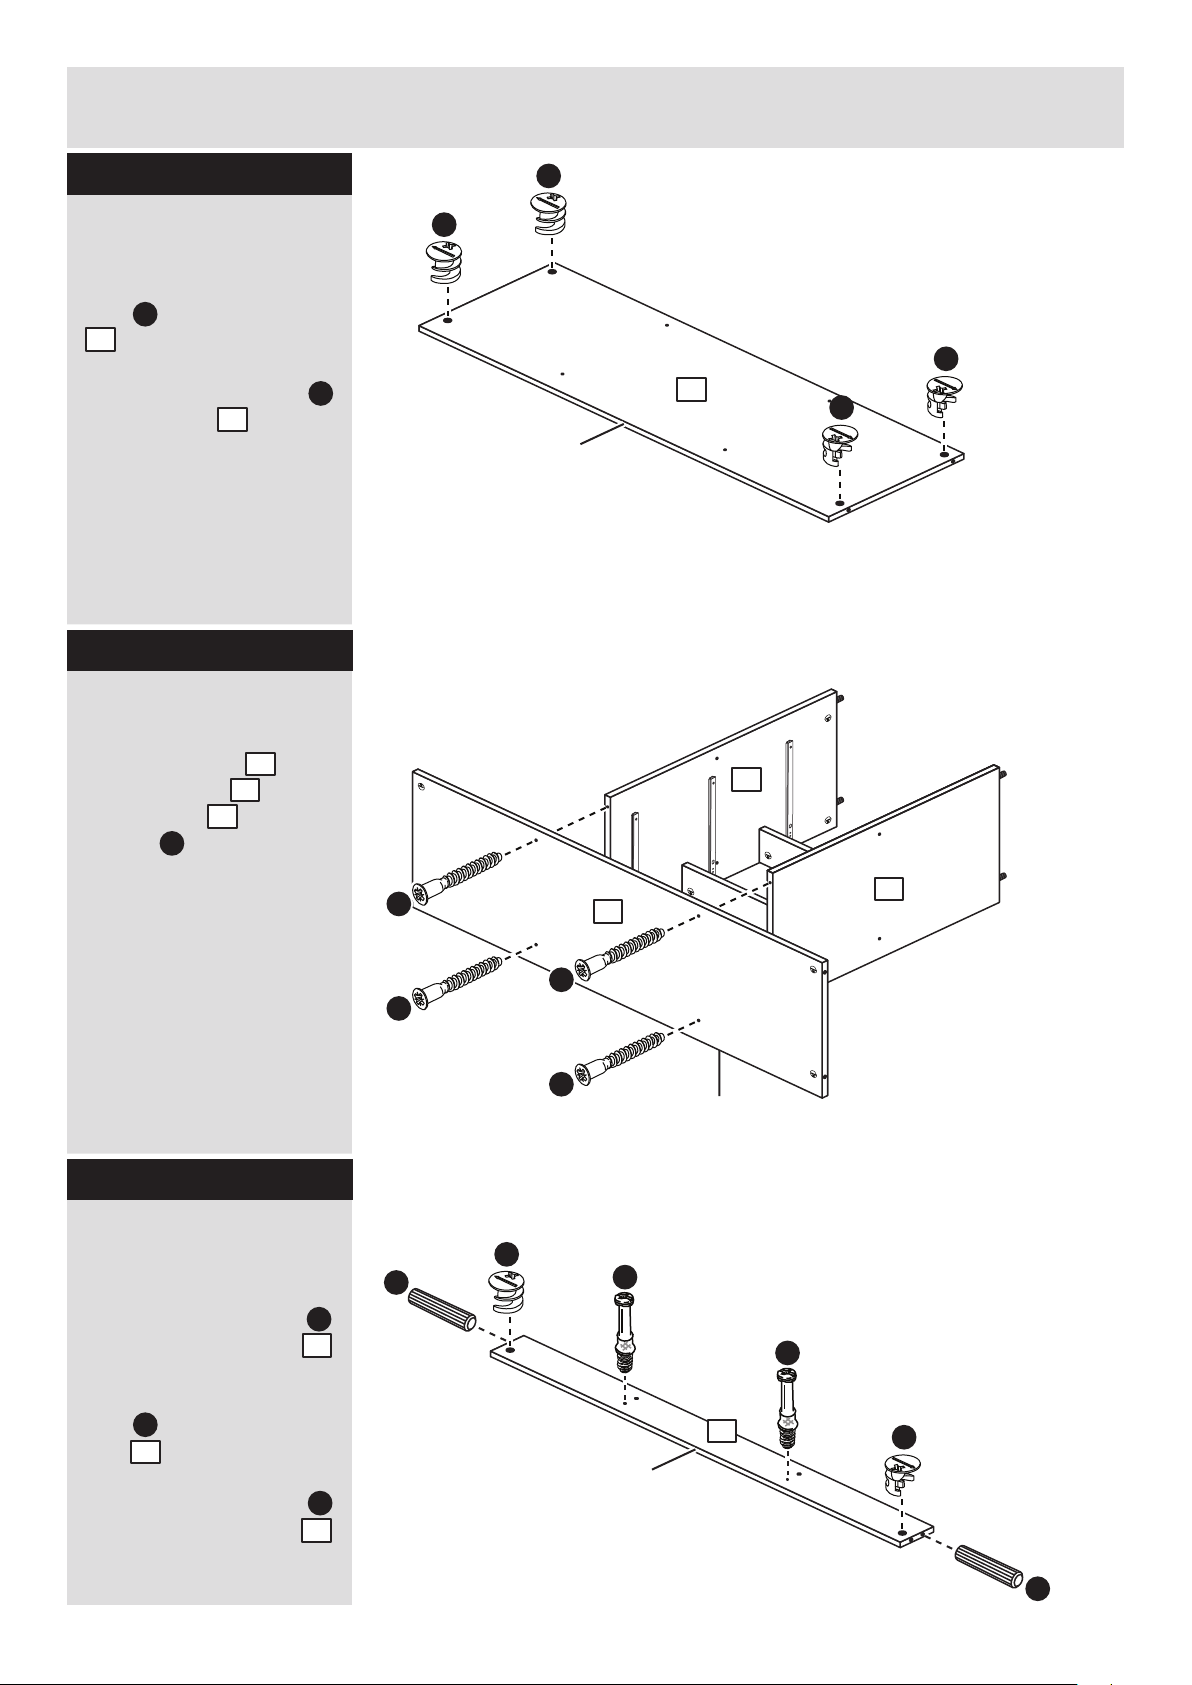
Argos Habitat Winchester 3+2 Sideboard 417/9906 User manual
Other Argos Indoor Furnishing manuals

Argos
Argos Double Tidy Rail User manual

Argos
Argos Home 615/1795 User manual

Argos
Argos Malibu Double Cupboard MK2 User manual

Argos
Argos Verona 609/5057 User manual

Argos
Argos 626/9728 User manual

Argos
Argos Perth 423/8029 User manual

Argos
Argos Dutch Glam Boutique Coffee Table User manual

Argos
Argos Malibu 428/3445 User manual

Argos
Argos DORIAN SLOPE 2 SEATER SOFA MOTTLED TAN User manual

Argos
Argos 401/8854 User manual

Argos
Argos 709/2592 User manual

Argos
Argos Verona 609/5088 User manual

Argos
Argos Dutch Glam 846/1108 User manual

Argos
Argos Phoenix 314/9449 User manual

Argos
Argos Malibu 184/8072 User manual

Argos
Argos 832/2292 User manual

Argos
Argos 213/4864 User manual

Argos
Argos Constable 149/2545 User manual

Argos
Argos Florenza 162/2377 User manual

Argos
Argos 642/0110 User manual


Popular Indoor Furnishing manuals by other brands


Coaster
Coaster 4799N Assembly instructions

Stor-It-All
Stor-It-All WS39MP Assembly/installation instructions

Lexicon
Lexicon 194840161868 Assembly instruction

Next
Next AMELIA NEW 462947 Assembly instructions

impekk
impekk Manual II Assembly And Instructions

Elements
Elements Ember Nightstand CEB700NSE Assembly instructions