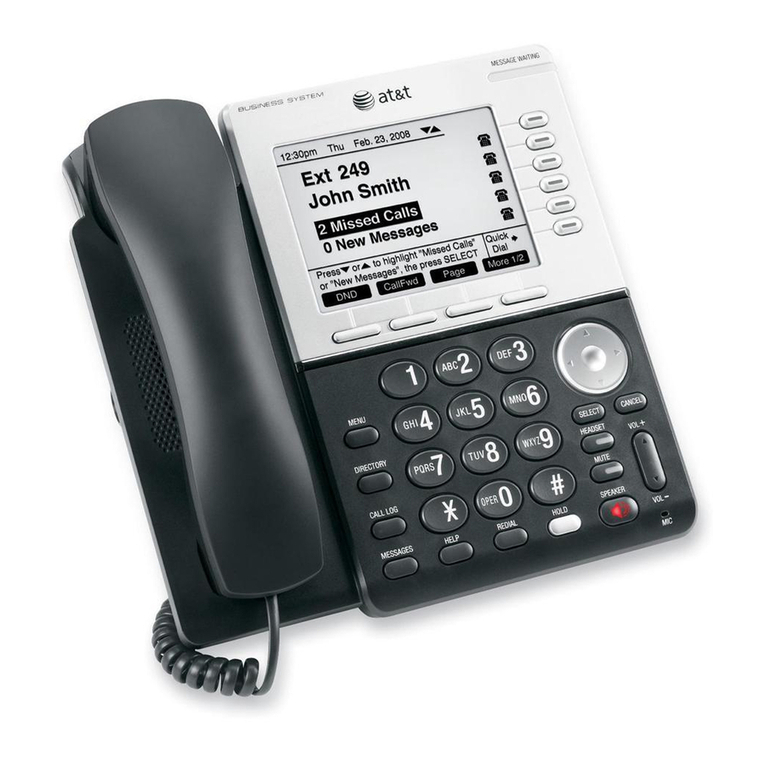
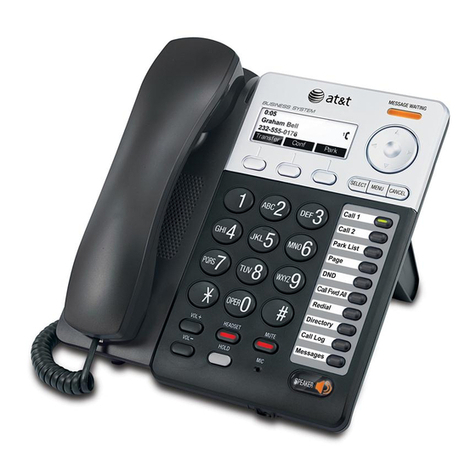
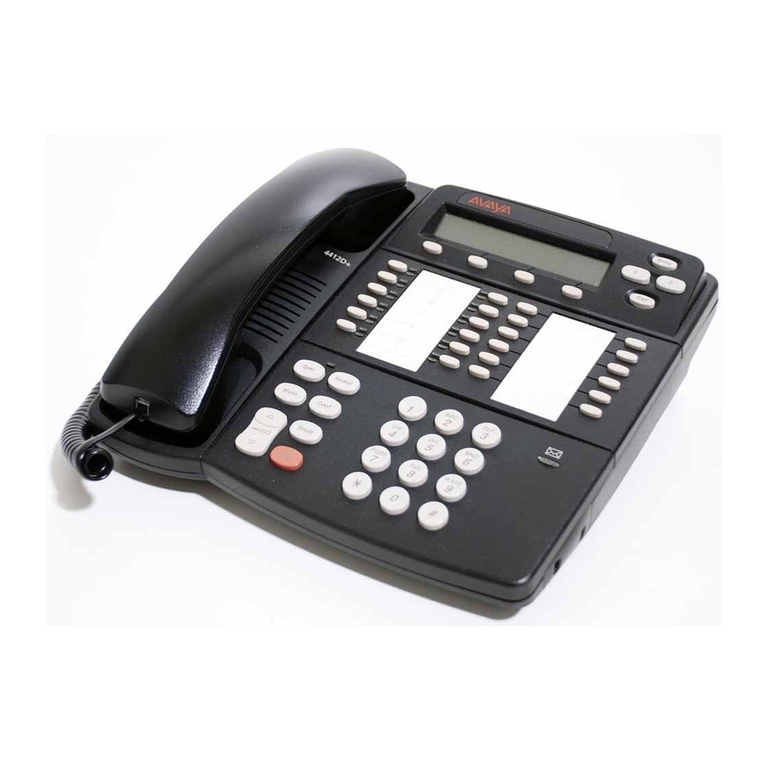
AT&T MERLIN LEGEND MLX- 10D Manual

555-610-132
Issue 1
August 1991
MERLIN LEGEND
Communications System
Direct-Line Consoles
Operator’s Guide

Copyright © 1991 AT&T
All Rights Reserved
Printed in U.S.A.
AT&T 555-610-132
Issue 1
August 1991
Notice
Every effort was made to ensure that the information in this book was
complete and accurate at the time of printing. However, information is
subject to change.
Federal Communications Commission (FCC)
Electromagnetic Interference Information
This equipment has been tested and found to comply with the limits for a
Class A digital device, pursuant to Part 15 of the FCC Rules. These limits
are designed to provide reasonable protection against harmful
interference when the equipment is operated in a commercial
environment. This equipment generates, uses, and can radiate radio
frequency energy and, if not installed and used in accordance with the
instruction manual, may cause harmful interference to radio
communications. Operation of this equipment in a residential area is
likely to cause harmful interference, in which case the user will be
required to correct the interference at his own expense.
Canadian Department of Communications (DOC)
Interference Information
This digital apparatus does not exceed the Class A limits for radio noise
emissions set out in the radio interference regulations of the Canadian
Department of Communications.
Le présent appareil numérique n’émet pas de bruits radioélectriques
dépassant Ies Iimites applicable aux appareils numériques de la classe
A prescrites dans Ie Règlement sur Ie brouillage radioélectrique édicté
par Ie ministère des Communications du Canada.
Trademarks
MERLIN LEGEND is a trademark of AT&T.
MLX-10D, MLX-20L, and MLX-28D are trademarks of AT&T.
Starset is a registered trademark of Plantronics Corporation.
Supra and StarMate are trademarks of Plantronics Corporation.
Rings
One ring _______ Inside Call
Two rings ______ Outside Call
Three rings ___Returning Call
Inside Transfers with
One-Touch Transfer
One-Touch Transfer
■
With automatic completion,
press
DSS
or Auto Dial button
Line Button Lights
■
With manual completion, press
DSS
or
Auto Dial
button,
Red
announce call, and hang up
Call _______Automatic connection
or press
Speaker
Alarm _________ System problem
If co-worker is unavailable
Green _____________ Line in use
Flash green_________
Incoming call
■
Consider Barge-In, Camp-On,
Fast flash green____
Held call (yours)
Paging, or Park
Slow flash green_________
Held call
(co-worker’s)
■ Use Send/Remove Message
Inside Transfers without
Message Status on DSS One-Touch Transfer
Press
Message Status
button
1. Press Transfer
(and
Page
button if needed)
2. Dial
extension,
or press
DSS
or
Auto Dial
Light 3. Hangup or press Speaker
on___________Operator message
Light
If co-worker is unavailable
off _________ No operator message
■
Consider Barge-In, Camp-On,
DSS Button LightsPaging, or Park
Off___________
Phone free and
Do Not Disturb
■ Use Send/Remove Message
not on
Phone in use or
Outside Transfers
Do Not Disturb on
Fast flash______
Call for you 1. Press Transfer
2. Press line or SA button
Slow flash______
Call ringing or
3. Dial
dial-out code
and
number
returning transfer
4. Hangup or press Speaker
On___________

Conference Calls
1.
2.
3.
4.
5.
6.
7.
■
■
■
Feature Use
Display
Feature Code
2. Dial
code
(see below)
Dial first
extension
or
number
Press
Conf
Press
line
button
Dial next
extension
or
number
Announce call and press
Conf
Repeat steps 2-5 for each
participant
Hang up or press
Speaker
to end conference
Press
Drop
and
line
button to
drop single participant
Press
Hold
to temporarily leave
conference
Press any participant’s
line
button to rejoin conference
1. Select from
Menu
or Feature screen
2. Follow prompts
Programmed Button
1. Program a line button for each
feature (Appendix C)
2. Press
programmed
button
1. Press
Feature
I
B = Programmed button C = Code
F = Feature M = Menu
I
Account Code Entry
BCF
Alarm Clock
M
Auto Dial
B
Barge-In
BF
Camp-On BCF
Directory
Extension
M
Personal
M*
System
M
Extension Status
off
BC
1BC
2BC
Headset
Auto Answer
B
Handset Mute
B
Status
B
Messaging
Leave
F
Posted M
Send/Remove
BC
Night Service
B
Paging
BF
Loudspeaker
F
Speakerphone
B
Park
BF
Reminder
Cancel
BC
Set
BC
Missed
B
Timer
M
*Also on Home screen
Account Codes
Name
Code

Contents
About This Book
■ Conventions Usedvii
■ How to Comment on This Book
vii
ix
1
Understanding Your Equipment 1-1
Identifying Your Equipment
MLX-28D with Direct Station Selector
MLX-20L with Direct Station Selector
Direct Station Selector
Operator’s Headsets
Line and DSS Buttons
Lights
The Display
1-2
1-4
1-6
1-8
1-10
1-11
1-15
1-18
2
Handling Calls
2-1
■ Feature Preview
2-2
■ Identifying Call Types
2-3
■ Answering Calls
2-6
Contents
i

Contents
Handling Calls-Continued
■ Making Calls
2-7
■ Transferring Calls
2-9
■ Making Conference Calls
2-15
3
Feature Finder
3-1
4
Using Features
■ Account Code Entry
■ Alarm
■ Alarm Clock
■ Auto Dial
■ Barge-In
■ Camp-On
■
Extension Status
■ Headset Features
■ Messaging
■ Night Service
ii
Contents
4-1
4-7
4-10
4-11
4-12
4-14
4-15
4-17
4-20
4-23
4-29

The exclamation point in an
equilateral triangle is intended to alert
the user to the presence of important
operating and maintenance
(servicing) instructions in the
literature accompanying the product.
IMPORTANT SAFETY INSTRUCTIONS
Always follow these basic safety precautions when using your
telephone equipment. These precautions reduce the risk of fire,
electric shock, and injury to you and damage to the equipment.
■ Read and understand all instructions.
■ Follow all warnings and instructions marked on or packed with
the telephone.
■ Do not use the telephone near water, as in a wet basement.
The telephone can be hazardous if immersed in water. To
avoid the possibility of electrical shock, do not use it when you
are wet. If you accidentally drop it into water, do not retrieve it
until you have first unplugged the line cord from the modular
wall jack. Do not plug the telephone back in until it has dried
thoroughly.
■ Do not use the telephone near a gas leak. If you suspect a
gas leak, report it immediately, but use a telephone away from
the area in question. The telephone’s electrical contacts could
generate a tiny spark. While unlikely, it is possible that the
spark could ignite heavy concentrations of gas.
■ Do not use the telephone (other than a cordless-type
telephone) during electrical storms in your immediate area.
There is a remote risk of electric shock from lightning.
v

Unplug the telephone from the wall outlet before cleaning.
Use a damp cloth for cleaning. Do not use liquid or aerosol
cleaners.
Never push objects of any kind into the telephone through
openings or slots. Never spill liquid of any kind on the
telephone.
To reduce the risk of electric shock, do not disassemble the
telephone. There are no user-serviceable parts inside.
Opening or removing covers may expose you to hazardous
voltages, and incorrect reassembly can cause electric shock
when the telephone is used.
Call your AT&T representative when service or repair work is
needed.
Accessories include answering machines, alerts, and fax
machines. To connect an accessory, you must first have a
Multi-Function Module (MFM).
For your personal safety DO NOT install an
MFM
yourself.
ONLY an authorized AT&T Technician or dealer rep-
resentative shall install, set options on, or repair an
MFM.
To eliminate the risk of personal injury due to electric
shock, DO NOT attempt to install or remove an
MFM
from your MLX telephone. Opening or removing the
module cover of your telephone may expose you to
dangerous voltages.
SAVE THESE INSTRUCTIONS
vi

About This Book
This book tells you how to use your console and its
operator
features.
To
understand and use the
additional
features
available to you and your co-workers, see the MLX- 10D,™
MLX-28D,™ and MLX-20L™ Digital/ISDN Display Telephones
User’s Guide.
If you have questions about this book or need additional
information, see your system manager. He or she is a
co-worker who is responsible for managing the system.
About This Book vii

About This Book
Conventions Used
The following typographic conventions are used in this book:
■ Buttons that you or your company program (“hand-labeled”
buttons) are shown in bold italic type with initial capitals:
Press
Night Service.
■ Buttons that are programmed at the factory (imprinted
buttons) are shown in bold Roman type with initial capitals:
Press
Transfer.
■ Information that appears on your display is shown in a type
similar to that used in the display. Information as it appears
on a 2-line by 24-character display phone is shown in
brackets following the information as it appears on a 7-line
by 24-character display phone:
Select Ext Program[Ext Prog].
If a bracketed word is not shown, the information is the
same for the 7-line and 2-line display phones.
■ Important words are shown in bold type:
Use this button to
make inside and outside calls.
■ Symbols or numbers that you enter by using the dialpad
are shown in bold type:
Dial * 760.
viii Conventions Used

About This Book
How to Comment on This
Book
We welcome your feedback on this book. Please use the
feedback form on the next page. If the form is missing, send
your comments to A. Sherwood, AT&T, 99 Jefferson Road,
Rm. # 2A25, Parsippany, NJ 07054.
How to Comment on This Book ix

Understanding Your
Equipment
This chapter helps you identify and understand your console
and the other equipment you use with it.
A
direct-line console
(DLC) is a phone console setup for
operators. Your DLC is one of the following digital/lSDN (MLX)
phones:
■
MLX-28D™ with or without a Direct Station Selector (DSS)
■
MLX-20L™ with or without a DSS
The DSS is a device that adds extension buttons, for one-
touch dialing of co-workers’ extensions, or other inside and
outside calling buttons to your console.
Understanding Your Equipment 1-1

Understanding Your Equipment
Identifying Your Equipment
A DLC operates like other multiline phones. Outside lines are
assigned to individual buttons (called
line buttons).
The lines
assigned on the DLC also appear on other consoles or
phones. Incoming lines can ring on any of the line buttons,
and several calls can ring simultaneously.
A DLC may have features only operators can use, and
features offered on other multiline phones. For information on
standard features, see the MLX- 10D,™ MLX-28D,™ and MLX-
201™ Digital/lSDN Display
Features and call-handling
DLC two-line (MLX-28D) or
Telephones User’s Guide.
information are available on the
seven-line (MLX-20L) displays.
You can use your console to
■ answer inside and outside calls
■ transfer calls to an extension or an outside number
■ make inside and outside calls (especially for co-workers
whose phones are not set up to make outside calls)
■ set up conference calls
■ monitor the calling activity of other operators
■ monitor the room status in hotels and motels (if your
console is set up for this)
1-2 Identifying Your Equipment

Understanding Your Equipment
You can use a DLC with a headset, speakerphone, modem (a
device for sending computer data over phone lines), fax
machine, or answering machine. To use a modem, fax
machine, or answering machine, your console must have
special equipment. See your system manager for more
information.
Illustrations of the DLCS and headset follow. A list of terms that
describe each piece of equipment follows each illustration. A
separate illustration and description of the DSS is included.
Procedures for using the DLCS (with or without headsets) are
in Chapter
2,
“Handling Calls,” and Chapter 4,
“Using
Features.”
Identifying Your Equipment 1-3

Understanding Your Equipment
MLX-28D with Direct
Station Selector
Handset
Display Buttons
Line Buttons (28) -
Button Labeling Cards
I
Display Screen
Direct
Station
(DSS) Selector
Volume Control Message
Dialpad
Dedicated Feature Buttons (8)
User Cards and Tray
Light
1-4 MLX-28D with DSS

Understanding Your Equipment
Desk Stand (not shown)
An adjustable stand on the console
and the DSS that allows a
20- or 30-degree viewing angle
Button Labeling Cards
Cards labeled with the number or
feature assigned to each line button
Dedicated Feature Buttons
Eight imprinted buttons for the
features used most often
Feature
for viewing the Feature
screen and selecting features
HFAI
(Hands Free Answer on
Intercom) for answering voice-
announced calls without the
handset
Mute
for turning the
speakerphone’s microphone on
and off
Speaker
for talking on a call
(through the speakerphone)
without lifting the handset
Transfer
for sending a call to
another phone
Conf
for adding a line or
extension to a conference call
Drop
for disconnecting an
extension or line from a
conference call
Hold
for putting a call on hold
Dialpad
The area on the console used to dial
phone numbers
Direct Station Selector (DSS)
A device that adds extension buttons
or other inside and outside calling
buttons to the console
Display Buttons
Four imprinted buttons and four
unlabeled buttons used to view the
different screens and select names,
features, and options on each screen
Display Screen
The 2-line by 24-character screen
that shows call information, features,
prompts, and the date and time
Handset
The hand-held part of the console you
pick up, talk into, and listen from
Line Buttons
28
buttons used to make and receive
calls; unlabeled buttons can be
programmed for one-step feature
use.
Message Light
A red light that goes on when a
message is waiting to be displayed
User Cards and Tray
A slide-out drawer with erasable user
cards for noting phone numbers and
feature codes
Volume Control
A button used for adjusting the
volume of the speaker, handset,
headset, and ringer
MLX-28D with DSS 1-5

Understanding Your Equipment
MLX-20L with Direct
Station Selector
Line
Button
Labeling
Cards
(2)
Buttons (20)
Handset
I
– Display Buttons
Display Screen
I
Direct
Station Selector
(DSS)
1
Message Light
Volume Control
Dialpad
Dedicated Feature Buttons
(8)
User Cards and Tray
1-6 MLX-20L with DSS

Understanding
Your Equipment
Desk Stand (not shown)
An adjustable stand on the console
and the DSS that allows a
20- or 30-degree viewing angle
Button Labeling Cards
Cards labeled with the number or
feature assigned to each line button
Contrast Control (not shown)
A sliding control at the top of the
console used to brighten or dim the
display screen
Dedicated Feature Buttons
Eight imprinted buttons for the
features used most often
Feature
for viewing the Feature
screen and selecting features
HFAI
(Hands Free Answer on
Intercom) for answering voice-
announced calls without the
handset
Mute
for turning the
speakerphone’s microphone on
and off
Speaker
for talking on a call
(through the speakerphone)
without lifting the handset
Transfer
for sending a call to
another phone
Conf
for adding a line or
extension to a conference call
Drop
for disconnecting an
extension or line from a
conference call
Hold
for putting a call on hold
Dialpad
The area on the console used to dial
phone numbers
Direct Station Selector (DSS)
A device that adds extension buttons
and other inside and outside calling
buttons to the console
Display Buttons
Four imprinted buttons and ten
unlabeled buttons used to view the
different screens and select names,
features, and options on each screen
Display Screen
The 7-line by 24-character screen
that shows call information, features,
prompts, and the date and time
Handset
The hand-held part of the console you
pick up, talk into, and listen from
Line Buttons
20
buttons
used to make and
receive
calls; unlabeled buttons can be
programmed for one-step feature
use.
Message Light
A red light that goes on when a
message is waiting to be displayed
User Cards and Tray
A slide-out drawer with erasable user
cards for noting phone numbers and
feature codes
Volume Control
A button used for adjusting the volume
of the speaker, handset, headset, and
ringer
MLX-20L with DSS 1-7
This manual suits for next models
2
Table of contents
Other AT&T IP Phone manuals

AT&T
AT&T Syn248 SB35031 User manual

AT&T
AT&T Definity 7444 User manual

AT&T
AT&T TL96457 User manual

AT&T
AT&T TL 7610 User manual

AT&T
AT&T SB8735 User manual

AT&T
AT&T ML17939 User manual

AT&T
AT&T Polycom VVX 300 Series User manual

AT&T
AT&T Definity 8434 User manual

AT&T
AT&T Synapse SB67020 User manual

AT&T
AT&T Synapse SB67020 User manual