3
SAFETY INSTRUCTIONS
BEFORE USE
1. Verify that the product and the application are com-
patible.
2. Before using this product, read the owner's manual
completely and familiarize yourself thoroughly with
the product, its components and recognize the haz-
ards associated with its improper use.
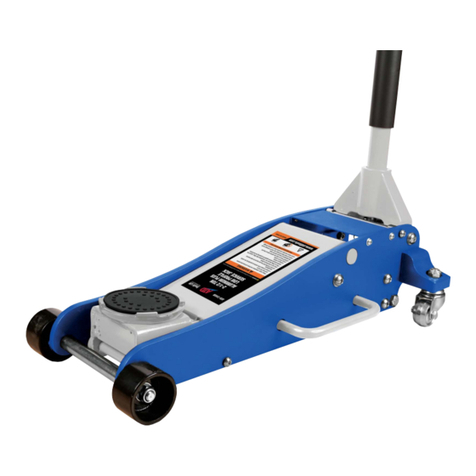
3. Open the release valve (counter-clockwise no more
than 1/2 full turn).
4. With ram fully retracted, locate and remove the oil
filler plug. Insert the handle into the handle sleeve,
then pump 6 to 8 strokes. This will help release any
pressurized air which may be trapped within the res-
ervoir. Ensure the oil level is just below the oil filler
plug hole. Reinstall the oil filler plug.
5. Check to ensure that the pump operates smoothly
before putting into service. Replace worn or dama-
ged parts and assemblies with Factory Authorized
Replacement parts only. (See Replacement Parts
section).
6. Inspect before each use. Do not use if bent, broken
or cracked components are noted.
OPERATION
Lifting
1. Assemble handle, ensure that spring clips align with
slots.
2.Secure the load topreventinadvertentshifting and
movement.
3. Place vehicle in park or if manually equipped, in gear.
4. Position the jack near desired lift point.
5. Close the release valve by turning it clockwise until
it is firmly closed.
Note: Use the handle provided with this product or an
authorizedreplacementhandle to ensure proper
releasevalve operation. Whenusing to lift vehicle, lift
onlyon the manufacturer’srecommended lift points
and in accordance with the published guidelines in
your vehicle owners manual.Always use jack stands
to support the load immediately after lifting.
5.Insert and secure handle into handle sleeve.Pump
handle until saddle contacts load.
6. Raise load to desired height, then immediately
transferthe load to appropriately rated support
devices such as jack stands.
Lowering
1. Raise load enough to carefully remove jack stands.
2.Insert handle ontorelease valve and slowly turn
handle counterclockwise, but no more than 1/2 turn.
3. If load fails to lower:
a. Carefully transfer the load to another lifting
device and jack stands.
b. Carefully remove affected jack, and then the
jack stands. Lower the load, again by slowly
turning the release valve no more than 1/2 turn.
4.After removing jackfrom under theload, push ram
andhandle sleeve downto reduce exposure to rust
andcontamination.
Study, understand, and follow all instructions
providedwith and onthis device beforeuse .
Do not exceed rated capacity.
Useonly on hard, level surfacescapable of
sustaining rated capacity loads.
Liftingdevice only.
Immediatelyafter lifting, support the vehicle with
appropriatelyrated stands
Neverworkon, under or arounda load supported
by this device.
Failure to heed these markings may result in
personalinjury and/or propertydamage.
!WARNING Toavoidcrushingand
relatedinjuries:
NEVER work on,
underorarounda
loadsupported only
by jack. ALWAYS
use adequately rated
jack stands.
!WARNING
! SAFETY MESSAGE !
Be sure all tools and personnel are clear before
lowering load. No alterations shall be made to
this device. Only attachments and/or adapters
supplied by the manufacturer shall be used.
