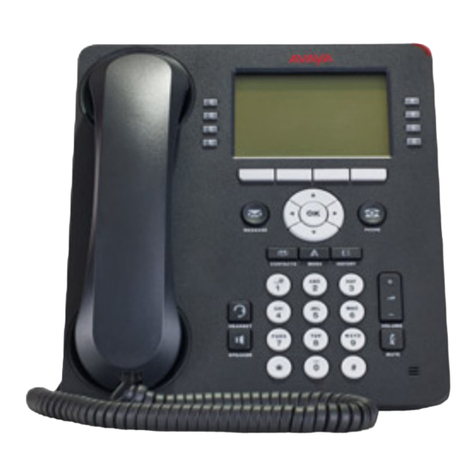
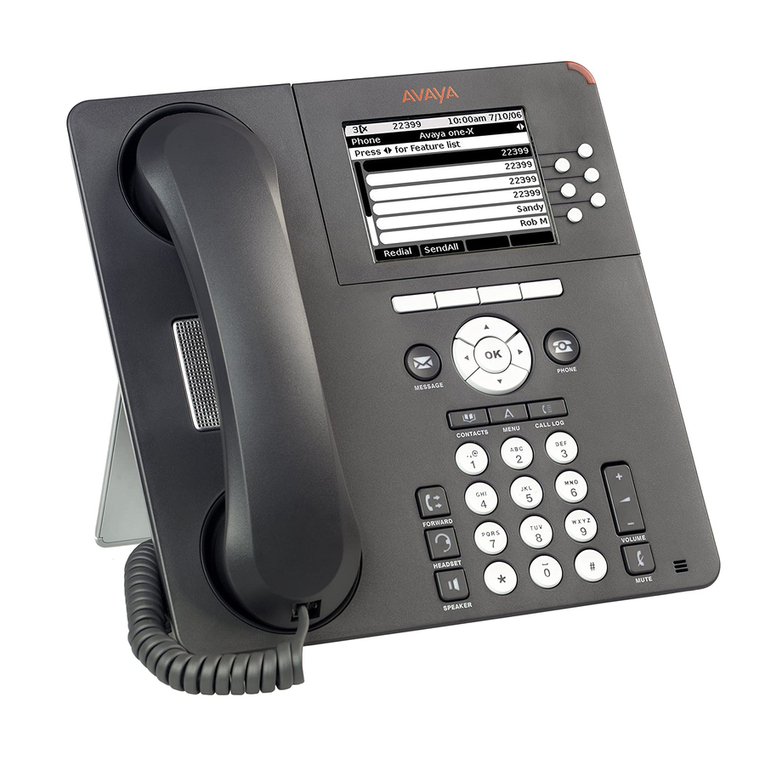
Avaya IP Office 9641 User manual

TELEPHONE & VOICEMAIL
USER GUIDE
9641 HANDSET
Version 2

These icons are displayed on the phone screen:
Ringing indicates an incoming call is arriving on this line.
Active indicates the line is in use.
On Hold/Hold indicates a call is on hold on this line.
Or that this line's call was put on hold pending a conference or a transfer.
Missed Calls precedes the number of missed calls in the call log.
Call Forward is active.
Home Description/Actions
World Clock
(not activated)
•Touch the “World Clock”icon on the screen.
•Use the “Add” button to add the location of the time.
•Using the keypad on the screen, type in the postcode or the name of the
location. If multiple locations are identified, select the location and country
from the list.
•If the time has already been added, press the location and further information
such as date and weather will appear.
•Use the “Back“button to go back to the previous screen.
Weather
(not activated)
•Touch the “Weather” icon on the screen
•Use the “Locations” button on the screen to add the location.
•Using the keypad on the screen, type in the location. If multiple locations are
identified, select the location and country from the list.
•Select “metrics” to display temperature in degree Celsius or “English” to
display temperature in Fahrenheit.
•Weather will display. Press “Refresh” to refresh display.
SETTINGS
•Press “Home” button.
•Touch the screen to select “Settings”.
•Then touch ‘Options and Settings’ and choose your desired option
•Call Settings: Set the redial option; set the phone display screen upon
answering or calling option; set the display of call timers; set visual alerting;
and set the audio path.
•Application Settings: Set call log, personalize button labels
•Screen and Sound Options: Set brightness; set contrast; set personalized
ringing and Show Quick Touch Panel
or reset default
button labels.

Buttons Description/Actions
NAVIGATION
•Touch screen to make your selection.
•Press the’ Home’ button to access Phone Settings and web based icons.
•Press the ‘Phone’ button to view the main Phone screen.
CONTACTS
To Add a Contact:
•Press the “Contacts” button.
•Press the “New” soft key.
•Enter the name and phone
number of the new entry.
•Press the ”Save” soft key
•Press add to favorites if the
contact needs to appear as a
one touch on the Home
screen
To Access:
•Press the “Contacts” button.
•Press the letter or use the up and down
soft arrows to find the contact you wish
to dial, then touch the contact on the
screen to call them.
•
You can save up to 250 names &
numbers.
HISTORY
Your telephone maintains a log of up to 90 calls to/from your phone. Details are
available for up to 30 outgoing, incoming (answered) and missed calls.
•To call a party listed in the Call Log, press the “History”button.
•Touch the screen to select which Log - Missed, Outgoing, Answered
•Touch which party you would like to call.
•Press the “Arrow” soft key to the right of the time/date shown in the Log to
display more details of the party.
•To add a number from the Call Log to your Contacts press ‘+Contacts’
MESSAGE Press the “Message” button to retrieve your voicemail messages.
PHONE Pressing the “Phone” button exits the current call feature or menu and returns to
the call screen. To access the phone feature list, touch ‘Features’ on the screen.
FORWARD Press the “Forward” button to display the forwarding menu for your extension.
HEADSET •To activate, press “Headset” button to use headset (red light is lit)
•To deactivate, press “Headset” button.
SPEAKER If speaking through the handset and you wish to put a call on ‘hands-free’, press
the “Speaker” button and replace handset.
VOLUME Press the volume controls to adjust the volume of the ringer, handset, headset or
speaker.
MUTE Press the “Mute” button to deactivate your phone’s microphone. Red light on
“Mute” indicates that your voice cannot be heard. Press the “Mute” button again to
continue talking.

Soft Keys Description/Steps
REDIAL
•Touch “Redial” soft key (phone can be set to re-dial last number called OR
display list of last 6 numbers dialed).
•If list is displayed, use arrow keys to highlight number and press “OK” key to
call OR touch appropriate line button.
SEND ALL To divert all calls to your cover path (e.g. Voicemail).
•To activate press “Send All” soft key.
•To deactivate press “Send All” soft key.
HOLD •Press the “Hold“soft key. Original held call appearance becomes shaded.
•To retrieve caller, press the”Resume” soft key.
CONFERENCE
(up to 6 parties)
With the first caller on line (incoming or outgoing, internal or external call):
•Press the “Conf” soft key.
The call is placed on hold and next available line appearance is selected.
•Dial the number of next required party (internal or external)
If you dial an incorrect number, touch the “Clear” soft key to clear the dialed
number & give you dial tone again - you can then dial another number.
If answered, touch the “Join” soft key (all 3 parties are connected)
If not answered, press the “Cancel” soft key to return to the original call.
Repeat the above procedure using the “Add” soft key to connect additional
parties (maximum of 6 including you) to the conference.
Once the conference call is in progress, as the initiator, you can press the “Drop”
soft key to disconnect the last party that you added to the conference.
TRANSFER
•Press the “Transfer” soft key, dial the extension number & introduce call.
•Press the “Complete” soft key to complete the transfer.
(if you do not press complete the call will stay on your phone)
If you have made an error dialing the number:
•Press the “Clear” soft key to clear the dialed number & give dial tone again.
You can then dial another number.
If no answer or busy:
•Press “Drop” soft key, you will hear dial tone so that you can dial another
number to transfer to again, or
•Press call appearance to retrieve original caller.
If no answer or busy and you wish to retrieve the call:
•Press the “Cancel” soft key to return to the original call.
DROP Press the “Drop” soft key to disconnect a call and retain the line for further use if
required. The “Drop” soft key is also used to disconnect the last party added to a
conference call if you are the initiator of that conference call.
CLEAR The “Clear” soft key can also be used to clear numbers on initiating a call if
entered incorrectly.
Features Description/Steps
PLACING A
CALL External: Lift handset or press “Speaker” then dial 0followed by the number.
Internal: Lift handset or press “Speaker” then dial the 5 digit extension number.
CALL PICK-UP •Press “Call Pickup” to answer another ringing phone from your pick up
group.
CALL FORWARD
AND
CALL FORWARD
ENHANCED
A diversion for all calls
•To activate, press “CFrwd” button.
to another destination (e.g. another extension).
•Dial number where calls are to be diverted to (remember to include a ‘0’ if it is
an external number) (3 confirmation tones).
•To deactivate, press “CFrwd” button.
•Enhanced call forward allows the user to specify a different destination for
internal and external calls if required. Follow prompts on the screen.
DIRECTORY,
NEXT &
MAKE CALL
To access the internal telephone directory to find names & extension numbers:
•Press the “Directory” button.
•Enter the surname
•Press “Next” to scroll through the matching entries.
using telephone keypad. (not like text messaging)
•Press “Make Call” to call the name shown on the display.
SPEED DIAL Press the “Speed Dial” feature button followed by the 3 digit code to dial
preprogrammed numbers such as mobiles or other offices.
CALL PARK &
RETRIEVE
•To park a call, press the “Call Park” button and HANG UP. The call will then be
parked to the extension number that you used to park the call from.
•To retrieve a parked call Press the “Park Retrieve”
soft key, followed by the
number of the extension where the call was originally parked. The call will then
be delivered to the extension that you are currently on.
Home Options
LOGGING OFF
THE PHONE
EXTENSION
(‘HOME’ button)
•Press “Home” button.
•Use up and down arrow keys
and touch “Log Out”.
•Press “OK” button or “Log
Out” soft key.
•Press “Log Out” soft key to
confirm.
Reinstating the Phone After a Logoff
•Using the dial pad, enter your Extension
number, then press “Enter” soft key.
•Using the dial pad, enter your
Password, then press “Enter” soft key.
(Your password is the same as your
extension number)

Additional Feature Buttons (where programmed)
TEAM BUTTON
The TEAM button has a number of functions:
•Display: Shows when the monitored extension is active on a call.
•Notify/Pickup: The TEAM button will ring when there is an incoming call to
the monitored extension. Pressing the TEAM button once will display the
incoming caller, pressing again will answer the call.
•Call: When the TEAM button is pressed, it acts as a speed dial to call the
extension.
Note: you can change the display name of this button through “Options &
Settings – Application Settings – Personalise button labels”
BUSY
INDICATOR
The “Busy
” button shows when the monitored extension is active on a call.
When the “Busy” button is pressed, it acts as a speed dial to call the extension.
Note: you can change the display name of this button through “Options &
Settings – Application Settings – Personalise button labels”
EXTENSION TO
CELLULAR –
EC500 &
EXTEND CALL
Extension to Cellular (EC500) allows your mobile to function as an extension of
your office phone. When EC500 is active incoming calls will ring on both your
office extension & your mobile phone. To activate EC500:
•Press the “EC500” button.
•Incoming office calls will now ring on both your extension & mobile phone.
•To deactivate, press the “EC500” button.
EC500 enables you to switch calls between your office & mobile phones when
you are in the office. To move an active call from your mobile to your office
phone:
•Press the active line appearance on your office phone.
•As you are now conferenced on the call, hang up on your mobile phone.
To move an active call from your office phone to your mobile phone:
•Press the “Extend Call” button on your office phone.
•When your mobile rings, answer the incoming call.
•As you are now conferenced on the call, hang up your office phone.

AUDIX
Setting up Your Audix Voice Mailbox
ACCESSING
YOUR VOICE
MAILBOX:
•Press the “Message” button on your phone
•When prompted, enter your mailbox (extension) number then press #
[If you’re at your phone you don’t have to enter your mailbox number]
•
When prompted for your password, enter “12121” then press #.
RECORDING
YOUR NAME:
•If you wish you can re-record your name instead of using the system voice.
Choose option 5 from the main menu and option 5 again.
•Follow the prompts to record & save your name recording.
RECORDING
YOUR
PERSONAL
GREETING
•Press 3to “Administer Personal Greetings”
[you will hear that “For all calls the system greeting is active”]
•Press 1to “Create, Change or Delete a Greeting”
•Press 1to select Personal Greeting 1
[you can have up to 9 different greetings recorded]
•Record your message after the tone.
•When you are finished recording, press 1
•Press 2then 3to hear your greeting
[If you wish to re-record your message press *3 to delete then 1to re-record]
•When you are happy with your recording press #to confirm.
•Press 1to “Use this greeting for all calls”
EXITING:
To exit the voicemail system either hang up or press **9.
Retrieving your Voicemail Messages
When someone leaves a message in your voicemail box, the Message Indicator at the top of your telephone handset will light up red to
show that you have voicemail messages waiting …
ACCESSING
YOUR VOICE
MAILBOX:
•Press the “Message” button on your phone or
If you’re out of the office call (07) 4781 5000 from Townsville or
from Cairns call (07) 4042 1400.
•When prompted, enter your mailbox (extension) number then press #
[If you’re at your phone you don’t have to enter your mailbox number]
•
When prompted for your password enter “12121” then press #.
PLAYING
YOUR
MESSAGES:
•Press 2to “Receive Messages”
•You will hear the message header being played – date, time, number,
duration of the message.
•Press 0to listen to the message.
•When finished listening to the message, press *3 to delete the message or
press #to skip to the next message header.
•
When finished listening to all messages, hang up or press **9.
PLAYBACK
CONTROLS:
While playing messages the following controls are available:
Rewind..................... 2 Skip Back ........... 5 Slower.............8
Pause/Resume........ 3 Skip Forward...... 6 Faster .............9
Louder ..................... 4 Quieter................ 7 Replay ............0
Details on all features & functions of your voicemail system can be found on the next page …

Other manuals for IP Office 9641
3
Table of contents
Other Avaya Handset manuals

Avaya
Avaya Integral 3 / 5 FC1 User manual

Avaya
Avaya 9630 Deskphone Edition User manual

Avaya
Avaya 6120 User manual

Avaya
Avaya IP Office D100 User manual

Avaya
Avaya one-X 9611G User manual

Avaya
Avaya IP Office 5420 User manual

Avaya
Avaya FC1 User manual

Avaya
Avaya L100 Series How to use

Avaya
Avaya i2210 User manual

Avaya
Avaya 1616 User manual

Avaya
Avaya 16xx Quick start guide

Avaya
Avaya INDeX 9.2+ 20DT User manual

Avaya
Avaya 3631 User manual

Avaya
Avaya 3735 User manual

Avaya
Avaya D260 Guide

Avaya
Avaya IP Office 20DT User manual

Avaya
Avaya 7406E User manual

Avaya
Avaya 7406E Reference guide

Avaya
Avaya WT9620 User manual

Avaya
Avaya IP Office 20DT User manual