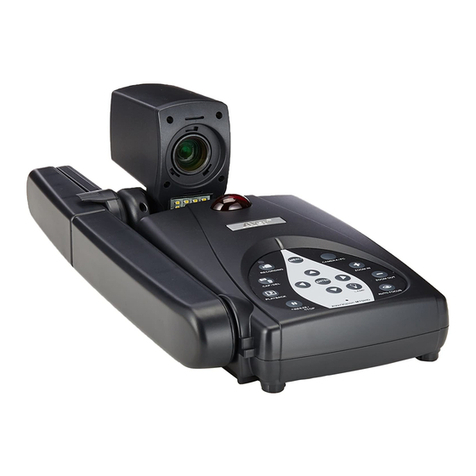
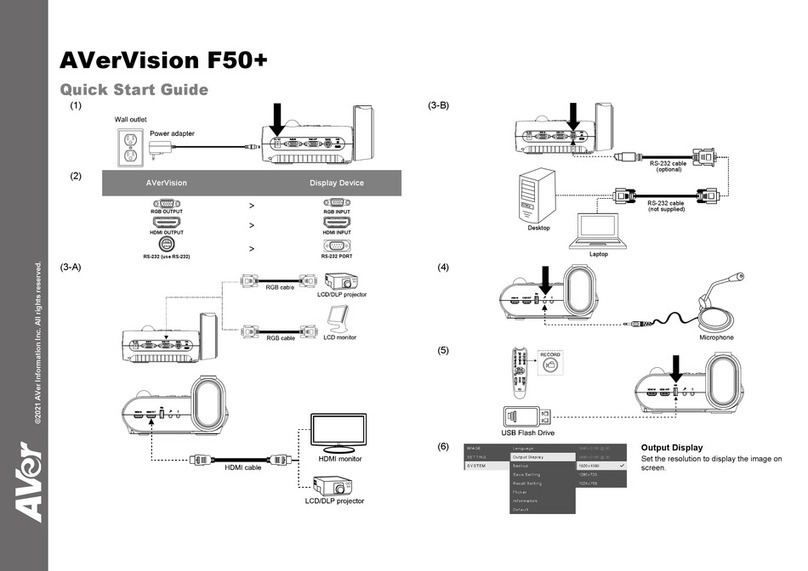
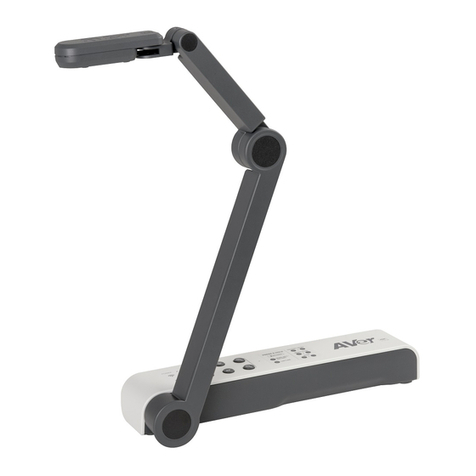
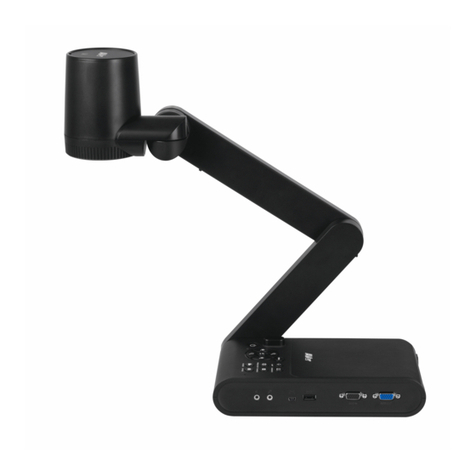
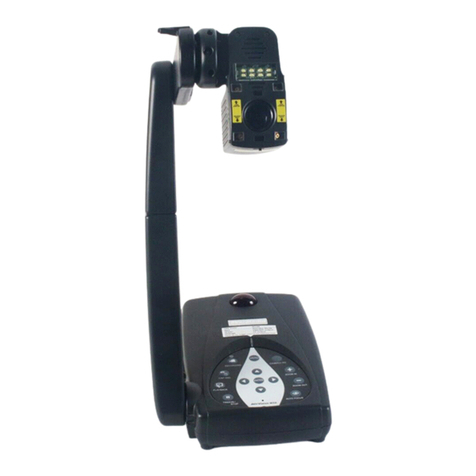
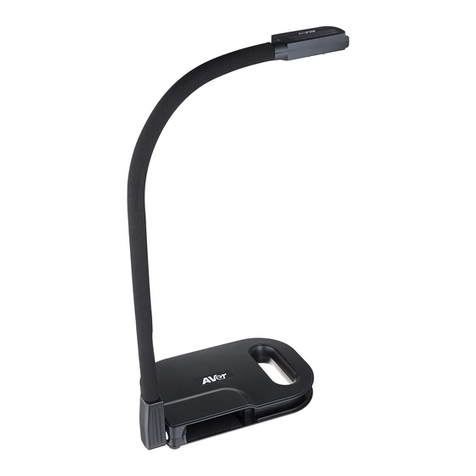
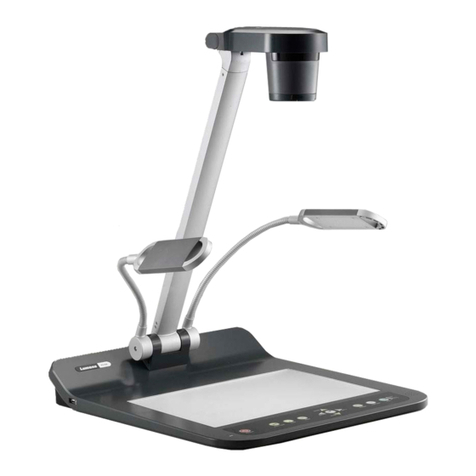
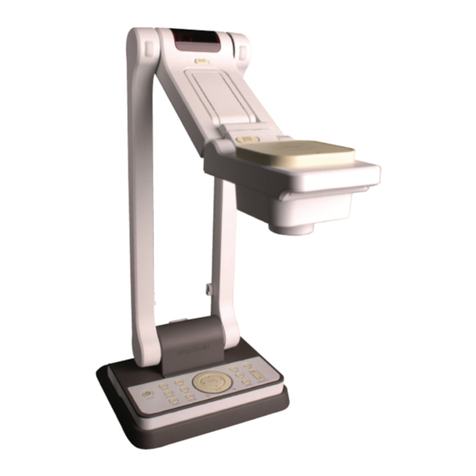
AVer M70W User manual

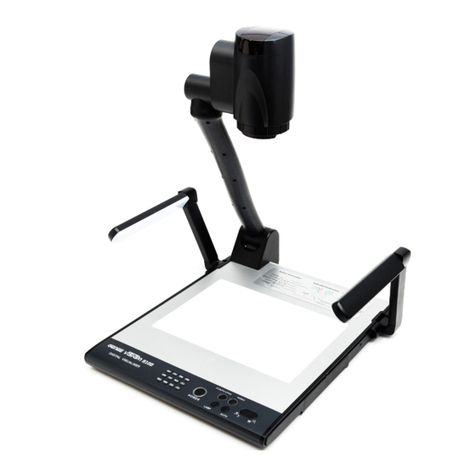
AVerVision M70W
Instruction Manual |使用指南
ユーザーマニュアル| Bedienungsanleitung
Mode d'emploi | Manual de instrucciones

English-1
Package Contents
The items below are included with this product. If any item is missing, contact the dealer from whom
you purchased this product.
M70W unit Remote controller Power Adaptor
Power cord* USB Cable
AAA Batteries Software CD** Quick Guide Warranty card***
*The power cord will vary depending on the standard power outlet of the country where it is sold.
**Only for Japan and Europe
***Only for Europe
Optional Accessories
Carrying Bag
Anti-glare Sheet
Microscope Adapter
( 28mm and 34mm Rubber Coupler are included)
More Help
For FAQs, technical support, software and instruction manual download, please visit:
Global:
http://presentation.aver.com/download-center/

English-2
Overview
1
3
2
45
78
9
6
14 15
1. Camera head 2. LED lighting
3. Arm 4. IR sensor
5. Control panel 6. Handle
7. Built-in MIC 8. Battery Indicator
9. USB mini port 10.USB port
11.Wi-Fi dongle 12.Anti-theft Slot
13.HDMI Input 14.HDMI Output
15.DC power jack
Compound Key
Back to factory default settings.
Press to switch between following modes:
- Auto detects the best resolution(4K, 720P, 1080P)
- 1024x768 (If HDMI device support)
- 4K 60Hz (If HDMI device support)
Press to switch between following modes:
Normal, High frame, High quality, Microscope,
Infinity, Marco

English-3
Remote Controller
1
2
3
4
5
6
7
8
9
10
12
11
14
16
17
21
22
19
20
13
15
18
1
9
21
8,19
2
16
4
12
6
23
21
7
9
15
3
Name Function
1. POWER Turn the unit on/off/standby.
2. WiFi/USB Switch between WiFi and USB mode.
3. CAPTURE Capture still image in Camera mode. In
continuous capture mode, press this button
again to stop.
4. FREEZE Freeze live images.
5. ROTATE Rotate the image by 0/180° in Camera
mode.
6. INFO/ Press to view system information and
battery power status.
7. ▲,▼,◄, & ►Pan and zoom-in image in live streaming.
-
8. AUTO FOC Adjust the focus automatically.
9. ZOOM +/- Increase/decrease the image magnification
in camera mode.
10. ZOOM 1X Reset zoom level to 100%.
11. MUTE Set the volume to mute.
12. CAMERA / PC Switch the video signal between camera
and computer from the HDMI Input port
13. RECORD Start/Stop audio & video recording. Video
recording can only be saved in a USB flash
drive.
14. RESOULTION Press to switch between following modes:
- Auto detects the best resolution(4K,
720P, 1080P)
- 1024x768 (If HDMI device support)
- 4K 60Hz (If HDMI device support)
15. AE LOCK Lock the exposure to stop M70W
attempting to find optimal exposure.
16. LAMP Turn the overhead light on/off.
17. DEL Delete the selected picture/video in
Playback mode.
18. MODE Press to switch between Normal, High
frame, and High quality, Microscope,
Infinity, or Marco mode.
19. Make a selection.
20. VOLUME +/- Adjust the volume.
21. BRIGHTNESS +/- Adjust the brightness.
22. RESET +/- Reset to factory default setting.
23. WiFi indicator WiFi status indicator: Please refer to LED Indicator section.

English-4
LED Indicator
Name Status indicator
Power Solid green: Power on
No light: Power off
Solid red: Standby mode
Battery Solid green(x3): Battery is full(100% ~ 60%)
Solid green(x2): Battery is 60% ~ 30%
Solid green(x1): Battery is 30% ~ 5%
Solid red (x1): Battery is 5% ~ 0%
Flashing red (x1): Battery is out of power
Solid orange(x3): Battery is abnormal
WiFi Solid blue: AP Mode Ready / STA connected
Slow flashing blue: Software connection with camera
Short flashing blue: Create AP mode / STA connecting
Solid green: Miracast mode ready
Slow flashing green: Miracast streaming start
Quick flashing green: Miracast device scan / connecting
[Note]
1. The battery will be exhausted for long-term usage. Do not replace the battery yourself. Please
contact your dealer.
2. To complete turn off the camera,press and hold the power button to turn off.
Power Connection and Charging
Please fully charge the camera for the first use.
When the camera is power on, the camera is in “Standby” mode. In standby mode, it can be
charging through the USB connection from other device; but the power supply is required 5V2A and
the charging time will be longer.
The laptop, projector, or monitor cannot provide the power through the USB connection to the
camera while the camera is operating.
When the camera is charging through the wall outlet, the battery indicator is in green flashing.
Press + when the camera doesn't work properly. The camera back to standby mode.

English-5
Devices Connection
USB Connection
PC
HDMI Input/output Connection

English-6
Wi-Fi Connection
1. Power on the camera.
2. Check the Wi-Fi status – Blue light on.
WI-FI SETUP
1. Download and run the software on your device.
2. The software will auto detect the camera on your network. Select the camera that you want to
connect with it.
[Note] The camera name will be “AVer ‘model name’ - WiFi dongle Mac address”. The Mac address will
be different by the device.
3. Then, follow the on-screen instruction to enable Wi-Fi function on the camera.
4. After enabling the Wi-Fi on the camera, select the to make a connection with the camera.
After connected with the camera, select to switch to camera live screen.

English-7
Miracast Connection
1. Make sure M70W and display device (such as Interactive flat panel) are at same Wi-Fi network and
Wi-Fi is connected.
2. The display device needs to install a commercial Miracast Dongle such as the one from Microsoft
(Wireless Adapter).
3. On M70W, press to enter selection menu. Using and button to go to the
selection and press button to confirm the selection.
4. Please select “Wireless” > “Mode” > “Miracast” to enable Miracast mode.
5. Then, press back to menu and select “Miracast” > display device (The display devices will
be list out).
6. Then, the camera image will display on the display device’s screen.

English-8
Using the Camera
Object Position
The icon on top of camera head can help user to place object in positive direction.
The direction adjust wheel can turn 90° to change the icon in 2 positions (refer to figure).
Shooting Area
When camera position is 470mm high, the shooting area will be A3 size.
470mm
PC

English-9
Storage the Camera
Mounting the Camera on a Flat Surface
[Note] M4 screw x2, depth is5mm
75.00
75
.
00

English-10
Specification
Sensor 1/3.2 CMOS
Pixel Count 13 megapixels
Frame Rate 60 fps (max.)
Image mode Normal / High Frame / High Quality/ Microscope/Infinity/Marco
Effect Rotate / Freeze
HDMI Output 4K; Full HD 1080p 60Hz; HD 720p 60Hz
Focusing Auto / Manual/ Area (SW)
Shooting Area 480mm x345mm @ 470 mm
Zooming Total 33X maximum(10x AVerZOOMTM + 23X Digital zoom)
Dual Mode AP / Station DHCP(Server/Client)
WiFi Streaming 1080P@30fps, up to 4K@30fps
Dual Band 5GHz/2.4GHz
Miracast Yes
Compatibility 802.11a/b/g/n/ac (45 ft effective range)
Wireless Security Support WEP, WPA/WPA2-PSK, WPA/WPA2-Enterprise*
*EAP-PEAP, EAP-TLS
Power Source DC5V/ 2A, AC 100-240V
Consumption 8.7 Watts(lamp on)
7.7 Watts(lamp off)
USB Bus Power Yes(Standby mode only)
Lamp Type LED light
USB USB2.0 Type-A x2 (WiFi Dongle, USB storage)
USB Type mini-B x 1
DC 5V Input Power Jack
MIC Built-in
Operating 587mm(L)*159 mm(W)*546mm(H) (+/-2mm include rubber foot)
Folded 363.5mm(L)*159mm(W)*76.3mm(H)
(+/-2mm include rubber foot)
Weight 2.6 kg (about 5.7lbs)
Software Supported
ePTZ
Image/ Area capture
Picture by Picture
Timer
Cloud library
Recording
Annotation

English-11
WARNING
To reduce the risk of fire or electric shock, do not expose this appliance to rain or moisture.
Warranty will be void if any unauthorized modifications are done to the product.
Do not drop the camera or subject it to physical shock.
Use the correct power supply voltage to avoid the damaging camera.
Do not place the camera where the cord can be stepped on as this may result in fraying or
damage to the lead or the plug.
Hold the bottom of the camera with both
hands to move the camera. Do not grab the
lens or Flexible arm to move the camera.
Do not pull the mechanical arm and camera
part in the opposite direction.
RADIO FREQUENCY
FOR PORTABLE DEVICE USAGE (<20m from body/SAR needed eg. BT dongle, smartphone)
Radiation Exposure Statement:
The product comply with the FCC portable RF exposure limit set forth for an uncontrolled
environment and are safe for intended operation as described in this manual. The further RF
exposure reduction can be achieved if the product can be kept as far as possible from the user
body or set the device to lower output power if such function is available.
FOR MOBILE DEVICE USAGE (>20cm/low power eg. AP routers)
Radiation Exposure Statement:
This equipment complies with FCC radiation exposure limits set forth for an uncontrolled
environment. This equipment should be installed and operated with minimum distance 20cm
between the radiator & your body.
RADIO FREQUENCY
Europe – EU Declaration of Conformity
This device complies with the essential requirements of the Radio Equipment Directive
(2014/53/EU). The following test methods have been applied in order to prove presumption of
conformity with the essential requirements of the Radio Equipment Directive (2014/53/EU)
DISCLAIMER
No warranty or representation, either expressed or implied, is made with respect to the
contents of this documentation, its quality, performance, merchantability, or fitness for a
particular purpose. Information presented in this documentation has been carefully checked for
reliability; however, no responsibility is assumed for inaccuracies. The information contained in
this documentation is subject to change without notice.
In no event will AVer be liable for direct, indirect, special, incidental, or consequential damages
arising out of the use or inability to use this product or documentation, even if advised of the
possibility of such damages.

English-12
FEDERAL COMMUNICATIONS COMMISSION
This device complies with Part 15 of the FCC Rules. Operation is subject to the following two
conditions: (1) This device may not cause harmful interference, and (2) this device must accept
any interference received, including interference that may cause undesired operation.
This equipment has been tested and found to comply with the limits for a Class B digital device,
pursuant to Part 15 of the FCC Rules. These limits are designed to provide reasonable
protection against harmful interference in a residential installation. This equipment generates uses
and can radiate radio frequency energy and, if not installed and used in accordance with the
instructions, may cause harmful interference to radio communications. However, there is no
guarantee that interference will not occur in a particular installation. If this equipment does
cause harmful interference to radio or television reception, which can be determined by turning
the equipment off and on, the user is encouraged to try to correct the interference by one of the
following measures:
- Reorient or relocate the receiving antenna.
- Increase the separation between the equipment and receiver.
- Connect the equipment into an outlet on a circuit different from that to which the receiver is
connected.
- Consult the dealer or an experienced radio/TV technician for help.
FCC Caution: Any changes or modifications not expressly approved by the party responsible for
compliance could void the user's authority to operate this equipment.
THE MARK OF CROSSED-OUT WHEELED BIN INDICATES THAT THIS PRODUCT
MUST NOT BE DISPOSED OF WITH YOUR OTHER HOUSEHOLD WASTE.
INSTEAD, YOU NEED TO DISPOSE OF THE WASTE EQUIPMENT BY HANDING IT
OVER TO A DESIGNATED COLLECTION POINT FOR THE RECYCLING OF
WASTE ELECTRICAL AND ELECTRONIC EQUIPMENT. FOR MORE
INFORMATION ABOUT WHERE TO DROP OFF YOUR WASTE EQUIPMENT FOR
RECYCLING, PLEASE CONTACT YOUR HOUSEHOLD WASTE DISPOSAL
SERVICE OR THE SHOP WHERE YOU PURCHASED THE PRODUCT.
CAUTION
- Risk of explosion if battery is replaced by an incorrect type.
- Dispose of used batteries in a safe and proper manner.
COPYRIGHT
©2019 AVer Information Inc. All rights reserved.
CONTACT INFORMATION
Headquarter
AVer Information Inc.
www.aver.com
8F, No.157, Da-An Rd., Tucheng Dist.
New Taipei City, Taiwan
Tel: +886-2-2269-8535
European Headquarters
A
Ver Information Inc. Europe B.V.
Westblaak 140, 3012KM, Rotterdam, Netherland
Tel: +31(0)10 7600 550
Technical support: EU.RMA@aver.com

繁體中文-1
包裝內容物
請確定包裝中附有下列項目的物品。如有缺少的項目,請與你的經銷商連絡。
M70W 本機 遙控器 電源變壓器/ 電源插頭* USB 連接線
AAA 電池 軟體光碟** 使用指南 保固卡***
*變壓器類型視販售國家之標準電源插座而異。
**只有日本和歐洲使用
***只有歐洲使用
選購配件
手提袋
防眩光片
顯微鏡轉接器
(含 28mm 聯軸器和 34mm 聯軸器)
複合功能鍵

繁體中文-2
硬體介紹
1
3
2
45
78
9
6
14 15
1. 攝影機頭 2. LED 燈 3. 機械臂
4. 紅外線感應器 5. 控制面板 6. 提把
7. 內建麥克風 8. 電池狀態顯示燈 9. 迷你 USB 埠
10.Wi-Fi 接收器 11. USB 埠 12.防盜插槽
13. HDMI 輸入埠 14. HDMI 輸出埠 15.DC 電源插孔
LED 燈號
名稱 燈號狀態
電源 綠燈恆亮:電源啟動
熄滅:電源關閉
紅燈恆亮:待機模式
Wi-Fi 藍燈恆亮:無線分享器模式或 STA 連接
藍燈閃爍:軟體連接機器(M15W)中
藍燈快閃:建立無線分享器模式或 STA 連接中
綠燈恆亮:Miracast 模式
綠燈閃爍:Miracast 傳輸中
綠燈快閃:Miracast 設備掃瞄或連接中
電池
綠燈恆亮(x3):電力 100% ~ 60%
綠燈恆亮(x2):電力 60% ~ 30%
綠燈恆亮(x1):電力 30% ~ 5%
紅燈恆亮(x2):電力 5% ~ 0%
紅燈閃爍(x1):無電力
橘燈恆亮(x3):電池異常
[註] 1. 當電池使用很久後會衰竭,請勿自行更換電池。請與你的經銷商連絡。
2. 要完全關閉機器,請長按電源鈕。

繁體中文-3
遙控器功能介紹
1
2
3
4
5
6
7
8
9
10
12
11
14
16
17
21
22
19
20
13
15
18
1
9
21
8,19
2
16
4
12
6
23
21
7
9
15
3
名稱 功能
1. 電源 本機開機/待機。
2. WiFi/USB 切換 WiFi 和 USB 模式。
3. CAPTURE 拍攝靜態影像。在連拍模式中,再按一次此
按鍵即可停止拍攝。
4. FREEZE 將正在播放的影像定格。
5. ROTATE 將影像旋轉 0/180°。
6. INFO/ 顯示系統資訊和電池電力狀態。
7. ▲,▼,, & 平移和縮小放大影像。
8. AUTO FOC 自動調整焦距。
9. ZOOM +/- 在攝影機模式中放大/縮小影像。
10. ZOOM 1X 將放大縮小狀態回復到 100%。
11. MUTE 切為靜音狀態。
12. CAMERA / PC 透過 HDMI 輸入埠,可切換影片訊號源自攝
影機或電腦。
13. RECORD 開始/停止錄音和錄影。音檔或影片檔僅可存
至 USB 隨身碟。
14. RESOULTION 可切換下列解析度模式:
- 自動偵測最佳解析度(4K、 720P、
1080P)
- 1024x768 (如果 HDMI 設備有支援)
- 4K 60Hz (如果 HDMI 設備有支援)
15. AE LOCK 鎖定曝光,可停止 M70W 嘗試找到最佳曝
光的動作。
16. LAMP 開啟/關閉頂燈。
17. DEL
在播放模式中永久刪除所選擇的圖片/影像。
18. MODE 可切換模式有一般、運動、高品質、顯微鏡、近拍和遠拍模式。
19. 確認選項。
20. VOLUME +/- 調整音量大小。
21. BRIGHTNESS +/- 調整亮度。
22. RESET +/- 回復到出廠預設值。
23. WiFi 燈號 WiFi 狀態燈號,請參照「LED 燈號」章節。

繁體中文-4
電源連接和充電
首次使用請完全充電後才使用。
當電源啟動後,機器是位於「待機」狀態。在待機狀態,可透過 USB 線與其他可供電設備而不(如:
電腦)充電;但電源需為 5V2V 且充電時間較長。
當機器在運作時(非待機狀態),筆記電腦、投影機或螢幕無法透過 USB 線連接提供電力給機器
當連接到牆上的插座充電時,電池燈號顯示為綠燈閃爍。
當機器無法操作時,按 + 鍵可重啟機器回到待機狀態。
設備連接
USB 介面的連接
PC
HDMI 介面輸入/輸出的連接

繁體中文-5
WiFi 的連接
1. 啟動機器。
2. 確認無線狀態燈號有亮起(藍燈)。
設定 WI-FI
1. 下載並安裝軟體於你的設備上(如:筆記型電腦)。
2. 軟體會自動偵測位於網路上的機器。從偵測到的清單中,選擇要連接的機器。
[註] 機器名稱顯示為「AVer‘型號名稱’ – 無線接收器的 MAC 位址」。MAC 位址會隨機器不同而變
動。
3. 然後依照螢幕顯示的指示來執行無線功能於機器上。
4. 在執行無線功能後,選擇 來與機器進行連接。在連接後,選擇 切換到即時影像和操作
畫面。

繁體中文-6
Miracast 的連接
1. 請確定 M15W 和顯示設備位(如:觸控式螢幕)於同一網域的網段上,請無線是連接狀態。
2. 顯示設備位需要安裝 Miracast 接收器,例如:微軟出的無線接收器。
3. 在 M15W 機器上,按 鈕進入選單。 使用 和 鈕往上往下在選單中移動,
按 鈕可確認選擇的項目。
4. 請選擇「Wireless」 > 「Mode」 > 「Miracast」來啟動 Miracast 模式。
5. 然後按 回到選單,並選擇「Miracast」 > 顯示設備的名稱(所有可連接的顯示名稱會列於此)。
使用 M70W
物體擺放位置
位於鏡頭上方的圖示可幫助使用者在擺放
投射物體的位置為正方位。
可轉動轉輪變動圖示位置,共有兩種方
向,可往左或往右轉動 90 度(請參見右圖)。

繁體中文-7
拍攝範圍
當鏡頭高度位於 470mm 時,此拍攝區域可觀賞
最大範圍在 A3 內。
470mm
PC
收納 M70W
安裝 M70W 於平面上
[註] M4 螺絲 4 顆,深度是 5mm。
75.00
75
.
00
Other manuals for M70W
2
Table of contents
Languages:
Other AVer Document Camera manuals

AVer
AVer AVerVision F17-8M User manual

AVer
AVer AVerVision F50 User manual

AVer
AVer TR311V2 User manual

AVer
AVer AVerVision F50+ User manual

AVer
AVer AVerVision F70W User manual

AVer
AVer M90UHD User manual

AVer
AVer AVerVision F50+ User manual

AVer
AVer Vision F50+ User manual

AVer
AVer AVerVision SPB350+ User manual

AVer
AVer AVerVision F50HD User manual

AVer
AVer AVerVision300AFHD User manual

AVer
AVer M5 User manual

AVer
AVer AVerVision SPB350+ User manual

AVer
AVer W30 User manual

AVer
AVer M70Wv2 User manual

AVer
AVer AVerVision U70+ User manual

AVer
AVer M70Wv2 User manual

AVer
AVer M11-8MV User manual

AVer
AVer M70W User manual

AVer
AVer AVerVision M17-13M User manual