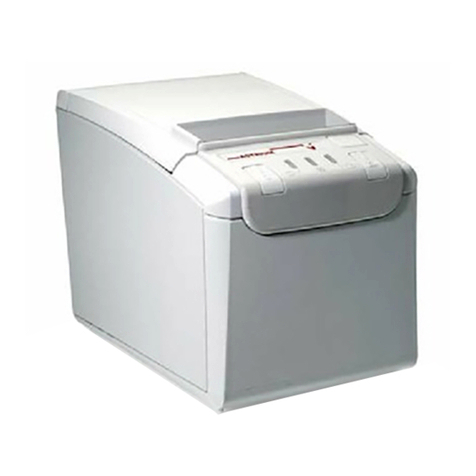
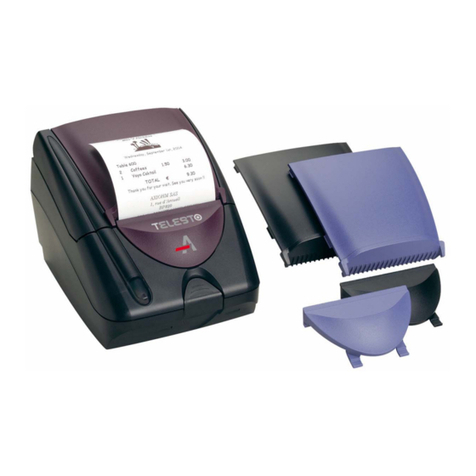
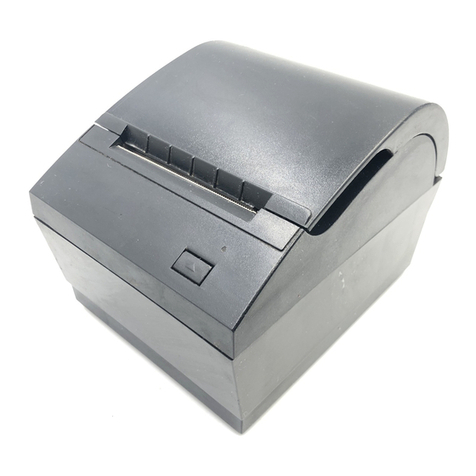
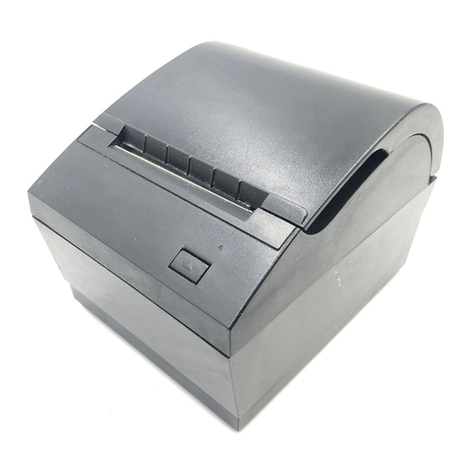
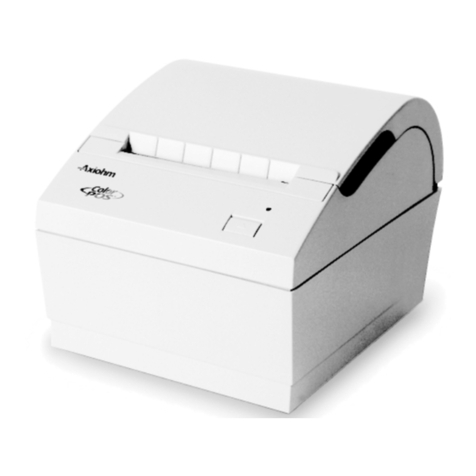
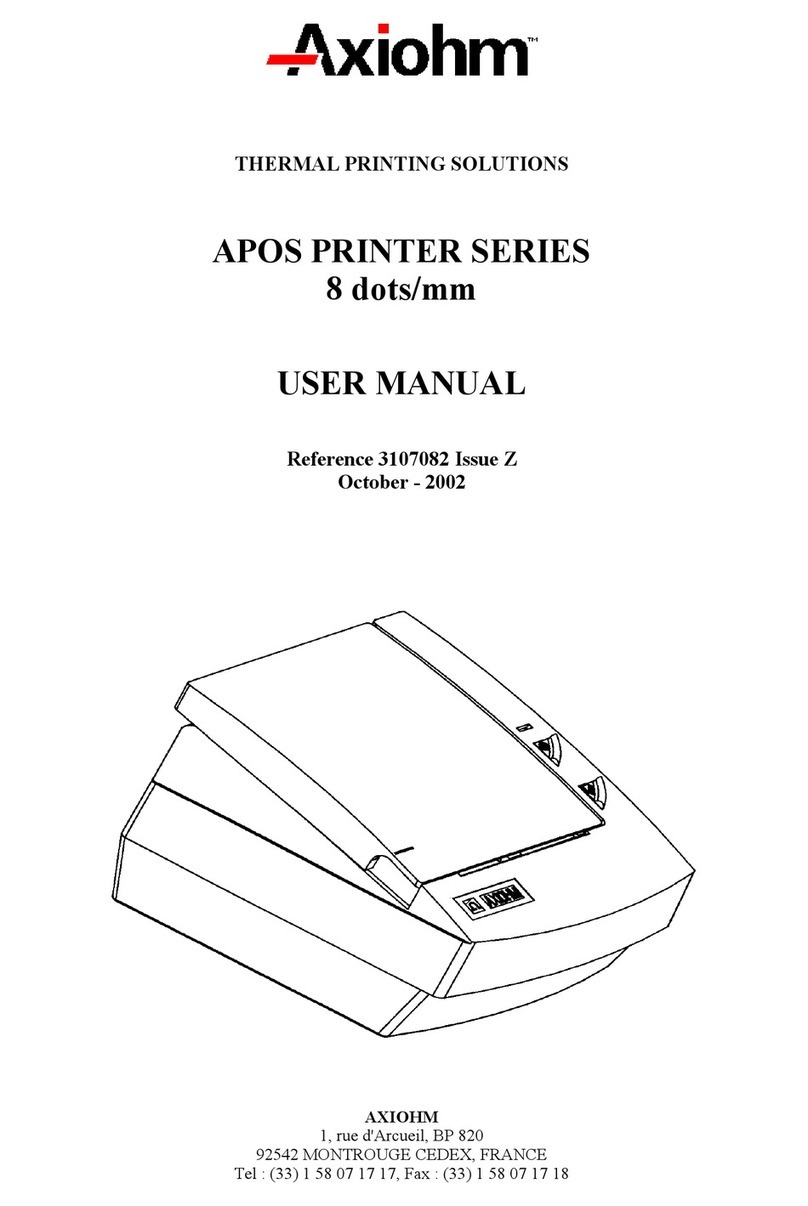
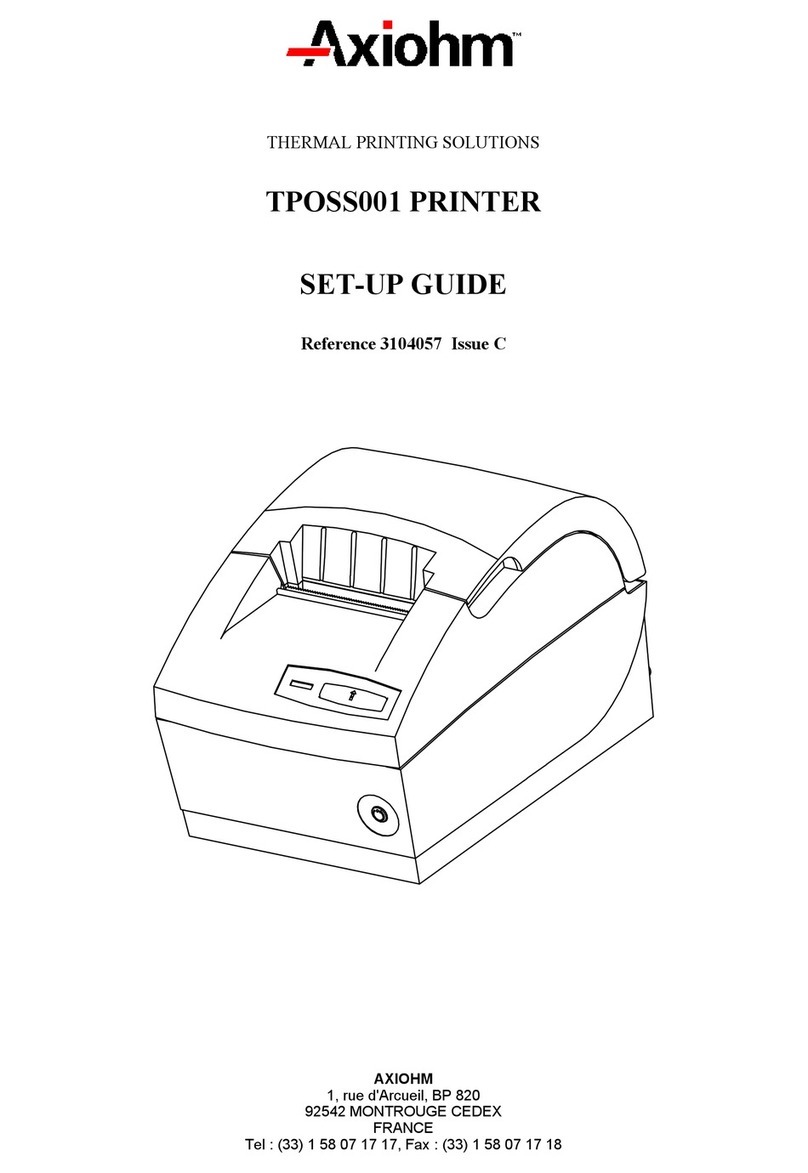
Axiohm TPOS PRINTER SERIES User manual

AXIOHM
10, av Descartes
92350 Le Plessis Robinson
Tel : (33) 1 58 07 17 17 Fax : (33) 1 58 07 17 18
www.axiohm.com
THERMAL PRINTING SOLUTIONS
TPOS PRINTER SERIES
USER MANUAL
Reference: 3107226
Issue B
January 2009

TPOS PRINTER Series User Manual Page 1 /71 Reference: FDE 3107226 Issue B
EVOLUTIONS
Date Issue Modifications
03/2003 Z Creation
04/2003 A Update: addition of power supply chapter
01/2009 B Addition of 2 control codes:
- Generate Pulse for CDKO
- Select or Cancel Unsolicited Status Mode (USM)

TPOS PRINTER Series User Manual Page 2 /71 Reference: FDE 3107226 Issue B
CONTENTS
1YOUR PRINTER ..........................................................................6
1.1
Package....................................................................................................6
1.2
General description.................................................................................6
1.3
Printer location........................................................................................7
2PLUGGING & CONNECTING YOUR PRINTER..........................8
2.1
Connecting the power supply................................................................8
2.2
Connecting the printer............................................................................8
2.3
Connector pin out / features ..................................................................9
2.3.1
Power connector.......................................................................9
2.3.2
Communications interface connectors......................................9
2.3.3
Cash drawer kick-out connector (optional) .............................10
2.3.4
USB connector........................................................................10
2.3.4.1
Capabilities: 10
2.3.4.2
Connector: 10
2.3.4.3
Interface: 11
2.3.4.4
Other information: 11
2.4
General safety specification.................................................................11
3LOADING PAPER...................................................................... 12
4TECHNICAL SPECIFICATIONS................................................13
5ENVIRONMENTAL CONDITIONS.............................................14
6POWER SUPPLY.......................................................................14
7PRINT FEATURES ....................................................................15
7.1
Characters specification.......................................................................15
7.2
Character sets .......................................................................................16
7.2.1
Code Page 858.......................................................................16
7.2.2
Code page 437........................................................................17
8CUTTING FEATURES ...............................................................18
9STANDARD DEFAULT SETTINGS...........................................18
10 DUTY CYCLE.............................................................................18
11 LIST OF CONTROL CODES .....................................................19
12 COMMAND DESCRIPTION.......................................................21

TPOS PRINTER Series User Manual Page 3 /71 Reference: FDE 3107226 Issue B
12.1
Command conventions ........................................................................21
12.2
Reset commands...................................................................................22
12.2.1
Initialize Printer........................................................................22
12.2.2
Reset Firmware.......................................................................22
12.3
Paper cut commands............................................................................23
12.3.1
Perform Full Knife Cut.............................................................23
12.3.2
Perform Partial Knife Cut........................................................23
12.3.3
Set Partial Cut Distance..........................................................23
12.3.4
Select Cut Mode and Cut Paper.............................................24
12.4
Vertical positioning and print commands ..........................................25
12.4.1
Print and Feed One Line.........................................................25
12.4.2
Activate Carriage Return.........................................................25
12.4.3
Feed n Print Lines...................................................................25
12.4.4
Feed nDot Rows ....................................................................26
12.4.5
Set Line Spacing to 1/6 Inch...................................................26
12.4.6
Set Line Spacing.....................................................................26
12.4.7
Print and Feed Paper..............................................................27
12.4.8
Print and Feed nLines............................................................27
12.5
Horizontal positioning commands ......................................................28
12.5.1
Horizontal Tab.........................................................................28
12.5.2
Set Right-Side Character Spacing..........................................28
12.5.3
Set Absolute Starting Position.................................................29
12.5.4
Set Horizontal Tab Positions...................................................30
12.5.5
Set Relative Print Position.......................................................31
12.5.6
Select Justification ..................................................................32
12.5.7
Set Left Margin........................................................................32
12.5.8
Set Printing Area Width...........................................................33
12.6
Print characteristics commands..........................................................34
12.6.1
Select Print Mode....................................................................34
12.6.2
Select or Cancel Underline Mode ...........................................35
12.6.3
Select Or Cancel White/Black Reverse Print Mode................35
12.7
Font commands.....................................................................................36
12.7.1
Select International Character Set..........................................36
12.8
Graphics commands.............................................................................37
12.8.1
Print Raster Graphics..............................................................37
12.9
Logo commands....................................................................................37
12.9.1
Select the Current Logo..........................................................37
12.9.2
Define Downloaded Bit Image.................................................38
12.9.3
Print Downloaded Bit Image....................................................39
12.9.4
Return Logo Checksum..........................................................39

TPOS PRINTER Series User Manual Page 4 /71 Reference: FDE 3107226 Issue B
12.10
Printer status commands.....................................................................40
12.10.1
Transmit Paper Sensor Status................................................40
12.10.2
Transmit Printer ID..................................................................41
12.10.3
Transmit Printer ID, Remote Diagnostics Extension...............42
12.10.4
Transmit Status.......................................................................43
12.10.5
Send Printer Software Version................................................43
12.10.6
Return SRAM Size..................................................................44
12.10.7
Transmit Selected A/D Channel..............................................44
12.11
Real time commands ............................................................................45
12.11.1
Rules for Using Real Time Commands ..................................45
12.11.2
Moving Data Through the Buffer.............................................46
12.11.3
Busy Line and Fault Conditions ..............................................46
12.11.4
Real Time Recovery from Fault..............................................47
12.11.5
Real Time Status Transmission..............................................48
12.12
Bar code commands.............................................................................51
12.12.1
Select Printing Position of HRI Characters.............................51
12.12.2
Select Pitch of HRI Characters ...............................................51
12.12.3
Select Bar Code Height...........................................................52
12.12.4
Select Bar Code Width............................................................52
12.12.5
Print Bar Code.........................................................................53
12.13
Flash firmware download commands.................................................55
12.13.1
Firmware Download Sequence...............................................55
12.13.2
Commands..............................................................................56
12.13.2.1
Switch to Flash Download Mode 56
12.13.2.2
Request Flash Memory Size 56
12.13.2.3
Select Flash Memory Sector to Download 57
12.13.2.4
Get Flash Firmware CRC Status 57
12.13.2.5
Return Boot Sector CRC 57
12.13.2.6
Erase All Flash Contents Except Boot Sector 58
12.13.2.7
Return Main Program Flash CRC 58
12.13.2.8
Erase Selected Flash Sector 58
12.13.2.9
Download to Active Flash Sector 59
12.13.2.10
Erase Boot Sector + Download New Boot Code 60
12.14
User flash memory commands............................................................61
12.14.1
Erase User Flash Sector.........................................................61
12.14.2
Return User Flash Memory Allocation Status.........................61
12.15
Peripheral control commands..............................................................62
12.15.1
Set Communication Interface Parameters..............................62
12.15.2
Set Knife Option......................................................................63
12.15.3
Set Print Density .....................................................................64
12.15.4
SeLECT OR CANCEL UNSOLICITED STATUS MODE........64
12.15.5
Reset EEPROM......................................................................65
TPOS PRINTER Series User Manual Page 5 /71 Reference: FDE 3107226 Issue B
12.15.6
Print Test Form .......................................................................66
12.15.7
GENERATE PULSE FOR CDKO ...........................................66
13 TROUBLESHOOTING...............................................................67
13.1
Light indicator .......................................................................................67
13.2
Problems & Solutions...........................................................................67
13.2.1
Printer Problems .....................................................................67
13.2.2
Printer LED Diagnostic............................................................68
13.2.3
Printing Problems....................................................................69
13.2.4
Auto Cutting Problems............................................................70
14 CLEANING YOUR PRINTER.....................................................70
15 SPARES ...................................................................................71

TPOS PRINTER Series User Manual Page 6 /71 Reference: FDE 3107226 Issue B
1 YOUR PRINTER
1.1 Package
The packing box contains:
Printer
Power supply (optional)
Power cable to be set between power supply and power network (optional)
Set Up Guide
1.2 General description
The TPOS is a complete printer designed with the clamshell easy paper loading system.
Light indicator
Tear bar
Opening cover Finger recesses to
open cover
Paper feed button
Reset button
Access to manual
operation of blade
(optional)
Note 1: when resetting the printer, every running operation is stopped and all information sent
before resetting are lost.
Note 2: to print a self-test ticket, activate both ON and paper feed buttons according to the
following instructions:
Switch the power OFF.
Activate the paper feed button while turning the power ON.
Release the ON/OFF button keeping the paper feed button pushed.
Release the paper feed button as soon as the printer starts to print the self-test ticket.

TPOS PRINTER Series User Manual Page 7 /71 Reference: FDE 3107226 Issue B
1.3 Printer location
This printer can be used either horizontally or wall mounted (fixing holes on printer bottom for 3
mm screws, not included).
The external dimensions (W×L×H) are: 121×185×125 mm (with cover closed).
The printer should be set on a stable holder in a place where the following conditions are
achieved:
temperature from 0 to 50°C for operating (-40 to + 70 for storage).
no risk of water exposure.
no mechanical vibration or stress.
Wall mounting diagram:

TPOS PRINTER Series User Manual Page 8 /71 Reference: FDE 3107226 Issue B
2 PLUGGING & CONNECTING YOUR PRINTER
2.1 Connecting the power supply
To
the
printer
To the power
network
The cable to connect the printer to the power network is included in the package.
2.2 Connecting the printer
Connections have to be set at the rear of printer: open the rear-door and set the power supply
and interface cables as shown on the following drawing.
Note
: All connectors should be SELV types in order to safety standards (Safety extra low
voltage).
USB LED
USB Connector
RS232
Connector
Power Supply
cable connector
Cash drawer
"Cash drawer
kick out" label

TPOS PRINTER Series User Manual Page 9 /71 Reference: FDE 3107226 Issue B
2.3 Connector pin out / features
To reduce the electromagnetic emissions and susceptibility, all cables should be shielded. If you
are not using cables supplied by Axiohm for this purpose, make sure that your cables match the
printer and are rated at the appropriate voltage and current capacities.
*Use of an inappropriate cable may seriously damage your printer!
2.3.1 Power connector
The connector is a shielded 3-pin
female mini-Din plug.
3 Not Used
1
GND
F
u
n
c
t
i
o
n
P
i
n
N
u
m
b
e
r
s
F
u
n
c
t
i
o
n
+ 24V
2
S
hell - Shield
2.3.2 Communications interface connectors
RS232 interface uses 9-pin D-type male connectors.
RS232 Connector
Cable for DTR/DSR protocol
male DB9 connector
1:
2:
3:
4:
5:
6:
7:
8:
9:
:1
:2
:3
:4
:5
:6
:7
:8
:9
N/C
RXD
TXD
DTR
GND
DSR
RTS
CTS
N/C
N/C
RXD
TXD
DTR
GND
DSR
RTS
CTS
N/C
male DB9 connector
1 2 3 4 5
6789
CONNECTOR VIEW
Note
: RTS/CTS should be tied together if using DOS print commands on a PC station.

TPOS PRINTER Series User Manual Page 10 /71 Reference: FDE 3107226 Issue B
2.3.3 Cash drawer kick-out connector (optional)
The following illustration shows the pinouts for the cash drawer connector on the printer.
The connector used to open a cash drawer and monitor, whether the drawer is opened or
closed, is a 6-pin modular RJ11 connector.
CDKO drive signal: 24V / 1A maximum
Important
: The minimum resistance of the solenoid recommended = 24 Ω.
tON
CDKO duty:
tON + tOFF 0.2
Maximum tOFF = 510 ms
Do not connect telecommunication network to the drawer kick out connector.
2.3.4 USB connector
The connector is located at the rear of the printer, and is of B-type.
The maximum recommended cable length is 3 meters.
Refer to USB specification rev 1.1, chapter 6, for more information.
USB PARAMETERS
Axiohm’s implementation of USB complies with “Universal Serial Bus Specification” revision 1.1.
2.3.4.1 Capabilities:
TPOS is only a device, and doesn’t provide hub capabilities.
Full speed communications (12Mbits/sec) are supported.
2.3.4.2 Connector:
The connector is located at the rear of the printer, and is of B-type
Refer to USB specification rev 1.1 chapter 6 for more information.
P
in 1 Pin 6
Pin Number Cash Drawer Connector
1 Switch (-ve)
2 Drawer 2 Solenoid
3 +24 Volts (to Solenoid +ve)
4 Status Switch +
5 Drawer 1 Solenoid (common with drawer2)
6
Frame Ground

TPOS PRINTER Series User Manual Page 11 /71 Reference: FDE 3107226 Issue B
2.3.4.3 Interface:
The data is exchanged between host and printer via four endpoints:
1) Endpoint 0x00: CONTROL
Default endpoint
2) Endpoint 0x02: BULK
OUT
For transmission of all printable data and commands from host to printer
3) Endpoint 0x82: BULK
IN
For return of all synchronous data, status or other types of information except unsolicited status
mode messages, from printer to host
4) Endpoint 0x01: INTERRUPT
OUT
For transmission of real time commands from host to printer.
2.3.4.4 Other information:
Vendor Id
Axiohm USB Vendor Id = 0x05D9
Product Id
TPOS Product Id = 0xA000
2.4 General safety specification
All communication connectors should be SELV connectors in order to meet safety standards.
Use of an inappropriate cable or power supply may seriously damage your printer and affect
safety standards of the printer. The power supply main connector should be easily accessed to
enable power disconnection.
The power supply cable is a disconnect device.
Power supply input requirements: 110/240 VAC, 50/60 Hz.
Operating temperature: 0 to 50°C.

TPOS PRINTER Series User Manual Page 12 /71 Reference: FDE 3107226 Issue B
3 LOADING PAPER
The Clamshell design allows easy paper loading.
To load paper
:
Open the cover using finger recesses.
Set the paper roll as indicated on the inside of
the cover (see drawing).
Close the cover leaving a small length of paper out.
Cut the small length left with the tear bar.
Your paper roll is set.
Notes
:
The paper used should be recommended by AXIOHM.
The paper width must be 58
0/-0.3
mm.
The maximum paper roll diameter is 90 mm.
Warning
: If the paper width should be less than 57.7 mm, it is recommended to check that the
printing is centered according to the paper.
The paper must not be attached to the paper roll spindle.
Roll setting
indications

TPOS PRINTER Series User Manual Page 13 /71 Reference: FDE 3107226 Issue B
4 TECHNICAL SPECIFICATIONS
ITEM VALUE UNITS
Printing method Static thermal dot line printing -
Paper loading Clamshell -
Number of resistor dots 448 -
Resolution 8 dots/mm
Printing width 56 mm
Printing speed*
100
mm/s
Paper width 58 mm
Paper roll diameter 90 max mm
Data Buffer 1k bytes
Head temperature detection By Thermistor -
Paper empty detection Opto-sensor -
Printer voltage range 24 +/- 10% V DC
Current consumption 24V, 2A from power supply
Power supply 110-220 V AC / 24 V DC
50-60 V
Hz
1
Maximum duty cycle (to prevent
the motor temperature from
rising) (Max 2 sec “On”)
30 at 25°C room temperature
20 at 50°C %
Storage range (except for paper) -40 / +70 °C
Operating range 0 to 50 °C
Electrical life time 10 ×10
8
pulses
Mechanical life time (abrasion) 100 Km
Cutter life time 1000000 cuts
Over all
dimensions: Width 121 mm
Depth 180 mm
Height 124 mm
Weight (without paper roll) 600 g
Recommended paper KANZAN KP 440 -
Maximum paper
thickness: tearbar
80 µ
cutter 65 µ
Interface Cash drawer / RS 232 C / USB
1.1 RJ11 / DB 9 / USB type
B
Certification: EMI CE Class A, FCC Class A. -
Safety UL 60950 -
* Speed will depend on the paper type, %of dots on, power supply available, and temperature
1
.

TPOS PRINTER Series User Manual Page 14 /71 Reference: FDE 3107226 Issue B
5 ENVIRONMENTAL CONDITIONS
0
10
20
30
40
50
60
70
80
90
100
0 10 20 30 40 50 60
temperature°C
relative humidity %hr
PRINTER OPERATING RANGE
6 POWER SUPPLY
Input power printer : DC 24V
Minimum power recommended : DC 24V 2.5A/60W
Axiohm cannot guarantee the correct operation of the printer if another power supply is used
other than an Axiohm power supply.

TPOS PRINTER Series User Manual Page 15 /71 Reference: FDE 3107226 Issue B
7 PRINT FEATURES
7.1 Characters specification
Cell size: 16 x 24 (default)
12 x 24
Characters per
line: 37 columns / 28
columns
Print width:
Print zone for 56 mm paper:
448 dots (addressable) @ 8 dots/mm, centered on 58 mm.
Standard mode: minimum margins 1.0 mm (0.040 inches).
Top margin to manual knife cut: 21 mm
Paper Width = 56 mm
Printable Zone, 448 dots = 56 mm
Nominal Margins (2) = 1.0 mm
Top Margin 21 mm
ABCDE……………………….……… ……....…………67890
ABCDE……………………………… …….. ..…………67890
1 mm 1 mm
56 mm

TPOS PRINTER Series User Manual Page 16 /71 Reference: FDE 3107226 Issue B
7.2 Character sets
7.2.1 Code Page 858
Note
: This code page is not available with all models.

TPOS PRINTER Series User Manual Page 17 /71 Reference: FDE 3107226 Issue B
7.2.2 Code page 437
Note
: This code page is not available with all models.

TPOS PRINTER Series User Manual Page 18 /71 Reference: FDE 3107226 Issue B
8 CUTTING FEATURES
The printer is equipped with a high performance guillotine cutter that can provide total and partial
cuts by software command.
The partial cut leaves a 2 mm center tab.
9 STANDARD DEFAULT SETTINGS
Print density: 100%
Pre heating: Off
Baud rate: 115200
Parity: None
Flow control: Dtr/Dsr
Reception error: Ignore
10 DUTY CYCLE
25°C Duty cycle is 30%
50°C Duty cycle is 20%

TPOS PRINTER Series User Manual Page 19 /71 Reference: FDE 3107226 Issue B
11 LIST OF CONTROL CODES
Code (Hexadecimal) Command Page
09 Horizontal Tab 28
0A Print and Feed One Line 25
0D Activate Carriage Return 25
10 04 nReal Time Status Transmission 48
10 05 nReal Time Recovery from Fault 47
11 n1...nl Print Raster Graphics 37
14 n Feed nPrint Lines 25
15 n Feed n Dot Rows 26
1B 20 n Set Right-Side Character Spacing 28
1B 21 n Select Print Mode 34
1B 24 n1 n2 Set Absolute Starting Position 29
1B 2D n Select or Cancel Underline Mode 35
1B 32 Set Line Spacing to 1/6 Inch 26
1B 33 n Set Line Spacing 26
1B 40 Initialize Printer 22
1B 44 [n]...kNUL Set Horizontal Tab Positions 30
1B 4A nPrint and Feed Paper 27
1B 52 n Select International Character Set 36
1B 5B 7D Switch to Flash Download Mode 56
1B 5C n1 n2 Set Relative Print Position 31
1B 61 n Select Justification 32
1B 64 n Print and Feed n Lines 27
1B 69 Perform Full Knife Cut 23
1B 6D Perform Partial Knife Cut 23
1B 70 m nl n2 Generate pulse for CDKO 66
1B 76 Transmit Paper Sensor Status 40
1D 01 Request Flash Memory Size 56
1D 02 nn Select Flash Memory Sector to Download 57
1D 06 Get Flash Firmware CRC Status 57
1D 07 Return Boot Sector CRC 57
1D 08 Return SRAM Size 44
1D 0E Erase All Flash Contents Except Boot Sector 58
1D 0F Return Main Program Flash CRC 58
Table of contents
Other Axiohm Printer manuals

Axiohm
Axiohm PCPR Printer User manual

Axiohm
Axiohm 7193 User manual

Axiohm
Axiohm A795 User manual

Axiohm
Axiohm A758 User manual

Axiohm
Axiohm A795 User manual

Axiohm
Axiohm APM-90 User manual

Axiohm
Axiohm A714 User manual

Axiohm
Axiohm TELESTO User manual

Axiohm
Axiohm A794 User manual

Axiohm
Axiohm CMBC-XMBC User manual

Axiohm
Axiohm 24V User manual

Axiohm
Axiohm A220 User manual

Axiohm
Axiohm THTN Series User manual

Axiohm
Axiohm TPOSS001 User manual

Axiohm
Axiohm A758 User manual

Axiohm
Axiohm SKGG5xxx Series User manual

Axiohm
Axiohm A794 User manual

Axiohm
Axiohm 7156 User manual

Axiohm
Axiohm A794 User manual

Axiohm
Axiohm Astrium User manual