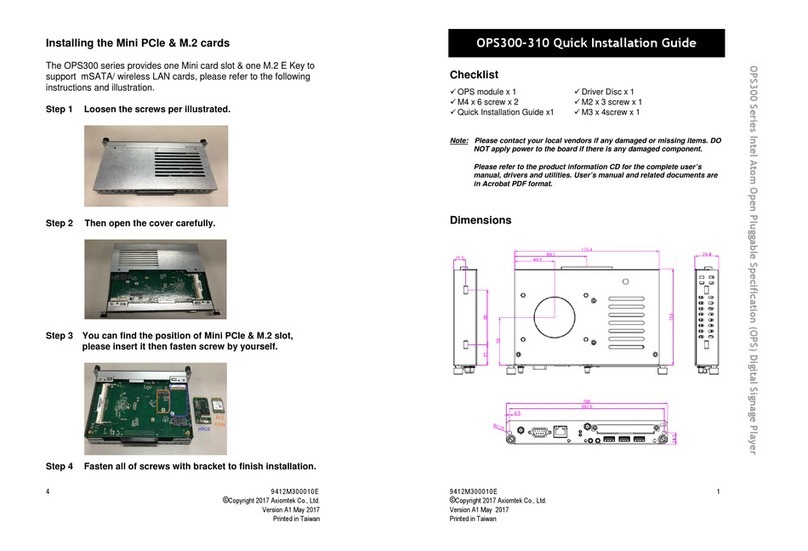
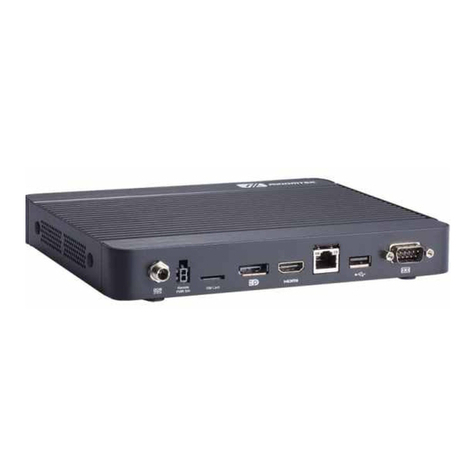
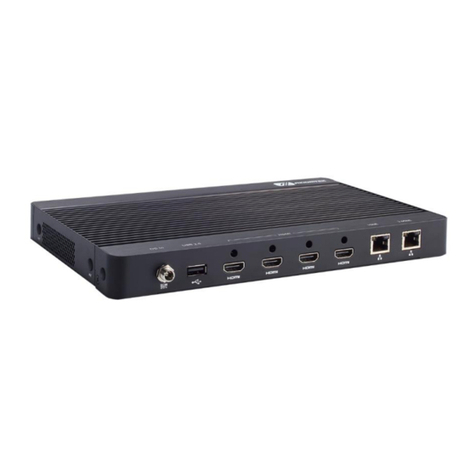
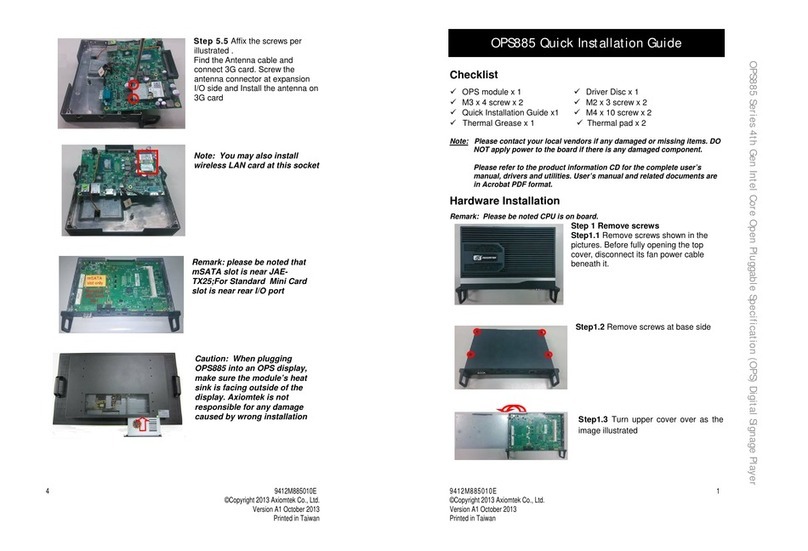
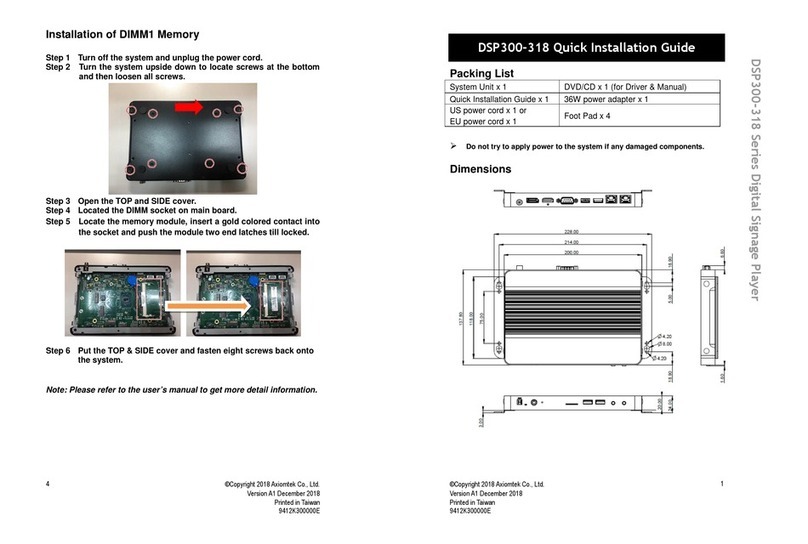
AXIOMTEK OPS500-520-H Series User manual

OPS500-520-H Series
Intel Open Pluggable Specification Box
User’s Manual

ii
Disclaimers
This manual has been carefully checked and believed to contain accurate information.
Axiomtek Co., Ltd. assumes no responsibility for any infringements of patents or any third
party’s rights, and any liability arising from such use.
Axiomtek does not warrant or assume any legal liability or responsibility for the accuracy,
completeness or usefulness of any information in this document. Axiomtek does not make
any commitment to update the information in this manual.
Axiomtek reserves the right to change or revise this document and/or product at any time
without notice
No part of this document may be reproduced, stored in a retrieval system, or transmitted, in
any form or by any means, electronic, mechanical, photocopying, recording, or otherwise,
without the prior written permission of Axiomtek Co., Ltd.
Copyright 2019 Axiomtek Co., Ltd.
All Rights Reserved
March 2019, Version A2
Printed in Taiwan

iii
Safety Approvals
CE Marking
FCC Class A
FCC Compliance
This equipment has been tested in compliance with the limits for a Class A digital device,
pursuant to Part 15 of the FCC Rules. These limits are mean to provide reasonable protection
against harmful interference in a residential installation. If not installed and used in
accordance with proper instructions, this equipment might generate or radiate radio frequency
energy and cause harmful interference to radio communications. However, there is no
guarantee that interference will not occur in a particular installation. If this equipment does
cause harmful interference to radio or television reception, which can be determined by
turning the equipment off and on, the user is encouraged to try to correct the interference by
one or more of the following methods:
A. Increase the separation between the equipment and receiver.
B. Connect the equipment to another outlet of a circuit that does not connect with the
receiver.
C. Consult the dealer or an experienced radio/TV technician for help.
Shielded interface cables must be used in order to comply with the emission limits.

iv
Safety Precautions
Before getting started, please read the following important safety precautions.
1. The OPS500-520-H Series does not come equipped with an operating system.
An operating system must be loaded first before installing any software into the
computer.
2. Be sure to ground yourself to prevent static charge when installing the internal
components. Use a grounding wrist strap and place all electronic components
in any static-shielded devices. Most electronic components are sensitive to
static electrical charge.
3. Disconnect the power cord from the OPS500-520-H Series before any
installation. Be sure both the system and external devices turned OFF already.
Make sure the OPS500-520-H Series set to ground properly.
4. The brightness of the flat panel display will be getting weaker as frequently
used. However, the operating period varies depending on the application
environment.
5. The flat panel display is not susceptible to shock or vibration. When assembling
the OPS500-520-H Series, make sure toinstall it securely.
6. Do not leave this equipment in an uncontrolled environment where the storage
temperature is below 0℃or above 45℃. It may damage the equipment.
7. External equipment intended for connection to signal input/out or other
connectors shall comply with relevant UL/IEC standard.
8. Do not open the back cover of the system. If opening the cover for
maintenance is necessary, only allow technicians to implement it. Integrated
circuits on computer boards are sensitive to static electricity. To avoid
damaging chips from electrostatic discharge, observe the following precautions:
9. Before handling a board or integrated circuit, touch an unpainted portion of the
system unit chassis for a few seconds. This will help to discharge any static
electricity on your body.
10. Please wear a wrist-grounding strap if you handling boards and eletronic
components.
Trademarks Acknowledgments
Axiomtek is a trademark of Axiomtek Co., Ltd.
IBM, PC/AT, PS/2, VGA are trademarks of International
Business Machines Corporation.
Intel®and Atom™ are registered trademarks of Intel Corporation.
MS-DOS, Microsoft C and Quick BASIC are trademarks of Microsoft Corporation.
VIA is a trademark of VIA Technologies, Inc.
SST is a trademark of Silicon Storage Technology, Inc.
UMC is a trademark of United Microelectronics Corporation. Other brand names and
trademarks are the properties and registered brands of their respective owners.
v
Table of Contents
Disclaimers............................................................................................................. ii
Safety Approvals...................................................................................................iii
Safety Precautions................................................................................................ iv
CHAPTER 1 INTRODUCTION................................................................................1
1.1 General Description........................................................................... 1
1.2 System Specifications.......................................................................2
1.2.1 Main CPU Board...............................................................................................2
1.2.2 I/O System ........................................................................................................2
1.3 Mechanical Assembly........................................................................4
1.3.1 Dimensions.......................................................................................................4
1.3.2 I/O outlet ...........................................................................................................5
1.3.3 Mechanical Specifications..............................................................................5
1.3.4 Reference Design ..........................................................................................11
1.4 Package List.....................................................................................12
CHAPTER 2 HARDWARE INSTALLATION.......................................................13
2.1 DRAM, Storage, Wireless module Installations .............................13
2.1.1 DDR4 SO-DIMM DRAM Installation (SO-DIMM1).........................................13
2.1.2 DDR4 SO-DIMM DRAM Installation (SO-DIMM 2)........................................14
2.1.3M.2 SSD Installation........................................................................................16
2.1.4Wireless Module (M.2 Key E Card) ................................................................17
2.2 Pluggble Module Method................................................................. 19
CHAPTER 3 CONNECTORS ................................................................................21
3.1 Connectors....................................................................................... 21
3.1.1 JAE TX25A Connector (CN1)........................................................................24

vi
3.1.2CPU FAN Connector (CN3)...........................................................................25
3.1.3M.2 2230 Key E Wi-Fi & Bluetooth (CN4).....................................................25
3.1.4USB 2.0 Port (CN5) ........................................................................................26
3.1.5USB 3.1 Port (Gen1) (CN6)............................................................................26
3.1.6Power & Reset Button (CN7) ........................................................................27
3.1.7HDMI Connector (CN9)..................................................................................27
3.1.8Battery 2 PIN (BAT1)......................................................................................27
3.1.9M.2 2280 Key M SSD (SCN1).........................................................................28
3.1.10COM Port (COM2)..........................................................................................29
3.1.11RJ45 (i219LM) (LAN1)....................................................................................29
3.1.12DC Power Jack (PWR1).................................................................................29
3.1.13SW1 Setting....................................................................................................30
CHAPTER 4 AMI BIOS SETUP UTILITY............................................................31
4.1 Starting............................................................................................. 31
4.2 Navigation Keys............................................................................... 31
4.3Main Menu ........................................................................................ 32
4.4Advanced Menu ...............................................................................33
4.5 Chipset Menu ................................................................................... 42
4.6 Boot Menu ........................................................................................47
4.7 Security Menu ..................................................................................48
4.8 Save & Exit Menu............................................................................. 49
APPENDIX A WATCHDOG TIMER .....................................................................51
Watchdog Timer Setting..................................................................................51
Using the Watchdog Function Start............................................................... 51

OPS500-520-H User’s Manual
Introduction
1
CHAPTER 1
INTRODUCTION
This chapter contains general information and detailed specifications of the OPS500-520-H
Series. Chapter 1 includes the following sections:
General Description
Specification
Michanical Assembly
Package List
1.1 General Description
Intel Open Pluggable Specification (OPS) Compliance
OPS500-520-H Series is based on the 8th generation Intel®Core™ processor on board with
Intel® H310 Express Chipset platform and it also future products. The Pluggable Module is
dedicated to provide an interchangeable solution to the digital signage media players with
compatible connector. This document provides the module form factor, connector
specification, reference thermal solution, and boundary conditions in order to ensure the
functionally of the module in all compatible display panel system.
OPS500-520-H Series meets Intel Open Pluggable Specification for design and development,
simplifying system upgrade maintenance for manufacturers and developers that supports
Intel®8th Generation Core i series family, which stand for high flexible and user-friendly digital
signage applications.
Easy maintenance
OPS500-520-H Series offers a best solution for digital signage market. Compliant with Intel
OPS architecture, digital signage players are capable of deploying interchangeable systems
faster and easing upgrading/maintenance, while lowering costs for development and
implementation. Additionally, having the ability to simply slot-in and out the unique pluggable
engine box makes daily hassle easier and faster for users.
OPS500-520-H Series has pluggable engine box design; you can change storage, DRAM and
update configurations more easily

OPS500-520-H User’s Manual
Introduction
2
1.2 System Specifications
1.2.1 Main CPU Board
CPU
8th Gen. Intel®Core™ i7/i5/i3/Celeron Processors, LGA1151, 35W TDP
System Chipset
Intel®H310 PCH
BIOS
American Megatrends Inc. UEFI (Unified Extensible Firmware Interface).
System Memory
Two 260-pin DDR4 2400MHz SO-DIMM, maximun up to 32GB
1.2.2 I/O System
Front I/O
One HDMI1.4b (Up to 4096 x 2160@30Hz)
Two USB ports 3.1 Gen1
Two USB ports 2.0
One RS-232(COM2)
One Power On/Off button
One Reset button
Two LED Indicaters (PWR & Storage Active LED)
Rear I/O
One 80Pin JAE TX25A
1 x HDMI 2.0 (Up to 4096 x 2160@60Hz)
1 x DP 1.2 (Up to 4096 x 2304@60Hz)
1 x USB 3.0
2 x USB 2.0
1 x UART (TX/RX)
1 x Audio out L/R
DC input +12V~+19V
Control signals (PWR_STATUS, PS_ON#, PB_DET, SYS_FAN)
One 12/19V DC-Jack connector for optional adpter usage
Ethernet
10/100/1000Mbps Ethernet (with Intel®I219-LM)
Expansion
One M.2 2230 Key E (USB+PCIe signal supported)

OPS500-520-H User’s Manual
Introduction
3
Storage
One M.2 Key M 2280 for SATA SSD
Antenna opening
Two Antenna openings in the front I/O side
Net Weight
0.9kg(1.99 lb) without cooler
Dimension (Main Body Size)
200 mm x 119 mm(D) x 30 mm(H)
Operation Temperature
0℃to 45℃(with airflow 1.2 m/s)
Power Input
12V~19VDC
NOTE: All specifications and images are subject to change without notice.

OPS500-520-H User’s Manual
Introduction
4
1.3 Mechanical Assembly
1.3.1 Dimensions
This diagram shows you dimensions and outlines of the OPS500-520-H Series
The overall dimension of the module including the mounting frame is 200mm x 119mm x
30mm, and it shows the location of the screw holes of front panel as well as the security lock.
※While plugging the OPS module, please make sure the heat sink side of OPS
module toward the outside. Axiomtek will be out of reasonability if there is any
damage occurred due to it.

OPS500-520-H User’s Manual
Introduction
5
1.3.2 I/O outlet
The following figures show you the locations of the OPS500-520-H Series I/O
outlets.
1.3.3 Mechanical Specifications
OPS500-520-H Series is docked in the reference display panel
The OPS500-520-H Pluggable Module docked at a display panel system.
In this reference design, the module is docked and undocked in the vertical direction.
NOTE: Please contact Axiomtek for available option display panel.

OPS500-520-H User’s Manual
Introduction
6
Exploded View of the Pluggable Module

OPS500-520-H User’s Manual
Introduction
7
The Guide Rail Mechanism for the OPS500-520-H Series Module
You can use the rails alongside of OPS500-520-H Series Module to dock and undock the
plug connector at the back of the module to connect with docking board. There are two lock
pins on each side of the rail, and they serve as the locking mechanism to attach the lock
holes on the series module.

OPS500-520-H User’s Manual
Introduction
8
Location of Lock Hole on the Pluggable Module
*The drawing is base on Intel Open Pluggable Specification

OPS500-520-H User’s Manual
Introduction
9
Dimensions of the Guide Rail

OPS500-520-H User’s Manual
Introduction
10
Location of JAE TX25A Plug Connector
Please refer to the following drawing for location of the JAE TX25A plug connector. Pin 1 of
the connector is located at 114.8 mm from the edge of the module, and 106.9 mm from the
inner side of the front panel. For mating tolerance of TX25A plug connector and TX24A
receptacle connector, please refer to the JAE improved connector specification
Vent Holes at the Pluggable Module Back Panel
On the OPS500-520-H Series module, it is recommended by Intel that some vent holes be
opened at the back so that hot air can escape more easily from the module that the FAR in
on both sides of the module back panel should be greater than 0.25.

OPS500-520-H User’s Manual
Introduction
11
1.3.4 Reference Design
Display Panel Rear View –Internal
The digital signage OPS500-520-H Series prototype is based on a 32”display panel
with the functional blocks illustrated. It is mainly a 3-board partitioning design
consisting of the pluggable module, docking board and the panel control board.

OPS500-520-H User’s Manual
Introduction
12
1.4 Package List
When you receive the OPS500-520-H Series, the bundled package should contain
the following items:
OPS500-520-H x 1
Quick Manual x 1
Driver CD x 1
Thermal Grease (Syringe 1G) x 1
M.2 Thermal Pad x 1
M3*4L screw x 2
M4*6L screw x 2
If you cannot find the package or any items are missing, please contact Axiomtek distributors
immediately.

OPS500-520-H User’s Manual
Hardware Installation
13
CHAPTER 2
HARDWARE INSTALLATION
The OPS500-520-H Series is convenient for your various hardware configurations, such as
Storage, Memory Module.
The chapter 2 will show you how to install the hardware. It includes:
DRAM, SSD, Wireless module Installation
Pluggable Module Method
2.1 DRAM, Storage, Wireless module Installations
The OPS500-520-H Series model offers a convenient drive bay module for users to DDR4
SO-DIMM DRAM, M.2 2280 Key M SSD Storage and wireless modules. Please follow the
steps as below:
2.1.1 DDR4 SO-DIMM DRAM Installation (SO-DIMM1)
Step 1 Turn the system upside down to locate screws at the chassis as red marked
and loosen five screws.
Step 2 Slide the bottom chassis out of the module, and locate the SO-DIMM socket
on the board.

OPS500-520-H User’s Manual
Hardware Installation
14
Step 3 Place the memory module into the socket and press it firmly. The socket
latches are levered upwards and clipped on to the edges of the SO-
DIMM.
2.1.2 DDR4 SO-DIMM DRAM Installation (SO-DIMM 2)
Step 1 Locate screws at the chassis as red marked and loosen four screws.
Step 2 To open the upper case, please hold the system with your middle fingers at
the Lock Hole, and put your thumbs at the edge of the front panel, then use
your thumbs press enough force at the edge of the front panel (①red arrow in
the second figure below), meanwhile; lift up the upper case with your middle
fingers (②blue arrow in the second figure below).
Table of contents
Other AXIOMTEK Media Player manuals

AXIOMTEK
AXIOMTEK OPS700-520 Series User manual

AXIOMTEK
AXIOMTEK DSP600-211 User manual

AXIOMTEK
AXIOMTEK OPS860-HM Series User manual

AXIOMTEK
AXIOMTEK DSP300-318 Series User manual

AXIOMTEK
AXIOMTEK OPS885 Series User manual

AXIOMTEK
AXIOMTEK DSP501-527 Series User manual

AXIOMTEK
AXIOMTEK DSB320-842 Series User manual

AXIOMTEK
AXIOMTEK OPS500-501 Series User manual

AXIOMTEK
AXIOMTEK DSP300-318 Series User manual

AXIOMTEK
AXIOMTEK DSP302 Series User manual