manuals.online logo
Brands
  1. Home
  2. •
  3. Brands
  4. •
  5. AXIOMTEK
  6. •
  7. Media Player
  8. •
  9. AXIOMTEK OPS885 Series User manual

AXIOMTEK OPS885 Series User manual

Other manuals for OPS885 Series

1

Other AXIOMTEK Media Player manuals

AXIOMTEK OPS500-520-H Series User manual

AXIOMTEK

AXIOMTEK OPS500-520-H Series User manual

AXIOMTEK OPS860-HM Series User manual

AXIOMTEK

AXIOMTEK OPS860-HM Series User manual

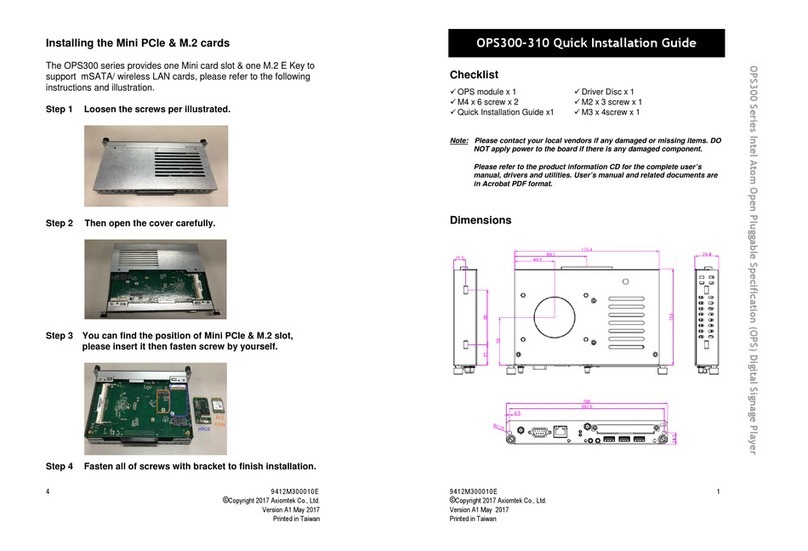
AXIOMTEK OPS300 Series User manual

AXIOMTEK

AXIOMTEK OPS300 Series User manual

AXIOMTEK DSP300-318 Series User manual

AXIOMTEK

AXIOMTEK DSP300-318 Series User manual

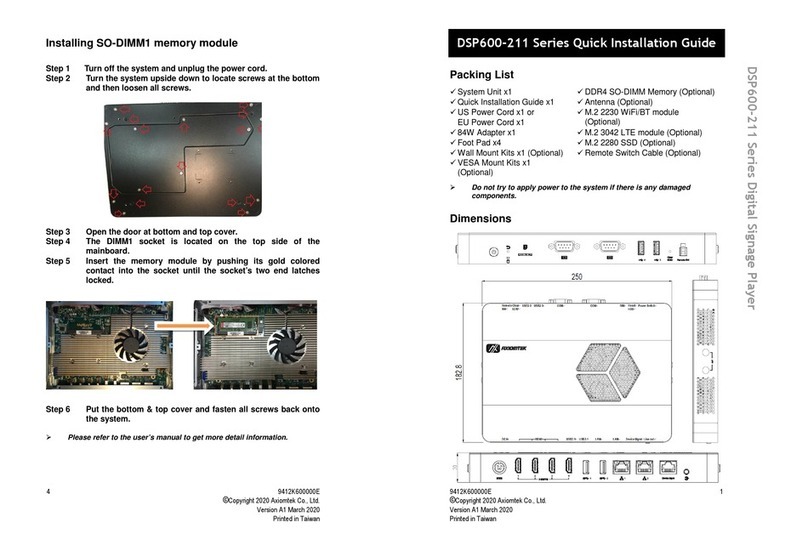
AXIOMTEK DSP600-211 User manual

AXIOMTEK

AXIOMTEK DSP600-211 User manual

AXIOMTEK DSP501-527 Series User manual

AXIOMTEK

AXIOMTEK DSP501-527 Series User manual

AXIOMTEK OPS700-520 Series User manual

AXIOMTEK

AXIOMTEK OPS700-520 Series User manual

AXIOMTEK DSP302 Series User manual

AXIOMTEK

AXIOMTEK DSP302 Series User manual

AXIOMTEK DSP300-318 Series User manual

AXIOMTEK

AXIOMTEK DSP300-318 Series User manual

AXIOMTEK DSP501-527 Series User manual

AXIOMTEK

AXIOMTEK DSP501-527 Series User manual

AXIOMTEK DSP600-211 User manual

AXIOMTEK

AXIOMTEK DSP600-211 User manual

AXIOMTEK DSB320-842 Series User manual

AXIOMTEK

AXIOMTEK DSB320-842 Series User manual

AXIOMTEK OPS500-501 Series User manual

AXIOMTEK

AXIOMTEK OPS500-501 Series User manual

AXIOMTEK DSP511 Series User manual

AXIOMTEK

AXIOMTEK DSP511 Series User manual

Popular Media Player manuals by other brands

VidaBox LUX installation guide

VidaBox

VidaBox LUX installation guide

CasaTunes CT-3S quick start guide

CasaTunes

CasaTunes CT-3S quick start guide

Yamaha TSX-112 owner's manual

Yamaha

Yamaha TSX-112 owner's manual

Fantec MM-FHDL user manual

Fantec

Fantec MM-FHDL user manual

Visual Land Impulse quick start guide

Visual Land

Visual Land Impulse quick start guide

Philips GoGear Muse SA2MUS08 quick start guide

Philips

Philips GoGear Muse SA2MUS08 quick start guide

Fantec MM-HDRL user manual

Fantec

Fantec MM-HDRL user manual

Kvarta DVB Streamer quick start

Kvarta

Kvarta DVB Streamer quick start

Dune HD Duo 4K user manual

Dune HD

Dune HD Duo 4K user manual

Camos MMS-1000 manual

Camos

Camos MMS-1000 manual

Energy 75 Series user manual

Energy

Energy 75 Series user manual

Z3 Technology DME-03 user guide

Z3 Technology

Z3 Technology DME-03 user guide

Sony SVR-2000 Dimensions

Sony

Sony SVR-2000 Dimensions

Meicheng HD-1080K12 user manual

Meicheng

Meicheng HD-1080K12 user manual

DENAFRIPS ARCE owner's manual

DENAFRIPS

DENAFRIPS ARCE owner's manual

Topaz CMS Media Player Hardware user manual

Topaz

Topaz CMS Media Player Hardware user manual

InFocus LightCast user guide

InFocus

InFocus LightCast user guide

Samsung MP-80S Owner's instructions

Samsung

Samsung MP-80S Owner's instructions

manuals.online logo
manuals.online logoBrands
  • About & Mission
  • Contact us
  • Privacy Policy
  • Terms and Conditions

Copyright 2025 Manuals.Online. All Rights Reserved.

49412M885010E
©Copyright2013 Axiomtek Co., Ltd.
Version A1 October 2013
Printed in Taiwan
Step 5.5 Affix the screws per
illustrated .
Find the Antenna cable and
connect 3G card. Screw the
antenna connector at expansion
I/O side and Install the antenna on
3G card
Note: You may also install
wireless LAN card at this socket
Remark: please be noted that
mSATA slot is near JAE-
TX25;For Standard Mini Card
slot is near rear I/O port
Caution: When plugging
OPS885 into an OPS display,
make sure the module’s heat
sink is facing outside of the
display. Axiomtek is not
responsible for any damage
caused by wrong installation
OPS885 Quick Installation Guide
9412M885010E 1
©Copyright 2013 Axiomtek Co., Ltd.
Version A1 October 2013
Printed in Taiwan
Checklist
OPS module x 1 Driver Disc x 1
M3 x 4 screw x 2 M2 x 3 screw x 2
Quick Installation Guide x1 M4 x 10 screw x 2
Thermal Grease x 1 Thermal pad x 2
Note: Please contact your local vendors if any damaged or missing items. DO
NOT apply power to the board if there is any damaged component.
Please refer to the product information CD for the complete user’s
manual, drivers and utilities. User’s manual and related documents are
in Acrobat PDF format.
Hardware Installation
Remark: Please be noted CPU is on board.
Step 1 Remove screws
Step1.1 Remove screws shown in the
pictures. Before fully opening the top
cover, disconnect its fan power cable
beneath it.
Step1.2 Remove screws at base side
Step1.3 Turn upper cover over as the
image illustrated
OPS885 Series 4th Gen Intel Core Open Pluggable Specification (OPS) Digital Signage Player
29412M885010E
©Copyright2013 Axiomtek Co., Ltd.
Version A1 October 2013
Printed in Taiwan
Step 2 Install DRAM
Follow step 1.2 to remove the
screws on the bottom side of the
module as shown in the picture
Step2.1 Place the memory module
into the socket and press it firmly.
The socket latches are levered
upwards and clipped on to the
edges of the DIMM
Caution: Please be noted this DRAM slot specification is ONLY for 204 pin
DDR3L SODIMM 1.35V
Step 3 Install mSATA module
Step3.1 Paste thermal pad on the
PCB board and tear off the blue
plastic sheet
Step3.2 .Place the mSATA module
into the socket and press it firmly
down until it is fully located.
Step3.3 . Affix another thermal pad
on the mSATA
Step 4 Install Wireless Modules
Step4.1 Detach the motherboard
from the housing by removing four
screws on its back side.
Insert WIFI module and press firmly.
9412M885010E 3
©Copyright 2013 Axiomtek Co., Ltd.
Version A1 October 2013
Printed in Taiwan
Step4.2 Affix the screws firmly
Find the Antenna cable and connect
wireless LAN card.
Screw the antenna connector at
expansion I/O side and Install the
antenna on the wireless LAN card.
Step 5 Install 3G module
Step 5.1 Follow the step of 1.2 to
loosen the screws of the chassis
and PCB board. Turn the PCB
board per illustrated
Step 5.2Turn the PCB board per
illustrated.
Step 5.3 Install SIM Card
module .Place the SIM Card
module into the socket and
press it firmly down until it is
fully located
Step 5.4 Install 3G module.
Place the 3G module into the
socket and press it firmly down until
it is fully located