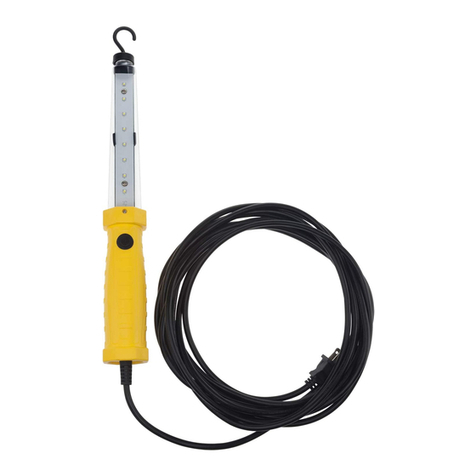
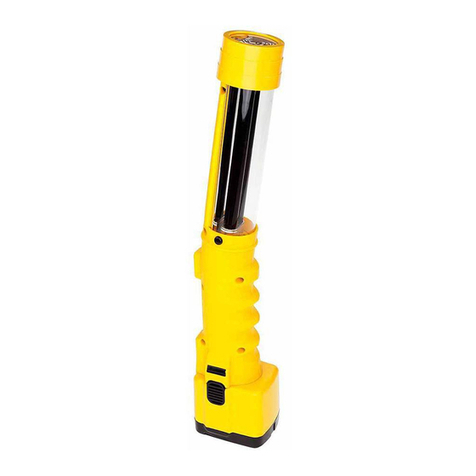
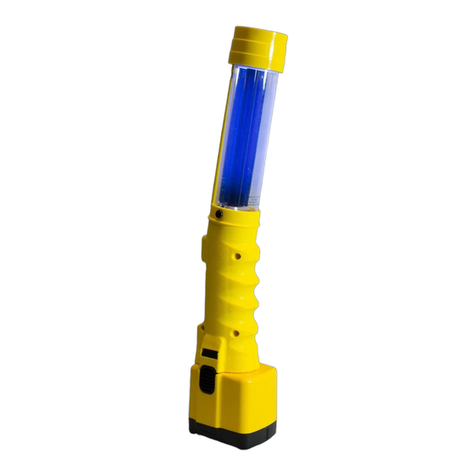
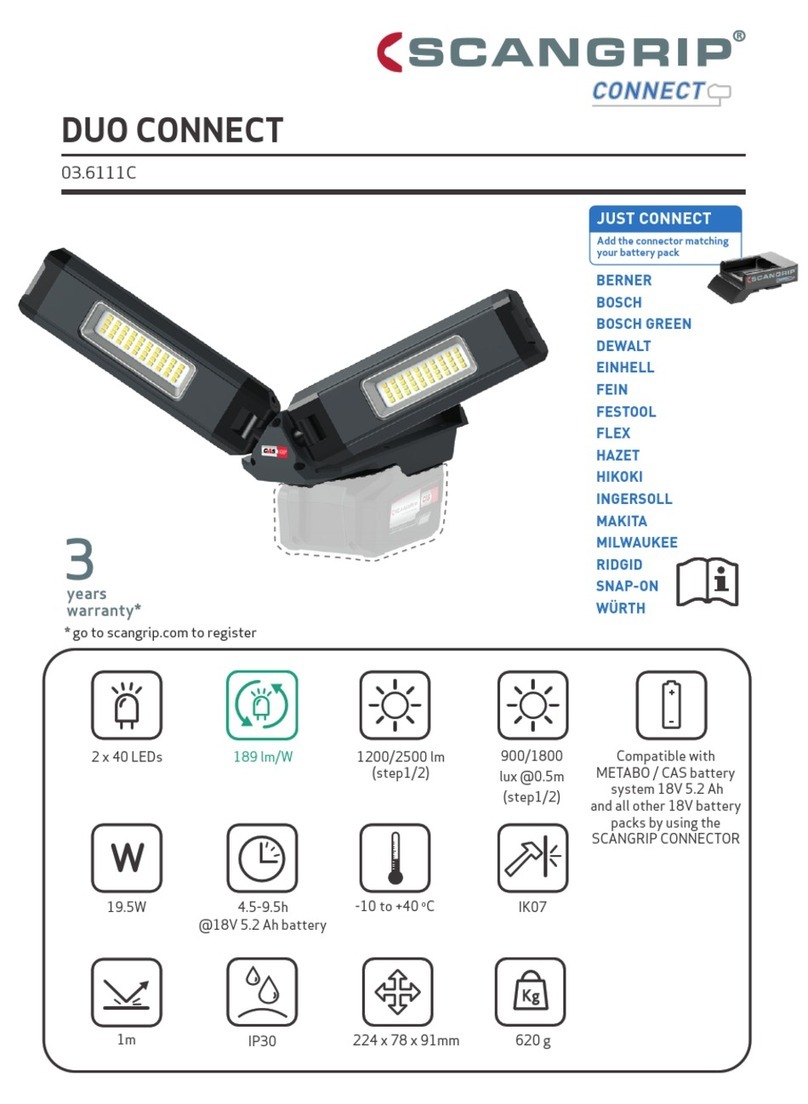
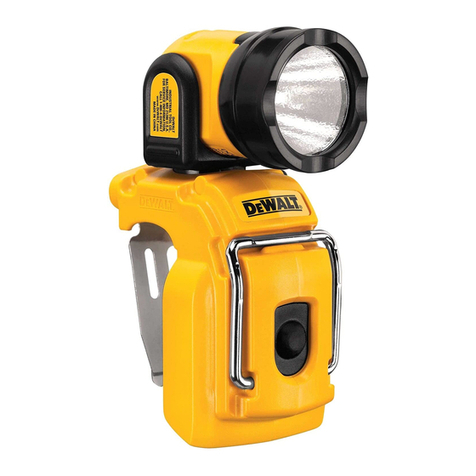
Bayco SL-866 User manual

Bayco Products, Inc. • 640 South Sanden Blvd. • Wylie, TX 75098 • 1-800-233-2155 • 1-469-326-9400 • www.baycoproducts.com
INS-SL-866-19
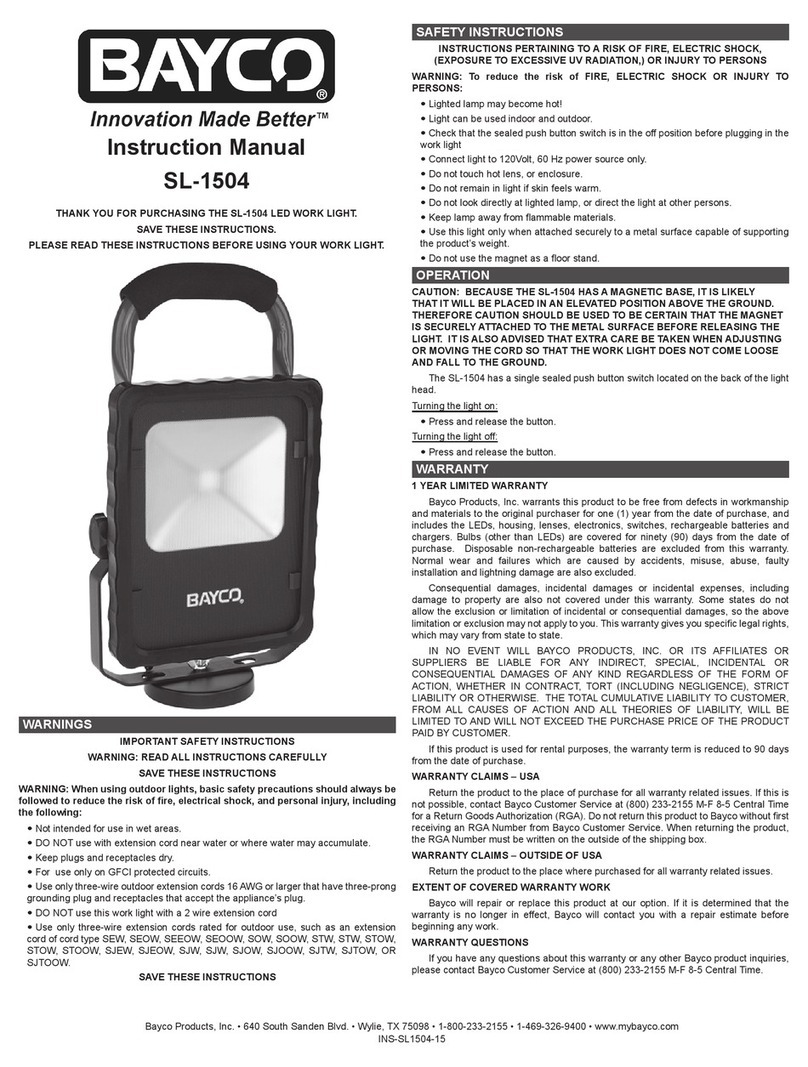
Instruction Manual
SL-866
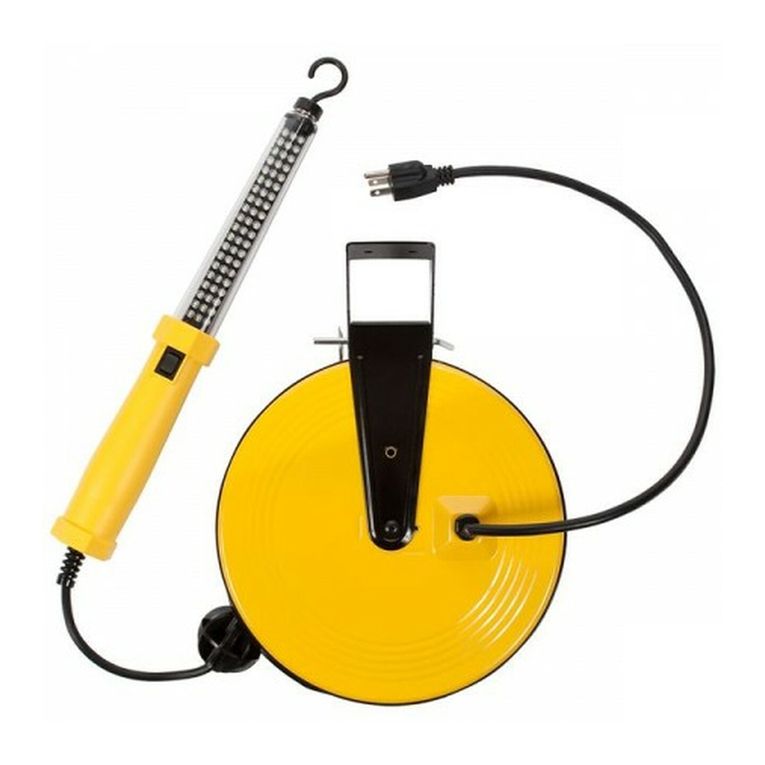
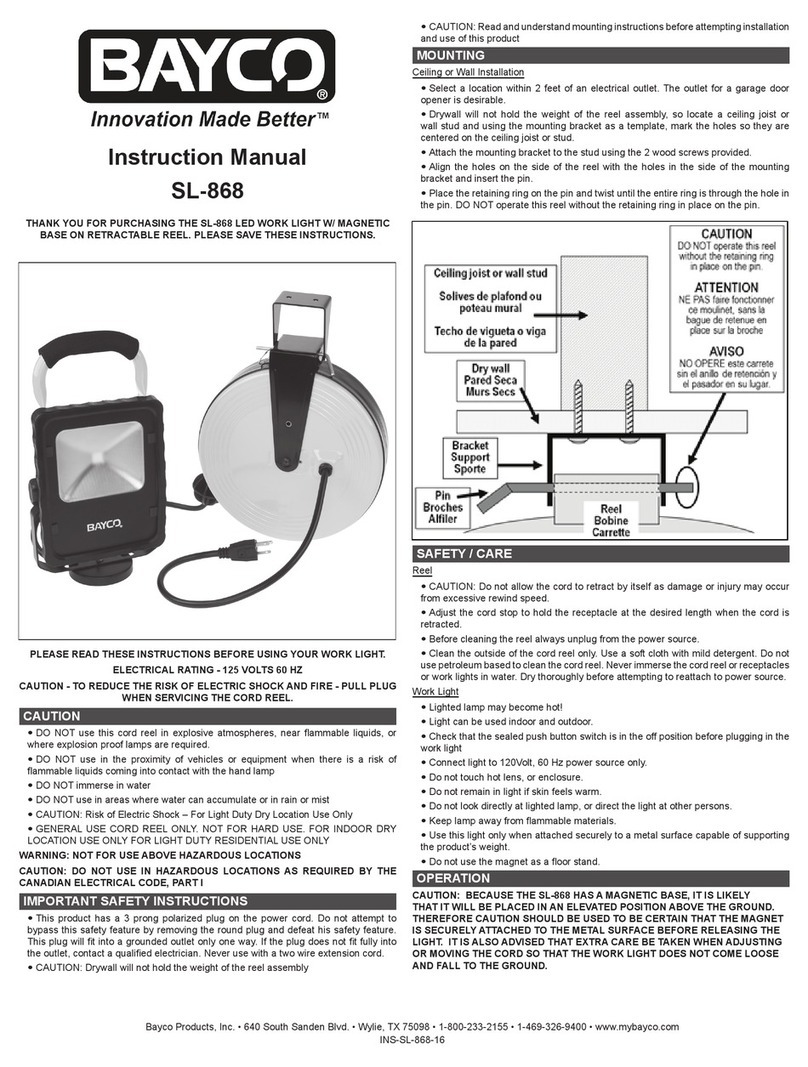
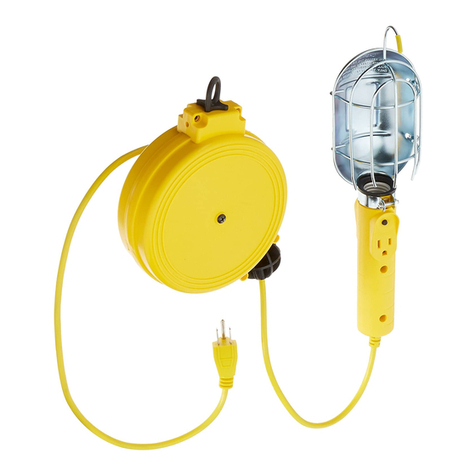
THANK YOU FOR PURCHASING THE SL-866 LED WORK LIGHT ON REEL.
SAVE THESE INSTRUCTIONS.
PLEASE READ THESE INSTRUCTIONS BEFORE USING YOUR WORK LIGHT.
ELECTRICAL RATING - 125 VOLTS 60 HZ
CAUTION - TO REDUCE THE RISK OF ELECTRIC SHOCK AND FIRE - PULL
PLUG WHEN SERVICING THE CORD REEL.
CAUTION
•DO NOT use this cord reel in explosive atmospheres, near ammable liquids, or
where explosion proof lamps are required.
•DO NOT use in the proximity of vehicles or equipment when there is a risk of
ammable liquids coming into contact with the hand lamp
• DO NOT immerse in water
• DO NOT use in areas where water can accumulate or in rain or mist
•CAUTION: Risk of Electric Shock – For Light Duty Dry Location Use Only
•GENERAL USE CORD REEL ONLY. NOT FOR HARD USE. FOR INDOOR DRY
LOCATION USE ONLY FOR LIGHT DUTY RESIDENTIAL USE ONLY
WARNING: NOT FOR USE ABOVE HAZARDOUS LOCATIONS
CAUTION: DO NOT USE IN HAZARDOUS LOCATIONS AS REQUIRED BY THE
CANADIAN ELECTRICAL CODE, PART I
IMPORTANT SAFETY INSTRUCTIONS
•This product has a 3 prong polarized plug on the power cord. Do not attempt to
bypass this safety feature by removing the round plug and defeat his safety feature.
This plug will t into a grounded outlet only one way. If the plug does not t fully into
the outlet, contact a quali ed electrician. Never use with a two wire extension cord.
•CAUTION: PULL OUT CORD TO FULL LENGTH WHEN USING RECEPTACLE
•CAUTION: DO NOT ALLOW THE CORD TO RETRACT BY ITSELF AS DAMAGE
OR INJURY MAY OCCUR FROM EXCESSIVE REWIND SPEED
•CAUTION: Drywall will not hold the weight of the reel assembly
•CAUTION: Read and understand mounting instructions before attempting installation
and use of this product
MOUNTING
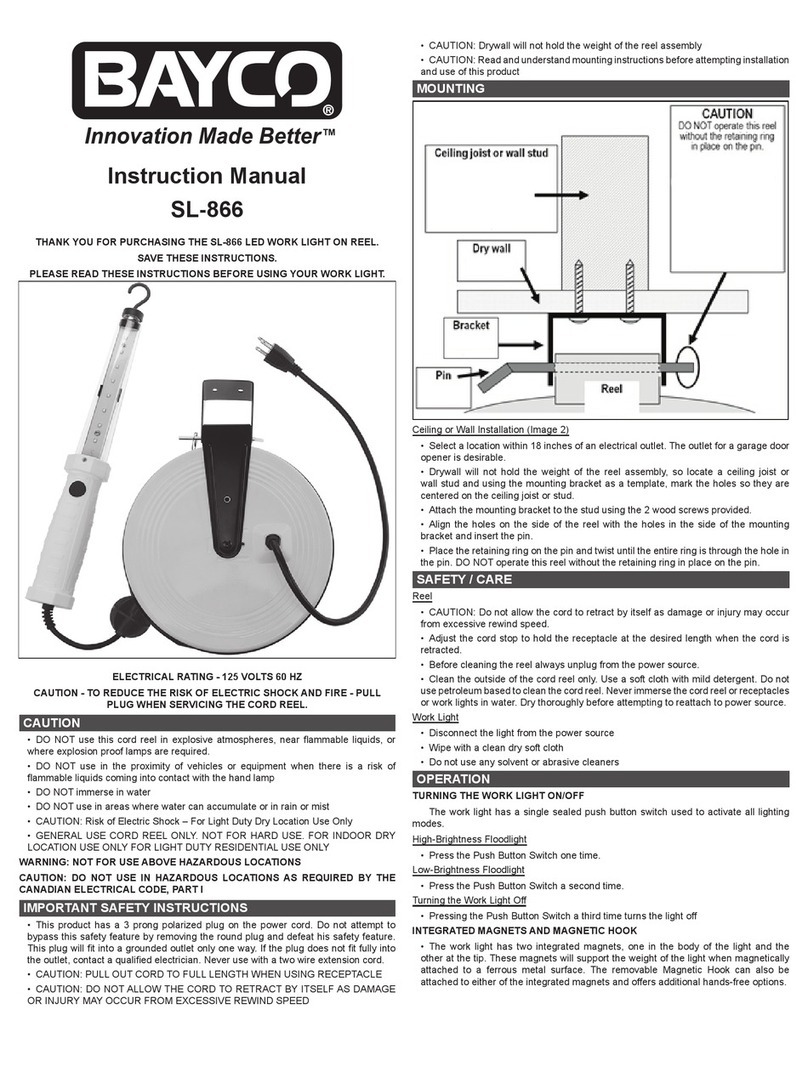
Ceiling or Wall Installation (Image 2)
•Select a location within 18 inches of an electrical outlet. The outlet for a garage door
opener is desirable.
•Drywall will not hold the weight of the reel assembly, so locate a ceiling joist or
wall stud and using the mounting bracket as a template, mark the holes so they are
centered on the ceiling joist or stud.
•Attach the mounting bracket to the stud using the 2 wood screws provided.
•Align the holes on the side of the reel with the holes in the side of the mounting
bracket and insert the pin.
•Place the retaining ring on the pin and twist until the entire ring is through the hole in
the pin. DO NOT operate this reel without the retaining ring in place on the pin.
SAFETY / CARE
Reel
•CAUTION: Do not allow the cord to retract by itself as damage or injury may occur
from excessive rewind speed.
•Adjust the cord stop to hold the receptacle at the desired length when the cord is
retracted.
•Before cleaning the reel always unplug from the power source.
•Clean the outside of the cord reel only. Use a soft cloth with mild detergent. Do not
use petroleum based to clean the cord reel. Never immerse the cord reel or receptacles
or work lights in water. Dry thoroughly before attempting to reattach to power source.
Work Light
•Disconnect the light from the power source
• Wipe with a clean dry soft cloth
• Do not use any solvent or abrasive cleaners
OPERATION
TURNING THE WORK LIGHT ON/OFF
The work light has a single sealed push button switch used to activate all lighting
modes.
High-Brightness Floodlight
• Press the Push Button Switch one time.
Low-Brightness Floodlight
• Press the Push Button Switch a second time.
Turning the Work Light Off
•Pressing the Push Button Switch a third time turns the light off
INTEGRATED MAGNETS AND MAGNETIC HOOK
•The work light has two integrated magnets, one in the body of the light and the
other at the tip. These magnets will support the weight of the light when magnetically
attached to a ferrous metal surface. The removable Magnetic Hook can also be
attached to either of the integrated magnets and offers additional hands-free options.

Bayco Products, Inc. • 640 South Sanden Blvd. • Wylie, TX 75098 • 1-800-233-2155 • 1-469-326-9400 • www.baycoproducts.com
INS-SL-866-19
MAGNET AND MAGNETIC HOOK USAGE OPTIONS (IMAGE 3)
WARRANTY
1 YEAR WARRANTY
Bayco Products, Inc. warrants this product to be free from defects in workmanship
and materials to the original purchaser for 1 year from the date of purchase, and includes
the LEDs, housing, lenses, electronics, switches, rechargeable batteries and chargers.
Bulbs (other than LEDs) are covered for 90 days from the date of purchase.
We will repair or replace this product should we determine it to be defective. This is the
only warranty, expressed or implied, including any warranty of merchantability or tness for
a particular purpose.
For a complete copy of the warranty, go to www. baycoproducts.com/bayco-product-
support/warranties. Retain your receipt for proof of purchase.
Mode d’emploi
SL-866
MERCI D’AVOIR ACHETÉ LA LAMPE DE TRAVAIL DEL SL-866 AVEC DÉVIDOIR.
VEUILLEZ CONSERVER CES INSTRUCTIONS.
VEUILLEZ LIRE CES INSTRUCTIONS AVANT D’UTILISER VOTRE LAMPE DE
TRAVAIL.
CARACTÉRISTIQUES ÉLECTRIQUES – 125 VOLTS 60 HZ
ATTENTION – AFIN DE RÉDUIRE LES RISQUES D’INCENDIE OU DE CHOC
ÉLECTRIQUE – DÉBRANCHER AVANT L’ENROULAGE DE LA CORDE.
ATTENTION
•NE PAS utiliser le dévidoir avec corde dans des atmosphères explosives, près de
liquides in ammables, ou des endroits où des lampes antidé agrantes sont requises.
•NE PAS utiliser à proximité de véhicules ou équipements lorsqu’il y a risque de
liquides in ammables entrant en contact avec la lampe.
•NE PAS immerger dans l’eau
•NE PAS utiliser dans les zones où l’eau peut s’accumuler ou dans la pluie ou la
brume
•ATTENTION : Risque de choc électrique – Pour un usage de travail léger dans un
endroit sec uniquement
•USAGE GÉNÉRAL UNIQUEMENT DU DÉVIDOIR À CORDE. NON RECOMMANDÉ
POUR UTILISATION INTENSIVE. POUR UTILISATION À L’INTÉRIEUR ET
DANS UN ENDROIT SEC UNIQUEMENT. POUR USAGE DE TRAVAUX LÉGERS
RÉSIDENTIELS UNIQUEMENT
AVERTISSEMENT : NE PAS UTILISER AU-DESSUS D’EMPLACEMENTS
DANGEREUX
ATTENTION : NE PAS UTILISER DANS DES EMPLACEMENTS DANGEREUX EN
COMFORMITÉ AVEC LE CODE CANADIEN D’ÉLECTRICITÉ, PARTIE 1
CONSIGNES DE SÉCURITÉ IMPORTANTES
•Ce produit comporte une che avec 3 broches polarisées sur le cordon d’alimentation.
Ne pas essayer de contourner ce dispositif de sécurité en enlevant la che ronde et
annuler ainsi son dispositif de sécurité. Cette che ne peut être branchée que dans un
seul sens dans la prise de courant à contact de mise à la terre. Si la che ne rentre pas
complètement dans la prise de courant, contacter un électricien quali é. Ne jamais
utiliser avec une rallonge à deux conducteurs.
•ATTENTION : SORTIR LA CORDE SUR TOUTE SA LONGUEUR LORSQUE VOUS
UTILISEZ LE RÉCEPTACLE
•ATTENTION : NE PAS LAISSER LA CORDE SE RÉTRACTER D’ELLE-MÊME CAR
DES DOMMAGES OU BLESSURES PEUVENT SURVENIR SUITE À LA VITESSE
EXCESSIVE DE REMBOBINAGE.
•ATTENTION : la cloison sèche ne peut supporter le poids de l’assemblage du
dévidoir.
•ATTENTION : Veuillez lire et comprendre les instructions de montage avant
d’essayer d’installer et d’utiliser ce produit
MONTAGE
Installation sur le mur ou le plafond (Image 2)
•Choisir un emplacement à moins de 18 pouces (45 cm) d’une prise électrique. La
prise d’un ouvre-porte de garage est souhaitable.
•La cloison sèche ne pourra supporter le poids de l’assemblage du dévidoir, donc
repérer la solive de plafond ou le poteau de cloison et, en utilisant le support de xation
comme modèle, marquer les trous pour qu’ils soient centrés sur la solive de plafond
ou le poteau de cloison.
•Attacher le support de xation sur le poteau de cloison en utilisant les 2 vis à bois
fournis.
•Aligner les trous sur le côté du dévidoir avec les trous sur le côté du support à
xation et insérer la tige.
•Placer l’anneau de retenue sur la tige et tourner jusqu’à ce que l’anneau soit bien
xé sur la tige. NE PAS utiliser ce dévidoir sans l’anneau de retenue en place sur la
tige.
SÉCURITÉ/ ENTRETIEN
Dévidoir
•ATTENTION : Ne pas laisser la corde se rétracter d’elle-même car des dommages
ou blessures peuvent survenir suite à la vitesse excessive du rembobinage.
•Ajuster l’embout d’arrêt a n de maintenir le réceptacle à la longueur désirée quand
la corde est tirée.
•Avant de nettoyer le dévidoir toujours débrancher la corde de la source d’alimentation.
•Nettoyer l’extérieur du dévidoir à corde seulement. Utiliser un chiffon doux avec
un détergent léger. Ne pas utiliser de détergents à base de pétrole pour nettoyer le
dévidoir. Ne jamais immerger le dévidoir ou réceptacle ou la lampe de travail dans
l’eau. Laisser sécher complètement avant d’essayer de brancher à nouveau à la
source d’alimentation.
Lampe de travail
•Débrancher la lampe de la source d’alimentation
•Nettoyer avec un linge propre, doux et sec
• Ne pas utiliser de nettoyants abrasifs ou solvants
MISE EN MARCHE
ALLUMER/ÉTEINDRE LA LAMPE DE TRAVAIL
La lampe de travail comporte un interrupteur à bouton-poussoir unique qui permet
d’activer tous les modes d’éclairage.
Faisceau large (diffus) à haute luminosité
• Appuyer sur le bouton-poussoir une seule fois.
Faisceau large (diffus) à basse luminosité
• Appuyer sur le bouton-poussoir une seconde fois.
Éteindre la lampe de travail
•Appuyer sur le bouton-poussoir une troisième fois pour éteindre la lampe.

Bayco Products, Inc. • 640 South Sanden Blvd. • Wylie, TX 75098 • 1-800-233-2155 • 1-469-326-9400 • www.baycoproducts.com
INS-SL-866-19
AIMANTS INTÉGRÉS ET CROCHET MAGNÉTIQUE
• La lampe de travail comporte deux aimants intégrés, un au milieu de la lampe et
l’autre à l’extrémité. Ces aimants supporteront le poids de la lampe lorsqu’ils sont
attachés magnétiquement sur une surface de métal ferreux. Le crochet magnétique
amovible peut être également attaché à l’un des deux aimants intégrés et offre une
option main-libre supplémentaire.
POSSIBILITÉS D’UTILISATION DU CROCHET MAGNÉTIQUE ET DES AIMANTS.
(IMAGE 3)
GARANTIE
GARANTIE LIMITÉE DE 1 AN
Bayco Products, Inc. garantit que ce produit est exempt de défauts de matériaux
et de fabrication à l’acheteur original pour une période d’un (1) an à partir de la date
d’achat, et inclut les DEL, les boîtiers, les lentilles, les électroniques, les interrupteurs,
les batteries rechargeables et les chargeurs. Les ampoules (autres que les DEL) sont
couvertes pour une période de 90 jours à partir de la date d’achat.
Ce produit sera réparé ou remplacé si nous déterminons qu’il est défectueux. Ceci
est la seule garantie explicite ou implicite, y compris toute garantie de qualité marchande
ou d’adéquation à un usage particulier.
Pour une copie détaillée de la garantie, vous rendre sur le site www.baycoproducts.
com/bayco-product-support/warranties. Gardez ce reçu comme preuve d’achat.
Manual de Instrucción
SL-866
GRACIAS POR LA COMPRA DE LA LUZ DE TRABAJO LED EN CARRETE SL-866.
GUARDE ESTAS INSTRUCCIONES.
POR FAVOR LEA ESTAS INSTRUCCIONES ANTES DE USAR SU LUZ DE
TRABAJO
CLASIFICACIÓN ELÉCTRICA - 125 VOLTS 60 HZ
PRECAUCIÓN - PARA REDUCIR EL RIESGO DE DESCARGAS ELÉCTRICAS Y
FUEGO - SACAR EL ENCHUFE CUANDO REPARE EL CARRETE DEL CABLE.
PRECAUCIÓN
• NO use este carrete de cable en atmósferas explosivas, cerca de líquidos
inamables, o donde se requieren lámparas a prueba de explosión.
• NO use en la proximidad de los vehículos o equipos cuando hay riesgo de que
líquidos inamables entren en contacto con la lámpara de mano
• NO sumerja en agua
• NO utilizar en zonas donde el agua puede acumularse o en la lluvia o la niebla
• PRECAUCIÓN: Riesgo de Descarga Eléctrica - Para Tareas Livianas de Ubicación
en Seco Solamente
• USO GENERAL DE CABLE EN CARRETE SOLAMENTE. NO ES PARA USO
DURO. PARA USAR EN LUGAR SECO, EN EL INTERIOR Y SÓLO PARA SERVICIO
LIGERO DE USO RESIDENCIAL
ADVERTENCIA: NO ES PARA USO SOBRE LUGARES PELIGROSOS
PRECAUCIÓN: NO UTILIZAR EN ZONAS PELIGROSAS COMO LO EXIGE EL
CÓDIGO ELÉCTRICO DE CANADÁ, PARTE I
INSTRUCCIONES IMPORTANTES DE SEGURIDAD
• Este producto tiene un enchufe polarizado de 3 terminales del cable de alimentación.
No intente pasar por alto esta medida de seguridad quitando el tapón redondo
y eliminar su función de seguridad. Este enchufe encajará en un tomacorriente
de una sola manera. Si el enchufe no encaja completamente en el tomacorriente,
comuníquese con un electricista calicado. Nunca utilice un cable de extensión de
dos hilos.
• PRECAUCIÓN: TIRAR DEL CABLE A TODO LO LARGO AL UTILIZAR EL
RECEPTÁCULO
• PRECAUCIÓN: NO PERMITA QUE EL CABLE SE RETRAIGA POR SÍ MISMO YA
QUE DAÑOS O LESIONES PUEDEN OCURRIR POR LA VELOCIDAD EXCESIVA
AL REBOBINAR
• PRECAUCIÓN: Mampostería seca (Drywall) no sostendrá el peso de ensamblaje
del carrete
• PRECAUCIÓN: Lea y entienda las instrucciones de montaje antes de intentar la
instalación y el uso de este producto
MONTAJE
Instalación Techo o Pared (Imagen 2)
• Seleccione una ubicación dentro de 18 pulgadas de un toma corriente. La salida de
un abridor de puertas de garaje es preferible.
• La mampostería seca (drywall) no sostendrá el peso del ensamblaje del carrete, así
que hay que encontrar una viga en el techo o un poste de pared y usar el soporte del
montaje como plantilla para marcar los agujeros que se van a centrar en la viga del
techo o en el perno.
• Fije el soporte de montaje al perno utilizando los 2 tornillos de madera ya incluidos.
• Alinear los oricios en el lado del carril con los oricios en el lado del soporte de
montaje e insertar el pasador.
• Coloque el anillo de retención en el pasador y dele vuelta hasta que todo el anillo
este a través del agujero en el pasador. NO opere este carrete sin el anillo de retención
en su lugar en el pasador.
SEGURIDAD / CUIDADO
Carrete
• PRECAUCIÓN: No permita que el cable se retraiga por sí mismo ya que daños o
lesiones pueden ocurrir por la velocidad excesiva al rebobinar
• Ajustar la parada del cable para sujetar el receptáculo a la longitud deseada cuando
se retrae el cable.
• Antes de limpiar el carrete, desconéctelo de la red eléctrica.
• Limpiar el exterior del carrete del cable solamente. Use un paño suave con un
detergente suave. No utilice base de petróleo para limpiar el carrete del cable. Nunca
sumerja el carrete del cable o receptáculos, ni luces de trabajo en el agua. Seque
completamente antes de intentar conectar con la fuente de electricidad.
Luz de Trabajo
• Desconecte la luz de la fuente de electricidad
• Limpie con un paño suave, limpio y seco
• No utilice limpiadores que contengan disolventes o abrasivos
FUNCIONAMIENTO
ENCENDIDO DE LA LUZ DE TRABAJO ON / OFF
La luz de trabajo tiene un solo interruptor pulsador sellado que es utilizado para
activar todos los modos de iluminación.
Proyector de Alto brillo
• Presione el Interruptor del Botón una vez.
Proyector de Bajo Brillo
• Presione el botón del interruptor por segunda vez.
Apagar la Luz de Trabajo
• Al presionar el Interruptor del Botón por tercera vez, se apaga la luz
IMANES INTEGRADOS Y GANCHO MAGNÉTICO
• La luz de trabajo tiene dos imanes integrados, uno en el cuerpo de la luz y el otro en
la punta. Estos imanes soportan el peso de la luz cuando se adhiere magnéticamente
a una supercie de metal ferroso. El gancho magnético extraíble también se puede
conectar a cualquiera de los imanes integrados y ofrece opciones de manos libres
adicionales.
OPCIONES DE USO DEL IMÁN Y DEL GANCHO MAGNÉTICO (IMAGEN 3)
GARANTÍA
GARANTÍA LIMITADA DE 1 AÑO
Bayco Products, Inc. garantiza que este producto está libre de defectos de mano
de obra y materiales para el comprador original durante un año a partir de la fecha de
compra e incluye los LED, la carcasa, los lentes, la electrónica, los interruptores, las
pilas recargables y los cargadores. Las bombillas (excepto los LED) están cubiertas
durante 90 días a partir de la fecha de compra.
Repararemos o reemplazaremos este producto si lo determinamos como
defectuoso. Esta es la única garantía, expresa o implícita, incluyendo cualquier garantía
de comerciabilidad o idoneidad para un propósito particular.
Para obtener una copia completa de la garantía, visite www.baycoproducts.com/
bayco-product-support/warranties. Conserve su recibo para comprobar la compra.
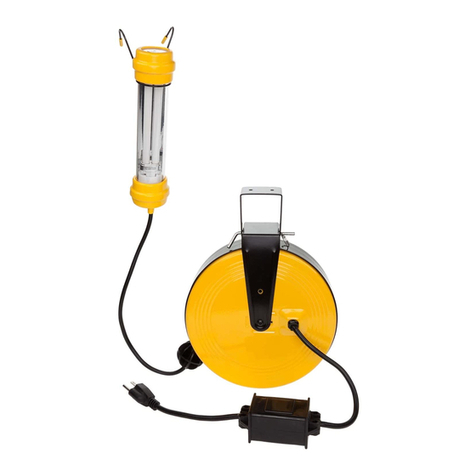
Table of contents
Languages:
Other Bayco Work Light manuals

Bayco
Bayco CT-964 User manual

Bayco
Bayco SL-1514 User manual

Bayco
Bayco Nightstick 2166 User manual

Bayco
Bayco BAR-2134 User manual

Bayco
Bayco UVR-9014 User manual

Bayco
Bayco 827 User manual

Bayco
Bayco 821 User manual

Bayco
Bayco Innovation Made Better SL-2135 User manual

Bayco
Bayco 623 User manual

Bayco
Bayco SL-1022 User manual

Bayco
Bayco INS-1005-12 User manual

Bayco
Bayco 2134 User manual

Bayco
Bayco SL-1514 User manual

Bayco
Bayco 2116 User manual

Bayco
Bayco NightStick XPR-5580G User manual

Bayco
Bayco 918 User manual

Bayco
Bayco 2134 User manual

Bayco
Bayco 675 User manual

Bayco
Bayco BAR-2372 User manual

Bayco
Bayco BAR-2372 User manual