manuals.online logo
Brands
  1. Home
  2. •
  3. Brands
  4. •
  5. BEA
  6. •
  7. Accessories
  8. •
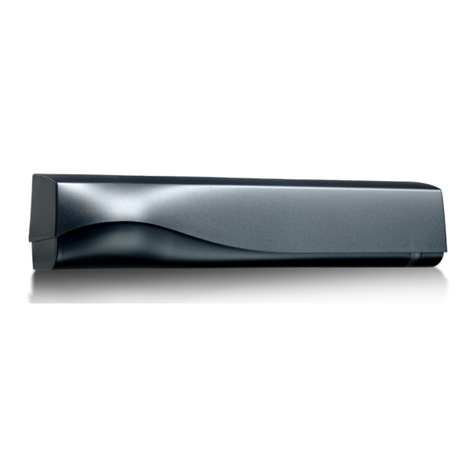
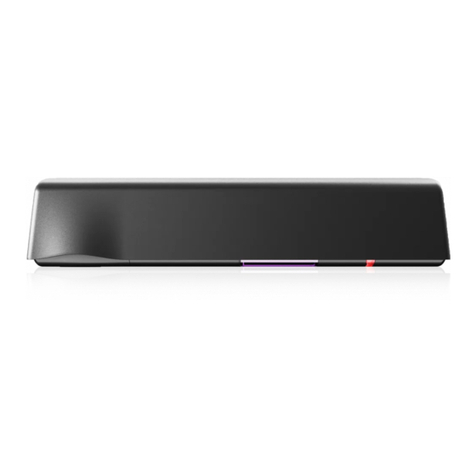
  9. BEA SEAGLE ONE User manual

BEA SEAGLE ONE User manual

SEAGLE ONE
1
3
5
24
Specifications are subject to changes without prior notice.
Measured in specific conditions
TECHNICAL SPECIFICATIONS
DESCRIPTION
ENGLISH
UNIDIRECTIONAL OPENING SENSOR
FOR AUTOMATIC DOORS
1. main connector
2. potentiometer for field size adjustment
3. radar antenna (narrow field)
4. DIP-switch
5. cover
Technology:
Transmitter frequency:
Transmitter radiated power:
Transmitter power density:
Detection mode:
Min. detection speed:
Supply voltage:
Mains frequency:
Max power consumption:
Output:
Max. contact voltage:
Max. contact current:
Max. switching power:
Mounting height:
Degree of protection:
Temperature range:
Dimensions:
Tilt angles:
Material:
Weight:
Cable lenght:
Conformity:
microwave doppler radar
24.150 GHz
< 20 dBm EIRP
< 5 mW/cm²
motion
5 cm/s (measured in sensor axis)
12 V to 24 V AC ±10%; 12 V to 24 V DC +30% / -10%
50 to 60 Hz
< 2 W
relay (free of potential change-over contact)
42 V AC/DC
1 A (resistive)
30 W (DC) / 60 VA (AC)
from 1.8 m to 3 m
IP54
from -20 °C to + 55 °C
120 mm (L) x 80 mm (H) x 50 mm (W)
0° to 90° vertical; -30° to +30° lateral
ABS
165 g
2.5 m
RED 2014/53/EU
Other use of the device is outside the permitted purpose and can not be
guaranteed by the manufacturer. The manufacturer cannot be held responsible
for incorrect installations or inappropriate adjustments of the sensor.
Please keep for further use
Designed for colour printing
For product version 0100 and more
This user’s guide is an informative document and
can not be seen as a commitment of result.
Before fixing After fixing
Avoid proximity to neon
lamps or moving objects.
Do not cover the sensor.Avoid vibrations.Do not touch electronical
parts.
Wall mounting above sliding or
revolving doors Ceiling mounting in front of sliding,
revolving or swing doors
(outside of the door motion range)
OPENING THE SENSOR
TIPS
APPLICATIONS
Mounting on door axis (swing doors)
2
23
1
MIN
ON
OFF
MAX
1
2.2 m
2.2 m
ADJUSTMENTS
Apply the mounting template.
Drill 1 hole for the cable and
pull it through.
Drill 2 holes for the screws.
Fix the sensor firmly.
FIELD ANGLE
Pull the cable through the hole
and connect the wires as follows:
1 - BROWN - POWER SUPPLY
2 - GREEN - POWER SUPPLY
3 - WHITE - COM
4 - YELLOW - NO/NC
Ceiling mounting in front of sliding,
revolving or swing doors
(outside of the door motion range)
FIELD SIZE DIP-SWITCH
DIP 1
DETECTION MODE
DIP 2
OUTPUT CONFIG.
DIP 3
PRM-MODE
(DIP 1 = ON)
DIP 4
IMMUNITY FILTER
bidirectional
unidirectional
active - NO
passive - NC for PRM
normal
high
normal
PRM= persons with
reduced mobility
field size: max
vertical angle: 30°
2.2 m 2.2 m
MOUNTING & WIRING
FIELD WIDTH
4 m x 2 m (wide)
2 m x 2.5 m (narrow)
Available as accessory
2.2 m
2.2 m
BEA SA | LIEGE Science Park | ALLÉE DES NOISETIERS 5 - 4031 ANGLEUR [BELGIUM] | T +32 4 361 65 65 | F +32 4 361 28 58 | [email protected] | WWW.BEA-SENSORS.COM
1
1
2
3
4
5
1
2
3
1
2
1
3
1
2
©BEA | Original instructions | 42.8143 / V2 - 07.18
BEA hereby declares that the SEAGLE ONE is in conformity with the basic requirements and the
other relevant provisions of the directive 2014/53/EU and 2011/65/EU (RoHS).
The complete declaration of conformity is available on our website
TROUBLESHOOTING
The door remains
closed.
The LED is OFF.
The sensor power is off. Check the wiring and the power supply.
The door does not
react as expected.
The door closes and
opens constantly.
Improper output
configuration on the sensor.
The sensor is disturbed by
the closing of the door or
vibrations caused by the
door motion.
The door opens for
no apparent reason.
It rains and the sensor
detects the motion of the
rain drops.
Change the output configuration setting on
each sensor connected to the door operator.
Make sure the sensor is fixed properly.
Make sure the detection mode is unidirectional.
Increase the antenna angle.
Increase the immunity filter.
Reduce the field size.
Change the antenna angle.
Decrease the field size.
Increase the immunity filter.
Make sure the detection mode is unidirectional.
Increase the immunity filter.
Install the ORA (rain accessory).
In highly reflective
environments, the sensor
detects objects outside of its
detection field.
In airlock vestibules,
the sensor detects the
movement of
the opposite door.
Change the antenna angle.
Increase the immunity filter.
This product should be disposed of separately from unsorted municipal waste
Other BEA Accessories manuals

BEA FALCON User manual

BEA

BEA FALCON User manual

BEA IXIO-DP1 User manual

BEA

BEA IXIO-DP1 User manual

BEA CGS-KF112 User manual

BEA

BEA CGS-KF112 User manual

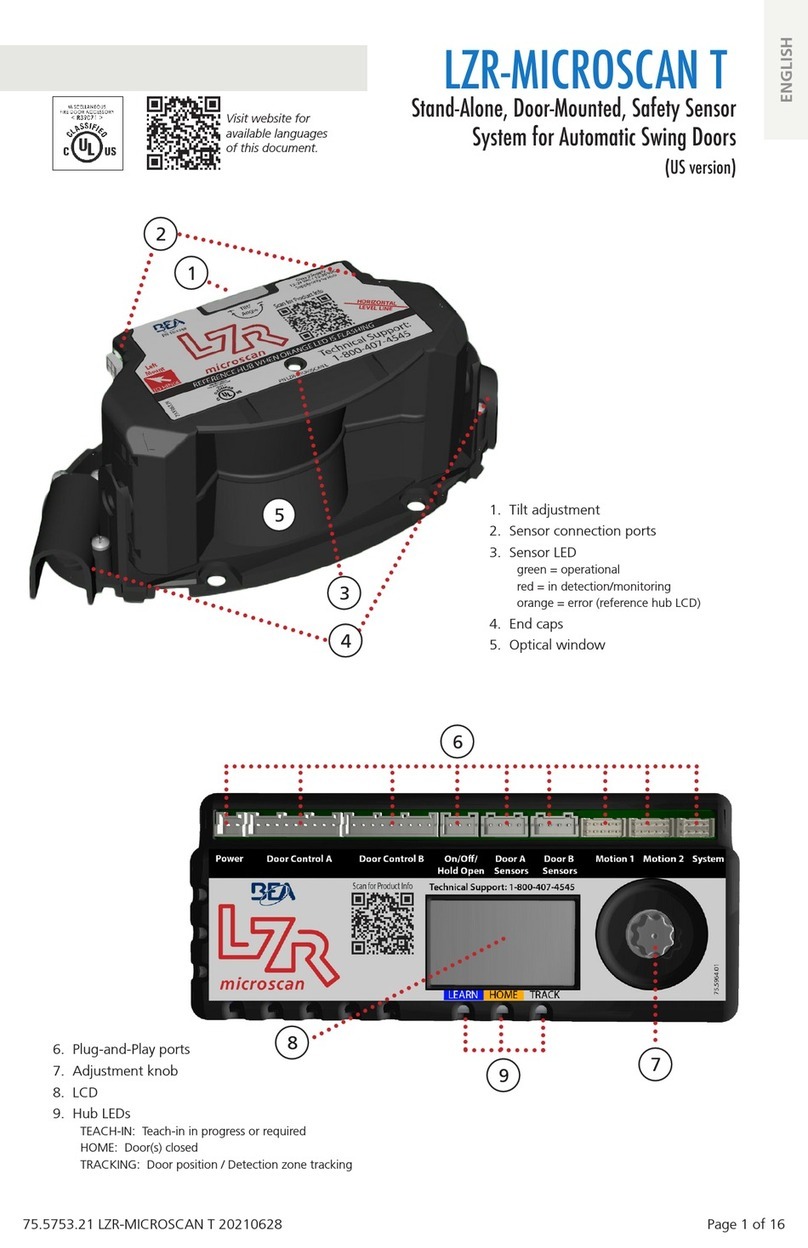
BEA LZR-MICROSCAN1UT User manual

BEA

BEA LZR-MICROSCAN1UT User manual

BEA MINI FLY User manual

BEA

BEA MINI FLY User manual

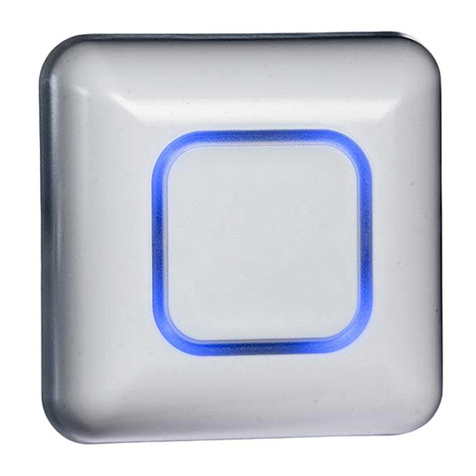
BEA MAGIC SWITCH CHROMA User manual

BEA

BEA MAGIC SWITCH CHROMA User manual

BEA IXIO-DT3 User manual

BEA

BEA IXIO-DT3 User manual

BEA LZR-FLATSCAN REV-LZ User manual

BEA

BEA LZR-FLATSCAN REV-LZ User manual

BEA ACTIV8 THREE F User manual

BEA

BEA ACTIV8 THREE F User manual

BEA MAGIC SWITCH CHROMA User manual

BEA

BEA MAGIC SWITCH CHROMA User manual

BEA ACTIV8 THREE PULSE User manual

BEA

BEA ACTIV8 THREE PULSE User manual

BEA MAGIC SWITCH MS21H User manual

BEA

BEA MAGIC SWITCH MS21H User manual

BEA Eagle One HM User manual

BEA

BEA Eagle One HM User manual

BEA LZR RS300 User manual

BEA

BEA LZR RS300 User manual

BEA LZR SIGMA User manual

BEA

BEA LZR SIGMA User manual

BEA FALCON XL User manual

BEA

BEA FALCON XL User manual

BEA VIO-M1 User manual

BEA

BEA VIO-M1 User manual

BEA IS40P User manual

BEA

BEA IS40P User manual

BEA VIO-D User manual

BEA

BEA VIO-D User manual

BEA BODYGUARD-T User manual

BEA

BEA BODYGUARD-T User manual

BEA Iris Overhead Safety for Door User manual

BEA

BEA Iris Overhead Safety for Door User manual

BEA MW6 User manual

BEA

BEA MW6 User manual

BEA IS40 User manual

BEA

BEA IS40 User manual

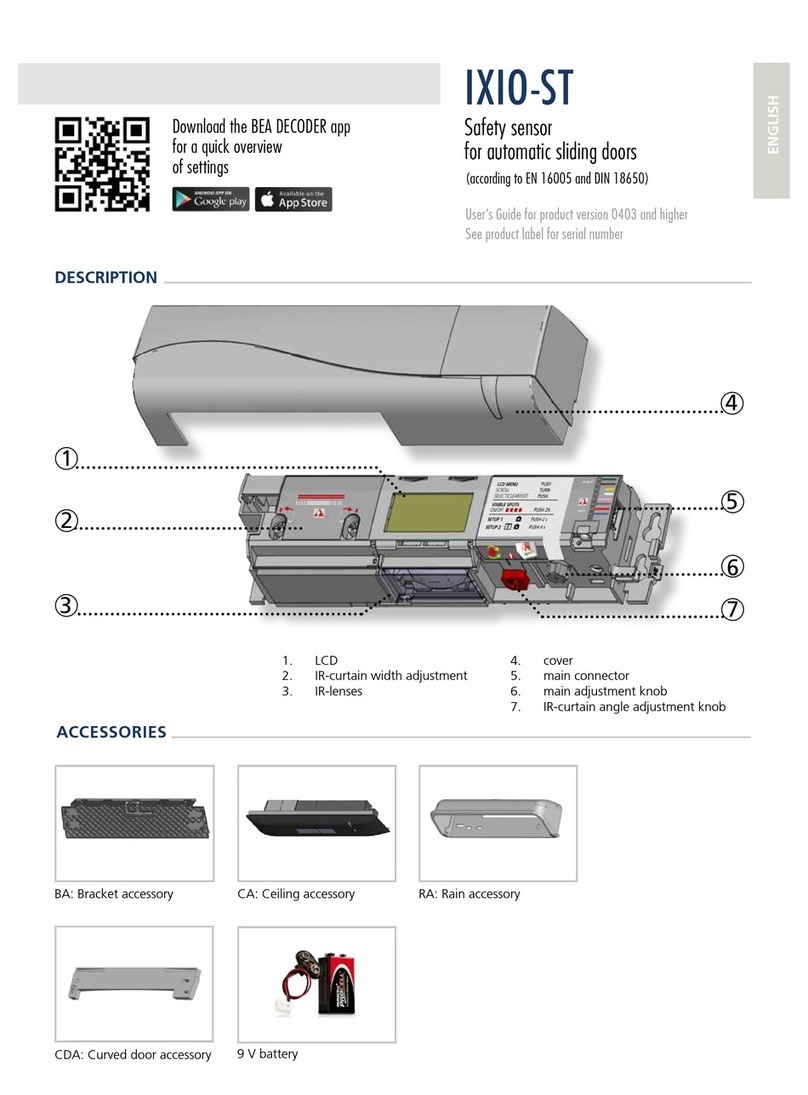
BEA IXIO-ST User manual

BEA

BEA IXIO-ST User manual

Popular Accessories manuals by other brands

Ecube Labs CleanFLEX CAM user manual

Ecube Labs

Ecube Labs CleanFLEX CAM user manual

SMC Networks XT477-4-X2 instruction manual

SMC Networks

SMC Networks XT477-4-X2 instruction manual

KSR KUEBLER BMG Series Mounting and operating instruction

KSR KUEBLER

KSR KUEBLER BMG Series Mounting and operating instruction

Sartorius IS...-X Series operating instructions

Sartorius

Sartorius IS...-X Series operating instructions

esera 1-Wire Multisensor Pro II user guide

esera

esera 1-Wire Multisensor Pro II user guide

AmazonBasics B0843862CB Important safety instructions

AmazonBasics

AmazonBasics B0843862CB Important safety instructions

Medisana HU 650 instruction manual

Medisana

Medisana HU 650 instruction manual

Siemens SITRANS WS300 operating instructions

Siemens

Siemens SITRANS WS300 operating instructions

Frigidaire FGM0205KB installation instructions

Frigidaire

Frigidaire FGM0205KB installation instructions

DLS BPFLEX Installation

DLS

DLS BPFLEX Installation

AML Oceanographic Micro SVP user manual

AML Oceanographic

AML Oceanographic Micro SVP user manual

Kemot URZ3148 owner's manual

Kemot

Kemot URZ3148 owner's manual

Siargo FS8000 user manual

Siargo

Siargo FS8000 user manual

Optex Prosafe OA-1V Operation manual

Optex

Optex Prosafe OA-1V Operation manual

CKD RAPIFLOW FSM3 Series manual

CKD

CKD RAPIFLOW FSM3 Series manual

Ezviz T4C manual

Ezviz

Ezviz T4C manual

Jeio tech IST-3075 operating manual

Jeio tech

Jeio tech IST-3075 operating manual

SICK OD5000 Series operating instructions

SICK

SICK OD5000 Series operating instructions

manuals.online logo
manuals.online logoBrands
  • About & Mission
  • Contact us
  • Privacy Policy
  • Terms and Conditions

Copyright 2025 Manuals.Online. All Rights Reserved.