manuals.online logo
Brands
  1. Home
  2. •
  3. Brands
  4. •
  5. BEA
  6. •
  7. Accessories
  8. •
  9. BEA WIZARD II User manual

BEA WIZARD II User manual

4IR Presence Sensing Field: Width and Depth (wide lens installed as default)
Dimensions Are Approximate Size
IR Patterns
Mounting Height of Sensor
7’ 10’ 12’ 14’
Narrow Lens Depth of Two Curtains 1’3” 1’6” 1’8” 1’10”
Narrow Lens Width of Curtains 3’6” 5’ 6’ 7’
Wide Lens Depth of Two Curtains 1’3” 1’6” 1’8” 1’10”
Wide Lens Width of Curtains 6’6” 10’ 12’ 14’
1. The IR pattern may be adjusted by moving the pattern nearer or further away from the face of the door by adjusting the tilt angle from +4° to
-4°. A counterclockwise rotation of the adjustment screw will move the curtain further away from the door and clockwise rotation will move the
curtain toward the door. Precise location of the IR beam may be found by using BEA’s Spotnder P/N 10SPOT.
WIZARD II SMR
QUICK SETUP GUIDE
COMBINED RADAR ACTIVATION AND ACTIVE INFRARED SAFETY SENSOR
The Wizard II Quick Setup Guide is for the installation and setup of the Wizard II. This document is provided for installers and service personnel
who are familiar with the Wizard II. For those who are not completely familiar with the installation and setup of the Wizard II, BEA recommends
following the detailed installation and setup instructions found in the Wizard II User’s Guide document number 75.5122.
75.5269.02 20071011 Page 1 of 2
1Mount Sensor
1. Attach mounting template to center of door header as shown
above. Template should be 0” to 2” above bottom edge of header.
Drill hole marked for wire passage and drill pilot holes for screw
mounting.
NOTE: Flush mount with bottom of header is necessary for all
negative IR angles.
2. Mount the sensor at a maximum height of 2” from the bottom line of
the door operator.
3. Insert mounting screws approximately halfway in and install the
Wizard on the screws. When in place, tighten screws to secure to
header.
NOTE: Leave cover off until mechanical adjustments are complete.
2Cable Routing
1. With Wizard in place, locate the enclosed cable and feed the
stripped end through the wire passage hole in the header.
2. Leave enough slack to allow connection to the Wizard and proper
routing of wire around the plastic post.
NOTE: Observe proper routing of the cable as shown. This is to
divert rainwater from the Wizard if water should run down
the cable. Proper routing of the wire also provides easier
installation of the cover.
Plastic Post
Cable / Wire
3Sensor Wiring
1. When connecting to a microprocessed control box, the motion output and presence output wires may be connected to separate inputs or may
also be connected to a mutual input. Some controls may only have an activation input, while others may have an activation input, as well as a
safety (or presence) input.
6 Wire Conguration (Preferred Conguration) 4 Wire Conguration (Mandatory Remote Setup: Unlock, F1, 1, Lock, Lock)
W
I
Z
A
R
D
•
PWR: Red - 12 to 24 VAC / VDC: -5% to +10%
• PWR: Black - 12 to 24 VAC / VDC: -5% to +10%
• COM: White - Common at Door Control
• ACTIV: Green - Activation at Door Control
• COM: Brown - Common at Door Control
• SAFETY: Blue - Safety at Door Control
C
O
N
T
R
O
L
W
I
Z
A
R
D
•
PWR: Red - 12 to 24 VAC / VDC: -5% to +10%
• PWR: Black - 12 to 24 VAC / VDC: -5% to +10%
• COM: White - Common at Door Control
• ACTIV: Green - Activation at Door Control
C
O
N
T
R
O
L
-4°
0°
max. 3” max. 3”
+4° -4°
0°
Sensor Plastic Pin Indicator Sensor Adjustment Screw
1 Description
2 Installation / Wiring / Setup
OBSOLETE
5Radar Motion Sensing Field: Width
6Radar Motion Sensing Field: Depth
3.2’ 6.4’3.2’6.4’
3.2’
6.4’
9.6’
3.2’ 6.4’3.2’6.4’
0
3.2’
6.4’
9.6’
13.1’
Sensitivity
0 (min) → 9 (max) default = 7
0
3
6
9
03.2’ 6.4’3.2’6.4’
0
3.2’
6.4’
9.6’
15°30°45°
30°
45°
15°
0°
Wide Pattern Narrow Pattern
7IR Presence Sensing Field / IR Assisted Setup
An Assisted Setup is Required after installation and any time after mechanical IR adjustments. With remote unlock, setup (magic wand), 0. Or
to perform a manual assisted set up; simply momentarily depress the right most push button on the top right of the Wizard. The red & green led
will alternately ash approximately 16 seconds during set up. Keep area clear of trafc during this process. If the Wizard ashes fast red after
the assisted setup then an error has occurred. Repeat the assisted setup or see the Wizard II user guide troubleshooting section pages 8-9.
03.2’ 6.4’3.2’6.4’
0
3.2’
6.4’
9.6’
03.2’ 6.4’3.2’6.4’
0
3.2’
6.4’
9.6’
Wide Pattern Narrow Pattern
2nd Radar Antenna
Radar Motion Sensor
F1 Optional Setup Congurations F1
F1 Function: For a 4 wire connection in lieu of a 6 wire connection - see step 3 for wire connections.
The purpose of selecting safety output redirection using the universal remote (Unlock, F1, 1, Lock, Lock) is to allow the installer two options as
outlined below. With either option; it is absolutely mandatory to redirect the safety signal to the green & white wires. Using the remote control
follow this sequence: Unlock, F1, 1, Lock, Lock. If this is not done the safety signal will not keep the door(s) open if a person occupies
the threshold area even if the Wizard II red LED is indicating detection.
Option 1: To enable the Wizard to function correctly with older non micrprocessed controls. This disables the brown and blue wire function and
redirects the output of the safety signal to the green and white wires. Both motion and presence will now output on the green (NO) and white
(COM) wires.
Option 2: If the installer wants a 4 wire connection in lieu of the preferred 6 wire connection, simply use the red and black wires for power and
the green (NO) and white (COM) for a combined output signal of the motion and presence zone.
◊Automatic Door Control Connections
BEA, Inc. Recommends a
dedicated transformer to power
the Wizard II. Contact Technical
Support if you intend to utilize
the door control power supply.
ACT COM SAF ACT COM SAF
Besam 4000 5 & 7 6 17 & 19 Horton 2160 Blk Wht Grn
Besam amd1 2 & 4 6, 11 8 & 9 Hunter SS Com SB
Besam amd2 12 & 13 5, 11 7 & 9 KM Red Grn Yel
Besam uni 2 & 5 1, 4, 10 11 & 12 KM/Rec 5000 236
Dorma 6 1 2 Stanley Dura (TB2) 4 & 8 (TB2) 3 & 7 (TB3) 7 & 8
DOM Brn Brn Brn / Wht Stanley 521 (TB4) 4 & 8 (TB4) 3 & 7 (TB3) 7 & 8
GT1100 Blk Red Wht Tormax tlp/lc 2 & 4 3
Horton 2150 2 & 3 4, 7, 9 6Tormax tep/xp 2 & 7 3
Do not leave problems unresolved. If a satisfactory solution cannot be achieved after troubleshooting a problem, please call BEA, Inc. If you must wait for the
following workday to call BEA., leave the door inoperable until satisfactory repairs can be made. Never sacrice the safe operation of the automatic door or
gate for an incomplete solution. The following numbers can be called 24 hours a day, 7 days a week. For more information, visit www.beasensors.com.
US and Canada:
Canada:
Northeast:
1-866-249-7937
1-866-836-1863
1-866-836-1863
Southeast:
Midwest:
West:
1-800-407-4545
1-888-308-8843
1-888-419-2564
Page 2 of 2 75.5269.02 20071011
Optional Setup Congurations IR Immunity
Normal Mode: This is the normal operation of IR rows. One or both IR rows are active. See User’s Guide page 6 for more IR curtain options.
Rain Mode: Is enabled but only triggered to ON when 2 learn cycles are performed within 6 detections. This will enable the outer most IR row to
perform an instantaneous learn when detection occurs. The inner most curtain will not be affected. This mode will be effective for a 1hr
countdown timer or power cycle whichever occurs 1st. Rain mode is ineffective if the auto learn time is set to innite.
Snow Mode: Is enabled but only triggered to ON when 2 learn cycles are performed within 6 detections. This will also enable the outer most IR
row to perform an instantaneous learn when detection occurs. In addition it will deploy additional software when unwanted detection occurs
when the reectivity of the oor condition is constantly changing. This mode will be effective for a 1hr countdown timer to reduce the IR learn
capability to 10 seconds. After 1hr or a power cycle the Wizard will return to normal mode. Snow mode is ineffective if the auto learn time is set
to innite.
0
0
0
OBSOLETE

Other BEA Accessories manuals

BEA ACTIV8 THREE PULSE User manual

BEA

BEA ACTIV8 THREE PULSE User manual

BEA IXIO-DT1 User manual

BEA

BEA IXIO-DT1 User manual

BEA BEAMBOX User manual

BEA

BEA BEAMBOX User manual

BEA EAGLE ONE HM User manual

BEA

BEA EAGLE ONE HM User manual

BEA VIO-M1 User manual

BEA

BEA VIO-M1 User manual

BEA Halma PBS45 Series User manual

BEA

BEA Halma PBS45 Series User manual

BEA Falcon User manual

BEA

BEA Falcon User manual

BEA EAGLE User manual

BEA

BEA EAGLE User manual

BEA Nema 4 Flex IR User manual

BEA

BEA Nema 4 Flex IR User manual

BEA WIZARD PLUS User manual

BEA

BEA WIZARD PLUS User manual

BEA Spotfinder Infrared Zone Locator User manual

BEA

BEA Spotfinder Infrared Zone Locator User manual

BEA FALCON User manual

BEA

BEA FALCON User manual

BEA CGS-KF112 User manual

BEA

BEA CGS-KF112 User manual

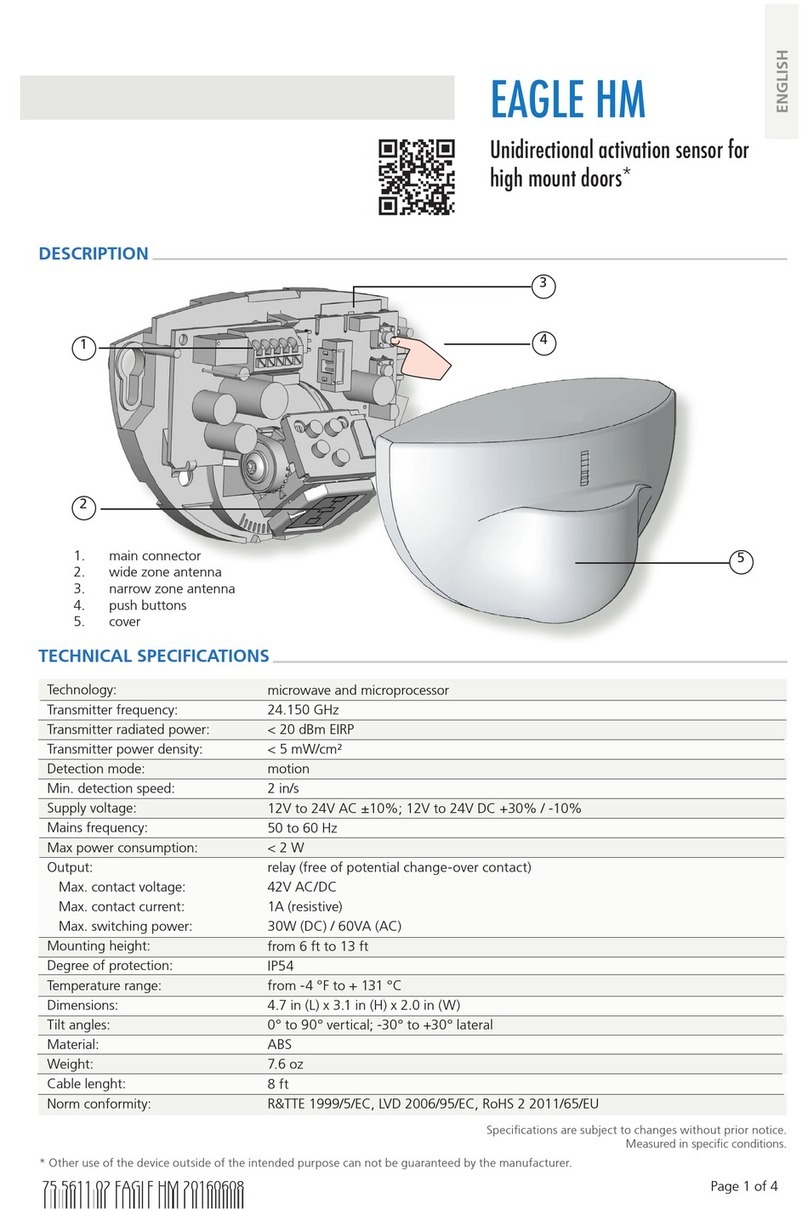
BEA Eagle HM User manual

BEA

BEA Eagle HM User manual

BEA FALCON DR User manual

BEA

BEA FALCON DR User manual

BEA IS40 User manual

BEA

BEA IS40 User manual

BEA MAGIC SWITCH CHROMA User manual

BEA

BEA MAGIC SWITCH CHROMA User manual

BEA Falcon User manual

BEA

BEA Falcon User manual

BEA ACTIV8 THREE PULSE User manual

BEA

BEA ACTIV8 THREE PULSE User manual

BEA IXIO-DP3 User manual

BEA

BEA IXIO-DP3 User manual

BEA Eagle One HM User manual

BEA

BEA Eagle One HM User manual

BEA EAGLE 6+DRO Operating instructions

BEA

BEA EAGLE 6+DRO Operating instructions

BEA Eagle 10 User manual

BEA

BEA Eagle 10 User manual

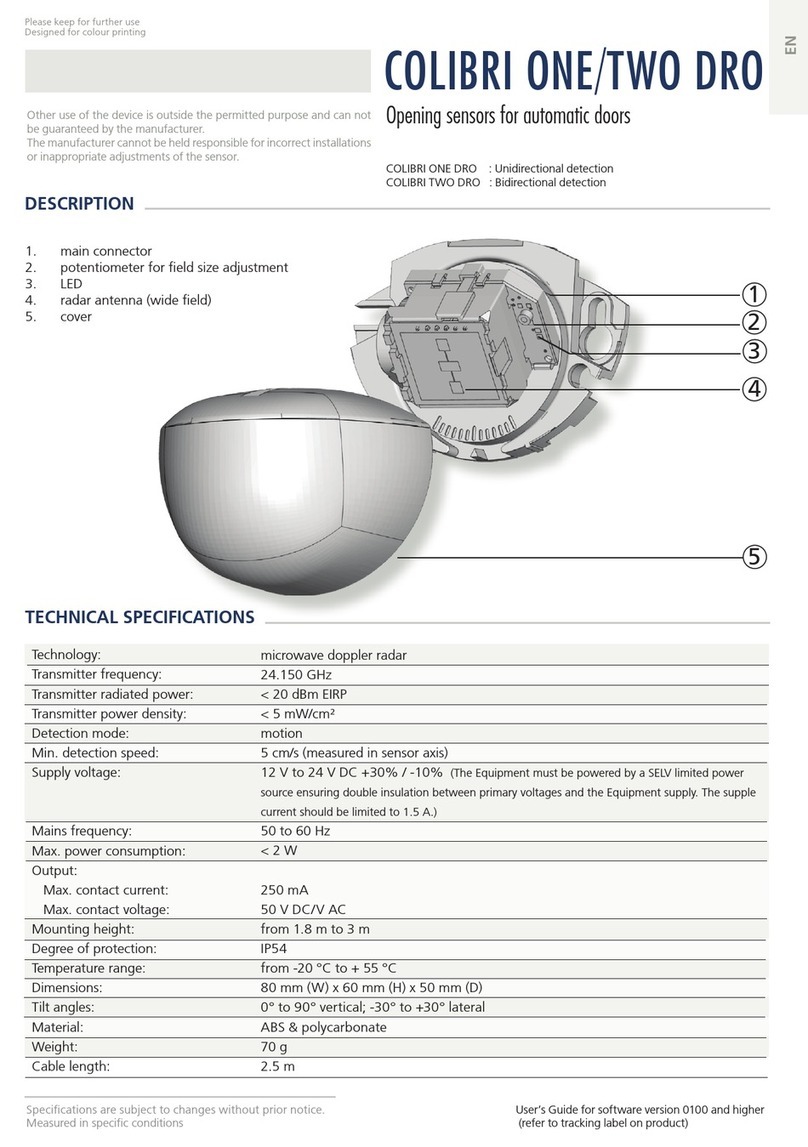
BEA COLIBRI ONE DRO User manual

BEA

BEA COLIBRI ONE DRO User manual

Popular Accessories manuals by other brands

Winsen GM-502B manual

Winsen

Winsen GM-502B manual

For Your Little One FYLO-15 instruction manual

For Your Little One

For Your Little One FYLO-15 instruction manual

Lexing LX-PR-S15-Z instructions

Lexing

Lexing LX-PR-S15-Z instructions

Shenzhen Neo Electronics Co., LTD PIR instruction manual

Shenzhen Neo Electronics Co., LTD

Shenzhen Neo Electronics Co., LTD PIR instruction manual

Asgard WOODWORK quick start guide

Asgard

Asgard WOODWORK quick start guide

Edirol UA-4FX Read this first

Edirol

Edirol UA-4FX Read this first

Rockler Gold Slimline Pencil Preparation and Turning

Rockler

Rockler Gold Slimline Pencil Preparation and Turning

Microsoft Xbox 360 user guide

Microsoft

Microsoft Xbox 360 user guide

Emerson Rosemount 228 Reference manual

Emerson

Emerson Rosemount 228 Reference manual

Ellia ASCEND ARM-535 manual

Ellia

Ellia ASCEND ARM-535 manual

DigiGrid DESKTOP INTERFACE Quick start guides

DigiGrid

DigiGrid DESKTOP INTERFACE Quick start guides

Skipper DL850S27DR-SB installation manual

Skipper

Skipper DL850S27DR-SB installation manual

Parkside PBKZ 1 A1 operating instructions

Parkside

Parkside PBKZ 1 A1 operating instructions

AMALGAMATED INSTRUMENT 03002V manual

AMALGAMATED INSTRUMENT

AMALGAMATED INSTRUMENT 03002V manual

SICK NAV210 operating instructions

SICK

SICK NAV210 operating instructions

SICK WTB4S-3 operating instructions

SICK

SICK WTB4S-3 operating instructions

DAVIS Vantage Pro2 Updater installation manual

DAVIS

DAVIS Vantage Pro2 Updater installation manual

Ryobi 4070333 Operator's manual

Ryobi

Ryobi 4070333 Operator's manual

manuals.online logo
manuals.online logoBrands
  • About & Mission
  • Contact us
  • Privacy Policy
  • Terms and Conditions

Copyright 2025 Manuals.Online. All Rights Reserved.