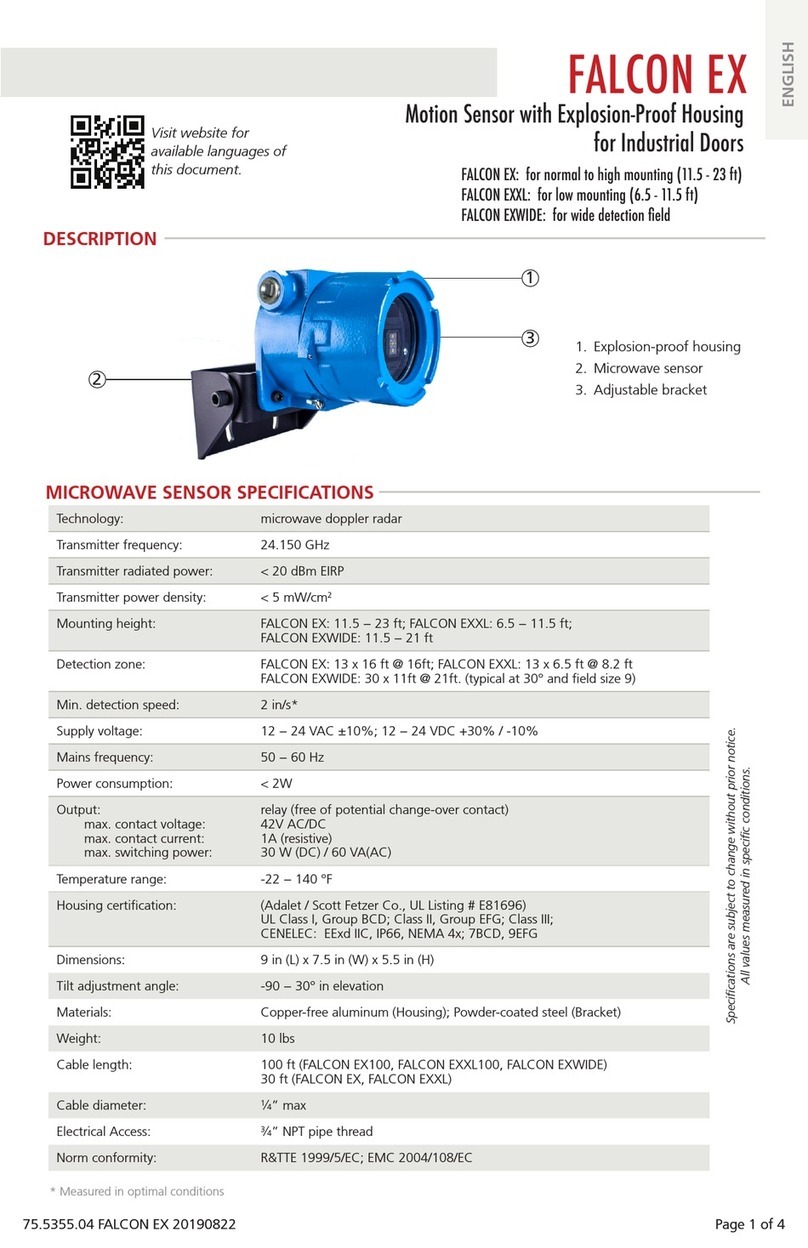
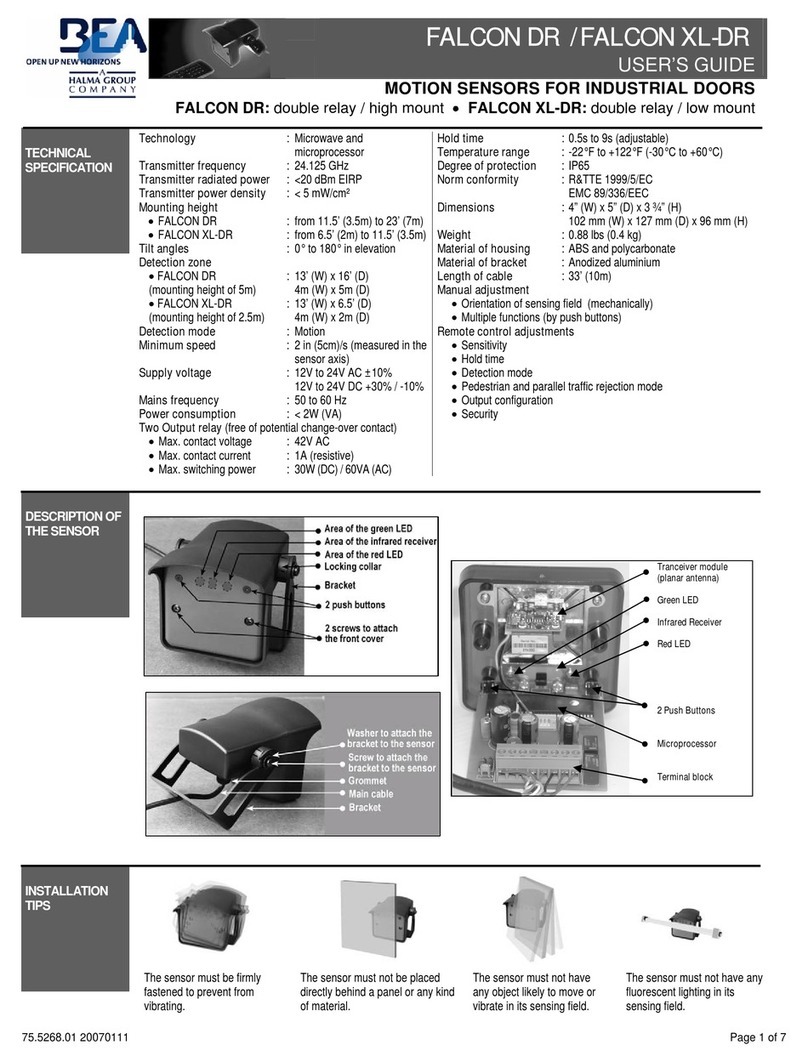
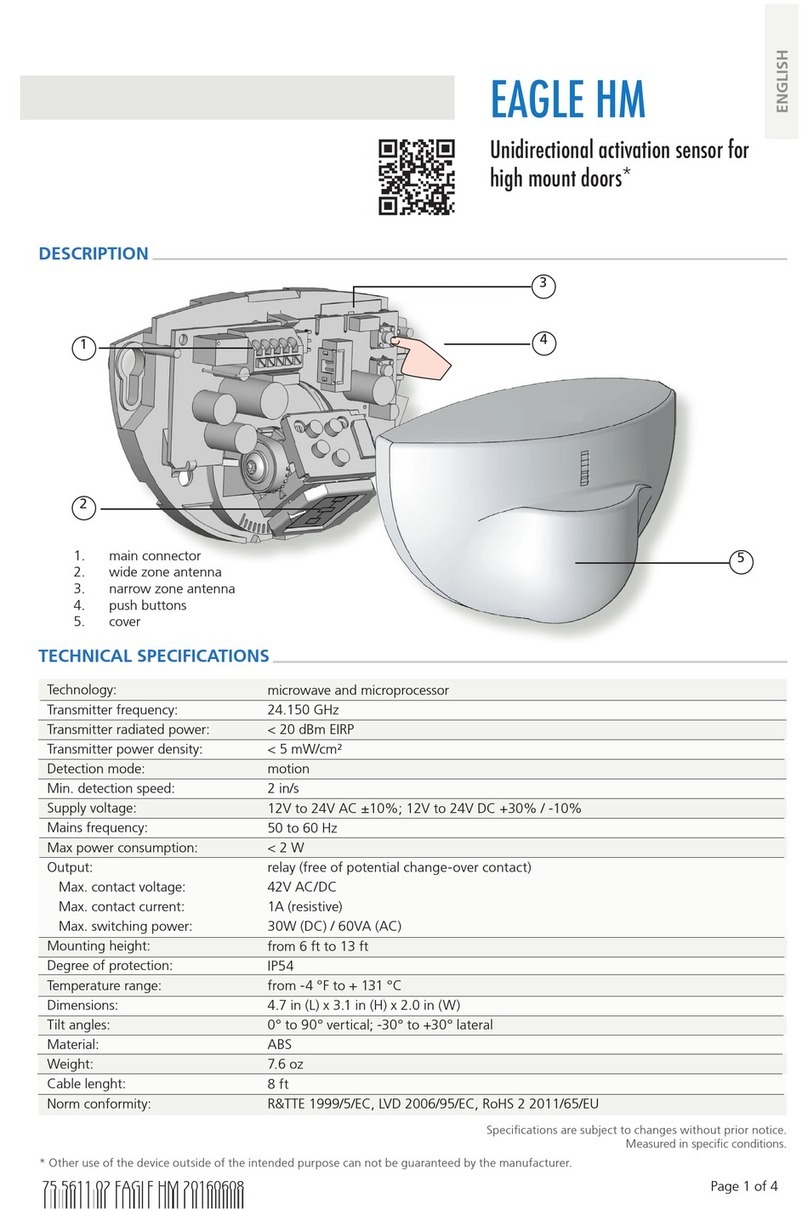
manuals.online logo
Brands
  1. Home
  2. •
  3. Brands
  4. •
  5. BEA
  6. •
  7. Accessories
  8. •
  9. BEA WIZARD PLUS User manual

BEA WIZARD PLUS User manual

Page 1 of 3
75.5043 V2 Jun 2003
PRODUCT
DESCRIPTION
COMPONENT ID
SAFETY
PRECAUTIONS
INSTALLATION
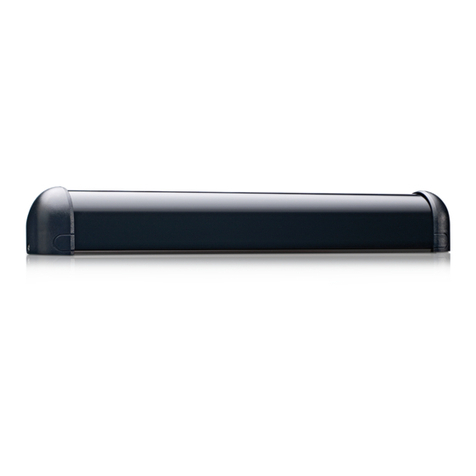
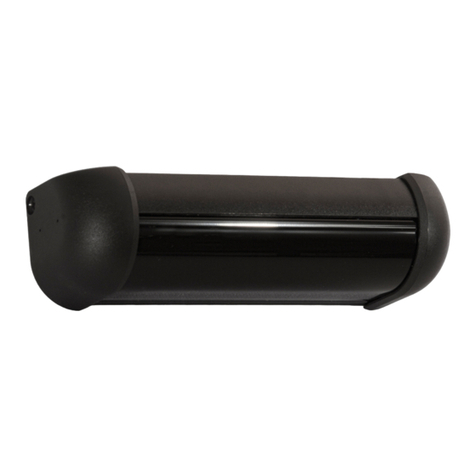
The Wizard+ provides 3 functions in one package: Motion sensing, presence sensing, and imaging. The imaging
function is an isolated function, and is not used for motion or presence detection. The camera provides an analog
output for direct input to monitors, VCR’s, etc.
Part Number Image Format
10WIZARD+1 Black & White NTSC (USA)
10WIZARD+1C Color NTSC (USA)
10WIZARD+2 Black & White PAL (EUROPE)
10WIZARD+2C Color PAL (EUROPE)
•Shut off all power going to the header before attempting any wiring procedures.
•Maintain a clean & safe environment when working in public areas.
•Constantly be aware of pedestrian traffic around the door area.
•Always stop pedestrian traffic through the doorway when performing tests that may result in unexpected
reactions by the door.
•Always check placement of all wiring before powering up to insure that moving door parts will not catch any
wires and cause damage to equipment.
•Ensure compliance with all applicable safety standards (i.e. ANSI A156.10) upon completion of installation.
1. Remove the cover from the Wizard Plus. Take care when removing the cover, as it needs to be “rolled” off of
the base plate from the top down.
2. Remove the camera from the base plate as shown. Simply place a small screwdriver under the black housing of
the camera, and gently pry the camera from its mount plate. Once removed, unplug the 5-pin connector from
the sensor.
USERS GUIDE
WIZARD PLUS
TRI-FUNCTIONAL SENSOR
Camera
Extension Harness
With Female RCA Connector
60” Len
g
th
Rotate the cover off from the sensor so the cover may clear the camera lens.
When re-installing cover, simply reverse the procedure.
5-pin connector with
red and black wire
Gently pry camera
away from bracket
Non-removable connector at camera
OBSOLETE
Page 2 of 3
75.5043 V2 Jun 2003
CABLING
INSTALLATION
3. Install the Sensor as outlined in the Wizard’s Users Guide (PN: 75.0127). Once the Wizard Plus sensor is in
place, do not tighten the mounting screws
4. Mark a location on the header for a wire passage
hole that is just above the sensor as shown below
and route the cable through the hole. Ensure that the
hole is in a location that will be covered by the sensor
cover when installed.
5. Re-Install the sensor to the mounting surface and tighten
the mounting screws as outlined in the Wizard User’s
Guide.
6. On Black and White camera systems (10WIZARD+1 and
10WIZARD+2), there is a day-night switch to optimize the
picture for extremely bright surroundings. This may be
used in exterior door applications, for example, when
there is a large amount of sunlight or other bright light
source in the area. The switch is located on the circuit
board on the back of the camera. The switch is to be
turned on (down position) for this situation. The switch is
shipped in the off position. See the following pictures:
7. Re-install the camera into its mount bracket on the sensor. The
barrel portion of the camera is a simple press-fit. When installed
properly, it should be positioned as shown here.
1. Attach all sensor wiring as outlined in the Wizard User’s Guide. In addition, attach the camera cables as shown.
2. There are no separate power requirements for the camera, as it is powered by the internal power supply of the
sensor.
3/8” hole for camera extension cable
RCA Connector
2-Pin Connector
at Ext. Cable
5-Pin Connector
Plugs into sensor
Monitor
PC
VCR
TV
All Devices
B
y
Others
NORMAL
BACKGROUND
BRIGHT
BACKGROUND
OBSOLETE
Page 3 of 3
75.5043 V2 Jun 2003
COMPANY
CONTACT
If after troubleshooting a problem, a satisfactory solution cannot be achieved, please call B.E.A., Inc.
for further assistance during Eastern Standard Time at 1-800-523-2462 from 8am - 5pm.
For after-hours, call East Coast: 1-866-836-1863 or 1-800-407-4545 / Mid-West: 1-888-308-8843 /
West Coast: 1-888-419-2564. DO NOT leave any problem unresolved. If you must wait for the following
workday to call B.E.A., leave the door inoperable until satisfactory repairs can be made.
NEVER sacrifice the safe operation of the automatic door or gate for an incomplete solution.
Web: www.beainc.com
OBSOLETE

This manual suits for next models

4

Other BEA Accessories manuals

BEA MW6 User manual

BEA

BEA MW6 User manual

BEA MAGIC SWITCH CHROMA 86 User manual

BEA

BEA MAGIC SWITCH CHROMA 86 User manual

BEA CONDOR User manual

BEA

BEA CONDOR User manual

BEA MAGIC SWITCH MS21H User manual

BEA

BEA MAGIC SWITCH MS21H User manual

BEA CONDOR User manual

BEA

BEA CONDOR User manual

BEA PBR45 Series User manual

BEA

BEA PBR45 Series User manual

BEA Falcon User manual

BEA

BEA Falcon User manual

BEA VIO-ST User manual

BEA

BEA VIO-ST User manual

BEA LZR-WIDESCAN User manual

BEA

BEA LZR-WIDESCAN User manual

BEA LZR SIGMA User manual

BEA

BEA LZR SIGMA User manual

BEA MAGIC SWITCH CHROMA User manual

BEA

BEA MAGIC SWITCH CHROMA User manual

BEA WIZARD II User manual

BEA

BEA WIZARD II User manual

BEA MAGIC SWITCH CHROMA User manual

BEA

BEA MAGIC SWITCH CHROMA User manual

BEA EAGLE User manual

BEA

BEA EAGLE User manual

BEA 1SAFE User manual

BEA

BEA 1SAFE User manual

BEA SUPERSCAN-T User manual

BEA

BEA SUPERSCAN-T User manual

BEA FALCON EX User manual

BEA

BEA FALCON EX User manual

BEA VIO-M1 User manual

BEA

BEA VIO-M1 User manual

BEA Eagle 10 User manual

BEA

BEA Eagle 10 User manual

BEA ACTIV8 THREE PULSE User manual

BEA

BEA ACTIV8 THREE PULSE User manual

BEA BEAMBOX User manual

BEA

BEA BEAMBOX User manual

BEA WIZARD-C User manual

BEA

BEA WIZARD-C User manual

BEA SPARROW User manual

BEA

BEA SPARROW User manual

BEA Eagle Operator's manual

BEA

BEA Eagle Operator's manual

Popular Accessories manuals by other brands

ORIGYN autoSPRITZ OAS1aw user manual

ORIGYN

ORIGYN autoSPRITZ OAS1aw user manual

Saramonic SmartRig plus Di user manual

Saramonic

Saramonic SmartRig plus Di user manual

ALCYON MELODY quick start guide

ALCYON

ALCYON MELODY quick start guide

Rittal 7030.140 Installation guide and short user's guide

Rittal

Rittal 7030.140 Installation guide and short user's guide

Bosch PSJ120S Operating/safety instructions

Bosch

Bosch PSJ120S Operating/safety instructions

Tiger TI-01SS user manual

Tiger

Tiger TI-01SS user manual

Hanna Instruments HI 504901 instruction manual

Hanna Instruments

Hanna Instruments HI 504901 instruction manual

SENSORWORX SWX-101 Series Installation & operation instructions

SENSORWORX

SENSORWORX SWX-101 Series Installation & operation instructions

Dometic GROUP Waeco CoolMatic CS-MP2 Installation and operating manual

Dometic GROUP

Dometic GROUP Waeco CoolMatic CS-MP2 Installation and operating manual

Fetco 5-15P Technical bulletin

Fetco

Fetco 5-15P Technical bulletin

MicroStrain Inertia-Link 3DM-GX2 Technical notes

MicroStrain

MicroStrain Inertia-Link 3DM-GX2 Technical notes

E+E Elektronik EE212 user manual

E+E Elektronik

E+E Elektronik EE212 user manual

White Rodgers F145-1378 installation instructions

White Rodgers

White Rodgers F145-1378 installation instructions

Novation nio 2/4 Specifications

Novation

Novation nio 2/4 Specifications

Apogee ONE user guide

Apogee

Apogee ONE user guide

Reymsa HFC Series Installation, operation & maintenance manual

Reymsa

Reymsa HFC Series Installation, operation & maintenance manual

Celestron NexStar+ Hand Control troubleshooting guide

Celestron

Celestron NexStar+ Hand Control troubleshooting guide

3D Systems Touch user guide

3D Systems

3D Systems Touch user guide

manuals.online logo
manuals.online logoBrands
  • About & Mission
  • Contact us
  • Privacy Policy
  • Terms and Conditions

Copyright 2025 Manuals.Online. All Rights Reserved.