manuals.online logo
Brands
  1. Home
  2. •
  3. Brands
  4. •
  5. Bend-Tech
  6. •
  7. Industrial Equipment
  8. •
  9. Bend-Tech Dragon A400 User manual

Bend-Tech Dragon A400 User manual

1
Dragon A400 Assembly Manual
Crate Size: 120”L x 65” x 80”H
Machine Size (After Assembly): 372”L x 30” x 72”H
The Dragon A400 will arrive in its crate and will need to be opened with a minimum of two
people with pry bars and/or claw hammers. The top of the crate should be removed first,
followed by at least one large face of the crate as shown here. It is highly recommended to
remove all four walls of the crate for easy access to the machine's parts.
2
Upon revealing your new Dragon A400 machine you'll notice that it's packaged into several
different pieces, all of which are bolted to the base of the crate with 1/2” bolts. These pieces are
also shrink-wrapped to prevent damage due to swaying during shipping.
Boxes include the Hypertherm Box (if ordered), the Chuck Housing box, a chuck box
containing extra jaws for the chuck and the Miscellaneous Parts box. The misc parts box
contains the leveling feet, wrench, magnet tool, rail connector bolts, ethernet cable, power cord,
torch barrel connector plug and cable, zip ties, cable loops, nuts, bolts, washers and some other
miscellaneous wires.
Any zip ties attached to parts of the machine which have their tails in place indicate that those
parts will be moved to a new location. Any zip ties without tails must remain in their current
position.
Plotting out all pieces before assembly is the best course of action.
3
The Unpacking And Assembly Process
DO NOT REMOVE THE SHR NK WRAP AND RATCHET STRAP SECUR NG THE
CHUCK AND CABL NG CONNECTED TO THE HEAD OF THE MACH NE.
1.) Remove the shrink wrap and 1/2” bolts securing the rear rail section (green) and the two
corresponding leg sections (pink and yellow).
The head of the Dragon (red) will be removed last.
Keep in mind that each location where rail sections meet will be labeled with a number to
match them up easier. Those numbers are shown here, but best illustrated on the diagram on
page 4 which shows the machine fully assembled.
REFER BACK TO TH S MAGE/PAGE ON AN AS NEEDED BAS S.
4
The image below shows the machine fully assembled with each of the
numbered sections lining up with each other. They are color coded, so pay close
attention to the following instructions that refer to any section with a
corresponding color after the part description.
•Green: The machine tail. Set up with both legs already attached.
•Blue: A rail section meeting up with the tail #5 (green) and leg #4 (yellow).
•Yellow: An independent leg section supporting the blue and orange rail sections.
•Orange: A rail section meeting up with leg #4 (yellow) and the head #3 (red).
•Red: The head of the machine including lifter station meeting up with rail section
(orange) and the part catcher/beak #0 (purple).
•Purple: The part catcher and beak meeting up with the head of the machine (red)
and an independent leg section #0 (pink).
•Brown: An independent cable track guide section attached to rail section (blue).
•Gray: An independent cable track guide section attached to rail section (orange).
5
2.) Using a tin snips or similar tool, cut the banding straps off of the rails that are secured to the
base of the crate (blue and orange). Next, remove all of the unsecured parts from the crate and
begin to line them up where the tail of the machine will be located in your shop.
NOTE: The cable/belt track guide sections that are stacked onto each other on the tail section
(green) of the machine can be set aside until step 13 of this manual. These are also numbered
for matching up with the rail sections they belong to.
The tail is the piece of rail on two legs (green). The independent rail (blue) will attach to the
first independent leg (yellow). It is important to have the leg (yellow) in place before any rail
section becomes attached to it.
6
3.) On the front end of the tail (green #5), start by grabbing the four 1/8” allen head screws from
the misc parts box. These will be used to connect the tail to rail section 4-5 (blue).
4.) It’s very important to attach the leveling feet (located in the parts box) before assembling
each part of the machine. Attach the leveling feet to each leg of the machine and ensure that all
of the lower nuts on the feet are positioned as low as possible, assuming that your floor in your
shop is level. These leveling feet will be adjusted later to ensure a level machine.
7
5.) Slide the independent rail section (blue) into the tail (green) making sure to line up the
sticker numbers with each other (5:5). Have another person hold the support leg (yellow) into
position as this happens. Then, retrieve the bag of screws and mounts from the parts box.
6.) Using the magnet tool provided, guide the T-nut mounts into the sides of the rail and screw
the 3/16” allen head screws into them through the bolt holes provided.
7.) Before connecting the independent support leg (yellow) to rail (blue), make sure to loosen
up the 3/16” allen head screws on at least one side of each support leg on the tail to provide an
easier fit. Do not completely remove the screws. Then, maneuver the support leg into position
so that it completely supports the rail.
8
8.) At the front end of the independent rail (blue), loosely affix the rail to the independent
support leg (yellow) using the magnet tool and allen head screws as in the previous step. Make
sure that the support leg is level before tightening down any screws. You may need to tap the
rail into position using a rubber mallet on the opposite end.
The following step is useful if you don't have access to a forklift.
9.) ith the help of at least 3-4 other people and a 2x6 or 2x4 length of wood, prop up the
heaviest end of the head of the machine (red) and a third person at the lighter end, and lift it off
of the base of the crate and onto your shop floor. Make sure to move slow as the machine is top
heavy. It is suggested to have the fourth person at the head of the machine to make sure it
doesn't topple or tip over.
NOTE: Remember to attach the leveling feet.
9
10.) Line up the head of the machine (red) a rail’s length away from the independent support leg
(yellow) and slide the head towards the rail to close the gap on the second independent rail
section (orange). Using the magnet tool, connect the rail section as before. Make sure all
support legs are level before tightening the screws completely.
11.) This step may require backing off the head of the machine (red) in order to fit the rail
section in between the legs, so re-positioning slowly and accurately is going to be important.
12.) Once the head (red) is attached to the rest of the machine, you are free to remove the shrink
wrap, poly banding, and the bubble wrap from the cable track, chuck trolley along with the rest
of the machine and discard them.
10
13.) Connect the cable/belt track guide sections (brown and gray) to the legs of the machine
using the 5/32” allen head screws from the parts box.
NOTE: The section with the large hole and grommet located on it must be placed nearest the
front of the machine above the middle leg (yellow). Use the numbered stickers on the parts as a
guide.
11
14.) Affix the part catcher and beak (purple) to the head of the machine using the 9/16” bolts
(x4) located in the misc parts box.
12
15.) Retrieve the support leg for the beak (pink) and connect the leveling feet first. Then,
unscrew the 3/16” allen head screws and set them aside before maneuvering the support leg
(pink) into position under the beak (purple).
13
16.) Connect the beak to the support leg using the 3/16” allen head screws and spacers
provided. Make sure to level the feet before tightening all bolts and screws down.
17.) Using a bubble or digital level, make adjustments to each of the section's leveling feet to
ensure that the machine is lined up correctly. This will ensure that the efficacy of your Dragon
machine will be in pristine order during operations.
14
18.) Remove the shrink wrap on the white X-drive belt and unroll it to the end of the machine.
Make sure the belt doesn't twist and that it rides properly on top of the X-drive pulley.
19.) Feed the 2 pins on the clamp block into the holes at the rear of the machine. Tighten the
entire drive belt by attaching and turning the rear 3/4” nut. The second nut will be used to lock
in the position.
15
20.) Using the belt tension gauge from the misc parts box, proceed to take a reading of the belt's
tension. This should be roughly 140 ft/lbs. Follow the instructions at this video link to ensure
that you use this tool correctly. https://youtu.be/0DZYfYFccAM
Tighten or loosen the 3/4” nut on the rear of the machine until the belt's tension is at the desired
value. This is extremely important to allow for the best working conditions for your machine.
16
21.) Remove the zip ties and unwrap the cable track. Roll the end of the track under itself and
run the end of the cables into the grommet halfway down the rail as shown here.
22.) Affix the end of the cable track to the track guide by clipping it into place.
17
23.) Using the loops and accompanying instructions for placement in the misc parts box,
connect the cabling underneath the track guide to lead the cabling toward the control box.
24.) Connect the wiring to the control box ports according to their assigned placement. Also
retrieve your compressor's air hose and connect it onto the air solenoid on the control box at this
time.
18
25.) Connect the power, ethernet and torch cable to the ports provided in the control box. (These
cables will be packaged separately inside the misc parts box).
26.) Retrieve the chuck cover from it's shipping box along with the 1/8 inch bolts (x36) for use
in assembling it together.
19
27.) Attach the front plate to the chuck housing with 10 of the bolts, then attach the grommet to
the top of the housing base.
28.) Locate the emergency stop button from the chuck trolley and disassemble is as shown. This
will be re-assembled on top of the chuck housing base.
20
29.) Place the half-completed chuck housing onto the chuck trolley and affix a few 1/8 bolts to
the base to keep it steady. There are 16 bolts for the base in total.
30.) Reach into the back of the chuck housing to place the e-stop switch into it's assigned hole.
Make sure that the wire is routed so it won't come in contact with any gearing inside the chuck
housing and that the wires on the E-stop are connected securely before you re-assemble it.

Other manuals for Dragon A400
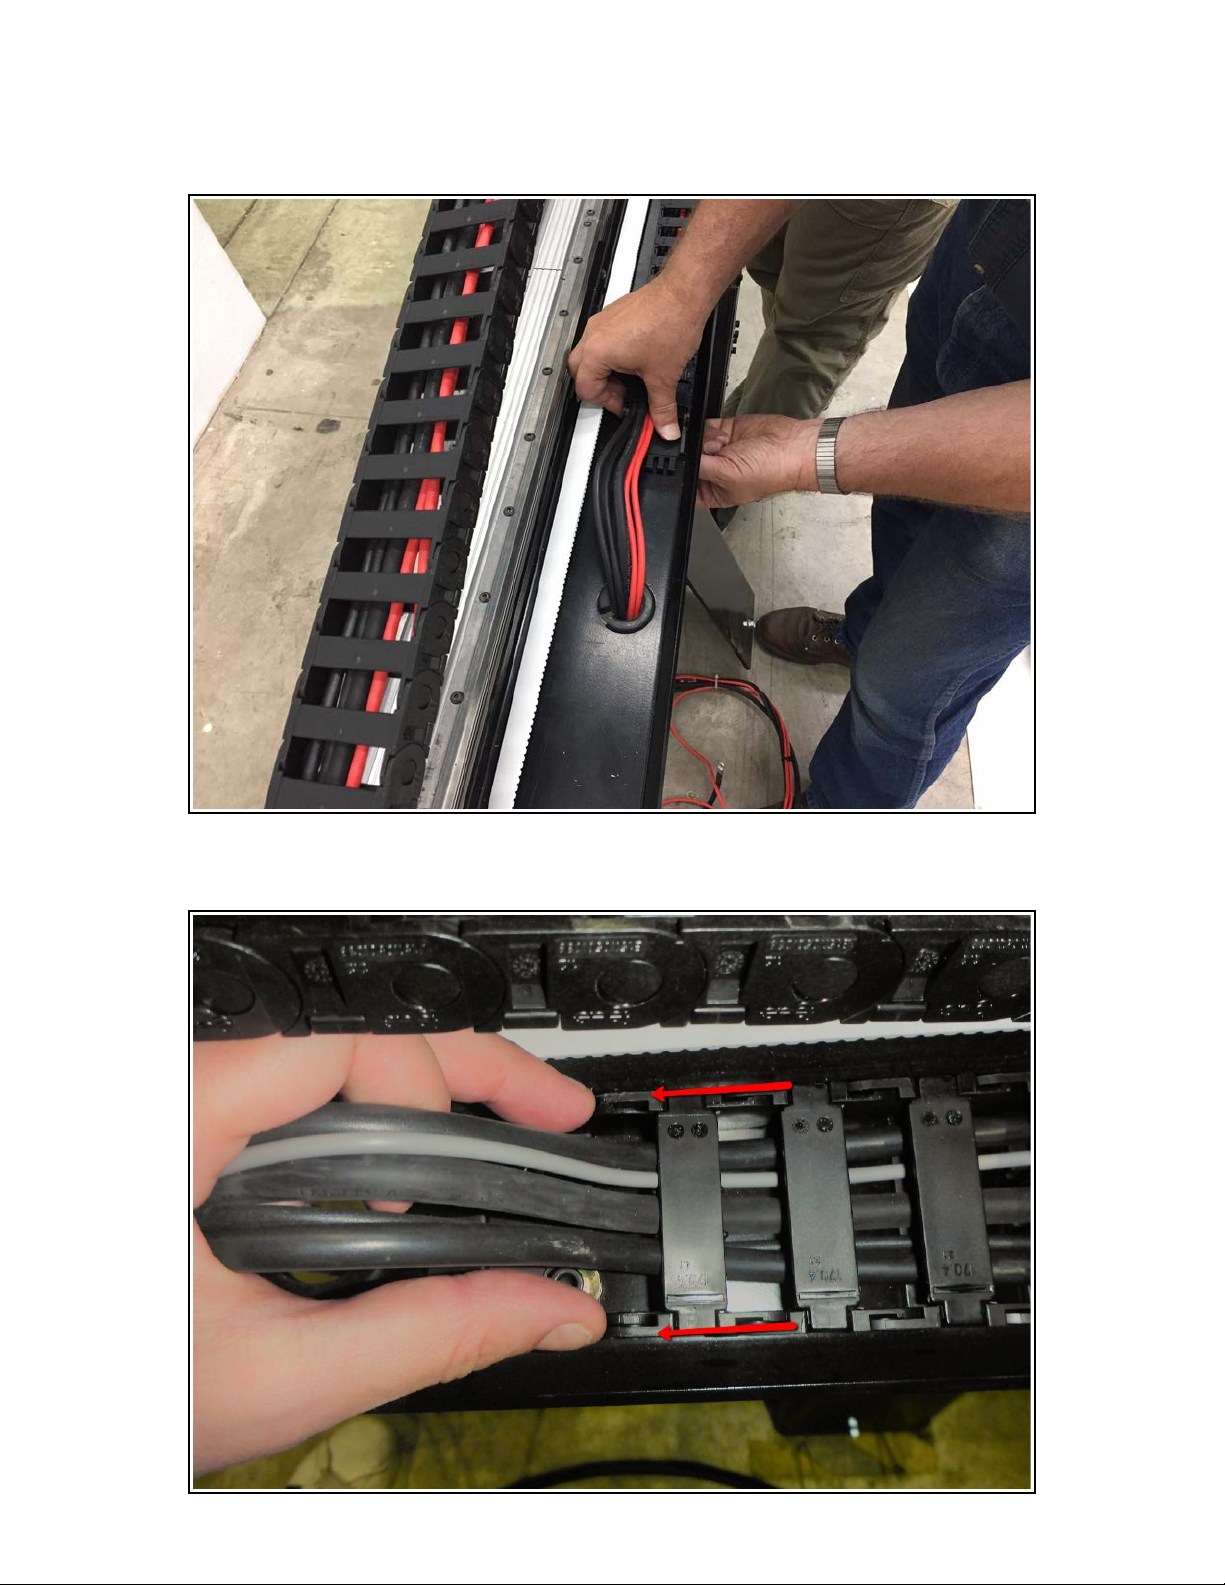
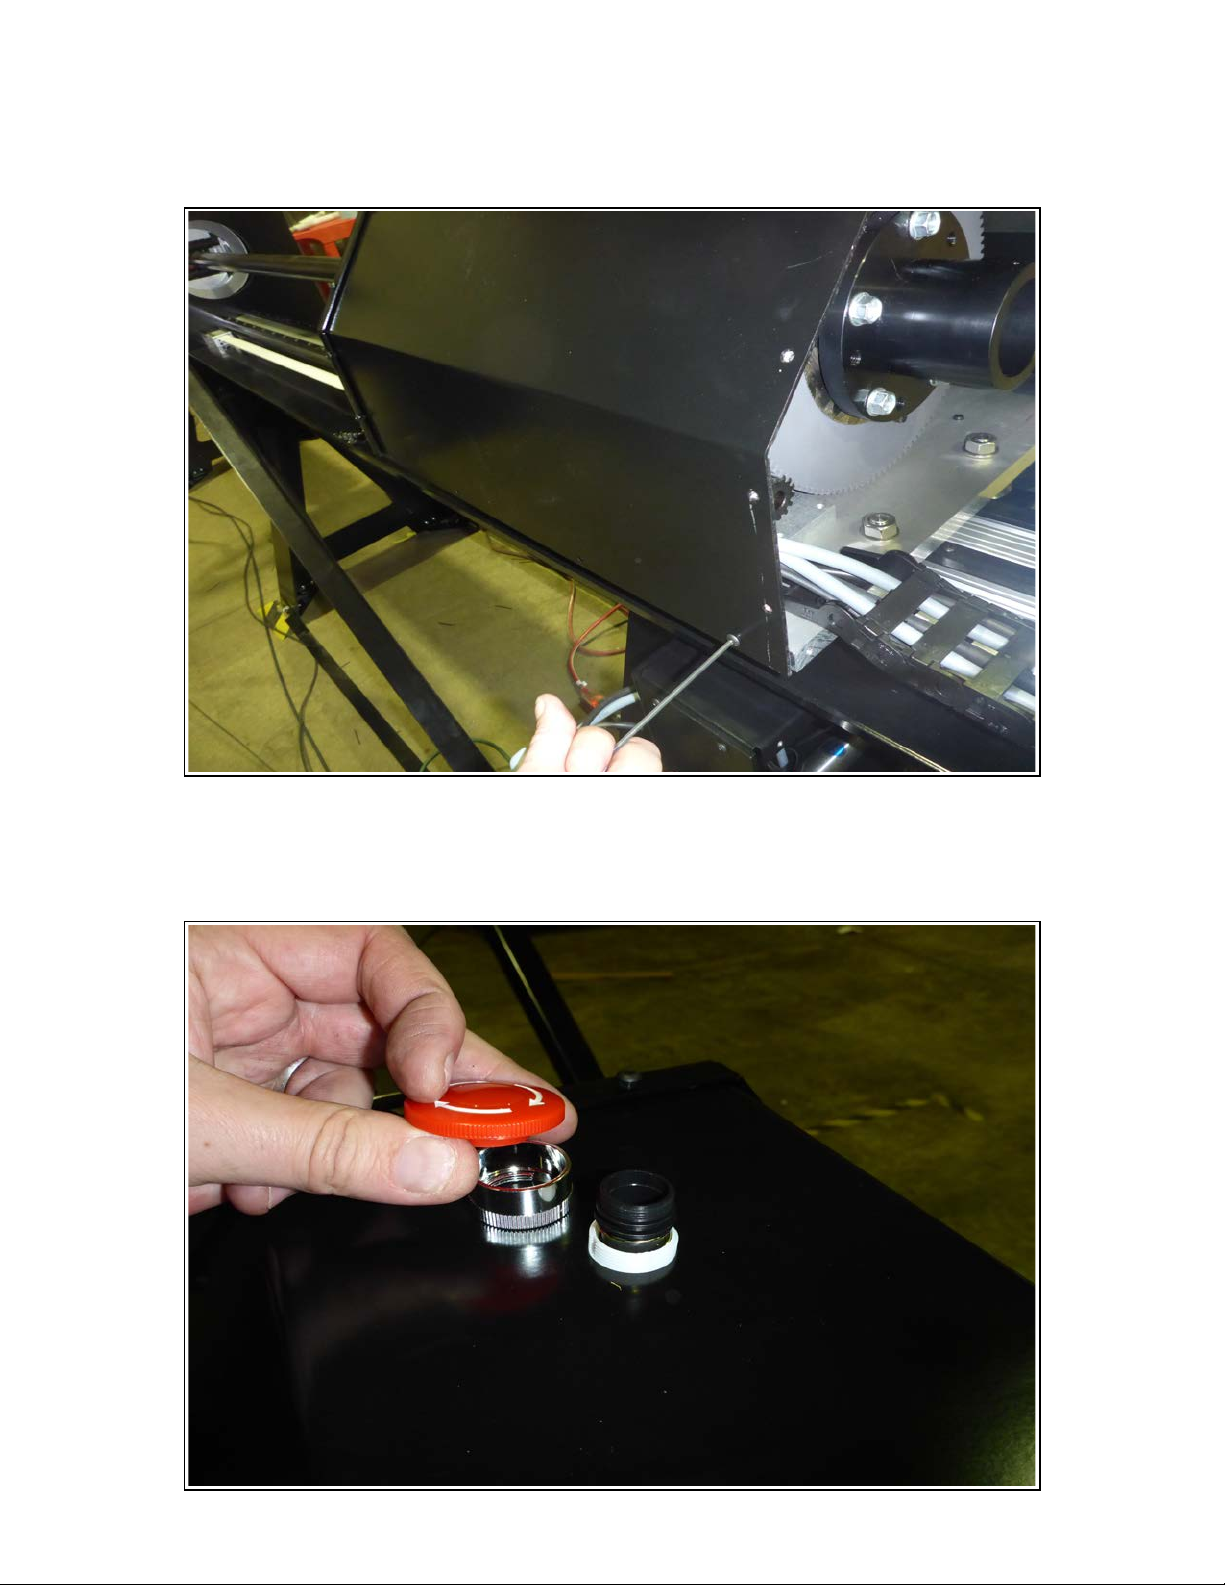
14

Other Bend-Tech Industrial Equipment manuals

Bend-Tech Dragon A400 User manual

Bend-Tech

Bend-Tech Dragon A400 User manual

Bend-Tech Dragon A400 User manual

Bend-Tech

Bend-Tech Dragon A400 User manual

Bend-Tech Dragon mAchines User manual

Bend-Tech

Bend-Tech Dragon mAchines User manual

Bend-Tech Dragon mAchines User manual

Bend-Tech

Bend-Tech Dragon mAchines User manual

Bend-Tech Dragon A400 User manual

Bend-Tech

Bend-Tech Dragon A400 User manual

Bend-Tech DRAGON A150 User manual

Bend-Tech

Bend-Tech DRAGON A150 User manual

Bend-Tech Dragon User manual

Bend-Tech

Bend-Tech Dragon User manual

Bend-Tech Dragon A400 Installation guide

Bend-Tech

Bend-Tech Dragon A400 Installation guide

Bend-Tech Dragon A400 Installation and operation manual

Bend-Tech

Bend-Tech Dragon A400 Installation and operation manual

Bend-Tech Dragon A400 Installation guide

Bend-Tech

Bend-Tech Dragon A400 Installation guide

Popular Industrial Equipment manuals by other brands

STS DCR01 operating instructions

STS

STS DCR01 operating instructions

AL-KO PROFI V3000 operating instructions

AL-KO

AL-KO PROFI V3000 operating instructions

Terex Genie Super Hoist Operator's manual

Terex

Terex Genie Super Hoist Operator's manual

Zero AEROLYTE PRN 6060-A manual

Zero

Zero AEROLYTE PRN 6060-A manual

Progres AGRONIC 2500 Assembly manual

Progres

Progres AGRONIC 2500 Assembly manual

ABB DODGE PARA-FLEX manual

ABB

ABB DODGE PARA-FLEX manual

FläktGroup EQRB Installation and maintenance instructions

FläktGroup

FläktGroup EQRB Installation and maintenance instructions

Siemens SIRIUS S00 operating instructions

Siemens

Siemens SIRIUS S00 operating instructions

ABB 827E product manual

ABB

ABB 827E product manual

Akiles CardMac-NB Business Card Slitter instruction manual

Akiles

Akiles CardMac-NB Business Card Slitter instruction manual

COMGROW CNC user manual

COMGROW

COMGROW CNC user manual

Eaton Power Xpert Gateway 900 Installation, operation & maintenance manual

Eaton

Eaton Power Xpert Gateway 900 Installation, operation & maintenance manual

Nabtesco RV RD2 Series Operation manual

Nabtesco

Nabtesco RV RD2 Series Operation manual

Schmalz X-Pump SXP Brief operating instructions

Schmalz

Schmalz X-Pump SXP Brief operating instructions

Matsing MS-48F90 instruction manual

Matsing

Matsing MS-48F90 instruction manual

Timken ROLLON ELM Series Use and maintenance

Timken

Timken ROLLON ELM Series Use and maintenance

Endress+Hauser Liquiphant M/S FTL5 Series operating instructions

Endress+Hauser

Endress+Hauser Liquiphant M/S FTL5 Series operating instructions

Festo VABD Series Assembly instructions

Festo

Festo VABD Series Assembly instructions

manuals.online logo
manuals.online logoBrands
  • About & Mission
  • Contact us
  • Privacy Policy
  • Terms and Conditions

Copyright 2025 Manuals.Online. All Rights Reserved.