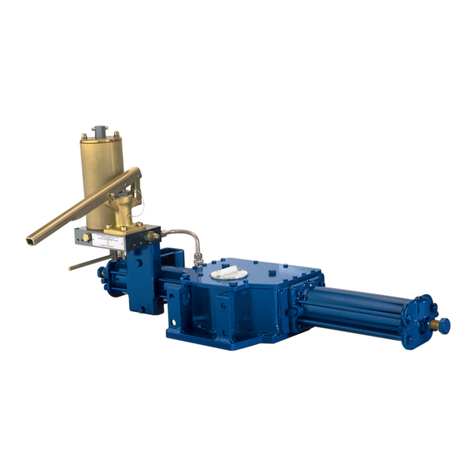
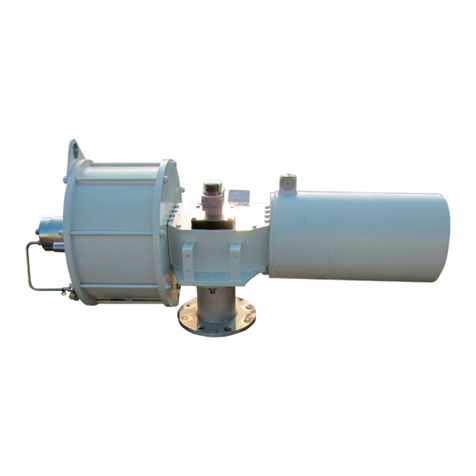
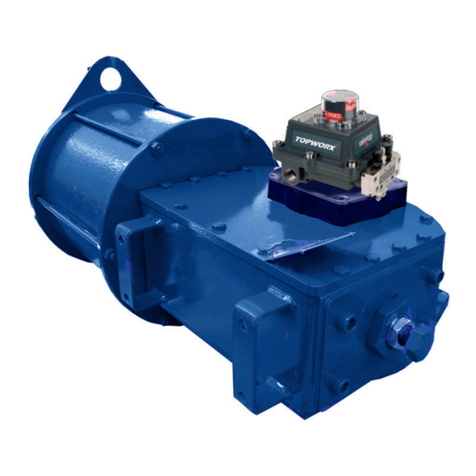
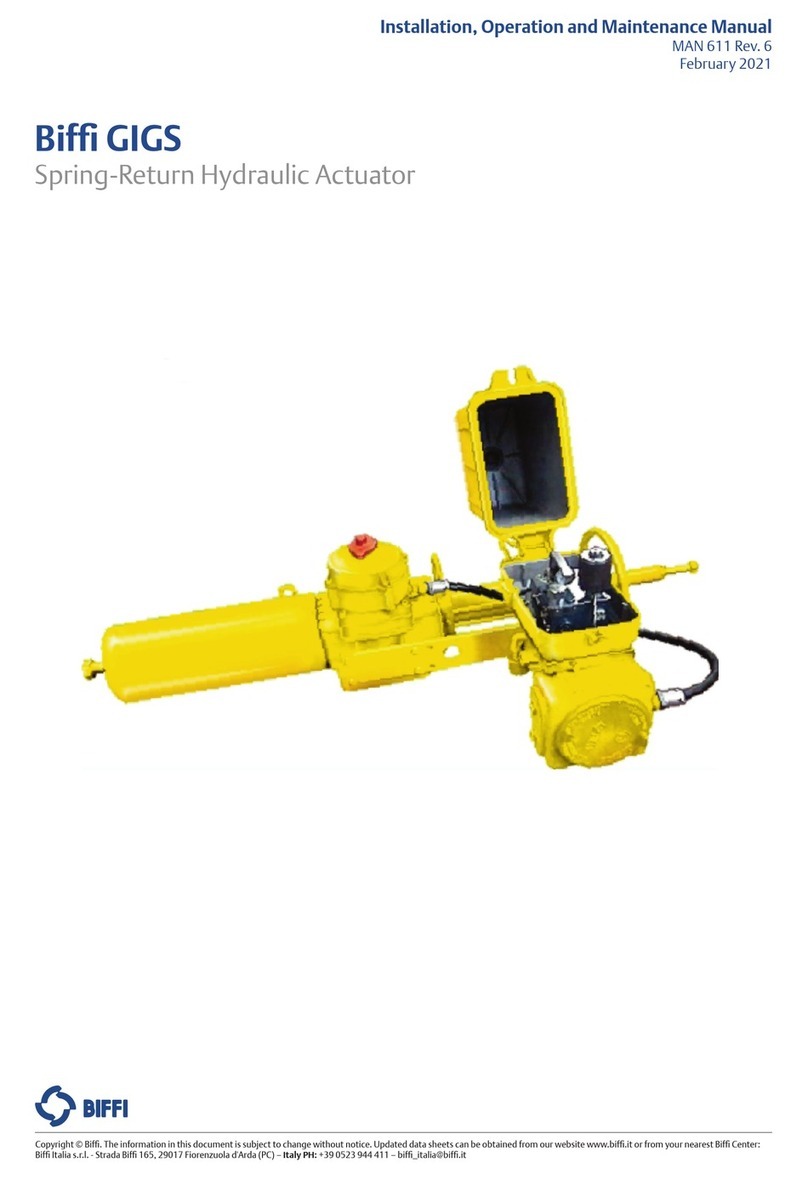
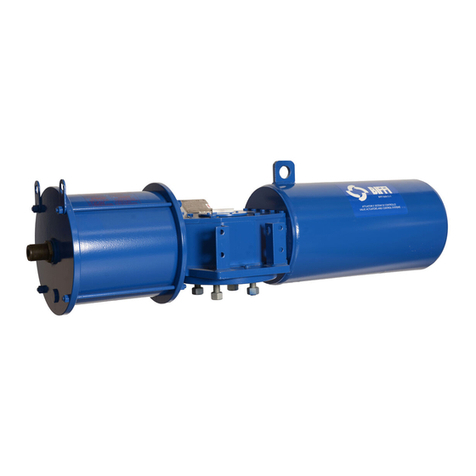
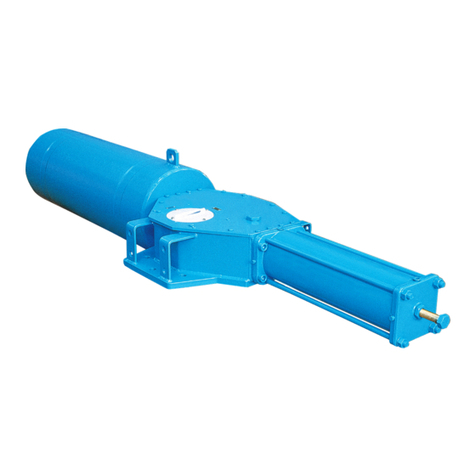
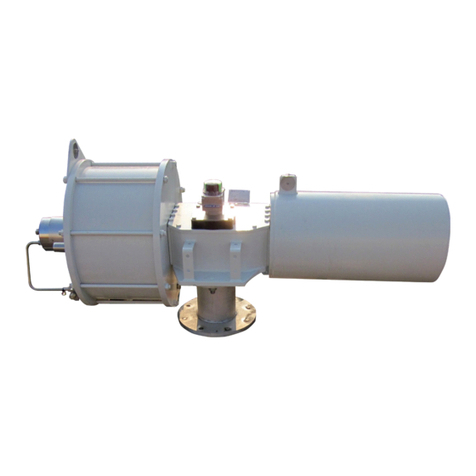
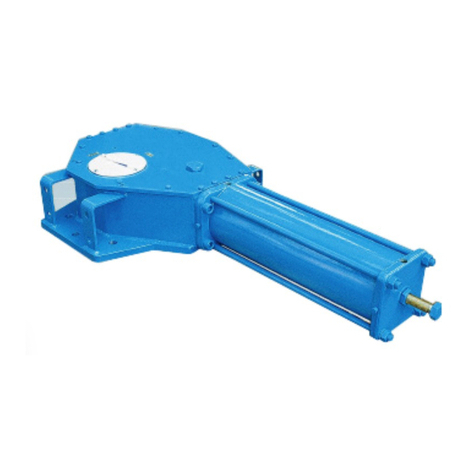
BIFFI GPO-EAC User manual

Installation, Operation and Maintenance Manual
MAN 571_EAC Rev. 1
September 2020
Bif GPO-EAC
Gas-Hydraulic Actuator
Copyright © Bif. The information in this document is subject to change without notice. Updated data sheets can be obtained from our website www.bif.it or from your nearest Bif Center:
Bif Italia s.r.l. - Strada Bif 165, 29017 Fiorenzuola d'Arda (PC) – Italy PH: +39 0523 944 411 – bif_italia@bif.it

September 2020
Installation, Operation and Maintenance Manual
MAN 571_EAC Rev. 1
Revision Details
Revision Details
Rev. Date Description Prepared Approved
1 September 2020 General update (migration to new template)
0 October 2017 Document release Ermanni Oreci
Revision Details

i
Installation, Operation and Maintenance Manual
MAN 571_EAC Rev. 1 September 2020
Table of Contents
Table of Contents
Table of Contents
Section 1: General Warnings
1.1 Generalities.................................................................................................... 1
1.1.1 Applicable Regulation ......................................................................... 1
1.1.2 Terms and Conditions.......................................................................... 2
1.2 Identication Plate ......................................................................................... 2
1.3 Introducing the Actuator................................................................................ 2
1.4 Data Sheet ..................................................................................................... 3
Section 2: Installation
2.1 Checks Upon Actuator Receipt ....................................................................... 4
2.2 Actuator Handling.......................................................................................... 4
2.2.1 Instruction for Transport with Tanks in Horizontal Position .................. 7
2.2.2 Procedure If Oil Leaks from the Tanks into the Pneumatic Valves ....... 12
2.3 Storage ........................................................................................................ 13
2.4 Actuator Assembly on the Valve................................................................... 13
2.4.1 Types of Assembly............................................................................. 13
2.4.2 Assembly Procedure.......................................................................... 18
2.5 Pneumatic Connections ............................................................................... 19
2.6 Electrical Connections (If Any)...................................................................... 20
2.7 Commissioning............................................................................................ 21
Section 3: Operation and Use
3.1 Operation Description.................................................................................. 22
3.2 Residual Risks............................................................................................... 25
3.3 Operations................................................................................................... 25
3.3.1 Local Pneumatic Operation ............................................................... 25
3.3.2 Local Hydraulic Manual Operation..................................................... 26
3.3.3 Remote Operation............................................................................. 27
3.4 Calibration of the Angular Stroke ................................................................. 28
3.5 Calibration of Micro-switches (If Foreseen)................................................... 30
3.6 Calibration of the Operation Time................................................................ 32
Section 4: Operational Tests and Inspections
Operational Tests and Inspections.......................................................................... 34

ii
September 2020
Installation, Operation and Maintenance Manual
MAN 571_EAC Rev. 1
Table of Contents
Table of Contents
Section 5: Maintenance
5.1 Periodic Maintenance................................................................................... 35
5.1.1 Check and Restore Oil Level in the Gas-Hydraulic Tanks ..................... 36
5.2 Extraordinary Maintenance .......................................................................... 38
5.2.1 Lubrication of Mechanism ................................................................. 38
5.2.2 Replacing the Seals of the Cylinder .................................................... 39
5.3 Dismantling and Demolition ........................................................................ 40
Section 6: Troubleshooting
6.1 Failure or Breakdown Research ..................................................................... 41
Section 7: Layouts
7.1 Spare Parts Order......................................................................................... 42
7.2 Parts List for Maintenance and Replacing Procedure..................................... 43
Section 8: Gas-Hydraulic Tanks
8.1 Installation, User and Maintenance Manual .................................................. 52
Section 9: Date Report for Maintenance Operations
Date Report for Maintenance Operations ............................................................... 53

1
Installation, Operation and Maintenance Manual
MAN 571_EAC Rev. 1 September 2020
General Warnings
Section 1: General Warnings
NOTICE
The manual is an integral part of the machine, it should be carefully read before carrying
out any operation and it should be kept for future references.
1.1 Generalities
Bif Italia s.r.l actuators are conceived, manufactured and controlled according to the
Quality Control System in compliance with EN-ISO 9001 international regulation.
1.1.1 Applicable Regulation
EN ISO 12100:2010: Safety of machinery – General principles for design –
Risk assessment and risk reduction
2006/42/EC: Machine directive
2014/68/EU: Directive for pressure PED equipment
2014/35/EU: Directive for low voltage equipment
2014/30/EU: Directive for the electromagnetic compatibility
2014/34/EU: Directive and safety instructions for use in hazardous area
TR TS 004/2011 Customs Union Technical Regulation
(For safety of low voltage equipment)
TR TS 010/2011 Customs Union Technical Regulation
(For safety of equipment and machines)
TR TS 012/2011 Customs Union Technical Regulation
(For safety of equipment operated in explosive atmosphere)
TR TS 020/2011 Customs Union Technical Regulation
(Electromagnetic Compatibility of Technical Products)
TR TS 032/2013 Customs Union Technical Regulation
(For safety of Excess Pressure Equipment)
Section 1: General Warnings
NOTICE
Bif Italia s.r.l. pays the highest attention to collecting and verifying the documentation
contained in this user manual. However Bif Italia s.r.l. is not liable for any mistakes
contained in this manual, for damage or accidents due to the use of the latter. The
information contained is of exclusive reserved ownership of Bif Italia s.r.l. and may be
modied without prior notice. All rights reserved.

2
September 2020
Installation, Operation and Maintenance Manual
MAN 571_EAC Rev. 1
General Warnings
1.1.2 Terms and Conditions
Bif Italia s.r.l. guarantees that all the items produced are free of defects in workmanship
and manufacturing materials and meet relevant current specications, provided they
are installed, used and serviced according to the instructions contained in the present
manual. The warranty can last either one year from the date of installation by the initial
user of the product, or eighteen months from the date of shipment to the initial user,
depending on which event occurs rst. All detailed warranty conditions are specied in the
documentation forwarded together with the product. This warranty does not cover special
products or components not warranted by subcontractors, or materials that were used or
installed improperly or were modied or repaired by unauthorized staff. In the event that
a fault condition be caused by improper installation, maintenance or use, or by irregular
working conditions, the repairs will be charged according to applicable fees.
The warranty and Bif Italia s.r.l. liability shall lapse in the event that any modication
or tampering whatsoever be performed on the actuator.
1.2 Identication Plate
It is forbidden to modify the information and the marks without previous written
authorization by Bif Italia s.r.l.
The plate fastened on the actuator contains the following information (Figure 1).
Figure 1 Data Plate
Section 1: General Warnings

3
Installation, Operation and Maintenance Manual
MAN 571_EAC Rev. 1 September 2020
General Warnings
Section 1: General Warnings
The GPO actuator (Figure 2) is composed of one or two double action hydraulic cylinders
that, pressurized, determines the linear motion of the piston contained in it.
The linear motion of the piston is transformed into rotation by a scotch yoke mechanism.
Gas sampled by the line, pressurizes oil contained in one of the two gas-hydraulic tanks
and then the one of the cylinder determining the drive of the actuator.
A peculiar feature of GPO actuator is its great exibility of use obtained by the choice of
a manufacturing solution easy, solid and without parts in motion.
The expected lifetime of actuator is approximately 25 years .
Figure 2 Identication of Actuator Parts
1.3 Introducing the Actuator
The gas hydraulic GPO actuator is designed and used for the operation of quarter-turn
valves (ball valves and plug valves) installed on gas transportation lines, in compressor
stations and everywhere a high pressure gas supply is available.
Hydraulic manual override
Gas-hydraulic tanks
Flow-regulator valves
Pneumatic
control group
Scotch yoke mechanism
Hydraulic
cylinder
1.4 Data Sheet
Supply uid Natural gas / nitrogen /air
Operating temperature Standard: from –20 °C to +80 °C
Optional: from –60 °C to +80 °C
Supply pressure Standard: ranging from 7 to 100 bar.
Optional: minimum pressures starting from 3,5 bar, maximum
pressure up to 160 bar. For higher gas supply
pressure, a pressure regulator is foreseen.

4
September 2020
Installation, Operation and Maintenance Manual
MAN 571_EAC Rev. 1
Installation
Section 2: Installation
2.1 Checks Upon Actuator Receipt
• Check that the model, the serial number of the actuator and the technical data
reported on the identication plate correspond with those of order conrmation
(Section 1.2).
• Check that the actuator is equipped with the ttings as provided for by
order conrmation.
• Check that the actuator was not damaged during transportation: if necessary
renovate the painting according to the specication reported on the
order conrmation.
• If the actuator is received already assembled with the valve, its settings have
already been made at the factory.
• If the actuator is delivered separately from the valve, it is necessary to check, and,
if required, to adjust, the settings of the mechanical stops (Section 3.4) and of
micro-switches (if any) (Section 3.5).
2.2 Actuator Handling
NOTICE
The lifting and handling should be made by qualied staff and in compliance with the laws
and provisions in force.
!
WARNING
The fastening points are appropriate for the lifting of the actuator alone and not for the
valve+actuator assembly. Avoid that during the handling, the actuator passes above the
staff. The actuator should be handled with appropriate lifting means. The weight of the
actuator is reported on the delivery bill.
Section 2: Installation

5
Installation, Operation and Maintenance Manual
MAN 571_EAC Rev. 1 September 2020
Installation
Section 2: Installation
Figure 3 Lifting Points

6
September 2020
Installation, Operation and Maintenance Manual
MAN 571_EAC Rev. 1
Installation
Section 2: Installation
Figure 4 Lifting Points
1 = Point of support
2 = Don’t lay the actuator on tie-rods
1, 2 = Lifting points (obligatory)
3 = Balancing point
Figure 5 Lifting Points

7
Installation, Operation and Maintenance Manual
MAN 571_EAC Rev. 1 September 2020
Installation
Section 2: Installation
Figure 6
GPO suitable for mounting on valve with horizontal stem.
2.2.1 Instruction for Transport with Gas-Hydraulic Tanks
in Horizontal Position
NOTICE
The GPO actuators have to be maintained always with the gas-hydraulic tanks in vertical
position, in order to avoid that the hydraulic oil ows out through the pneumatic pipes and
the control group.
The presence of oil in the pneumatic control group can be dangerous for the possibility
of fouling by presence of dust or sand.
This could compromise the correct operation of control valves.
Additionally the loss of part of the hydraulic oil from the gas-hydraulic tank compromises
the correct functioning of GPO actuator.
If the actuator, for reason of transport dimensions, must be boxed in horizontal position
it is mandatory to isolate the oil inside of the gas-hydraulic tanks to avoid losses.
The pneumatic pipes must be removed and their-ends must to be protected by plastic
plugs, to avoid ingress of dirtiness.
They have also to be xed by proper adhesive tape, to avoid damages during the transport.
!
WARNING
For the transport of actuator with gas-hydraulic tanks with horizontal axis, the packing
has to foresee a proper support for the tanks.
If the necessity of horizontal transport is known at the order date, Bif Italia s.r.l. can
provide two ball type isolation valves at the inlet of the bottles. In this case it’s very easy to
isolate the oil bottles, simply closing the stop valves before the boxing.
The correct procedure for the transport of GPO actuator with gas-hydraulic tanks in
horizontal position is the following (see Figure 7).

8
September 2020
Installation, Operation and Maintenance Manual
MAN 571_EAC Rev. 1
Installation
Section 2: Installation
Disassembly for shipping:
Figure 7
• Unloose the nuts of the compression ttings R on pneumatic connections
nipple S (Figure 8).
Figure 8

9
Installation, Operation and Maintenance Manual
MAN 571_EAC Rev. 1 September 2020
Installation
Section 2: Installation
• Remove pneumatic tubes T from connection nipple S (Figure 9).
Figure 9
• Plug the connection nipple S with proper cap plugs (Figure 10).
Figure 10
Cap plug

10
September 2020
Installation, Operation and Maintenance Manual
MAN 571_EAC Rev. 1
Installation
Section 2: Installation
• Plug the pneumatic pipe ends with plastic plugs for ttings (Figure 11).
Figure 11
Re-assembly before “start-up” of actuator:
• Remove protection plugs from compression ttings R and connections S.
• Connect pneumatic tubes T to connections S.
NOTICE
Check that the ferrule inside the conical seat of the tting is aligned with the axis of the
pneumatic tube end and the connection nipple.
• Tighten the nuts of the compression ttings R to pneumatic connections S.
NOTICE
After tightening the nuts of pneumatic connections it must be performed a pneumatic test
to check possible leakages.
Plastic
plug

11
Installation, Operation and Maintenance Manual
MAN 571_EAC Rev. 1 September 2020
Installation
Section 2: Installation
When torque limiting devices are furnished , proceeded as follow :
(See Figure 12)
Disassembly for shipping :
• Remove tubes (T1 and T2) on connections S1, S2 by unloosing the nuts of the
compression ttings R.
Figure 12
• Plug the torque limiting switch with proper cap plugs on S connections.
• Plug the pipe ends with suitable plugs for ttings (R1-R2 connections).
Re-assembly before “start-up” of actuator:
• Remove protection plugs on S and R connections.
• Reassemble the ttings R for tubes (T) on connections S.
• Assemble exhaust pole on the actuator, and connect tube to connection I-1
(if foreseen).

12
September 2020
Installation, Operation and Maintenance Manual
MAN 571_EAC Rev. 1
Installation
Section 2: Installation
2.2.2 Procedure to Follow If Oil Leaks from the Tanks into the
Pneumatic Valves
NOTICE
If the actuator tanks are kept in horizontal axis by mistake, and the oil inside them enters
into the pneumatic connection pipes and in the control pneumatic valves, it is necessary
to wash with dry air (high ow, low pressure) the interior of valves and pipes: connect an
air or a dry nitrogen supply to the threaded hole of actuator supply and disconnect the
pipes that connect the support plate of control valves to the tanks. Then operate the valves
so that the air ow removes oil, air should go out from the ends of the pipes so to clean
properly also their interior. This operation should be made as soon as possible after the
inconvenience of oil spill.
Checking of the oil level of the bottles (also see Section 5.1.1)
The correct oil level can be veried by means of the oil dipsticks mounted on the top of
each bottle. To do this correctly, we must equalize the oil level of the two bottles:
• Bring the actuator to the middle of the stroke (45° degrees rotation)
• Rotate the oil distributor to the equalizing position
• Wait some minutes, so as the oil can reach for gravity the same level in the
two bottles
• Rotate again the hydraulic distributor to the position corresponding to the gas
powered operation
After this operation, bring the actuator to the end of the stroke (fully closed or fully open
position) and check, after the gas has been exhausted, the level of the oil by unscrewing
the dipstick. Check that the oil level correspond to the minimum level line, for the tank
wich was pressurized and to the max level line, for the tank which was to exhaust.
I.E. If the actuator is in the closed position, the closing bottle (normally on the left side)
must have the oil at minimum level line; the opening bottle must have the oil at maximum
level line. If the levels are lower than the dipstick lines, add some oil, after checking type
and grade of the oil to be used.

13
Installation, Operation and Maintenance Manual
MAN 571_EAC Rev. 1 September 2020
Installation
Section 2: Installation
2.3 Storage
If the actuator needs storage, before installation follow these steps:
• Place it on a wood surface in order not to deteriorate the area of valve coupling.
• Make sure that plastic plugs are present on the pneumatic and electrical
connections (if present).
• Check that the cover of the control group and of the limit switch box (if any) are
properly closed.
If the storage is long-term or outdoor:
• Keep the actuator protected from direct weather conditions.
• Replace plastic plugs of pneumatic and electrical connections (if any) with metal
plugs that guarantee perfect tightness.
• Coat with oil, grease or protection disc, the valve coupling area.
• Periodically operate the actuator (Section 3.3).
2.4 Actuator Assembly on the Valve
2.4.1 Types of Assembly
For coupling to the valve, the housing is provided with a ange with threaded holes
according to Bif standard tables (SCN6200 SCN6201). The number, dimensions and
diameter of the holes are made in accordance with ISO 5211, but for actuator models
0.3 to 6 the holes are drilled on the centreline in order to allow an easier assembly of an
intermediate ange, when required. This intermediate ange (or spool-piece) can be
supplied when the valve ange can not directly match the actuator ange in its “standard”
conguration. For the biggest actuator models, the actuator ange can be machined in
accordance with the valve ange dimensions.
The yoke has bored with keyways for coupling to the valve stem, the dimensions of which
are according to Bif standard tables SCN6200 and SCN6201.

14
Ød1 max
Ød4
h2
Ød2+0.1
0
Ød5+0.2
+0.1
K+0.4
0
Ød3±0.2
h1 +0.5
0
H max
45°
WD10
0.3 240 93 165 M20 45 17 127 70 12 75.6
0.9 310 112 254 M16 8 5 19 150 86 14 93.6
1.5 360 144 298 M20 8 6 19 190 112 18 119.0
3430 195 356 M30 8 923 200 157 25 167.8
6520 250 406 M36 814 29 260 200 28 212.8
September 2020
Installation, Operation and Maintenance Manual
MAN 571_EAC Rev. 1
Installation
Section 2: Installation
Dimensions in millimeters
Actuator model Ø d1Ø d2Ø d3Ø d4Nh1h2H max Ø d5WK
Drive sleeve
N. THREADED HOLES
PCD, holes, number and size
according to ISO 5211
(but the holes are on centerline
instead of straddle the centerline)
Top view of the scotch yoke mechanism
(actuator shown in closed position)
Flow line
N.8 holes angeN.4 holes ange
Table 1.
Figure 13

15
Ød1 max
Ød4
h2
Ød2+0.1
0
Ød5+0.2
+0.1
K+0.4
0
Ød3±0.2
h1 +0.5
0
H max
WD10
14 580 250 483 M36 12 10 29 340 175 45 195.8
18 680 290 603 M36 16 12 32 350 200 45 220.8
32 780 290 603 M36 16 12 32 400 220 50 242.8
35 780 315 603 M36 16 11 32 400 240 50 242.8
42 840 310 603 M36 16 12 32 400 220 50 242.8
Installation, Operation and Maintenance Manual
MAN 571_EAC Rev. 1 September 2020
Installation
Section 2: Installation
Dimensions in millimeters
Actuator model Ø d1Ø d2Ø d3Ø d4Nh1h2H max Ø d5WK
Figure 14
Drive sleeve
N. THREADED HOLES
PCD, holes, number and
size according to ISO 5211
Top view of the scotch yoke mechanism
(actuator shown in closed position)
Flow line
Table 2.
N.12 holes angeN.16 holes ange

16
Ød1 max
Ød4
h2
Ød2+0.1
0
Ød3±0.2
h1 +0.5
0
H max
Ød5+0.2
+0.1
K+0.4
0
WD10
50 800 315 698 M36 24 10 32 430 240 56 264.8
60 840 315 698 M36 24 10 32 430 240 56 264.8
September 2020
Installation, Operation and Maintenance Manual
MAN 571_EAC Rev. 1
Installation
Section 2: Installation
Dimensions in millimeters
Actuator model Ø d1Ø d2Ø d3Ø d4Nh1h2H max Ø d5WK
Figure 15
Drive sleeve
N. THREADED HOLES
Flange sizing according to ISO
Top view of the scotch yoke mechanism
(actuator shown in closed position)
Flow line
Table 3.
If required, for the standard models size 0.3 to 6, Bif can supply an insert bush with
un-machined bore in accordance with Bif standard table SCN6202 enclosed (see following
pages). On request the insert bush bore can be machined by Bif to couple the valve stem.
The particular execution of the ange and bushing allow the actuator to be rotated by 90°
in 4 different positions according to the Figure 16.
This manual suits for next models
1
Table of contents
Other BIFFI Controllers manuals

BIFFI
BIFFI OLGA Series User manual

BIFFI
BIFFI OLGA-H User manual

BIFFI
BIFFI RPS Series User manual

BIFFI
BIFFI OLGA-H User manual

BIFFI
BIFFI OLGAS User manual

BIFFI
BIFFI HLAS-C Series User manual

BIFFI
BIFFI OLGAS-H User manual

BIFFI
BIFFI RPD Series User manual

BIFFI
BIFFI OLGA-H User manual

BIFFI
BIFFI HLRA User manual

BIFFI
BIFFI ALGAS User manual

BIFFI
BIFFI RPHD User manual

BIFFI
BIFFI ALGA Series User manual

BIFFI
BIFFI F02 manual

BIFFI
BIFFI TPS Series User manual

BIFFI
BIFFI ALGAS-MHW User manual

BIFFI
BIFFI OLGAS-QA User manual

BIFFI
BIFFI HLA User manual

BIFFI
BIFFI F01-2000 Parts list manual

BIFFI
BIFFI ECU 1000 Manual