manuals.online logo
Brands
  1. Home
  2. •
  3. Brands
  4. •
  5. Breas
  6. •
  7. Medical Equipment
  8. •
  9. Breas Vivo 65 User manual

Breas Vivo 65 User manual

Other manuals for Vivo 65

1

Other Breas Medical Equipment manuals

Breas Clearway 2 User manual

Breas

Breas Clearway 2 User manual

Breas NIPPY User manual

Breas

Breas NIPPY User manual
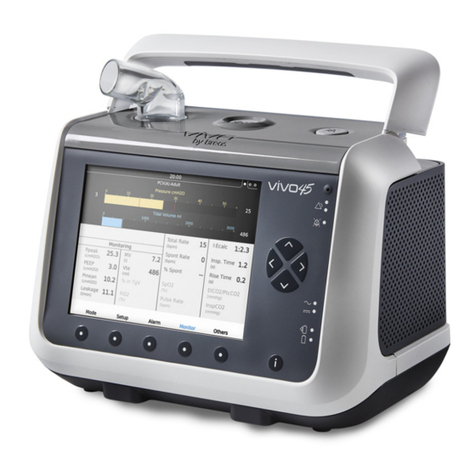
Breas Vivo 45 User manual

Breas

Breas Vivo 45 User manual
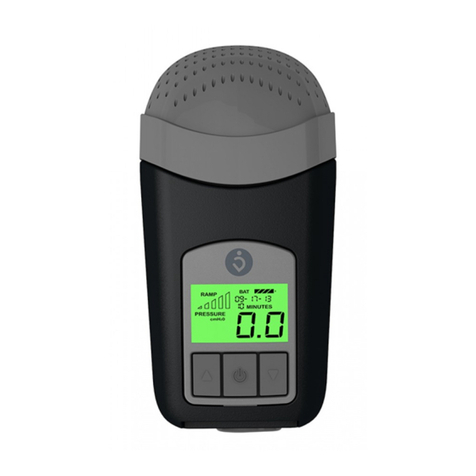
Breas Z1 User manual

Breas

Breas Z1 User manual
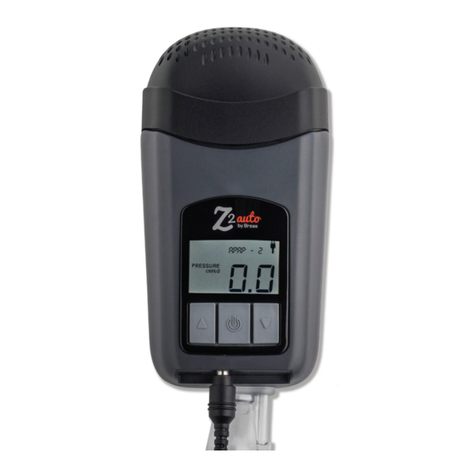
Breas Z2 Auto User manual

Breas

Breas Z2 Auto User manual
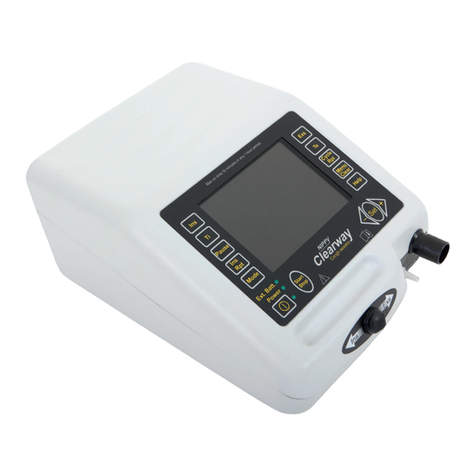
Breas NIPPY Clearway User manual

Breas

Breas NIPPY Clearway User manual

Breas iSleep 20+ User manual

Breas

Breas iSleep 20+ User manual
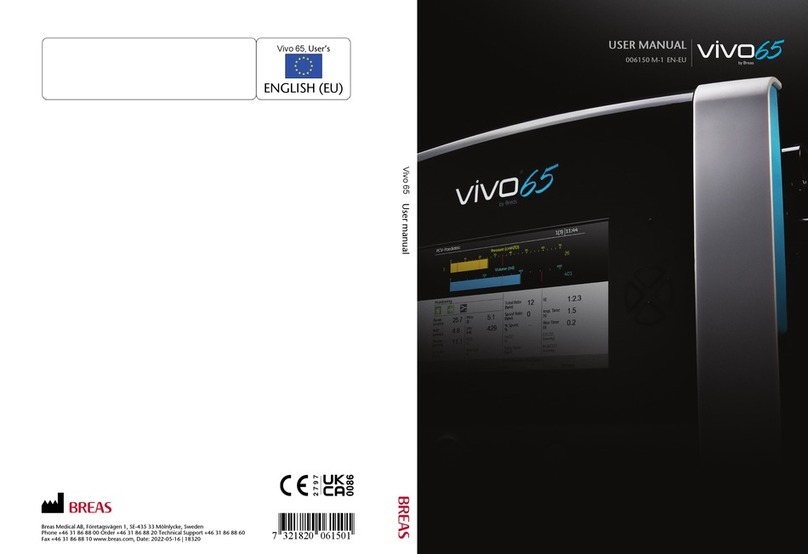
Breas Vivo 65 User manual

Breas

Breas Vivo 65 User manual
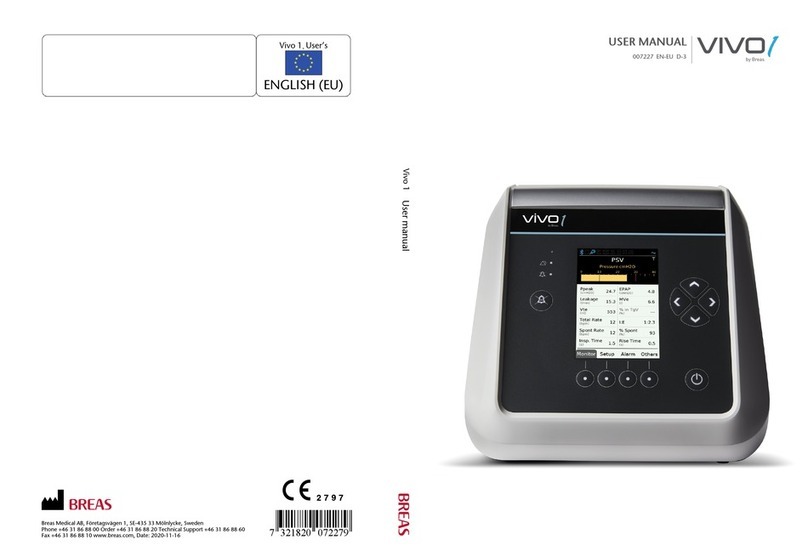
Breas Vivo 1 User manual

Breas

Breas Vivo 1 User manual

Breas Vivo 40 User manual

Breas

Breas Vivo 40 User manual

Breas Vivo 45 User manual

Breas

Breas Vivo 45 User manual
Breas PV 102+ User manual

Breas

Breas PV 102+ User manual
Breas Nippy 4 Series User manual

Breas

Breas Nippy 4 Series User manual
Breas Vivo 45 LS User manual

Breas

Breas Vivo 45 LS User manual
Breas NIPPY ST+ User manual

Breas

Breas NIPPY ST+ User manual
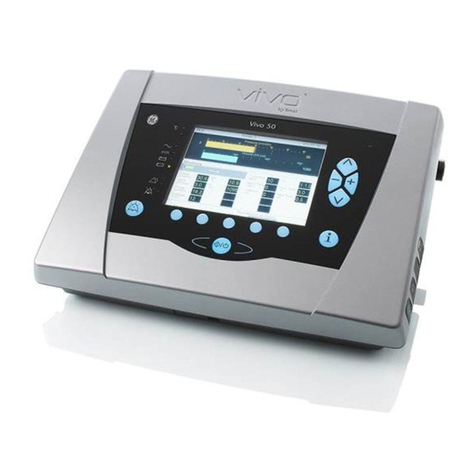
Breas Vivo 50 User manual

Breas

Breas Vivo 50 User manual

Breas NIPPY Clearway User manual

Breas

Breas NIPPY Clearway User manual
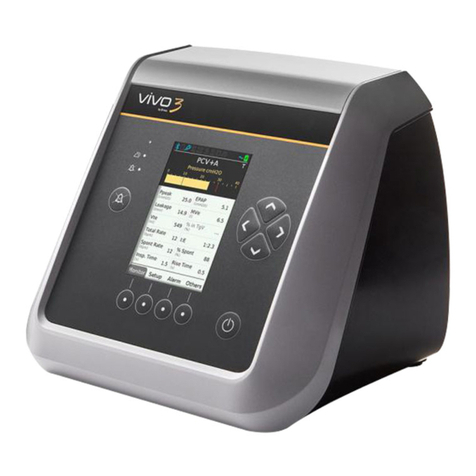
Breas Vivo 3 User manual

Breas

Breas Vivo 3 User manual

Breas Vivo 45 LS User manual

Breas

Breas Vivo 45 LS User manual
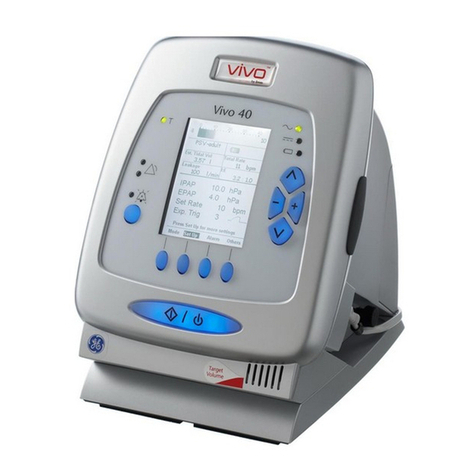
Breas Vivo30 User manual

Breas

Breas Vivo30 User manual

Breas NIPPY Clearway User manual

Breas

Breas NIPPY Clearway User manual

Breas Vivo 45 User manual

Breas

Breas Vivo 45 User manual

Breas Vivo 2 User manual

Breas

Breas Vivo 2 User manual

Breas Clearway 2 User manual

Breas

Breas Clearway 2 User manual

Popular Medical Equipment manuals by other brands

Itamar Medical WatchPAT Operation manual

Itamar Medical

Itamar Medical WatchPAT Operation manual

PROTEOR 1P650 KNEE Assembling and adjustment instructions

PROTEOR

PROTEOR 1P650 KNEE Assembling and adjustment instructions

Liberate Medical VentFree user manual

Liberate Medical

Liberate Medical VentFree user manual

Dicarre DA20 user guide

Dicarre

Dicarre DA20 user guide

Stryker Medical M Series Operation manual

Stryker Medical

Stryker Medical M Series Operation manual

Invacare ScanBed 750 user manual

Invacare

Invacare ScanBed 750 user manual

Getinge Arjohuntleigh Nimbus 3 Professional Instructions for use

Getinge

Getinge Arjohuntleigh Nimbus 3 Professional Instructions for use

Mettler Electronics Sonicator 730 Maintenance manual

Mettler Electronics

Mettler Electronics Sonicator 730 Maintenance manual

Pressalit Care R1100 Mounting instruction

Pressalit Care

Pressalit Care R1100 Mounting instruction

Denas MS DENAS-T operating manual

Denas MS

Denas MS DENAS-T operating manual

bort medical ActiveColor quick guide

bort medical

bort medical ActiveColor quick guide

AccuVein AV400 user manual

AccuVein

AccuVein AV400 user manual

agiliti NP Trio user manual

agiliti

agiliti NP Trio user manual

Rocket Medical Rocket Digital Oocyte Aspiration Pump Service manual

Rocket Medical

Rocket Medical Rocket Digital Oocyte Aspiration Pump Service manual

Monteris Medical Neuroblate Instructions for use

Monteris Medical

Monteris Medical Neuroblate Instructions for use

Otto Block 8E33 7 manual

Otto Block

Otto Block 8E33 7 manual

ADVANCED HOME CARE Helios Guide

ADVANCED HOME CARE

ADVANCED HOME CARE Helios Guide

NeuLog NUL-208 Guide

NeuLog

NeuLog NUL-208 Guide

manuals.online logo
manuals.online logoBrands
  • About & Mission
  • Contact us
  • Privacy Policy
  • Terms and Conditions

Copyright 2025 Manuals.Online. All Rights Reserved.

1
Quick Usage Guide
1. To stop treatment and
enter Standby mode,
first press and hold the
Start/Stop button on
the front panel.
2. Release the Start/
Stop button when the
progress bar is filled.
3. Press the Audio Pause
button within 10
seconds. Press the
button firmly.
4. When the Vivo 65 is
not in an active
treatment mode, press
the Standby button
on the side panel to
change the unit to a
low power standby
state.
Vivo 65
Quick Reference Guide
This is not a complete guide for the
Vivo 65. See your manual for complete
instructions.
Turning the Vivo 65 On and Off
Turn On and Enter Operating Mode
Företagsvägen 1 ·SE-435 33 Mölnlycke ·Sweden
Phone +46 31 86 88 00
www.breas.com
Human Design Medical
1-844-848-6872
1. Make sure the power
source is connected
and secured by the
restraining clip.
2. Turn on the Vivo 65
and enter Standby
mode by pressing the
Standby button on the
side panel.
3. To start treatment and
enter operating mode,
press and hold the
Start/Stop button on
the front panel.
Release the Start/
Stop button when the
progress bar is filled.
Stopping Treatment and Turning Off
2
Connect Patient Circuit Insert
The choice of insert makes it possible to connect the
Vivo 65 to either a dual limb pediatric circuit, a dual
limb adult circuit or a single limb circuit. The Vivo 65
automatically detects which insert has been installed.
Before connecting an insert, make sure that the
configurations of patient mode and patient circuit type
are correct:
See users manual for complete instruc-
tions.
• To optimize the treatment of the Vivo 65’s
pediatric settings in Pediatric mode when
using a dual limb circuit we recommend to
use a pediatric dual limb insert and a 15 mm
dual limb circuit.
2. Lock the insert by
turning the lock-ring
clockwise, so that the
indicator points to the
lock symbol on the
ventilator.
3. Make sure a “click”
sound is heard when
fastening the lock-ring.
This sound ensures that
the insert is correctly
attached.
Unlock and disconnect in
reverse order.
• Always perform a
pre-use test after
changing the pa-
tient circuit type
and/or insert.
• Do not remove
the gasket that
is placed inside
of the Vivo 65’s
insert socket.
Företagsvägen 1 ·SE-435 33 Mölnlycke ·Sweden
Phone +46 31 86 88 00
www.breas.com
Human Design Medical
1-844-848-6872
INSERT TYPE PATIENT MODE PATIENT CIRCUIT TYPE
Dual limb insert
Adult
Adult • Dual limb circuit with
integrated exhalation
valve (Dual)
• Single limb circuit with
leakage port (Leakage)
• Circuit with mouthpiece
interface
Pediatric
Dual limb insert
Pediatric
• Dual limb circuit with
integrated exhalation
valve (Dual)
• Single limb circuit with
leakage port (Leakage)
• Circuit with mouth-
piece interface
Single limb insert
(optional)
Adult / Pediatric • Single limb circuit with
active exhalation valve
(Exh. valve)
• Single limb circuit with
leakage port (Leakage)
• Circuit with mouthpiece
interface
1. Connect the insert to
the ventilator. While
connecting, the lock
indicator on the insert’s
lock-ring should point
to the unlock symbol
on the Vivo 65.
Removing the gasket will result in a patient
circuit leakage and a Disconnection alarm and/or
Exhalation Valve Control Error alarm.
3
Replacing the Patient Circuit
Stop treatment before disconnecting the
patient circuit.
Connect a Single Limb Circuit with Active
Exhalation Valve:
1. Connect the patient circuit to the patient air outlet
of the ventilator.
2. Connect the small tubing to the exhalation valve
control pressure outlet of the Vivo 65.
3. Connect the other end of the patient circuit to an
HME or patient interface.
Connect Dual Limb
Circuit
1. Connect one patient
tube to the patient air
outlet of the ventilator.
2. Connect the other
patient tube to the
dual limb circuit.
3. Connect the other end
of the patient circuit
to an HME or patient
interface.
Attach the Click-on Battery
1. Use a thin stick to
open the cover for
the click-on battery
connectors.
2. Make sure the cover is
completely opened.
3. Hold the Vivo 65 as
shown in the picture,
in order to target
the click-on battery
holders (marked with
circles).
4. Tilt the Vivo 65 into an
upright position.
5. Once in position, a
clicking sound should
be heard.
6. Use the screw to
secure the click-on
battery by pressing it
in and turn clockwise.
Företagsvägen 1 ·SE-435 33 Mölnlycke ·Sweden
Phone +46 31 86 88 00
www.breas.com
Human Design Medical
1-844-848-6872
1
2
4
Using Oxygen
1. Mount the oxygen tube to the
connector.
2. Connect the oxygen tube. A click
sound is heard when the tube is
properly attached.
Disconnect:
1. Press the release button to
disconnect the oxygen tube.
2. Remove the tube.
3. Turn o the oxygen source.
Replacing the Patient Air Inlet
Filters
The filters are located in the filter
cassette at the side of the ventilator.
Washable Filter (grey): Replace at
least once a year, wash at least once
a week.
Disposable Filter (white):
Replace
at least every 4th week, or more
often in high pollution or pollen-rich
environments.
Replacing the Cooling Air Filter
The cooling air inlet filter is located
in the filter cassette at the side of
the ventilator. Replace the filter at
least once a year. Wash the filter at
least once a week.
• O2must be turned off when the Vivo 65
is not in operating mode!
• It is recommended to monitor the
oxygen concentrations.
• Oxygen ow must not exceed 15 l/min.
Symbols Used in the Menu
SYMBOL DESCRIPTION
Internal battery level
Click-on battery level
Home Mode activated
Dual limb circuit for integrated exhalation
valve selected (Dual)
Single limb circuit with leakage port
selected (Leakage)
Single limb circuit with active exhalation
valve selected (Exh. valve)
MPV breath mode selected. Circuit with
mouthpiece interface shall be used.
SpO2connected
FiO2connected
CO2connected
Multiple pages
Multiple content available
High priority alarm event in history list
Medium priority alarm event in history list
Företagsvägen 1 ·SE-435 33 Mölnlycke ·Sweden
Phone +46 31 86 88 00
www.breas.com
*Vivo by Breas, Breas and the Breas logo are trademarks of Breas Medical AB. © 2018 Breas Medical – All rights reserved. Breas Medical reserves the right to make changes in specifications and features shown herein, or discontinue the product described
at any time without notice or obligation. Contact your Breas representative for the most current information. MAR-000265.v.0.0
Human Design Medical
1-844-848-6872
Connecting and
Disconnecting Cables
Insert the connector with
the marking pointing
upwards
.
Pull the connector sleeve,
not the cable itself or
cable restrainer to release
the connector.