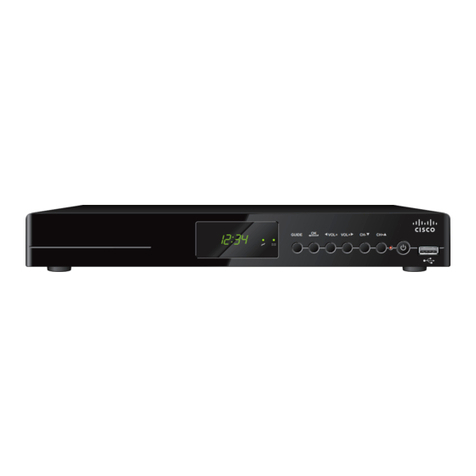
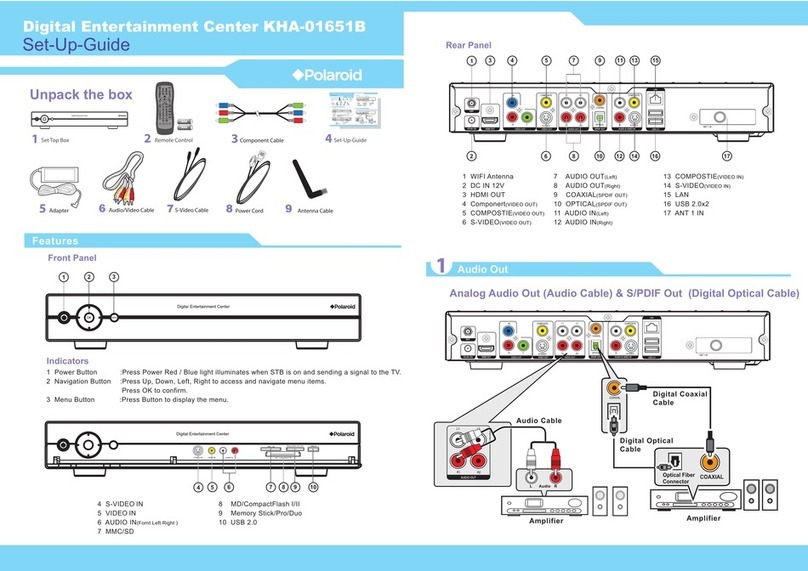
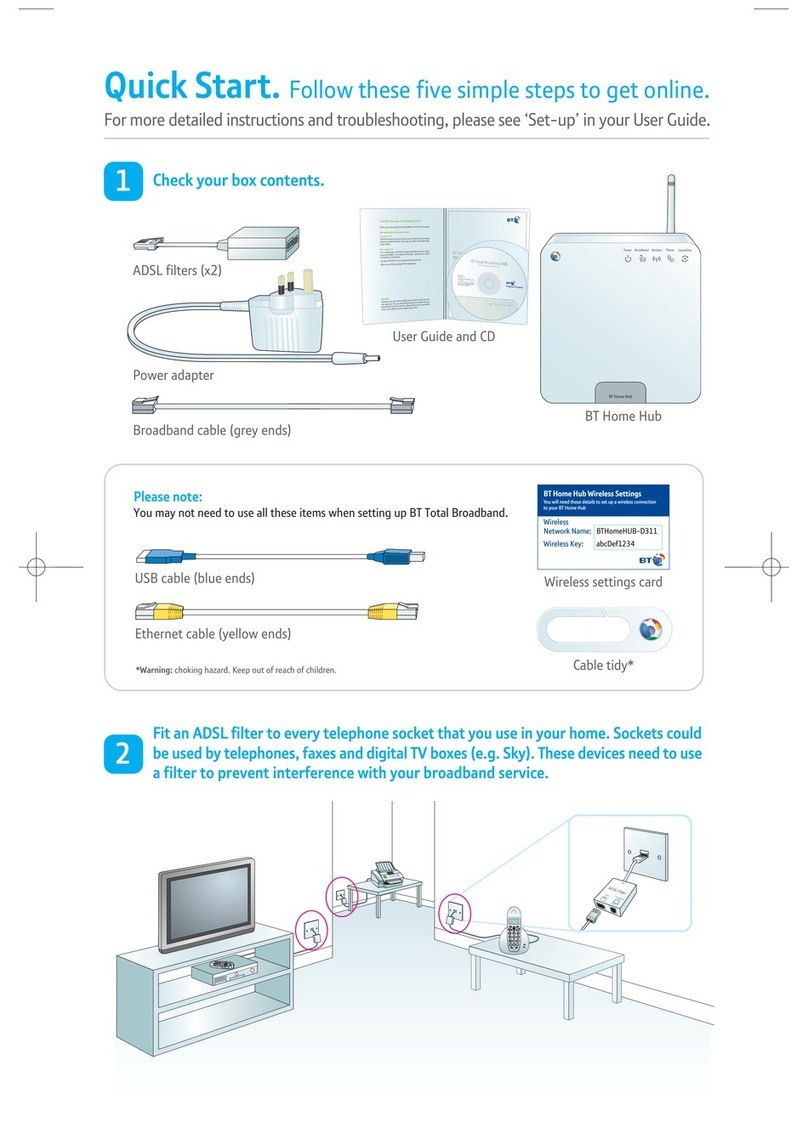
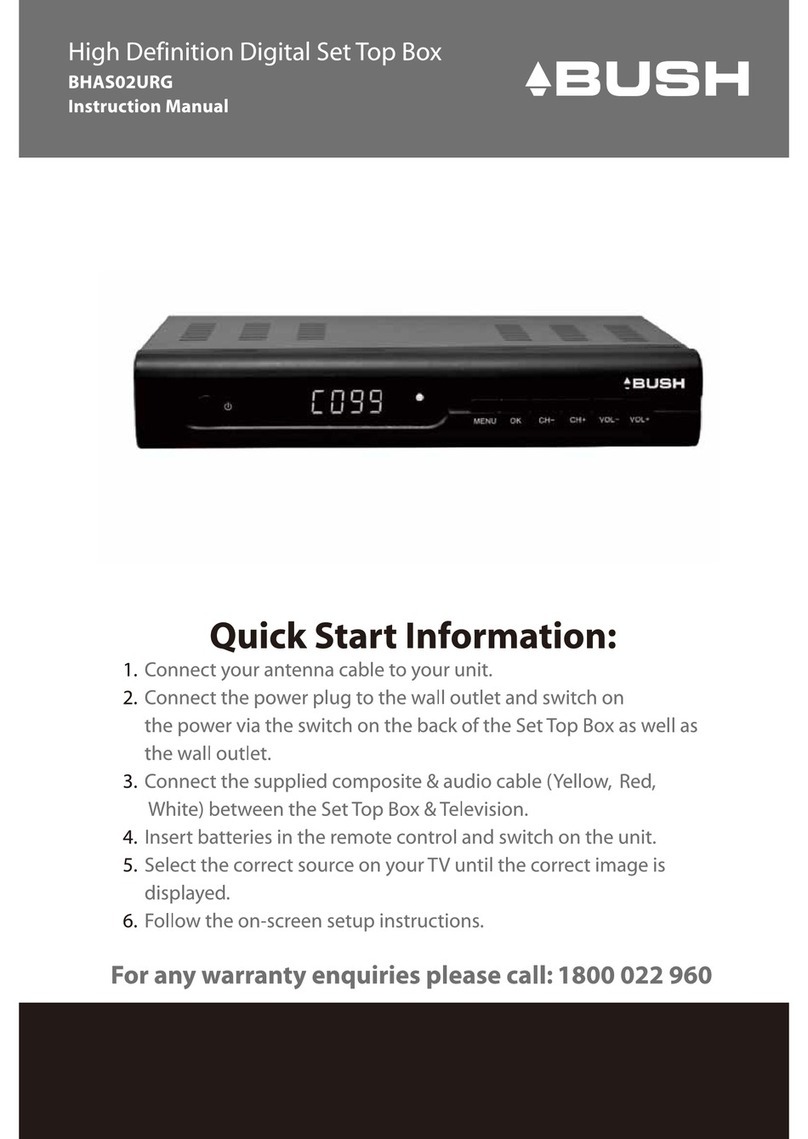
Bush DFTA16HD User manual

INSTRUCTION MANUAL
The Gold Technical Support Line:1902 215 259
(Charges will apply at$2.95 per minute)
DFTA16HD
High Definition
Digital Set Top Box
Ϊ͸Ã÷´°

Important Safety Instructions
The symbol indicates thatdangerous voltages constituting arisk of electric shockare present within
this unit.
The symbol indicates thatthere are important operating andmaintenance instructions in the literature
accompanying this unit.
This symbol indicates that this product incorporates double insulation between hazardous mains
voltage and user accessible parts.when servicing use only identical replacement parts.
1
Please note there areno user serviceable parts in thisunit.
Do not remove thecover or back forany reason. Referall servicing to qualifiedBush Service agent.
Do not expose theunit to rain ormoisture, to prevent fireor electric shock hazards.
Do not expose theunit to any liquidor water (dripping orsplashing) and no objectsfilled with water, such
as vases, should beplaced on the unit.
Keep the product awayfrom direct sunlight andany heat sources suchas radiators or stoves.
Do not block anyof the ventilation openings.The openings on theunit are provided forventilation. The
openings should never beblocked by placing yourproduct on a cushion,sofa or other similarsurface.
Do not place theproduct on unstable cart, stand,tripod, bracket or table.The unit may fall,resulting in
possible damage or injury.
Only use the ACadapter included with product.Using any other adapterwill void your warranty.
Unplug the power fromthe outlet when theunit is not inuse.
Only use attachments/accessories specifiedprovided by the manufacturer.
This marking indicates thatthis product should notbe disposed with otherhousehold wastes. To
prevent possible harm tothe environment or humanhealth from uncontrolled wastedisposal, recycle
it responsibly to promotethe sustainable reuse ofmaterial resources. Contact yourretailer where the
product was purchased.

Thank you for buying this Bush product, which is designed to give you many
years of trouble-free service.
You may already be familiar with using a similar unit, but please take time to
read these instructions. They are designed to familiarise you with the unit s
many features and to ensure you get the very best from your purchase.
Safety is important
Your safety and the safety of others is important. Please therefore, ensure you
read the Safety Instructions before you operate this unit.
Warranty
In the unlikely event that your product fails to work normally, please call the
below Bush warranty number for support.
Australia
Bush Warranty: 1800 509 394
New Zealand
Bush Warranty: 0800 450 259
Introduction
2

About the Set Top Box
This Set Top Box Receiver allows you to access Digital TV
Channels and Radio Broadcasts on your TV set. Its digital reception
covers VHF & UHF band. Digital TV eliminates noise and interference
and offers high quality video and audio.
An easy to use on-screen installation guide is provided. In addition,
a fully featured Remote Control is included that offers you access
to every feature with a simple press of a button.
Main Features
Package Contents
Before installation, please check the items of the package.
The package should contain the following items:
~Set Top Box x1 pc
~Remote Control x1 pc
~AAA Battery for the Remote Control x1 pair
~Instruction Manual x1 pc
~Composite RCA Cable x1 pc
Receives All High Definition Digital Free to Air Channels
HDMI Output
Upscaling to 1080i
Easy Menu System
Automatic/Manual Channel Search
Parental Lock Control
EPG (Manufacturers Electronic Program Guide)
Teletext
RF In/Loop Through
Component / Video / Digital Audio via Coaxial Output
Full Function Remote Control
3

Table ofContents
Front and RearPanel .......................................................................................... 5
Remote Control.... .............................................................................................6
Connections......................................................................................................8
First Time Installation......................................................................................... 9
Troubleshooting................................................................................................16
Technical Specifications....................................................................................17
Warranty.........................................................................................................18
4

Front and RearPanel
1. Front panel
2. Rear panel
1. STANDBY INDICATOR:Displays when the unit is in Power mode and Standby mode. The
indicator will show as green when the unit is on and red when in standby.
2. REMOTE CONTROL SENSOR: Receives the signal from your remote control.
3. USB Input: The USB Input allows the unit to receive software upgrades via USB.
23
1
1. RF IN: This socket allows you toconnect your external aerial.
2. RF LOOP THROUGH:This socket allows you toconnect to your RF signalvia your TV or
other video device.
3. COAXIAL: This socket allows you toconnect the Set Top Box to on yoursurround sound
system.
4. HDMI OUT:This socket allows you touse your HDMI cable fora premium high definition
connection.
5.VIDEO: This socket allows you toconnect your Set Top Box via Composite VideoSignal.
6.AUDIO L/R: This socket allows you toconnect your Set Top Box to receive theAudio L/R
signal.
7. POWER INPUT:This socket is where youconnect your main power tothe unit.
1234576
5
Ϊ͸Ã÷´°

Remote Control
1. MUTE: Press the MuteButton to cutthe sound only. Press
again to turn soundon.
2. INFO: Press the InfoButton to displaythe program
information.
3. TTX: Press the TTXButton to enterthe Teletext Menu.
4. SUBTITLE: Press the SubtitlesButton to turn onthe program
subtitle and pressrepeatedly to scrollthrough the languages
offered.
5. EXIT:Press the ExitButton to Exitany Menu.
6. OK: Pressthe OK Buttonto confirms any menuselections or
settings changes.
7. RIGHT/LEFT NAVIGATEBUTTONS: Press the Right/Left
Navigate Buttons toscroll through themenu/settings options.
Press the Right/Left NavigateButtons to adjustthe volume.
8. TV/RADIO: Press the TV/RadioButton to switchbetween TV
and Radio modes.
9. RECALL: Press the RecallButton to return tothe last channel
you were watching.
10. GOTO: Press the GOTOButton to selectthe playtime of
media.
11. PREV: Press the PrevButton to skipbackwards to the
previous track duringplay.
12. NEXT:Press the NextButton to skipforwards to the next
track during play.
13. REPEAT: Press the RepeatButton to RepeatPlay.
14. STOP: Press the StopButton to stopmedia play.
15. STANDBY: Press the StandbyButton to turn theunit on oroff.
6
16. EPG(Manufacturers ElectronicProgram Guide): Press the EPGButton to enterthe EPG
Menu for detailedprogram information and guide.
17. AUDIO: Press the AudioButton to selectthe Audio Languageor Audio Mode.
18. UP/DOWN NAVIGATE BUTTONS: Press the Up/DownNavigate Buttons toscroll through the
menu and settingoptions or toscroll through thechannel list.
19. MENU: Press the MenuButton to enterthe Main Menu.
20. FAVOURITE:Press the FavouriteButton to enterthe Favourite Menu.
21. NUMERIC BUTTONS:Press the NumericButtons to changethe channel directlyor enter your
password or settinginformation.
22. FWD: Press the FWDButton to fastforward play in mediamode.
23. REV: Press the REVButton to rewindplay in mediamode.
24. PLAY: Press the PlayButton to start or resumemedia play.
25. PAUSE:Press the Pause Button topause play inmedia mode.
26. COLOUR BUTTONS:Press the ColourButtons to operatedifferent functions inthe teletext
mode.
Installing the Batteries
Remove the battery cover from the Remote Control and put 2xAAA size batteries inside the
compartment.
The diagram insidethe Battery Compartment shows the correctway to installthe batteries.
1.Open the cover 2.Install batteries 3.Close the cover
Using the Remote Control
To use the Remote Control, point it towards the front of the Digital Set Top Box. The Remote
Control has arange of upto 7 metresfrom the SetTop Boxat an angleof up to60 degrees.
The Remote Controlwill not operateif its pathis blocked.
Sunlight or verybright light willdecrease the sensitivityof the Remote
Control.
7
Ϊ͸Ã÷´°

TV
TV Aerial
VCR
Amplifier
Coaxial Cable
Coaxial Power Adaptor
Connections
Caution: Make sure tocheck the voltagespecification of thewall outlet is thesame rating with
the receiver.To preventthe risk of electricshock, do not openthe cover or theback of the receiver.
Note: 1.When connecting the receiver to other equipment, e.g., TV, VCR and amplifier,
make sure to refer to relevant user manual for instruction. Also, make sure you
disconnect all the equipments from the mains supply before connecting.
2. No video output from CVBS if HDMI output is connected to TV.
VIDEO IN
YELLOW
(Audio)
(Video)
8

First Time Installation
After all connections have been made properly and power is connected, switch on the TVand the
Set Top Box. When using the receiver for the first time or after you have conducted a restore to
Factory Default theInstallation Guide willappear on your TV screen.
(1) Select [OSD Language] and press the RIGHT/LEFT Navigate Buttons to select your desired
language
(2) Select [Country] andpress the RIGHT/LEFT NavigateButtons to selectAustralia
(3) Select [Channel Search] and press the RIGHT or OK Button confirm and begin the automatic
channel search
(4) Once the automatic channel search is complete, the first channel in the list will appear on
screen and youcan now watchTV.
Basic Operation
Program Settings
To access the Main Menu, press the MENU Button and then select [Program] to adjust the
program settings. Press the OK or RIGHT to confirm any adjustments. Press the EXIT button to
exit the Menu.
Program Edit
In the Program Menu,you can edit theprogram settings. To edit your programpreferences (lock, skip, favourite,
move or delete), youwill need to enterthe Program EditMenu. This Menu requiresa password to access.Enter the
default password '000000'.
9

Setting Favourite Programs
The Favourite functionin the program settingsallows you to createa shortlist of favourite programsthat
you can easily access.
To seta TV program orradio station to yourfavourites list, please followthe below:
1. Tune your TV to the program you wish to add to your favourites list and then press the Favourite
Button on your Remote Control. A heart-shaped symbol will appear next to the program in the
programs list and isnow marked as afavourite.
2. Repeat stepone to select andset more programs.
3. Toconfirm and exit theMenu, press theExit Button.
If you have incorrectly set a program to your favourite list press the Favourite Button again and the
selection will be disabledand the heart-shaped symbol willdisappear.
Viewing Favourite Program
1. Press theFavourite Button andthe Favourite Menuwill appear.
2. Press theUp/Down Navigate Buttons toscroll through your Favourite Programs.
3. Press theOK Button to select and playyour favourite program.
Deleting a TV orRadio Program
1. Press theFavourite Button andthe Favourite Menuwill appear.
2. Press theUp/Down Navigate Buttons toscroll through your Favourite Programs.
3. When you havefound the program youwish to delete, pressthe Blue Button onyour remote control
and the program andheart-shaped symbol will be removed.
4. Press theOK Button to confirm.
Setting a TVor Radio Program toSkip
1. Tuneyour TV to theprogram you wish toskip and then pressthe Green Button onyour remote control.
A skip symbolwill be displayednext to the program in the programlist.
2. Repeat stepone to select andset more programs.
3. Toconfirm and exit theMenu, press the ExitButton
If you have incorrectly set a program to skip, press the Green Button again and the selection will be
disabled and the skipsymbol will disappear.
Moving a TV orRadio Program
1. In your channel list select the program you wish to move and then press the Red Button on your
remote control. Amove symbol willappear next tothe program.
2. Press theUp/Down Navigate Buttonsto move the selected program.
3. Press OKto confirm.
4. Repeat theabove steps to movemore channels.
Locking a TVor Radio Program
As apart of the parental lock function, you canlock a selected programto restrict it frombeing viewed
by children. To lock a particular programfollow the below steps:
1. Tuneyour TV to theprogram you wish tolock and then pressthe YellowButton on your remotecontrol.
A lock-shaped symbol will be displayed nextto the program inthe program list andit is now locked.
2. Repeat stepone to select andlock more programs.
3. Toconfirm and exit themenu, press the EXITButton.
4. Press theYellow Buttonagain to disablethe locked program.
5. To view a locked program, you will be require to enter either the default password '000000' or your
last set password.
Sorting your Channel List
The Sort function in theprogram settings allows youto arrange the programlist in your desiredorder.
[LCN] - Sort the channelsin ascending order
[Name] - Sort the channelsin alphabetical order
[Service ID] - Sort the channelsaccording to the station
[ONID] - Sort the channelsaccording to ONID
LCN (Logical channelnumber)
You canset that Channel list to automatically be arrange by LCD.Select this optionin the program menu
to set it toon or off.
10

Picture Setting
To accessthe Picture Menu,press Menu Buttonthen select the [Picture] sub-menu. ThePicture
menu allows youto adjust thepicture and videosettings. Press theUp/Down Navigate Buttonsto
select an optionand press theRight/Left Navigate Buttons toadjust that setting.Press the Exit
Button to exitthe menu.
11
Aspect Ratio
The Aspect Ratioallows you toset the TVscreen display.You canchoose between either4:3
PanScan, 4:3 LetterBox,16:9 Widescreen orAuto.
Resolution
The Resolution allowsyou change thepicture quality.You maywant to adjustthis setting ifyou
are having issueswith your TVpicture image. You can choosebetween; 480i, 480P, 576i, 576P,
720P and 1080I(1080I is thehigh definition resolution,make sure itis selected ifyou have
connected the TVvia a HDMIcable.
TV format
The TV format refersto your thesystem by whichyour Set Top Box receivesits TV signal.
Video Output
The Video Outputrefers to thevideo connect youhave select toconnect the settop box tothe TV.
Channel Search
If you wishto conduct achannel search yourwill need togo to theChannel Search Menu.Press
the Menu Buttonand then select[Search Channel] option.The Channel SearchMenu allows you
to select whattype of searchyou would liketo conduct. Pressthe Right/Left Navigate Buttonsto
select the ChannelSearch option youwish to use.Press the OKButton to confirm andpress the
Exit Button toexit.
Auto Search
In the ChannelSearch Menu youcan select AutoSearch, which meansthe TV willautomatically
search and storeall available channels.
1. Select the[Auto Search] optionand press theOK or RightNavigate Button toconduct an
Automatic Channel Search.
2. Tocancel the channelsearch, press theExit Button.

Manual Search
In the ChannelSearch Menu youcan select ManualSearch, which meansyou can manuallyselect
the channels youwish to searchfor and storein the channellist. Youcan use thisoption to add
new channels tothe channel listwith out replacingthe whole list.
1. Select the[Manual Search] optionand press theOK or RightNavigate Button tobegin.
2. Once inthe Manual Searchoption, press theRight/Left Navigate Buttons toselect the channel
frequency of thechannel you wishto find andstore.
3. Press theOK Button tothen scan forthe frequency selected.When the channelis found itwill
be added tothe channel list.
Country
In the ChannelSearch Menu youcan change yourcountry of residence.
Antenna Power
In the ChannelSearch Menu youcan turn setting onor off ifyou have anexternal antenna
connected.
Time Menu
To access the TimeMenu, press theMenu Button andthen select the[Time] option. TheTime
Menu allows youto adjust thetime settings. Pressthe Up/Down NavigateButtons to selecta
desired option andthen press the Right/Left Navigate Buttons toadjust the setting.Press the OK
Button to confirm andthe Exit toexit the menu.
Time offset
In the TimeMenu you canset the Timeoffset to autoor manual. Manualwill allow youto adjust
the GMT offsettime.
Country Region
In the TimeMenu you mustset your Country Regionwhen the [TimeOffset] is setto Auto.
Time Zone
In the TimeMenu you mustset the TimeZone Offset when[Time Offset] isset to Manual.
12

Sleep
In the TimeMenu you canset the SetTop BoxSleep Time. Ifthe Sleep Timeis on theSet TopBox
will turn off after theset number ofhours. When theSet TopBox has beenon for theset number of
hours a popup message willtell you thatthe Set Top Box willnow turn to standby. Youcan set the
Sleep Time toup. Press theStandby Button toexit sleep /auto-off mode.
Option
To accessthe Option Menu,press the MENUButton and thenselect the [Option]Menu. The Option
Menu allows youto adjust theOSD Language, SubtitleLanguage and AudioLanguage settings. To
select an optionin the OptionMenu press theRight/Left Navigate Buttons toadjust. Press theExit
Button to exitthe Menu.
OSD Language
In the OptionMenu you canselect and adjustthe OSD Language.
Audio Language
In the OptionMenu you canselect your preferred audiolanguage. If thelanguage is notavailable,
the default programlanguage will beused.
Subtitle Language
In the OptionMenu you canselect your selectthe preferred subtitle language.
Digital Audio
In the OptionMenu you canselect your digitalaudio connection.
System Setting
To access the SystemSetting Menu, pressthe Menu Buttonand then select[System] Menu. The
System Settings Menuallows you toadjust and viewthe System Settings.Press the Right/Left
Navigate Button toadjust the settings.Press the ExitButton to exitat any time.
Parental Guidance
In the SystemSetting Menu youcan restrict accessto channels thatare unsuitable forchildren. To
restrict/lock undesirable channelsyou will needto enter eitherthe default password
'000000' or yourown password.
Set Password
To setor change thepassword for lockedprograms. Enter yourold password orthe default
password '000000'. You will thenbe asked toenter the newpassword and thenconfirm by re-
entererig your newpassword. Once itis confirmed, press theExit Button toexit the Menu.13
13

Factory Default
In the SystemSetting Menu youcan select theFactory Default option toconduct a settingsreset.
In the MainMenu, select [Factory Default]and then pressOK or Rightto select. You will then
need to enteryour password orthe default password'000000' to gainaccess to thissection.
Press the OKButton to confirm. Conductinga Factory Resetwill delete allpreset channels and
settings.
Information
In the SystemSetting Menu youcan select theInformation option to viewthe model, hardware
and software information.
USB is primarilyfor Software Upgrade,however it doessupport movie playback.
To access the USBMenu, press theMENU Button andselect [USB] usingthe Right/Left Navigate
Buttons. The USBMenu allows youto play Music,Photo and Multimediafiles. It cansupport AVI,
WMA, JPEG and BMPformats. The unit willonly support USB device withFAT32file system. It
will not support NTFS filesystem.
Multimedia: When aUSB device isconnected, you canselect from theMusic, Photo orMovie
using the Right/Left NavigateButtons and theOK Button. Ifa USB deviceis not connected,the
warning message "No USBdevice is Found"will appear.
(b) Photo configure:
-Slide Time: adjust slide showinterval to 1~8 seconds.
-Slide Mode: adjust slideshow effect asmode 0~59 orrandom.
-Aspect Ratio: Keep displays the pictureas its originalaspect,
Discard displays the picturein full screenmode.
(c)Movie Configure
- Aspect Ratio:
[Keep]: Play movieas its originalaspect.
[Discard]: Play moviein full screenmode.
- Subtitle Specific:
[Small]: Displays thesubtitle as smallmode.
[Normal]: Displays the subtitleas normal mode.
[Big]: Displays thesubtitle as bigmode.
14

Troubleshooting
15
Problem Potential Reasons What to do
No picture
No Picture
No Sound
The Remote Controlis
not responding
Power isn'tconnected
Power isnot on
Video Cables notconnected
Picture Settings areincorrect
Audio Cables arenot
connected
Mute function ison
There are obstructions between
the remote control and the
sensor
Connect the power
Switch on thepower
Ensure Video Cablesare
connected properly
Conduct a FactoryReset to
clear all Settings
Connect the AudioCables
as outlined
Turn offmute by pressingMute
Button again orby increasing
the volume
Replace the batteries
Move any obstructions
between the remotecontrol
and the sensorand ensure you
follow the remoteinstructions
The Batteries aredead

TechnicalSpecifications
Item Sub Item Parameter
Tuner
Video
Audio
Power
Input Frequency
RF Input level
IF Bandwidth
Modulation
Decoder Format
Output Format
Output Port
Decoder Format
Audio output
Voltage
Power
170~230MHz
470~860MHz
-25~-78dBm
7MHz and 8MHz
QPSK,16QAM,64QAM
MPEG2 MP@ML
576P , 720P, 1080i, 4:3and 16:9
HDMI,
MPEG-1 (layer1&2)
Digital audio: S/PDIF
DC 5V Supply
Max 8W
16
MPEG4 MP@ML

PO BOX 6287,
SILVERWATER NSW 1811
www.bushaustralia.com.au
Bush : 1800 509 394Australia
Bush : 0800 450 259New Zealand
Warranty
Warranty
Please keep yourreceipt as proofof purchase. Thisproduct is warranted forany defect in
materials or workmanshipfor one yearafter the original dateof purchase. Thisproduct is for
normal domestic and officeuse only.
This warranty does notcover damage frommisuse or neglect,accidental damage, vermin
infestation, excessive voltagessuch as lightningor power surgesor any alterationthat affects
the performance or reliability ofthe product.
In the unlikelyevent that yourproduct fails towork normally,please contact theBush Warranty
on 1800 509 394(Australia) or 0800 450 259(New Zealand) and have yourreceipt of
purchase on hand.
This is subject tothe following provisions:warranty
This w is in additionto, and doesnot diminish,arranty
your statutory or legalrights.
Warranty
17
It is onlyvalid within theboundaries of thecountry of purchase.
The product mustbe correctly assembled andoperated in accordancewith
the instructions contained inthis manual.
The product mustbe used solelyfor domestic purposes.
The warranty does notcover accidental damage,misuse, cabinet parts or
consumable items.
The warranty will renderedinvalid if theproduct is resoldor has beendamaged
by inexpert repair.
The manufacturer disclaimsany liability forincidental or consequentialdamages.

PO BOX 6287,
SILVERWATER NSW 1811
www.bushaustralia.com.au
Table of contents
Other Bush Set-top Box manuals

Bush
Bush BFSAT02SD User manual

Bush
Bush BFSAT01HD User manual

Bush
Bush FVPZAPPER100 User manual

Bush
Bush DFTA2 User manual

Bush
Bush BFSAT02SD User manual

Bush
Bush BHAS02URG User manual

Bush
Bush BU11FVZS2 User manual

Bush
Bush DFTA12HD User manual

Bush
Bush DFTA60BR User manual

Bush
Bush DVB-T2 PVR MPEG4 User manual