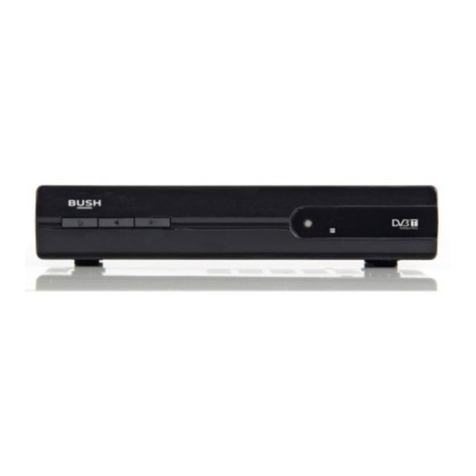
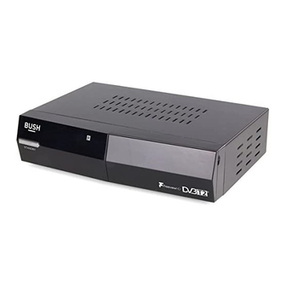
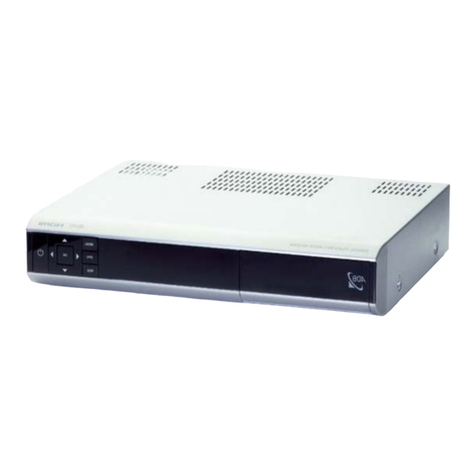
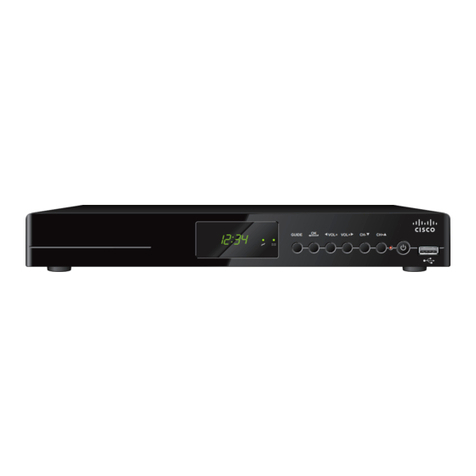
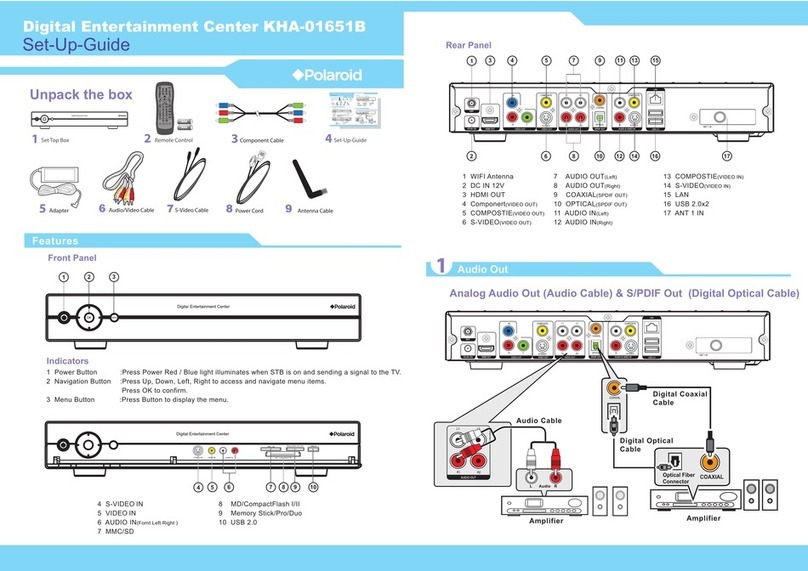
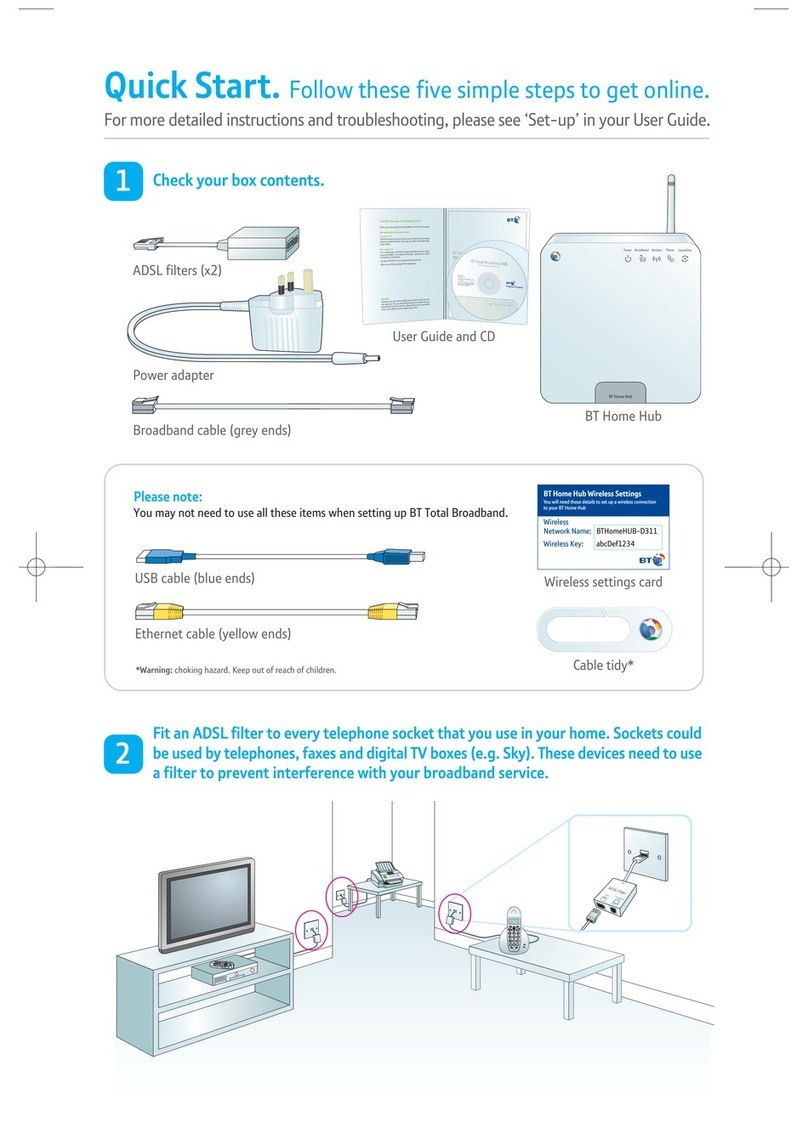
Bush DFTA7C User manual

INSTRUCTIONMANUAL
Digita l SetTop Box
DFTA7C
The Gold TechnicalSupportLine:1902 215 259
PersonalProductSupport
(Charges willapply at$2.95 perminute)

S a fe ty Instructions
Disclaimer
Inform ation in this docum entis subjectto change withoutnotice.
Them anufacturerdoesnotmakeany representationsorw arranties
(implied orotherwise)regarding the accuracy and com pletenessofthis
docum entand shallin no eventbe liable forany loss ofprofitorany
commerci
aldam age,including butnotlimited to special,incidental,
consequential,orotherdam age.
Alw ays read the safety instru ctionscarefully
Keep this User's M anualforfuture re ference
Keep this equipm entaway fro m hum idity
Laythis equipm enton a re liable flat
surface before setting itup.
Donotstand iton softfurnishings.
Ifanyofthe follow ing situation arises,getthe equipm entchecked by
a service technician:
Theequipm enthas been exposed to moisture.
Theequipm enthas been dropped and dam aged.
Theequipm enthas obvious sign ofbreakage.
The
equipm enthas notbeen working welloryou cannotgetitwork
according to User's M anual.
Warning
Topreventthe risk ofelectric shock,do notopen the coverorthe
back ofthe re ce iver.
Donotblock the ventilation holes ofthe device.Leave appropriate
gap above and around itto all
ow foradequate ventilation.
Donotplace the device in an unventilated cabinetoron top ofa unit
which em its heat.
CopyrightStatem ent
Nopartofthis publication maybe reproduced in any form by anym eans
withoutthe priorwritten perm ission.Othertradem arksorbrand nam es
m entioned
herein are tradem arksorregistered tradem arksoftheir
respective com panies.

Thankyou forbuying this Bushproduct,which is designed to give you m any
years oftrouble-free service.
Youmayalreadybe fam iliarwith using a similarunit,butplease take timeto
read these instru ctions.They are designed to fam iliarize you with the units
m anyf
eatures and to ensure you getthe very bestfro m yourpurchase.
S a fe ty is im portant
Yoursafety and the safety ofothers is im portant.Please therefore,ensure you
read the Safety Instru c tions before you operate this unit.
W arran ty
In the unlikely eventthatyourproductfails to worknorm al
ly,please callthe
below Bush w arranty num berforsupport.
Australia
BushW arran ty : 1800 509 394
New Zealand
BushW arran ty : 0800 450 259
Introduction

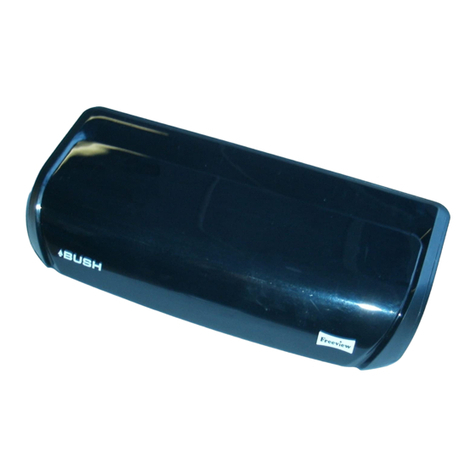
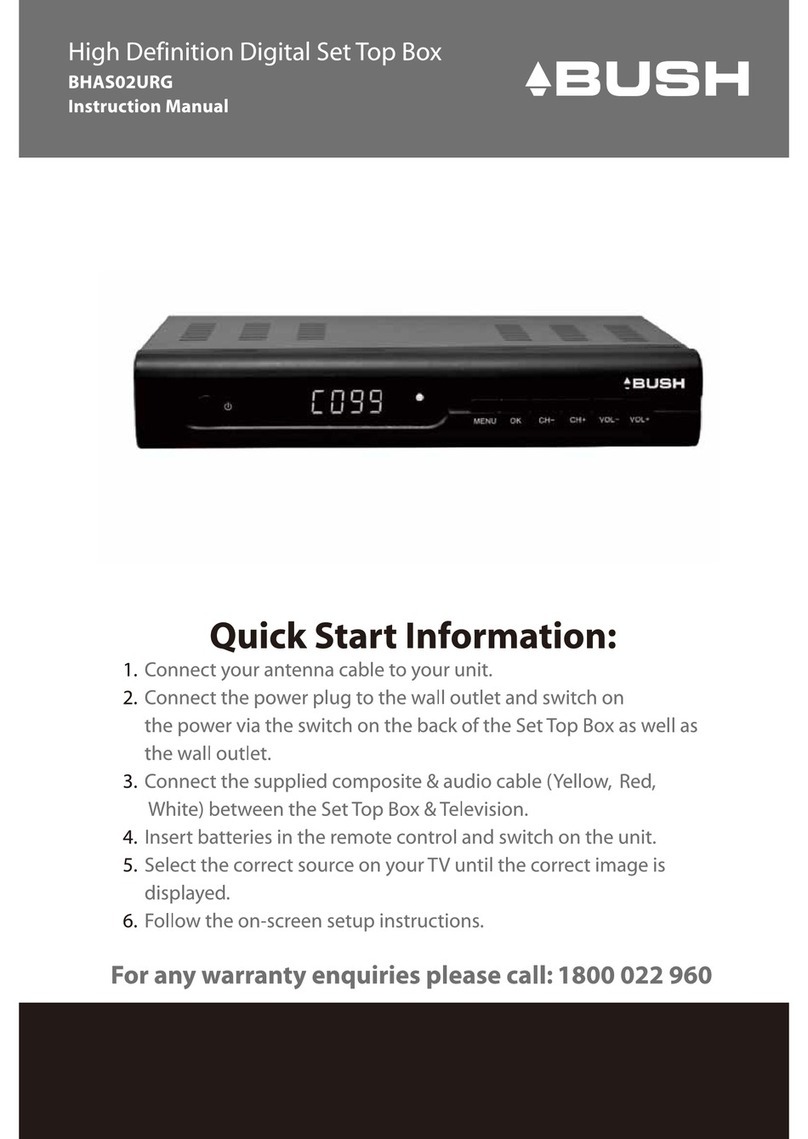
Aboutth e SetTop Box
This DVB-TTV Receiveris a Free-To-Airdigitalte rre strialreceiver,
allowing you to access free-to-airdigitalte rre strialTV channels
and radio broadcasts on yourTV set.Its digitalr
eception covers
VHF& UHFband.Com pared with the analog TV program s,digital
TV program seliminate the noise and interference butofferhigh
quality video and audio.An on-screen initialinstallat
ion guide is
provided so thatyou can easily startto enjoy watching the
program s. In addition,a fully featured re m o te contro lis included
thatoffersyou access to everyfeature
with a simple pressofa
button.
Main Features
Fullcom ply with Austra lian DVB-Tstandard
FullM PEG2ISO/IEC 13818 transportstream com pliantaudio/
video decoding
Bandwidth of6/7/8M H zsupported
COFDM dem odulator
Autom atic/m anualchannelsearch
Channeledit,moving and deletion
Parentallockcontro l
NTSC/PALconvert
ing autom atically and m anually
EPG (E lectronic Program Guide)and Teletextfunction (w here
available)
Multiple-language OSD
Supports multi-subtitle
RS-232 serialport forsoftwareupgrade
TunerRFin/loop through
SDTV only
Fullfunction re m o te contro l
Package Contents
Before installation,please check t
he item s ofthe package.
The package should contain the following item s:
~ DVB-TTV Receiver x1 pcs
~ Remote Contro l
x1 pcs
~ AAA Batteryforthe re m o te contro ller x1 pair
~ Instru c tion M anual
x1 pcs

Table ofContents
Frontand RearPanelIllustra tion....................................................1
Remote Contro ller...................
.....................................................2
Connecting to a Television.....................................
........................4
Connecting to an Audio S ystem .....................................................5
Connecting to a DVDRecorderorVCR...
.........................................6
UserInterface..............................................................................7
Quick Installation.....................................................................7
M enu O perations......................................................................8
NormalPlay...........................................................................13
Troubleshooting .........................................................................17
Specifications.............................................................................18
W arranty.............................................................
.......................19

100-240V~
50/60H z
INRF LOOPRF
THROUGH COMPONENTVIDEO /AUDIO OUT
Cb CrY
RCOAXIAL
LVIDEO OUT
VIDEO
S-VIDEO
Upgrade
USB
N14119
SerialNo.:
INPUT:100-240V~ 50/60HZ
POW ER CONSUMPTION:10W ATTS
MADE IN PRC
BUSH WARRANTY:1800 509 394 AUSTRALIA
BUSH WARRANTY:0800 450 259 NEW ZEALAND
DFTA7C
2009/02
1.Frontpanel
1 2 345678
1
2
3 COMPONENTVIDEO OUT:
4
5
6
7
RFIN : This socket connects to your external aeri
al.
RFLOOPTHROUGH:This socketwillbypass the RFsignalto eitheryourTV or another
video system .
These sockets connectto yourTV com ponentinput
term inals.
COAXIAL:This socketconnects to a coaxialsocketon yoursurround sound system .
USB:This socketis used to upgrade the software.Fortechnician use only .
AUDIO L/R:This socketoutputs analog audio L/R signal.
S-Video output:This socketoutputs separate Y/C video signal.
VIDEO:This socketoutputs com posite video signal.
8
1
Frontand RearPanelIllustration
1 POW ER BUTTON: Used to sw itch the settopbox on andoff.
2 LED DISPLAY:Used to displaythe timeorchannel inform ation
3 CHANNELUP/DOW N:U sed to changechannels withoutusingthe re m o te contro l.
4 REMOTE CONTROLSENSOR: Used to re ce ive the
signalfro m the re m o te contro l.
5 STANDBYINDICATOR:U sed to visually show pow erstate ofthe set top box,thegreen
LED willbelitifthesettop boxis turned onand the re d LED willbelit if theset
top box
is in standbym ode.
3
5
4

OK
EXIT
PAUSE
123
456
7890
INFO
AUDIO
EPG
VOL
+
VOL
-
CH+
CH-
MENU
MUTE
RECALL
TV/RADIO
STANDBY
GAME
SUBTITLE TEXT
FAVO RITE
VIDEO
Rem ote Key Function:
1.VIDEO:Used to sw itch the video output
m ode.
2.INFO:U sed to display information about
the channelbeing view ed orfurtherinformation
aboutthe program when in normalplay m ode.
3.PAUSE:U sed to pause the program being
viewed .
4.EPG:Used to display information aboutthe
program being viewed and what's on next.
5.EXIT:Used to return to the previous screen
orm enu.
6.OK:U sed to confirm a selection within a
m enu.
7.VOL+:U sed to movearound the m enu
screens orchanging the
volum e in normal
play m ode.
8.FAVO R ITE:Used to access your favourite
channels.
9.GAME:U sed to selectthe gam e:Gomoku.
10.RECALL:U sed to sw itch betw een the last
twoview ed channels.
11.SUBTITLE:Used to sw itch am ong
differentsubtitles thatare broadcasted.
12.TEXT:Used to open teletextOSD display
ifteletextavailable in the broadcasted stream .
13.STANDBY Usedto sw itch the set top
box to on orstandby.
14.MUTE:U sed to turn the sound on oroff.
15.MENU:U sed to open the main m enu
window.
16.CH+ Usedto movearound the m enu
screens orchanging the channels in normal
play m ode.
RemoteController
17.VOL-:Usedto movearound the m enu screens or changing the
volum e in norm alplay m ode.
18.CH-:Usedto movearound the m enu screens or changing the
channels in norm alplaym ode.
19.NUMBER KEYS:Usedto selectchannelnum bers orinputnum bers
in m enus.
20.AUDIO:Usedto selectthe available audio tra c k or
setthe sound
m ode asLR(stereo),LL(left),R R (right).
21.TV/RADIO:Usedto sw itch between TV channels and Radio stations.
22.COLOR KEYS(RED/GREEN/YELLOW /BLUE):Usedto operate
differentfunctionsin TEXT screen orotherm enus.
N o te : SUBTITLE /TEXT /AUDIO maynot be available fo r allchannels.
2
Installing th e B a tte ries
Remove the batterycover fro m there m o te contro l and put2xAAAsize
batteries inside the com partm ent.
The diagram insidethe battery com partm entshows the correctwayto
installthe batteries.
OPEN
OPEN
1.O pen the cover 2.Installbatteries 3.Close the cover
Using th e RemoteControl
Touse the re m o te contro l,pointittowards the frontofthe digitalsettop
box There m o te contro lhasa range ofup to 7 metre s fro m thesettop
box atanangle ofupto 60 degrees.
The re m o te contro lwillnotoperate ifits path is blocked.
Sunlightorvery brightlightwilldecrease th e sensitivity of
th e rem o te control.
3

100-240V~
50/60H z
INRF LOOPRF
THROUGH COMPONENTVIDEO /AUDIO OUT
Cb CrY
RCOAXIAL
LVIDEO OUT
VIDEO
S-VIDEO
Upgrade
USB
N14119
SerialNo.:
INPUT:100-240V~ 50/60HZ
POW ER CONSUMPTION:10W ATTS
MADE IN PRC
BUSH WARRANTY:1800 509 394 AUSTRALIA
BUSH WARRANTY:0800 450 259 NEW ZEALAND
DFTA7C
2009/02
Connecting to a Television
RFIN
TV Aerial
Cr
Cb
Com posite
audio
(O p tional)
4
Fora basic connection fro m yoursettop box to the television,
use the com posite connection outlined below.
Fora higherquality connection,usethe com ponentvideo
connection outlinedbelow com bined with the com posite audio.

100-240V~
50/60H z
INRF LOOPRF
THROUGH COMPONENTVIDEO /AUDIO OUT
Cb CrY
RCOAXIAL
LVIDEO OUT
VIDEO
S-VIDEO
Upgrade
USB
N14119
SerialNo.:
INPUT:100-240V~ 50/60H Z
POW ER CONSUMPTION:10W ATTS
MADE IN PRC
BUSH WARRANTY:1800 509 394 AUSTRALIA
BUSH WARRANTY:0800 450 259 NEW ZEALAND
DFTA7C
2009/02
BASS
TREBLE
ECHO
DOW N UP
VOLUM E
INPUT SELECTOR
MUTE
KARAOKE
CHANNEL
TEST
MODE
3 STEREO
PRO LOGIC
BYPASS
EXCITE
POW ER
MIC
2
1
1
MIC VO L
2
MIC
Amplifier
Coaxial
Coaxialcable
Connecting to an Audio System
5
5

100-240V~
50/60H z
INRF LOOPRF
THROUGH COMPONENTVIDEO /AUDIO OUT
Cb CrY
RCOAXIAL
LVIDEO OUT
VIDEO
S-VIDEO
Upgrade
USB
N14119
SerialNo.:
INPUT:100-240V~ 50/60HZ
POW ER CONSUMPTION:10W ATTS
MADE IN PRC
BUSH WARRANTY:1800 509 394 AUSTRALIA
BUSH WARRANTY:0800 450 259 NEW ZEALAND
DFTA7C
2009/02
TV Aerial
Connecting to a DVD RecorderorVCR
6

UserInterface
1.1 S e tting Country and Language
Usercan selectprefe rre d country and language atSetup-Installation
page.
(1 ) Press <M enu> button to enterMain Menu.
(2 ) Press <Left/Right> button to selectSETUP option.
(3 ) Press <Up/Down>button to selectInstallation option.
(4 ) Press <O K> button to enterInstal
lation page.
(5 ) Press <Up/Down>button to selectCountryoption.
(6 ) Press <Left/Right> button to setCountry S e tting.
(7 ) Press <Up/Down>button to selectOSDLanguage option.
(8 ) Press <Left/Right> button to seta language.
Ifthere is no channeldatabase in the STB,itwi
llstartatstep(5)dire c tly
when booting.
1.2 How to receive th e program s?
Scanthe possible frequencyand bandw idth to re ce ive the program s.
Press <RED> or<GREEN>button to startAutoScan orM anualScan.
1.2.1 AutoScan
AutoScan willerase the database first,and scansdefaultfrequency
and bandwidth by
Country S e tting.Follow the steps(1 ) ~ (8 ) at
section 1.1.
(9 ) Press <RED> button to be confirm e d to clearthe database.
(10)P ress <O K> button to confirm clearaction and startAutoScan.
Itcosts timeto do AutoScan,usercan press<Exit> button to exitat
anytime.
SeeFigure 1.Laterifyou wantto scan again,you can follow
above Quick Installation procedure.
Figure 1.Cleardatabase m essage Figure 2.M anualScanedit
1.Quick Installation
SETUP.Installation 01/01/2008 00:19
Country Setting
Antenna_Setting
England
OFF
Move Switch Exit
M anualScan
Auto Scan
OSD Language English
Audio Language
Subtitle Language
LCN
OFF
ON
English
ExitYES
OK
Database willbecleared!Continue?
MANUALSCAN 01/01/2008 02:19
ChannelNo.
Frequency
CH .21
474.000 Mhz
Move Move Exit
Edit
Bandw idth8 Hz
Scan
OK
65 %
94 %
Strength
Q uality
7

1.2.2 M anualScan
M anualScan adds the scanning re s u lts into database,itdoesn'terase
the database.Butthe Userhas to know the Frequency and Bandwidth
forscanning.Ifthe userscansthe sam e Frequency and Bandwidth
morethan once,the previousprogram s willbe overwritten.Follow the
steps(1 ) ~ (8 ) atsection 1.1.
(9 ) P ress <GREEN>button to enterM anualScan Page.
(10)P ress <Up/Down>button to selectFrequencyoption.
(11 ) P ress <0~9> button to inputthe Frequency value.
(12)P ress <Up/Down>button to selectBandwidth option.
(13)P ress <Left/Right> button to setBandwidth value.
(14)
Press <O K/Exit> button to startscan orexit.
SeeFigure 2.
2.MenuO perations
Oncethe channelscan is finished and allthe channels are stored into
the database,you can startto watch the digitalte rre strialTV channel
orlisten to the radio broadcast,som e typicaloperations are given in
this chapter.
2.1 Main Menu
Main Menuforoperati
ng a lotoffunctions.
(1 ) Press <M enu> button to enterMain Menu.
(2 ) Press <Info> button to display the version inform ation ofSTB.
2.2 SETUP
Setthe system settings ofSTB.
2.2.1 Installation
Setthe re ce iving and playing program settings ofSTB.
2.2.1.1 AntennaS e tting
Setthe antenna poweron oroffto supply +5V pow erto antenna ornot.
8

Note:The defaultis OFF,setthis option to O N only ifthis STB is
connected to anactive antenna which am plifies the re ce ived RF signal,
otherwise please setitto O FF .
2.2.1.2 Country S e tting
Setthe country forAutoScan,M anualScan and TimeZone.
N o te : C hange the Country S e tting willautom atically changethe
defaultTimeZoneand setthe defaultFrequency and Bandwidth for
AutoScan.
2.2.1.3 OSD Language
Setthe OnScreen Display Language.
2.2.1.4 Audio Language
Setthe audio language forwatchingprogram .
2.2.1.5 Subtitle Language
Set
the languagefordisplaying subtitle.
2.2.1.6 LCN
Setthe LogicalChannelNum berto on oroff.
N o te : LCN is a num berthatuniquely identifiesa logicalchannel,
which is popularin som e europeancountries such asEngland,France.
2.2.1.7 DaylightSaving/RegionS e tting/TimeZone
Allow you to enable ordisable daylightsaving.Ifyou know the region of
yourlocation,selectanappropriate Region SettingorsettheTimeZone
offsetm anually.
2.2.1.8 AutoScan
Press <RED> buttonto start
AutoScan.See section1.2.1 fordetails.
2.2.1.9 M anualScan
Press <G REEN> buttonto startM anualScan.See section1.2.2 fordetails.
2.2.2 TV Setup
Setup the displaym ode forTV.See Figure3.
Figure 3.TV Setup Figure 4.Video Enhancem ent
SETUP.TV Setup 01/01/2008 00:19
TV Format
TV Mode
4:3 LB
PAL
Move Switch Exit
OSD Transparency 6
BannerDisplay Time
Video Output
Video Enhancem ent
3S
OFF
CVBS+RGB
5761
Flesh Tone OFF
Move Switch Exit
Black/White Expansion OFF
9

10
2.2.2.1 TV Form at
Setdisplay form atforwatching program ,such as4:3LB,4:3PS,
16:9PB,16:9 FIT.
4:3LB (LetterBox):Typically forwidescreen contentdisplayson
conventional4:3TV with blackbars above andbelow the picture.
4:3PS(PanScan):Typically forwidescreen contentdisplayson
conventional4:3TV with l
eftand rightedgescropped.
16:9PB(PillarBox)/16:9 FIT:Typically forwidescreen 16:9TV.
2.2.2.2 TV M ode
SetPAL,NTSC orAUTO fordisplay.AUTO willsw itch PALorNTSC
by program content.This settingshould be matchedwith user'sTV.
2.2.2.3 OSD Transparency
Setthe On
Screen Display transparency.1 is the mosttransparent.
2.2.2.4 BannerDisplayTime
SetBannerdisplaystime.Bannerdoesn'tdisappearw hen setas
Always and disappears attim eoutw hen setas othervalues.
2.2.2.5 VideoOutput
Setthe videooutputm ode to TV.
2.2.2.6 VideoEnhancem ent
Setthe Video Enhancem ent.SeeFigure 4.
(1 ) Press <Up/Down>buttonto selectVideo Enhancem entoption.
(2 ) Press <Left/Right> buttonto setVideo Enhancem ent.
(3 ) Press <Up/Down>buttonto selectFlesh Tone orBlack/White
Expansion.
(4 ) Press <Left/Right> buttonto setFlesh Tone and Black/White
Expansion.
2.2.3 Passw ord
Setpassword form enu lock orchannellock orcensorship lock.And the
usercan changepassword here,thedefaultPIN Codeis 6666.
2.2.3.1 M enu Lock
Lock the m enusby passw ord.
2.2.3.2 ChannelLock
Lock the channelwhich has beensetto lockstatus when turningon the
Channel
Lock.Please see section 2.3.1.2 fordetails.
2.2.3.3 Censorship Lock
Lock the program by password andcensorship threshold.
The censorship info is in program content.U nderthecensorship ra ting,
userhas to enterthe rightpassword forwatchingprogram .
2.2.3.4 Change Passw ord
Tochange the PIN code,
selectthis option,press <Left/Right> button
to triggerchangingpassword and <0~9>buttons to enterold password,
new passw ord and confirm new password.Ifsucceed,thePIN Code
Changed m essage willbedisplayed,otherwise thePIN Code E rro r
m essage willbedisplayed.

11
2.2.5 SetDefault
Restore STB to factory default.Allsettings did by userwillbe restored to
factory defaultvalues and the database willbe erased together.
2.3 TV/RADIO
There are twotypes ofprogram :TV and R adio.The
operation ofthe List
and Guide ofTV and Radio are almostthe sam e.Herein take TV as exam ple.
2.3.1 List
Usercan operate som e functions in List.SeeFigure 5.
2.3.1.1 Favorites
Usercan quickly channelup/down the favorite program s by favori
te filter.
There are 8 groups offavorite forusersetting:News,Sport,Movie,Music,
Shopping,Travel,Boyand Girl.Press <1~8> button to setorclearthe
favorite group w hen Favorites option selected.
2.3.1.2 Lock
Lock willask password before watching this program when SETUP ->
Passw ord ->ChannelLock is turned on.Please see section 2.2.3.2 for
details.Press <O K> button to setorclearlock status w hen Lock option
selected.
2.3.1.3 Edit
Usercan editthe progr
am nam e,maximum length is 20 characters.
(1)Press <Left/Right> button to selectEditoption and <Up/Down>button
to selectthe program .
Figure 5.TV List
2.2.4 Advance Timer
Usercan settimerforwatching the program bydate and timem anually
orfro m the TV/Radio Guide(seesection 2.3.2).W hen setting date and
starttimeis a rrived,STB willautom atically sw itch to the wanted
program .Press any key except<Vol-/Vol+/
Mute> button,STB asks user
to abortitornotw hen watching booked program .Usercan delete the
eventwhile itisn'tatrunning.
Figure 6.Guide -Event
All
No.Program Name Status
0001 CTSPORT
0002 Aplikace MHP
0003 CT1
0004 CT2
0005 CT24
0006 NOVA
CH+/-Tool Exit
Save
1-8:Favorite Group Edit
Favorites
CH23/490166 KHz
PID:V 1025 ,A 1041
TV List 01/01/2008 02:19 TV Guide 17/07/2007 02:19
EPG+/-DateExit
Book
Detail
0800 TVE 1
0800 TVE 2
0802 24H TVE
0803 CLAN TVE
Date
W ed.
2007
10/17
Today 18 19 20 21 22 23
11:30 PorLa M anana 2007
13:15 EINegociador
14:00 Informativo Madrid 2007
14:30 Corazon DeOtono 2007
2
15:00 Telediario 1 Edicion 2007
No.Program Name
OK

12
(2)Press <O K> button to display program info and press itagain to edit
program nam e.
(3)Press <Up/Down/Left/Right/0~9/RED/GREEN> button to selectthe
character.
(4)Press <O K> button to finish the editing and return to previous program
info page.
(5)Press <RED> button to save the editing and return to Listorpress
<Exit> button to return to Listwithoutsaving.
2.3.1.4 Move
Movewillallow you movethe position ofthe channels in the list.
Note:This option willnotappearsin this listwhen SETUP->Installation
-> L C N is setto ON.
2.3.1.5 Sort
Sortwillallow you sort the channels by A<->ZorPay<->Free.
Note:This option willnotappearsin this listwhen SETUP->Installation
-> L C N is setto ON.
2.3.1.6 Skip
Skip willskip the program w hen changing program by CH+/-. Press
<O K> button to setorclearskip statuswhen Skip option selected.
2.3.1.7 Delete
Delete wi
lldelete the program perm anently fro m database.Usermust
rescan to recoverit.
Press <O K/GREEN>button to setdelete one ordelete allwhen Delete
option selected.
2.3.1.8 Search
Usercan search the program nam e by partialkeyw ord.
(1 ) Press <Left/Right> button to selectSearch option.
(2 ) Press
<O K> button to entry search page.
(3 ) Press <Up/Down/Left/Right/OK/0~9/RED/GREEN>button to input
keyw ord.
(4 ) Press <O K> button to Search and re turn List.The matched program
willbe focused.
(5 ) Press <GREEN/YELLO W > button to the nextorprevious matched
program .
2.3.2 Guide
Guideis also nam ing EPG (E lectroni
c Program Guide).
SeeFigure 6.
(1 ) Press <Up/Down>button to selectprogram orEPG event.
(2 ) Press <Left/Right> button to change eventordate.
(3 ) Press <O K> button to exitallthe m enus orshow the detail
inform ation ofselected event.
(4 ) Press <Exit> button to exitto
previous m enu.

(5)Press <RED> button to enterBook page and <YELLO W > button to save
afteredited.Ifitconflictwith itselforotherevent,a conflictm essage willbe
displayed. The successfulbooking willbe added to Main M enu-> SETUP->
Advance Timer(see sect
ion 2.2.4).
2.4 ACCESSORY
There are threeoptions:Gomoku,Calendar,Calculator.
Gomoku
Press <Up/Down/Left/Right> buttonto setplaym ode and difficulty.
Press <O K> buttonto startplayGomoku.
Press <Up/Down/Left/Right> buttonto selecttheposit
ion.
Press <O K> buttonto place thepiece.
Calendardisplays the year,m onth,anddate.
Calculatorcan used formathem aticalcalculations.
Figure7.NormalPlay- R adio
3.NormalPlay
NormalPlay m eans STB underwatching TV orlistening to the Radio.
See Figure 7.
3.1 Inform ation
Press <Info> buttononce to displayinfo banner.Bannerdisplays the
program No.,favorite setting,currenttime,program nam e,now and
next
event,lock,scram ble,subtitle andteletextinfo.
Press <Info> buttonwhen bannerexistto display detailinfo ofnow
event.Press <Info>button w hen detailexistto displaycurrent
program info.SeeFigure 8.
3.2 Switc h Program
Usercan sw itch program by CH+/
-orinputprogram num berdire ctly.
Ifthe inputprogram num berdoesn'texist,STB willignore the input.
Orpress <Recall> button to sw itch to lastwatchingprogram fro m
currentwatching program .
3.3 Volum e
Press <Vol-/Vol+> button to adjustthe volum e.
Press <M ute> button
to mute.
Ifadjustthevolum e while mute,mute willbecanceled.
Figure 8.Program Info
Program Info
Program Name ITV1
Program No 0003 Video PID 0512
ChannelNo. 0045 Audio PID 0650
Frequency 665934 KHz
Bandw idth 0008 MHz
Constel
lation Q AM 64 Hierarchy M ode N/A
G uard Interval 1/32 HPC ode Rate 7/8
FFT 8K LP C ode Rate 1/2
Strength 62%
Q uality 88%
13

14
3.4 Program List
Press <O K> button to display Program Listwith No.,nam e and lock/
scram ble/skip status.
Press <Up/Down/Left/Right> to sw itch the program .
Press <O K/Exit> to re turn norm alplaym ode.
Figure 10.TeletextSetting Page
Figure 9.Audio Channel
3.5 Audio
Switch the sound channeland sw itch sound m ode to LR (stereo)orLL
(left) orR R (right). Ifsetting audio language atSETUP->Installation->
Audio Language,the audio channeldefaultlanguage willbe chosen
bysetting.SeeFigure 9.P ress <Audio> button to display the audio
channel
page.Press <Up/Down>button to selectChannel/Audio PID
orSound M ode option.P ress <Left/Right> button to setthe value.
3.6 Pause
Pause video and audio.Butitwillbe canceled byanyinput.
3.7 Favorite s
Usercan sw itch the favorite program s in the sam e favorite group.
Aboutfavorites setting,see section 2.3.1.1 fordetails.
Press <YELLO W > button to sw itch the favorite group
in Program list.
Press <CH +/-> button to sw itch the sam e favorite program in norm al
playm ode.
3.8 Teletext
Display teletexton screen,the style ofteletextmaybe differentby
contentprovider.SeeFigure 10.
Press <Text> button to display the teletextset
ting page.
Press <Up/Down>button to selectthe teletextlanguage ifthe program
hasteletext.
Press <O K/Exit> button to exitthe teletextsetting page.
Press <0~9/Up/Down/Left/Right> button to change teletextpage if
teletextexists.
Audio PID0650
Channel eng
Audio channel
Sound M ode LR
TELETEXT
Teletext
Language
eng
OFF

Figure 11.Subtitle SettingPage
3.10 TeletextSubtitle
Display subtitle byteletext,the style ofthe teletextsubtitle maybe
differentbycontentprovider.
Figure 12.Digest
3.9 Subtitle
Display the subtitle on screen,thestyle ofsubtitle maybe differentby
contentprovider.See Figure 11 .
Press <Subtitle> buttonto display subtitle setting page.
Press <Up/Down>buttonto selectsubtitle language,iftheprogram has
subtitle.
Press <O K/Exit> buttonto exitsubtitle setting page.
3.11 Guide
Press <G UIDE>button atnormalplay state,see section 2.3.2 fordetails.
3.12 Auto Sleep
Press <RED> button forthe auto sleep function atnormalplay state,
12,30,
60,120 minutes and O FF can be selected.
3.13 List
Press <G REEN> button atnormalplay state,see section2.3.1 fordetails.
3.14 Digest
Press <YELLO W > button atnormalplay state,digestcan display 9
program s on screen each time.Butonly
the selectedprogram is
playing,others willdisplay theirsnapshot.See Figure 12.
Press <YELLO W > button to display digest.
Press <Up/Down/Left/Right> button to brow se program .
Press <O K> button to sw itch program and watch it.
Press <Exit> button to r
eturn normalplay m ode.
Press <Text/Subtitle> button to display teletextorsubtitle setting page.
Press <Left/Right> buttonto select TTX Subtitle.
Press <Up/Down>buttonto selectteletextsubtitle language.
Press <O K/Exit> buttonto exitthesetting page.
SUBTITLE
Subtitle Language
eng
OFF
15
Table of contents
Other Bush Set-top Box manuals

Bush
Bush BU10FVZS1 User manual

Bush
Bush BHAS02URG User manual

Bush
Bush DFTA13HD User manual

Bush
Bush FREEVIEWHD DV3 T2 User manual

Bush
Bush FVPZAPPER100 User manual

Bush
Bush DFTA42FV User manual

Bush
Bush DFTA16HD User manual

Bush
Bush DFTA60BR User manual

Bush
Bush BFSAT02SD User manual

Bush
Bush DFTA12HD User manual