C.A. Technologies JAGUAR SLP User manual
Other C.A. Technologies Paint Sprayer manuals
C.A. Technologies
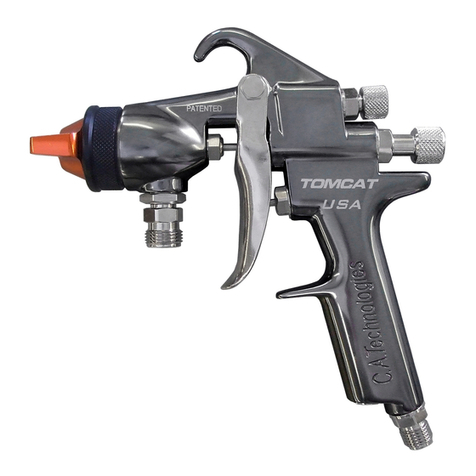
C.A. Technologies Tomahawk TG User manual
C.A. Technologies
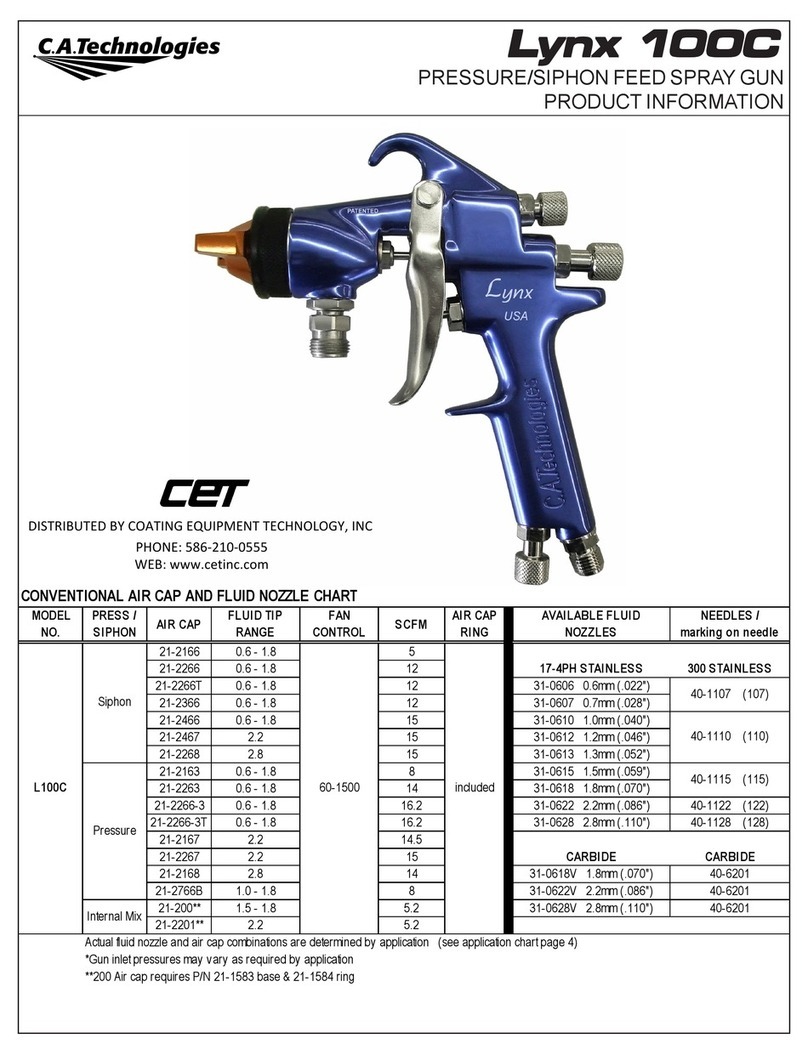
C.A. Technologies Lynx L100C User manual
C.A. Technologies
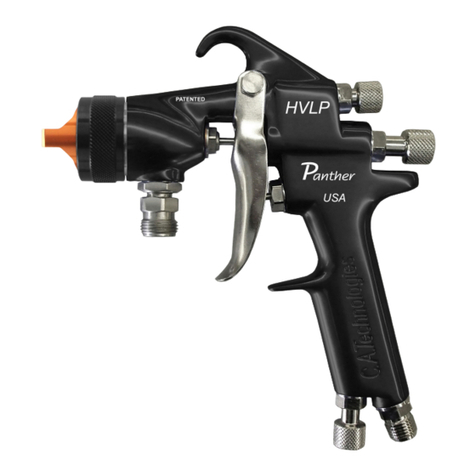
C.A. Technologies Panther 200H User manual
C.A. Technologies
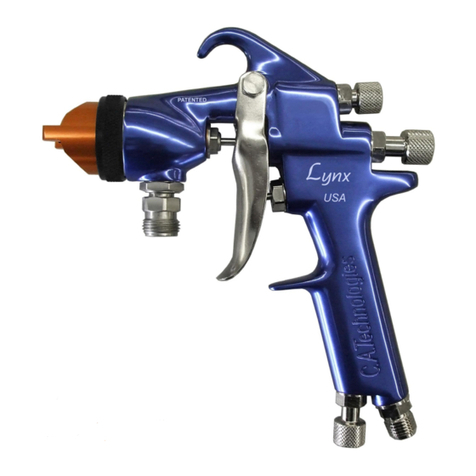
C.A. Technologies Lynx 300C Troubleshooting guide
C.A. Technologies
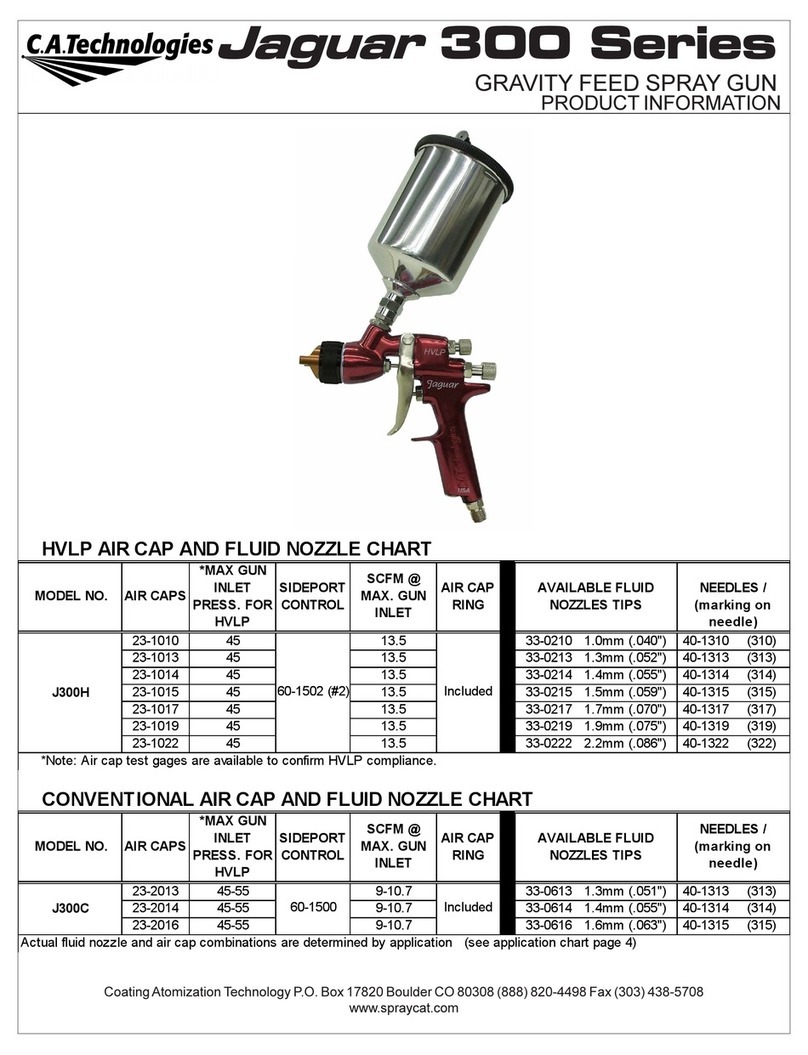
C.A. Technologies Jaguar 300 Series User manual
C.A. Technologies
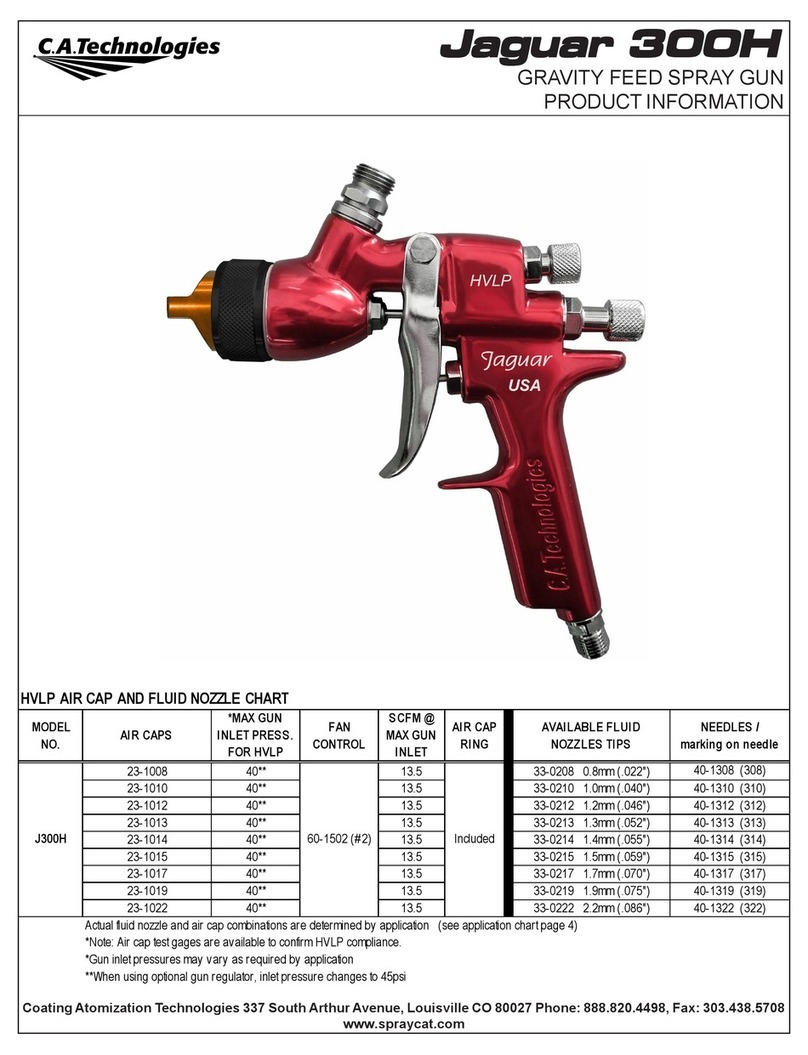
C.A. Technologies Jaguar 300H User manual
C.A. Technologies
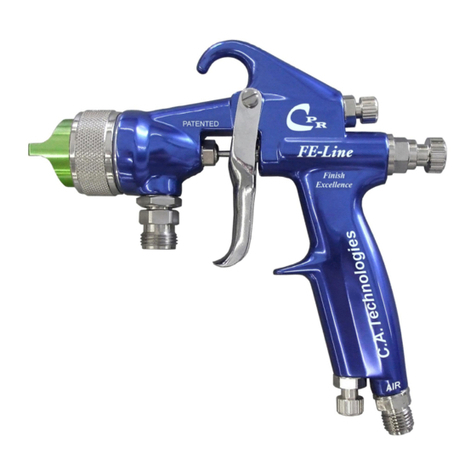
C.A. Technologies CPR-FE User manual
C.A. Technologies
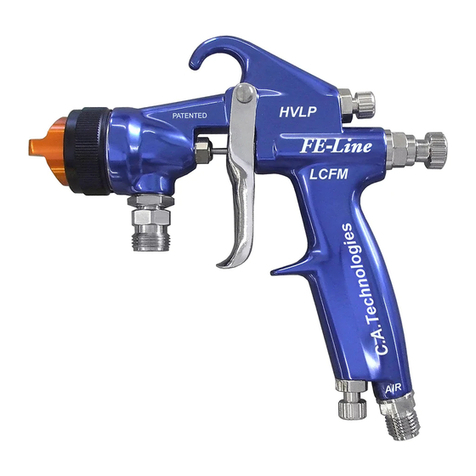
C.A. Technologies FE-Line LCFM Troubleshooting guide
C.A. Technologies
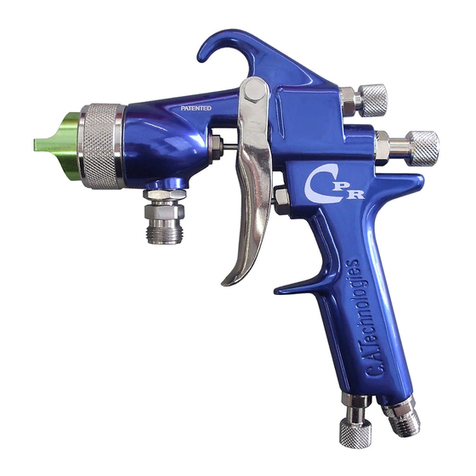
C.A. Technologies CPR User manual
C.A. Technologies
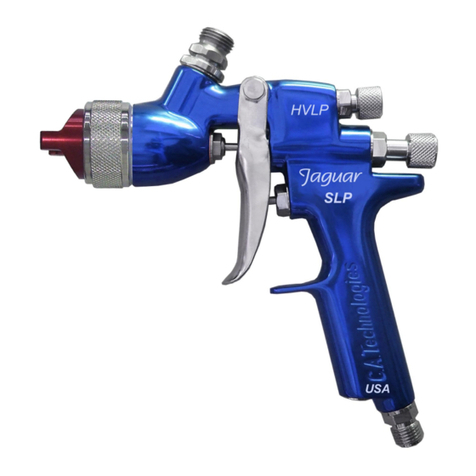
C.A. Technologies Jaguar SLP User manual
C.A. Technologies
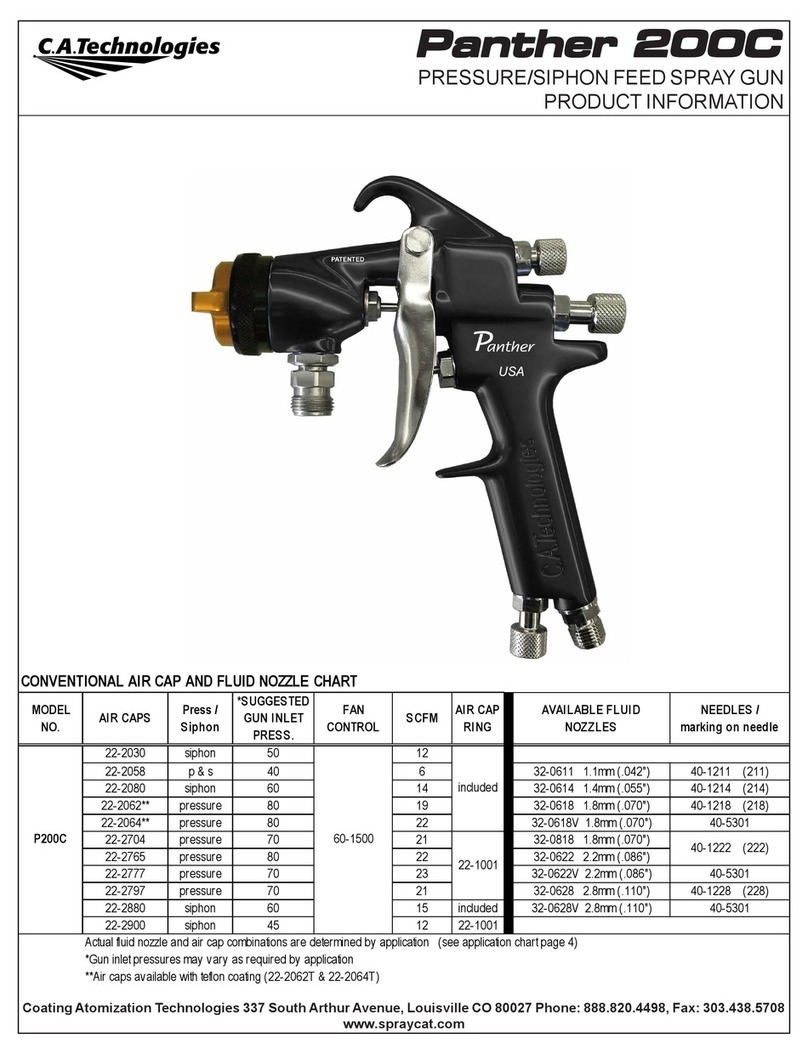
C.A. Technologies Panther 200C User manual
C.A. Technologies
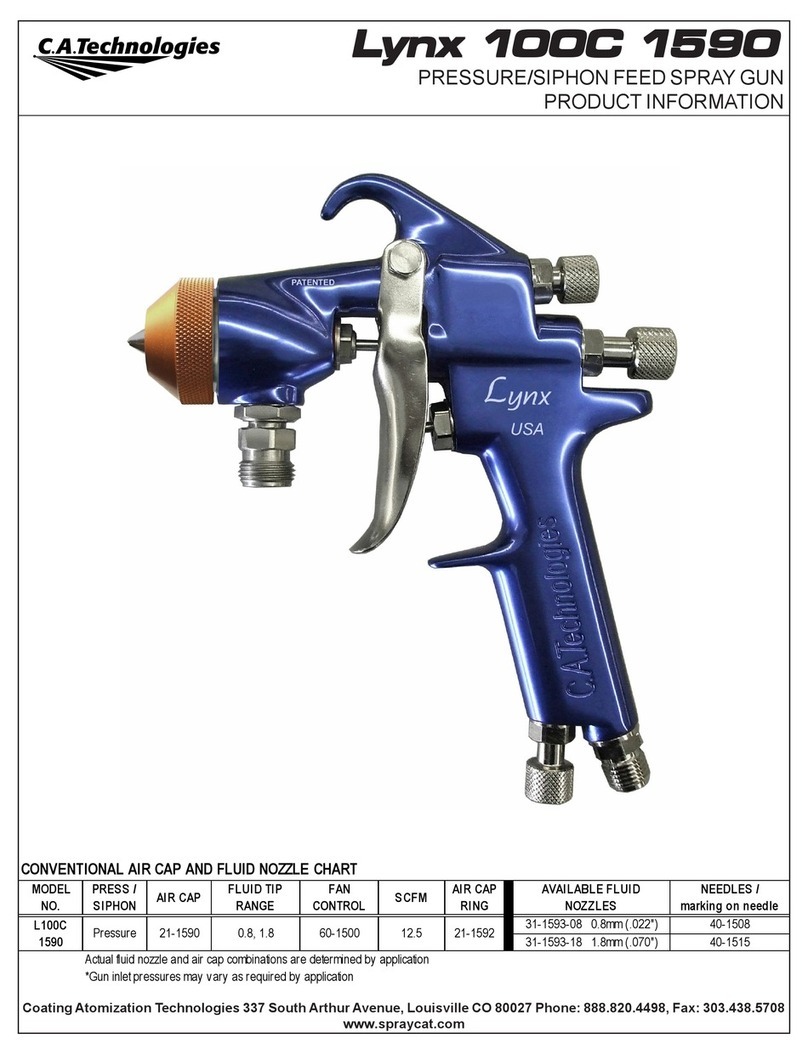
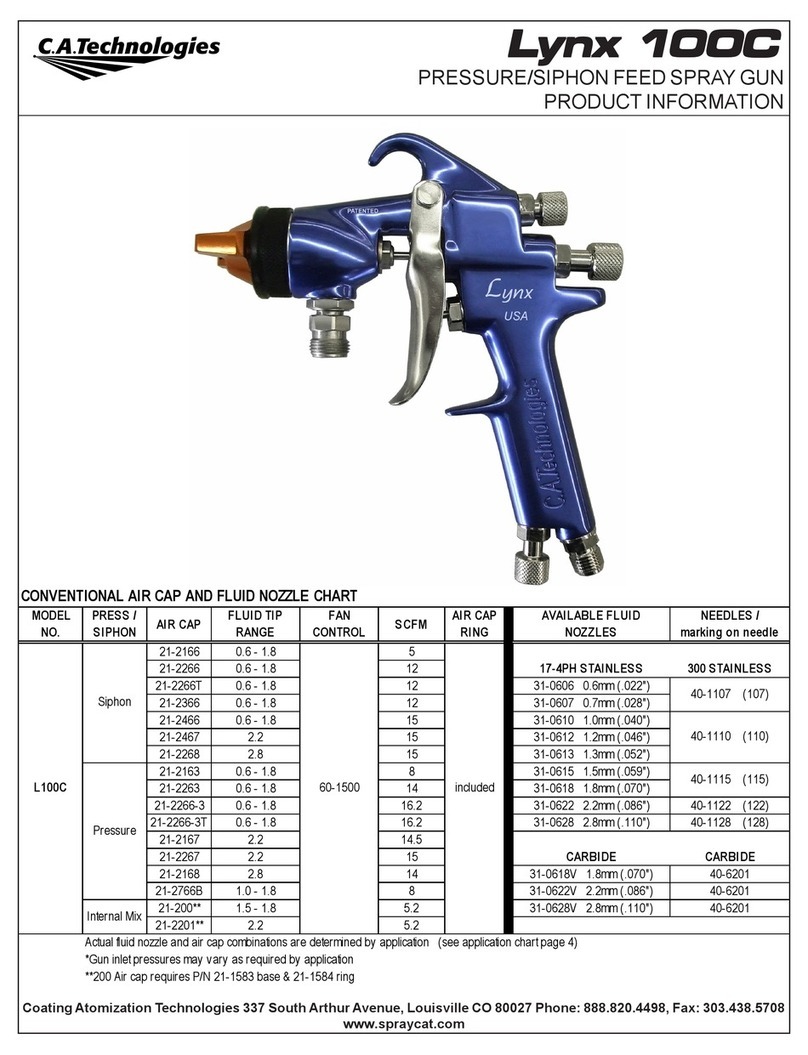
C.A. Technologies Lynx 100C 1590 User manual
C.A. Technologies
C.A. Technologies Lynx 100C User manual

C.A. Technologies
C.A. Technologies FE-Line Fine Finish User manual

C.A. Technologies
C.A. Technologies AutoCAT 300C User manual

C.A. Technologies
C.A. Technologies Lynx 300H User manual
C.A. Technologies
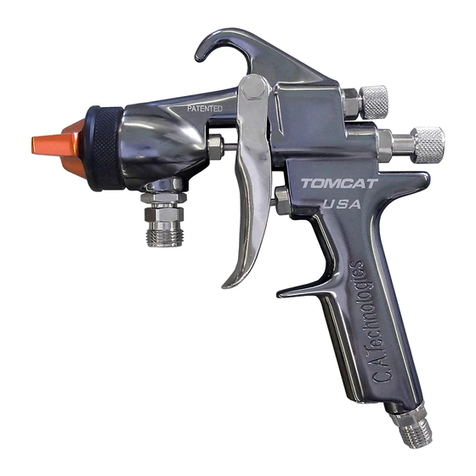
C.A. Technologies TOMCAT 100C Troubleshooting guide
C.A. Technologies
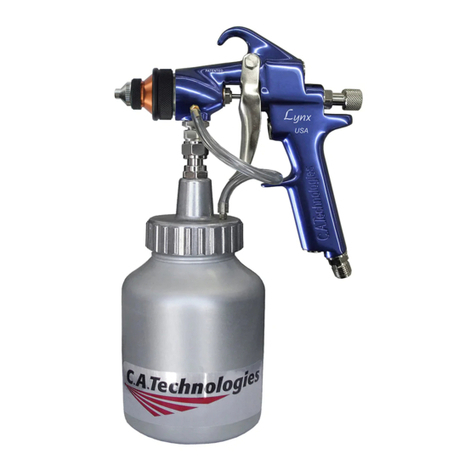
C.A. Technologies Lynx 100CM User manual
C.A. Technologies
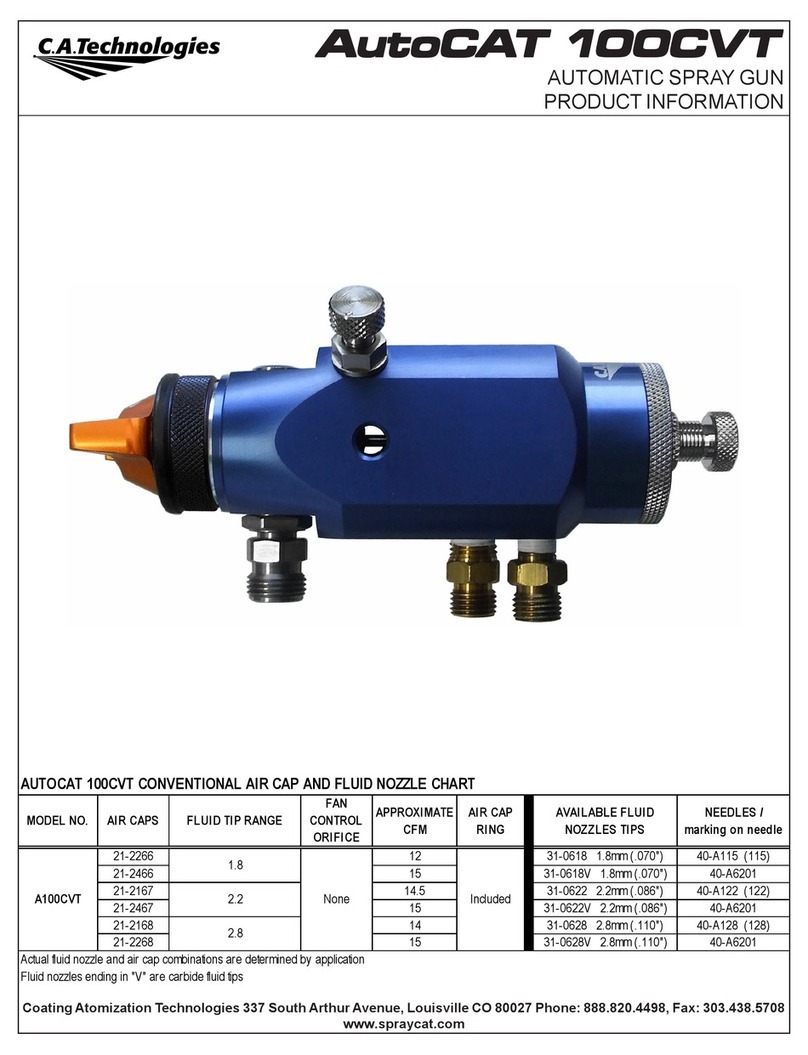
C.A. Technologies AutoCAT 100CVT User manual
C.A. Technologies
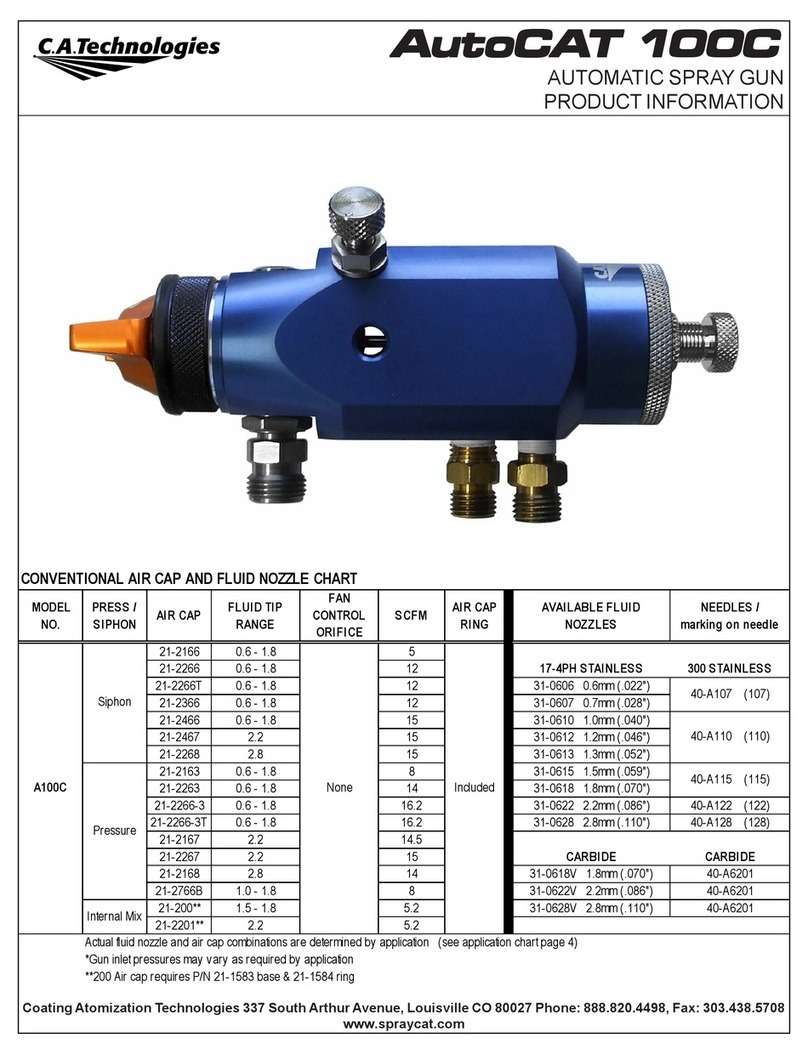
C.A. Technologies AutoCAT 100C User manual
Popular Paint Sprayer manuals by other brands

zogics
zogics Z-DAS instruction manual

KISANKRAFT
KISANKRAFT KK-KBS-165 Operation manual

Matrix
Matrix SG 650 Translation of the original instructions

Anest Iwata
Anest Iwata SGA-3 Installation, use & maintenance instruction manual

paasche
paasche VV Instructions and parts list

Carlisle
Carlisle DeVilbiss JGA-510 Service manual
