Page
3 - 2 1.1.3 Carriage unit
3 - 3 1.1.4 Internal part
3 - 4 1.1.5 Roll media cassette unit
3 - 5 2. PRINTER SETUP
3 - 5 2.1 Installation
3 - 6 2.1.1 Installation environment
3 - 7 2.1.2 Unpacking
3 -10 2.1.3 Removing packing materials
3 -11 2.1.4 Removing the carriage fixing plate
3 -12 2.1.5 Connecting the power supply
3 -13 2.1.6 Language Setting
3 -14 2.1.7 Level adjustment
3 -17 2.1.8 Releasing the check valve
3 -19 2.1.9 Installing the ink bottles
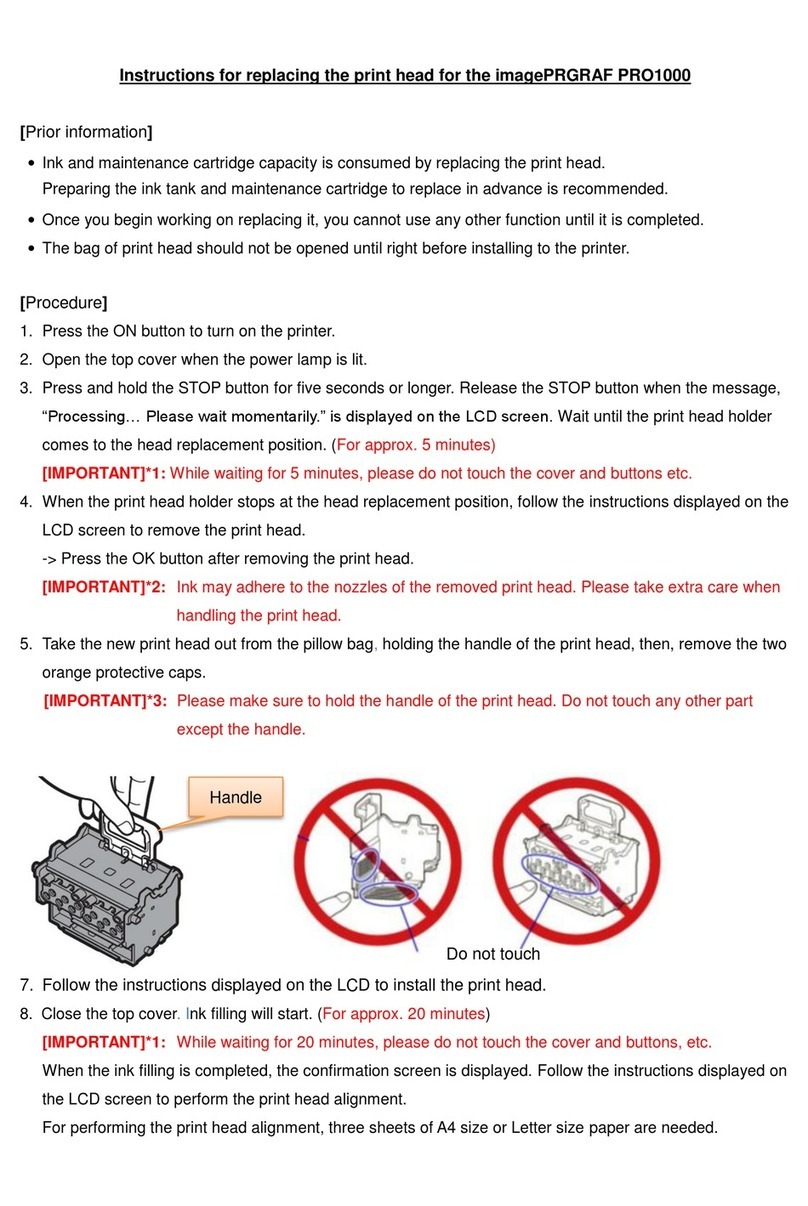
3 -20 2.1.10 Installing the BJ print heads
3 -21 2.1.11 Ink filling and date/time settings
3 -21 2.1.12 Loading paper
3 -21 2.1.13 Operation check
3 -22 2.1.14 Connecting the interface cable
3 -23 3. TRANSPORTING THE PRINTER
3 -23 3.1 Transporting the Printer
3 -24 3.1.1 Moving the printer on the same floor
3 -25 3.1.2 How to transport the printer to a different floor
3 -27 3.1.3 Manual capping
3 -28 3.2 Reinstalling the Printer
3 -28 3.2.1 Installing the printer on the same floor
3 -28 3.2.2 Installing the printer on a different floor
3 -29 4. OPERATION
3 -29 4.1 User Replacements
3 -29 4.1.1 Replacing print media
3 -29 4.1.2 When to replace roll media
3 -30 4.1.3 How to replace roll media
3 -33 4.1.4 Loading cut sheet media
3 -34 4.1.5 Replacing the BJ print head
3 -36 4.1.6 Replacing the ink bottle
3 -38 4.1.7 Replacing the waste-Ink tank
3 -40 4.2 Operation Panel
3 -42 4.3 Change of Printer Status
3 -43 4.4 User Mode
3 -43 4.4.1 User mode operations
3 -44 4.4.2 Map of the user mode
3 -46 4.4.3 Details of user mode
3 -51 5. PRINTER SERVICING FUNCTIONS
3 -51 5.1 Installation mode
3 -51 5.1.1 Installation mode operation
3 -52 5.1.2 Map of the installation mode
3 -53 5.1.3 Details of installation mode
3 -55 5.2 Service Mode
3 -55 5.2.1 Service mode operation
3 -56 5.2.2 Map of the service mode
3 -58 5.2.3 Details of service mode
3 -66 5.3 Error Indications
III
