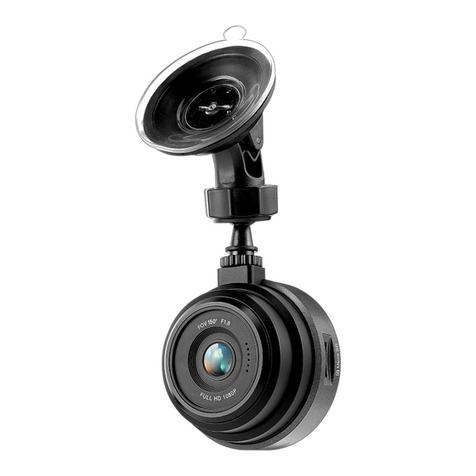
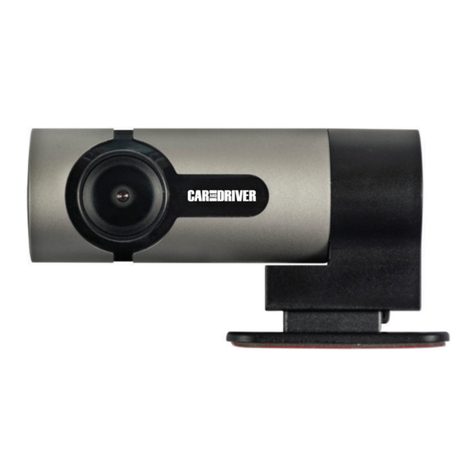
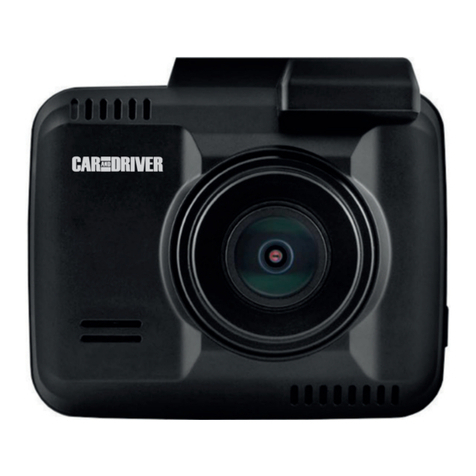
Car and Driver MINIOPRO CDC-628 User manual

MODEL #: CDC-628
MODEL#:CDC-628 MINIOPRO
1080P FULL HD DASHCAM
WE’RE HERE TO HELP
Call Us:
(833) 227-3274
Live Chat With Us:
www.CarAndDriverTech.com
Email Us:
Support@CarAndDriverTech.com

Read Me
Important Safety Instructions
1) Read these instructions.
2) Keep these instructions.
3) Heed all warnings.
4) Follow all instructions.
5) Do not use this apparatus near water.
6) Clean only with dry cloth.
7) Do not block any ventilation openings. Install in accordance with the manufacturer’s
instructions.
8) Do not install near any heat sources such as radiators, heat registers, stoves, or other
apparatus (including amplifiers) that produce heat.
9) Protect the power cord from being walked on or pinched particularly at plugs,
convenience receptacles, and the point where they exit from the apparatus.
10) Only use attachments/accessories specified by the manufacturer.
11) Use only with the cart, stand, tripod, bracket, or table specified by the manufacturer,
or sold with the apparatus. When a cart is used, use caution when moving the cart/
apparatus combination to avoid injury from tip-over.
12) Unplug this apparatus during lightning storms or when unused for long periods of time.
13) Refer all servicing to qualified service personnel. Servicing is required when the
apparatus has been damaged in any way, such as power-supply cord or plug is damaged,
liquid has been spilled or objects have fallen into the apparatus, the apparatus has been
exposed to rain or moisture, does not operate normally, or has been dropped.
FCC NOTICE TO USERS:
FCC ID: 2AMSOCDC-628
Caution: Changes or modifications not expressly approved by the Party responsible for
compliance could void the user’s authority to operate the equipment.
Note: This equipment has been tested and found to comply with the limits for a Class B
digital device, pursuant to part 15 of the FCC Rules. These limits are designed to provide
reasonable protection Against harmful interference in a residential installation. This
equipment generates, uses and can radiate radio frequency energy and, if not installed
and used in accordance with the instructions, may cause harmful interference to radio
communications, however there is no guarantee that interference will not occur in a
particular installation. If this equipment does cause harmful interference to radio or
television reception, which can be determined by turning the equipment off and on, the
user is encouraged to try to correct the interference by one or more of the following
measures:
- Reorient or relocate the receiving antenna.
- Increase the separation between the equipment and receiver.
- Connect the equipment into an outlet on a circuit different from that to which the
receiver is connected.
- Consult the dealer or an experienced radio/TV technician for Help.
The device complies with part 15 of the FCC Rules. Operation is subject to the following
two conditions: (1) this device may not cause harmful interference, and (2) this device must
accept any interference received, including interference that may cause undesired operation.

Download the Road Cover MINIOPRO app,
which allows you to control video recording and
adjust the MINIOPRO's settings. The
MINIOPRO will automatically start recording
when plugged in without using the app.
However, the app is necessary to unlock the
MINIOPRO's many additional features. Once
the Road Cover MINIOPRO app is downloaded,
follow the installation steps detailed in this
manual. Then connect your smartphone to the
MINIOPRO as detailed in the "Connecting
Phone and Dash Cam" section of this manual.
•IOS users can download the app from the
Apple app store by searching for the “Road
Cover MINIOPRO” app and then
downloading it.
•Android users can download the app from
the Google play store by searching for the
“Road Cover MINIOPRO” app and then
downloading it.
DOWNLOADING APP
PACKAGE CONTENTS
1
•MINIOPRO Dash CAM
•USB Car Charger
•USB Power Cable
•Adhesive Bracket (for mounting)
•Suction Mount

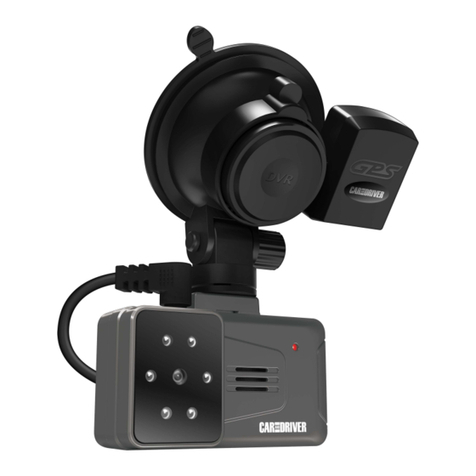
PRODUCT OVERVIEW
INSERT MICRO SD CARD
Before using your MINIOPRO,
insert the micro SD card
into the card slot below the
Bracket Socket.
The MINIOPRO accepts
Class 10 cards, with
storage of up to 64GB. When
properly inserted, the micro
SD card will click and lock in
place when inserted.
Reset Button
Mic
Speaker
LED Lights
Bracket Socets
Gesture Sensor
Camera
Micro USB Port
SET UP
2
SD Card Slot
Note: Remove
Bracket

INSTALL THE MINIOPRO
Connect the included Adhesive Bracket to the
Bracket Socket on the dashcam. Then affix the
MINIOPRO to the inside surface of your windshield.
For optimal results, place the MINIOPRO near the
rear-view mirror, as shown in the diagram below.
Connect one end of the USB Power Cable to the
MINIOPRO and the other end to the provided USB
car charger. The user should secure the cable
between the headliner and the windshield to avoid
blocking the driver’s visibility.
The GPS is embedded in the provided USB Power
Cable. As such the user should affix the cable and
GPS to the windshield with the adhesive sticker.
When the vehicle starts up, the MINIOPRO will
start up as well and automatically begin recording
3

in three Minute intervals. These videos will be saved
in the "Normal" video folder.
CONNECTING PHONE AND DASH CAM
The user should enable the WiFi on their phone, and
connect to the WiFi source named “MINIOPRO-
XXXXX” (The X's represent numbers). The user
should enter “12345678” if they are prompted for a
password. Once the phone is connected launch the
app to explore the MINIOPRO's features and settings.
GESTURE CONTROL
Wave your hand through the Gesture Sensor’s
field of view to automatically take a photo (All photos
are saved in the Gallery). The MINIOPRO is set to
take photo's automatically but it can be changed to
videos by enabling the "Clips" feature using the
settings menu. This feature allows you to save ten-
second videos when you wave your hand through the
Gesture Sensor’s field of view (five seconds before
the gesture and five seconds after the gesture). These
videos will be saved in the "Clips" video folder.
GENERAL MINIOPRO INFORMATION
Once your phone is connected to the MINIOPRO, you
will be able to pull up a live view from the camera
through the Road Cover MINIOPRO app.
Using the app, the user can control the video settings,
access saved videos, access photos, toggle audio
recording on/off and open the Settings Menu.
OPERATION
4

INCIDENT DETECTION
The MINIOPRO will detect any incidents and save a
video of it. These videos will be saved in the "Events"
video folder.
NAVIGATING THE APP
CONNECTING MINIOPRO TO APP
After setting up the MINIOPRO the user will
need to open the app and select "Connect."
Note: The user may need to enter the password
"12345678" to connect properly.
TRAVLE
Travel data including driving length, average
speed, and odometer statistics are located in
the "Travel" section.
GALLERY
Photos taken via the Gesture Sensor (or
other methods) will be stored in this section.
5

ME
•Frequently Asked Questions: The FAQ
section contains answers to some of the
most basic questions the user may have
about utilizing the device.
•About Us: The about us section allows
the user to,
1. Adjust the version of the app.
2. Adjust the firmware version.
3. Change languages.
4. Select speed of either KM/H or MPH
Open Carcam
MY CARCAM
The My Carcam section provides the user a live
feed from the MINIOPRO. It is accessed via the
section by pressing "Open Carcam." Note:
"Open Carcam" is only available after
connecting to the “MINIOPRO-XXXXX” wifi
source.
While in the My Carcam section the user will
have five control options.
1. Wide Screen:
2. Microphone: Turns On/Off voice
recording.
6

3. Carcam Videos: All Carcam Videos
are saved here. Recorded videos are divided
into four folders
A. Normal: This folder contains all videos
saved via the standard loop recording
feature.
B. Clips: This folder contains all videos
taken via the Gesture Sensor. Note: This
feature only works if it is enabled in the
settings menu.
C. Event: This folder contains all videos
saved as a result of an incident. It will
activate only if the MINIOPRO detects an
impact while powered on.
D. Parking: Parking mode will store any
videos saved via the parking feature.
Note: This feature only works if it is
enabled in the settings menu.
4. Settings: The setting menu is used to
adjust a wide variety of the MINIOPRO's
features.
5. Take A Picture: The picture button is
used to manually take a picture of anything the
MINIOPRO is pointed at. It functions identically
to the Gesture Sensor. Note: All photos taken
are stored in the Gallery section.
7
SETTINGS MENU
The Settings Menu holds all of the adjustable
features of your MINIOPRO. Please Note: Voice

Prompt features are not
voice controlled (pictured
on the right). Additional
features include Mobile
Phone Verification
(which allows the user to
choose which phones
can access saved videos and photos). Taking
Pictures Related To Videos(Gesture Sensor
Photography), Parked Vehicles Surveillance
(These videos will be saved in the "Parking" video
folder) and more.
SD CARD STORAGE MANAGEMENT
The Manage The TF Card option tracks how
much space is available on your micro SD card
and how much space is used by the different
saved files. You can choose to erase all files of a
single type by tapping the trash can icon next to
the file type. You can also Format the SD card,
which will erase everything saved on it and
restore the SD card to factory settings.
UPDATE AND RESET THE MINIOPRO
To install firmware updates for your MINIOPRO,
select the Version check from the Settings Menu
and choose “Send Firmware & Upgrade.” This will
download any updates directly to the MINIOPRO.
Always make sure your Road Cover MINIOPRO
app is up-to-date to ensure proper operation. If you
need to reset your MINIOPRO, press and hold the
Reset button on the MINIOPRO.
8

VIDEO: 1920*1080 (16:9) / 30fps / *.mp4 AUDIO:
8KHz / 2 channels / AAC
PHOTO: 1920*1080 / *.JPG
STORAGE: Class 10 micro SD card, up to 64GB.
WORKING TEMPERATURE: -4o F to 158o F.
VOLTAGE: DC 5V / 450mA
LENS: 6-glasses, 156o Wide Angle, F1.8
WIFI: 2.4GHz, 802.11 b/g/n
Call Us:
(833) 227-3274
Live Chat With Us:
www.CarAndDriverTech.com
Email Us:
FCC Statement
This device complies with part 15 of FCC Rules.
Operation is subject to the following conditions.
1. This device may not cause harmful interference.
2. This device must accept any interference
received, including interference that may cause
undesired operation.
SPECIFICATIONS
9

SUMMIT ELECTRONICS LLC ONE YEAR LIMITED WARRANTY
SUMMIT ELECTRONICS LLC LIMITED WARRANTY (“Warranty”) ― For Product
Categories Listed in Chart Below (as applicable, “Product”) Before returning your
Product for service under this Warranty, please (i) read the instruction manual carefully.
If you are still having trouble with your Product, please contact Technical Support at
Warning: Some Products may contain components that are small enough to be
swallowed. Please keep out of reach of children.
Subject to the terms and conditions herein, SUMMIT ELECTRONICS LLC (hereinafter
called “SUMMIT ELECTRONICS LLC”) warrants to the original purchaser of the Product
(“Customer”) that for the applicable Warranty Period listed below, the Product will be
free from defects in material or workmanship under normal, non-commercial use
(“Defects”). Warranty Period encompasses, as listed below, separate “Coverage
Periods” for Parts and Labor, each Coverage Period for one year, to begin from the
original date of Customer purchase. If Customer returns a defective Product (or any
component thereof) during the applicable
Warranty Period, SUMMIT ELECTRONICS LLC will, at its option, during the specified
Coverage Periods for Parts and Labor (as applicable) either: (i) repair Product (or, as
applicable, any component thereof) or (ii) replace the Product (or, as applicable, any
component thereof) with a new or refurbished Product (or, as applicable, any
component thereof), in either case free of charge to Customer for Parts and/or Labor
(as applicable) during the specified Coverage Period only, and excluding applicable
shipping charges (noted below), for which the Customer is responsible. The foregoing
states the Customer’s exclusive remedy and SUMMIT ELECTRONICS LLC’s sole
liability for breach of the limited warranty contained herein.
This Warranty specifically excludes any Product (or, as applicable, any component
thereof) that has been subject to or Defects resulting from: (a) any neglect or misuse by
a Customer, an accident, improper application, violation of operating instructions for the
Product, any other Customer-induced damage, or the alteration or removal of any
Product serial number: (b) any modification or repair to Product (or, as applicable, any
component thereof) by any party other than SUMMIT ELECTRONICS LLC or a party
authorized in writing by SUMMIT ELECTRONICS LLC; (c) any damage to Product (or,
as applicable, any component thereof) due to power surges, incorrect electrical voltage,
misconnection to any device, or malfunction of any device used with the Product (or, as
applicable, any component thereof); (d) cosmetic damage to the Product (or, as
applicable, any component thereof) caused by normal wear and tear; (e) shipping
damage that occurs while the Product is in transit; (f) damage caused by heat sources,
sunlight, electromagnetic conditions, or other climatic conditions; or (g) any acts of God.
Product is sold to Customer for personal, non-commercial use only. Product is not
warranted for Customer’s commercial or rental use. In addition, Product is not
warranted against failure, and should not be used by Customer for any application
where (i) there is a risk that any data stored on Product will be breached or otherwise
compromised, or (ii) the data stored on Product is relied upon for medical or lifesaving
applications. SUMMIT ELECTRONICS LLC disclaims any Warranty for any of the
foregoing uses to the fullest extent permitted by law. Customer assumes any and all
risks associated with such uses of Product, and agrees to indemnify SUMMIT ELECTR-
ONICS LLC for any damages claimed against SUMMIT ELECTRONICS LLC for such
uses. EXCEPT FOR
10

EXPRESS WARRANTIES STATED ABOVE AND TO THE MAXIMUM EXTENT
PERMITTED BY LAW, THE PRODUCTS ARE PROVIDED “AS IS”, AND SUMMIT
ELECTRONICS LLC DISCLAIMS ALL OTHER WARRANTIES, INCLUDING
WITHOUT LIMITATION ANY IMPLIED WARRANTY (I) OF MERCHANTABILITY, (II)
OF FITNESS FOR A PARTICULAR PURPOSE, OR (III) OF NON-INFRINGEMENT
OF THIRD PARTY RIGHTS. TO THE MAXIMUM EXTENT PERMITTED BY
APPLICABLE LAW, IN NO EVENT WILL SUMMIT ELECTRONICS LLC BE LIABLE
TO CUSTOMER OR ANY THIRD PARTY FOR ANY INDIRECT, SPECIAL,
INCIDENTAL, CONSEQUENTIAL, EXEMPLARY OR PUNITIVE DAMAGES,
INCLUDING, WITHOUT LIMITATION, ANY LOST PROFITS OR REVENUES, LOSS
OR INACCURACY OF ANY DATA OR COST OF SUBSTITUTE GOODS,
REGARDLESS OF THE THEORY OF LIABILITY (INCLUDING NEGLIGENCE) AND
EVEN IF SUMMIT ELECTRONICS LLC HAS BEEN ADV ISED OF THE POSSIBILITY
OF SUCH DAMAGES,
SUMMIT ELECTRONICS LLC’S AGGREGATE LIABILITY TO CUSTOMER FOR
ACTUAL DIRECT DAMAGES FOR ANY CAUSE WHATSOEVER SHALL BE LIMITED
TO THE CUMULATIVE PRODUCT FEES PAID BY THAT CUSTOMER FOR THE
PRODUCT CAUSING THE DAMAGES, IF ANY. This Warranty gives Customer
specifics rights, and Customer may also have other rights that vary from jurisdiction to
jurisdiction. To obtain Warranty service, Customer must email SUMMIT
ELECTRONICS LLC Technical Support prior to making a Product return. Customer
must include with Product return the following items (failure to enclose any of these
items may result in a delay in the processing of your Warranty claim): (i) a dated sales
receipt that indicates the place of purchase, model number of Product, and amount
paid; (ii) a detailed description of Customer’s problem with Product; (iii) Customer’s full
name, phone number, and return address, and; (iv) a money order made out to
SUMMIT ELECTRONICS LLC Electronics Corporation to cover return shipping
charges to US destinations only, for the applicable dollar amount shown for the
Product in the table above. SUMMIT ELECTRONICS LLC will not make return
shipments to a P.O. Box. For shipping to international addresses, actual freight will be
charged to Customer. Return your Product freight-prepaid in its original packaging, or
packaging that affords an equal measure of protection. Please allow 4 to 6 weeks for
the processing of your claim (6 to 8 weeks from November to February).
You must email SUMMIT ELECTRONICS LLC Technical Support prior to making a
return. Please ask if you are unsure of which category your product falls under
*US destinations only.
SHIPPING*
(USD)
Adapters, Converters, Chargers, Headphones, Microphones,
Cellular Accessories $7.99
$7.99
Portable Stereo Systems, Speaker Systems, Cordless
Telephones, Home DVD Players $14.99
$21.99
Alarm Clocks, Portable CD Players, Radios, Corded Telephones,
MP3 Players, Digital Photo Frames (screen size less than 5”)
Home Theater DVD Systems, Portable DVD Players, Portable
Media Players, Digital Photo Frames (screen sizes 5” to 11”)
PRODUCT CATEGORY
11

MODEL #: CDC-628
MODEL#:CDC-628 MINIOPRO
1080P COMPLET HD DASHCAM
NOUS SOMMES ICI POUR VOUS AIDER
Appelez Nous:
(833) 227-3274
Pour En Parler Directement
Avec Nous:
www.CarAndDriverTech.com
Envoyez-nous Un Courriel:
Support@CarAndDriverTech.com

Lisez-moi
Avis de sécurité importantes
1) Lisez ces instructions.
2) Gardez ces instructions.
3) Veuillez observer tous les avertissements.
4) Veuillez suivre toutes les instructions.
5) N'utilisez pas cet appareil près de l'eau.
6) Veuillez nettoyer uniquement avec un chiffon sec.
7) Veuillez ne pas bloquer les orifices de ventilation et installez-le conformément aux
instructions du fabricant.
8) Veuillez ne pas installer l'appareil à proximité de sources de chaleur telles que
radiateurs, bouches de chaleur, cuisinières ou autres appareils (y compris les
amplificateurs) produisant de la chaleur.
9) Veuillez protéger le cordon d’alimentation afin qu’il ne soit pas piétiné ou pincé, en
particulier au niveau des fiches, des commodités et du point de sortie de l’appareil.
10) Veuillez utiliser uniquement les pièces jointes/accessoires spécifiés par le fabricant.
11) Veuillez utiliser uniquement avec le chariot, le pied, le trépied, le support ou la table
spécifiés par le fabricant ou vendus avec l’appareil Lorsqu’un chariot est utilisé, faites
attention lorsque vous déplacez la combinaison chariot /appareil afin d’éviter les
blessures causées par le renversement.
12) Veuillez débrancher cet appareil en cas d'orage ou pendant les longues périodes
d'inutilisation.
13) Veuillez confier tous les travaux de maintenance à du personnel qualifié, qui est
nécessaire lorsque l’appareil a été endommagé de quelque manière que ce soit, par
exemple si le cordon d’alimentation ou la fiche est endommagé, si du liquide s’est
répandu ou si des objets sont tombés dans l’appareil, si l’appareil a été exposé à la pluie
ou à l'humidité, ne fonctionne pas normalement ou est tombé.
AVIS DE FCC AUX UTILISATEURS :
FCC ID: 2AMSOCDC-628
Attention : Les changements ou modifications non expressément approuvés par la partie
responsable de la conformité peuvent annuler l'autorité de l'utilisateur à utiliser
l'équipement.
Remarque : cet équipement a été vérifié et déclaré conforme aux limites imposées aux
appareils numériques de classe B, conformément à la section 15 du règlement de la FCC,
qui visent à assurer une protection raisonnable contre les interférences nuisibles dans
une installation résidentielle. Cet équipement génère, utilise et peut émettre de l'énergie
de fréquence radio et, s'il n'est pas installé et utilisé ci-après, peut causer des
interférences nuisibles aux communications radio. Cependant, rien ne garantit que des
interférences ne se produiront pas dans une installation particulière. Pour la réception
radio ou télévision, qui peut être déterminée en éteignant et rallumant l'équipement,
l'utilisateur est encouragé à essayer de corriger les interférences en appliquant l'une ou
plusieurs des mesures suivantes:
-Réorienter ou déplacez l’antenne de réception.
-Augmenter la distance entre l'équipement et le récepteur.
-Connecter l'équipement à une prise d'un circuit différent de celui auquel le récepteur est
connecté.
-Consulter le revendeur ou un technicien expérimenté en radio / télévision pour obtenir de
l'aide.
L’appareil est conforme à la partie 15 des règles de la FCC. Le fonctionnement est
soumis aux deux conditions suivantes : (1) cet appareil ne doit pas causer d’interférences
nuisibles et (2) cet appareil peut accepter toutes les interférences reçues, y compris
celles pouvant provoquer un fonctionnement non souhaité.

Télécharger l'application Road Cover MINIOPRO,
qui vous permet de contrôler l'enregistrement
vidéo et d'ajuster les paramètres du MINIOPRO.
Le MINIOPRO démarre automatiquement
l'enregistrement lorsqu'il est branché sans utiliser
l'application. Cependant, Il est nécessaire
d’utiliser l'application pour débloquer de
nombreuses fonctionnalités supplémentaires du
MINIOPRO. Une fois que l’application Road
Cover MINIOPRO est installée, suivez les
indications de ce manuel. Ensuite, connectez
votre samrtphone à votre MINIOPRO comme
indiqué dans la section "Connexion du téléphone
et de la Dashcam" de ce manuel.
TÉLÉCHARGER L’APPLICATION
1
•Les utilisateurs d’iOS peuvent télécharger
l’application à partir de l’ App Store d’Apple en
recherchant l’application «Road Cover
MINIOPRO», puis en la téléchargeant.
•Les utilisateurs d'Android peuvent télécharger
l'application depuis Google Play Store en
recherchant l'application «Road Cover
MINIOPRO», puis en la téléchargeant.
FR
CONTENU DE L'EMBALLAGE
•DASHCAM MINIOPRO
•Chargeur de voiture USB
•Câble d'alimentation USB
•Support adhésif (pour montage)
•Support d'aspiration

APERÇU DU PRODUIT
INSERER LA CARTE MICRO SD
Avant l’utilisation de votre
MINIOPRO, veuillez insérer
la carte micro SD dans le
logement de carte situé sous
la prise de support.
La MINIOPRO va accepter
les cartes de classe 10, avec
une capacité de stockage
maximale de 64 Go. Une fois correctement
insérée, la carte micro SD se clique et se
verrouille une fois insérée.
Bouton De Réinitialisation
Micro
Parleur
Lumières LED
Prises De Support
Détecteur De
Mouvements
Caméra
Port USB Micro
INSTALLER
2
Remarque Pour
Carte SD: Retirer
Le Support

INSTALLER LE MINIOPRO
Connectez le support adhésif à la prise support de
la caméra de contrôle puis fixez le MINIOPRO à la
surface intérieure de votre pare-brise. Pour
obtenir des résultats optimaux, mettez le
MINIOPRO près du rétroviseur, comme indiqué
sur le schéma ci-dessous.
Connectez une extrémité du câble d'alimentation
USB sur le MINIOPRO et l'autre extrémité sur le
chargeur de voiture USB fourni. L'utilisateur doit
installer le câble entre la garniture de pavillon et le
pare-brise pour éviter de gêner la visibilité du
conducteur.
Le GPS est intégré dans le câble d'alimentation
USB fourni. L'utilisateur doit alors fixer le câble et
le GPS sur le pare-brise avec l'autocollant adhésif.
Lorsque le véhicule démarre, le MINIOPRO se
met également en marche automatiquement.
3

Toutes les trois minutes, ces vidéos seront stockées
dans le dossier vidéo "Normal".
CONNEXION DU TÉLÉPHONE ET DE LA DASHCAM
L'utilisateur doit activer le WiFi sur son téléphone et
le connecter à la source WiFi nommée "MINIOPRO-
XXXXX" (les X représentent des chiffres).
L'utilisateur doit entrer "12345678" si un mot de
passe lui est demandé. Une fois que le téléphone est
connecté, lancez l'application pour explorer les
fonctions et les paramètres du MINIOPRO.
CONTRÔLE PAR LES GESTES
Bougez votre main à travers le champ de vue du
capteur de gestes pour prendre automatiquement
une photo (Toutes les photos sont enregistrées dans
la galerie). Le MINIOPRO est réglé pour prendre
automatiquement de photo, mais il peut prendre des
vidéos en le modifiant grâce à l’option « clips » dans
les paramètres. Cette fonction vous permet de
sauvegarder des vidéos de dix secondes quand vous
passez la main dans le champ de vision du capteur
de gestes (cinq secondes avant le geste et cinq
secondes après le geste). Ces vidéos seront
enregistrées dans le dossier vidéo "Clips".
INFORMATIONS GÉNÉRALES SUR LE MINIOPRO
Une fois votre téléphone connecté au MINIOPRO,
vous pourrez obtenir une vue en direct de la caméra
via l'application Road Cover MINIOPRO.
À l'aide de l'application, l'utilisateur peut contrôler les
paramètres vidéo, accéder aux vidéos enregistrées,
accéder aux photos, activer/désactiver
l'enregistrement audio et ouvrir le menu Paramètres.
OPERATION
4

DÉTECTION D'INCIDENT
Le MINIOPRO va détecter tous les incidents et en
enregistrera une vidéo, qui sera enregistrée dans
le dossier vidéo "Evénements".
NAVIGATION DE L'APPLICATION
CONNEXION DU MINIOPRO À L'APPLICATION
Après la configuration du MINIOPRO, l'utilisateur devra
ouvrir l'application et sélectionner «Connecter».
Remarque: l'utilisateur devra peut-être entrer le mot de
passe «12345678» pour se connecter correctement.
VOYAGE
Les données de voyage, y compris les statistiques
sur la durée de conduite, la vitesse moyenne et le
compteur kilométrique, se trouvent dans la section
"Voyages".
GALERIE
Les photos prises par le capteur de
mouvements seront stockées dans cette section.
5
Connection
Avant de connecter votre dashcam, veuillez lire le manuel.
Dashcam Voyage Galerie Moi
Other manuals for MINIOPRO CDC-628
1
Table of contents
Languages:
Other Car and Driver Dashcam manuals

Car and Driver
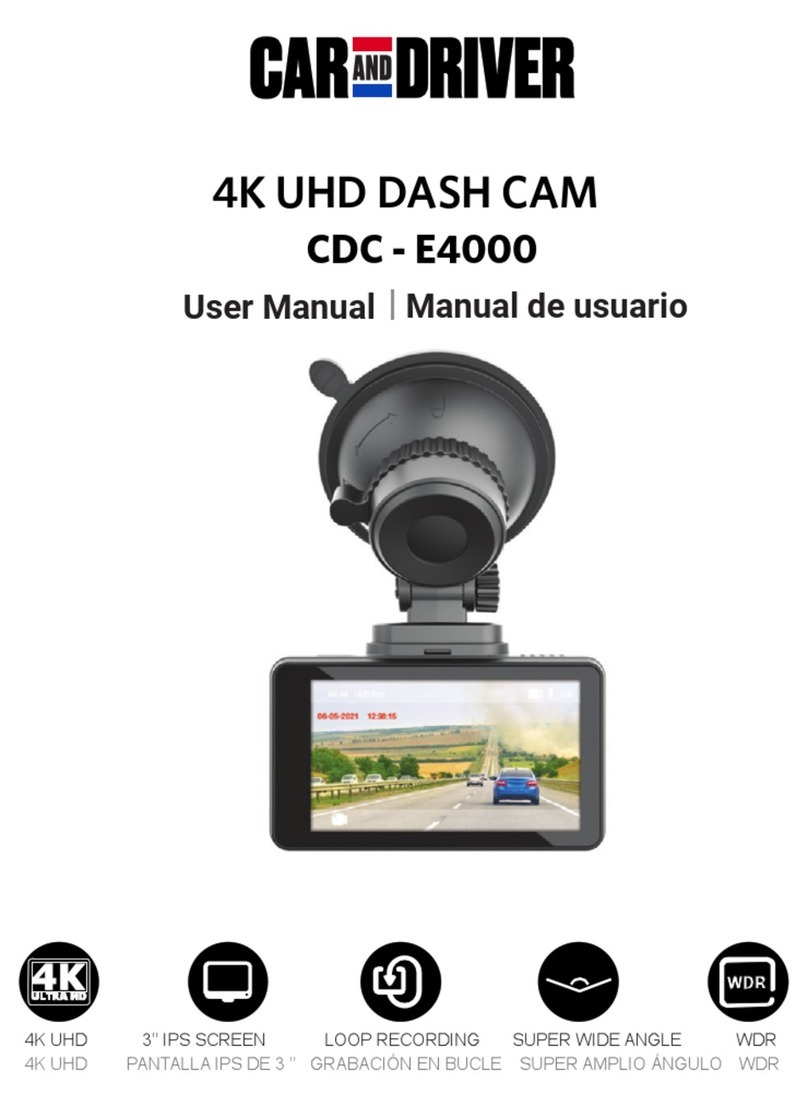
Car and Driver CDC-E4000 User manual

Car and Driver
Car and Driver CDC609 User manual

Car and Driver
Car and Driver ZX-1222 User manual

Car and Driver
Car and Driver CDC-560 User manual

Car and Driver
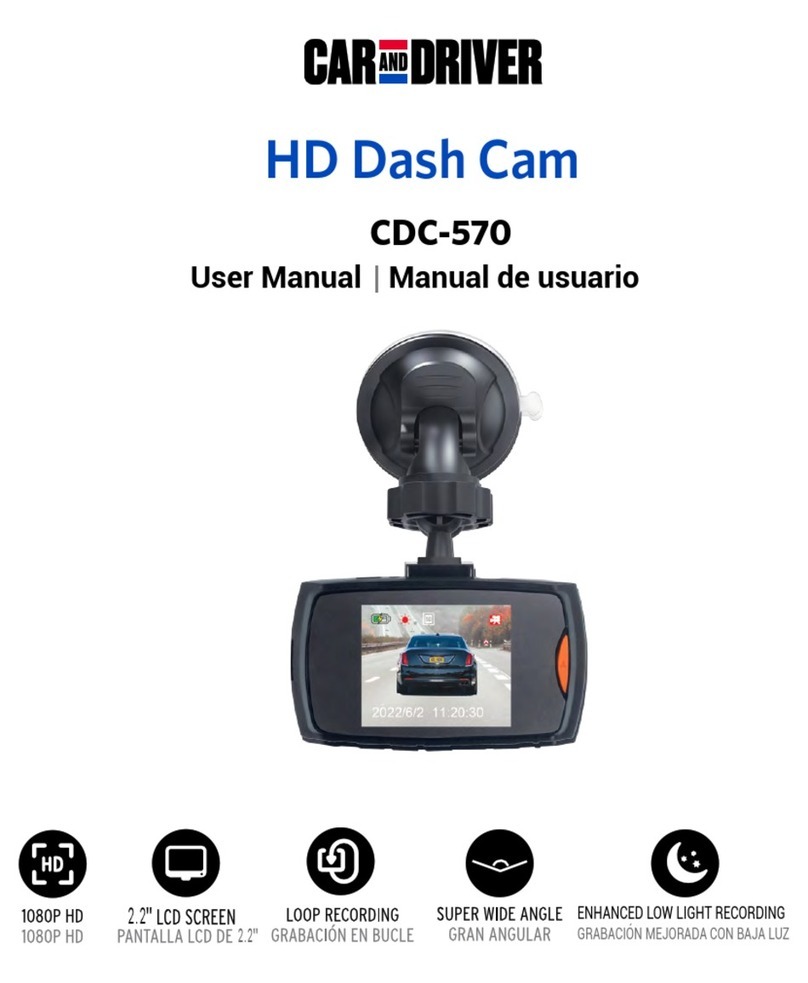
Car and Driver EAGLEEYE CDC-570 User manual

Car and Driver
Car and Driver Copilot CP-1001 User manual

Car and Driver
Car and Driver CDC-900 User manual

Car and Driver
Car and Driver Eye1Pro CDC-632 User manual

Car and Driver
Car and Driver CDC-629 User manual

Car and Driver
Car and Driver CDC-646 User manual