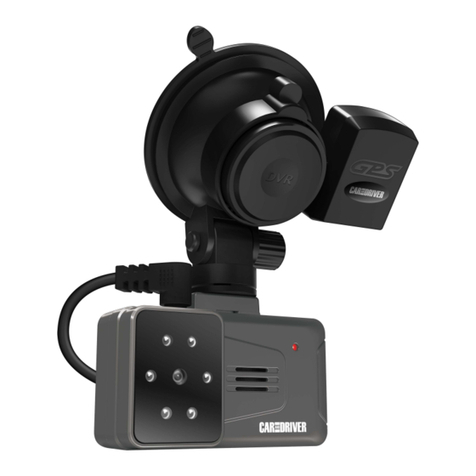
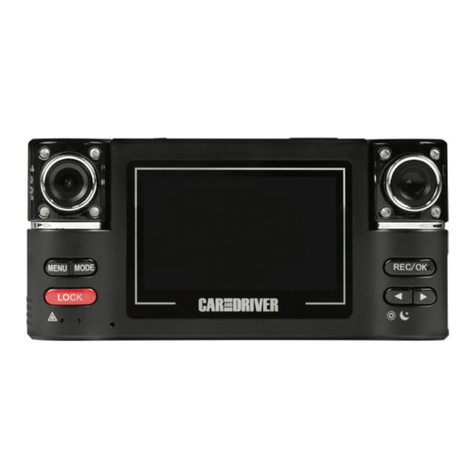
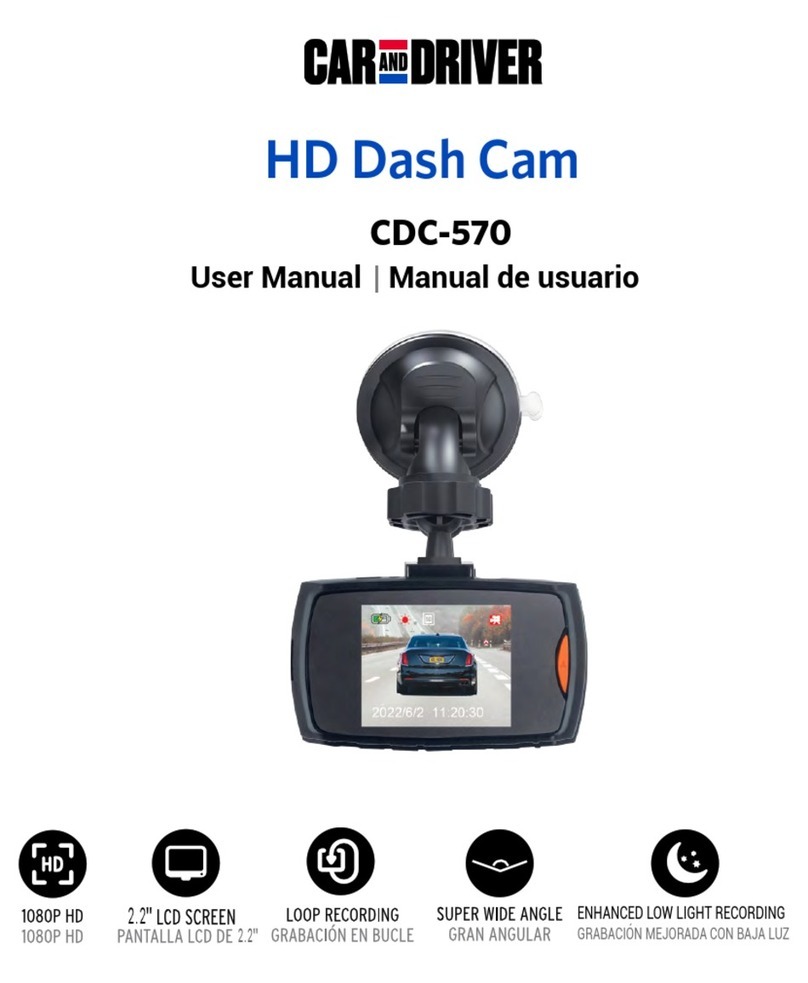
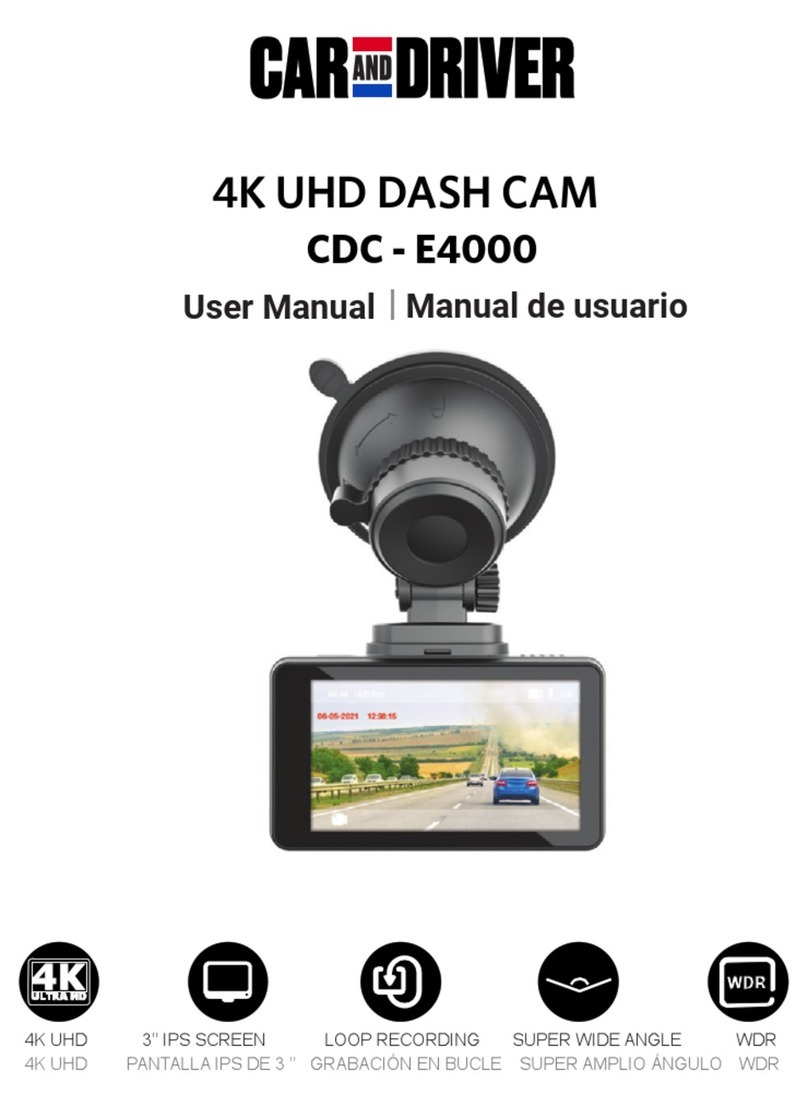
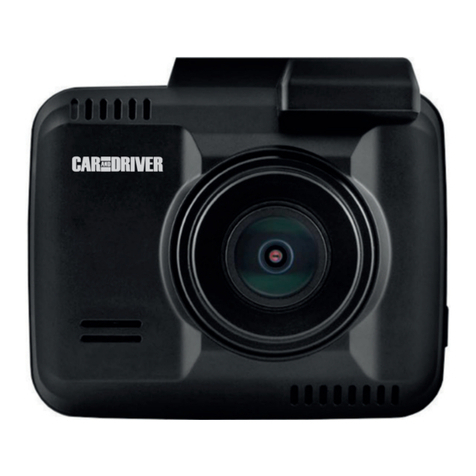
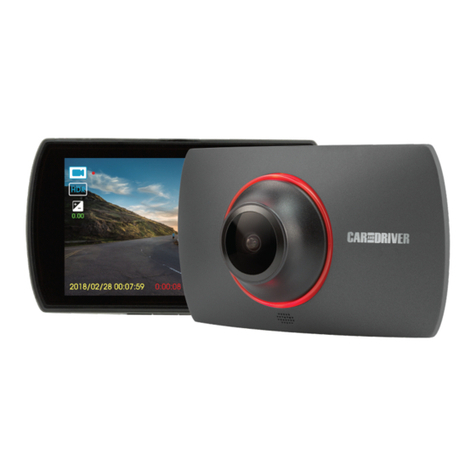
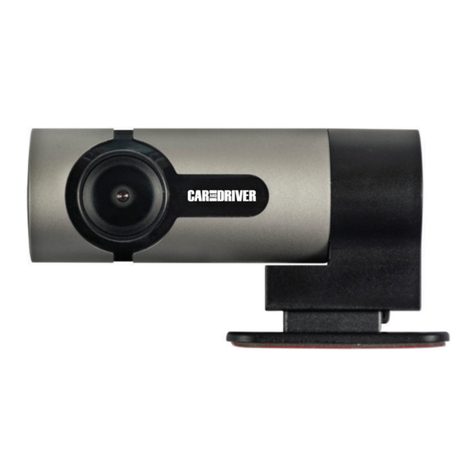
Car and Driver CDC-900 User manual

MODEL #: CDC-900 CAR DASH CAM
WE’RE HERE TO HELP
Call Us:
(833) 227-3274
Live Chat With Us:
www.CarAndDriverDashCams.com
Email Us:
USER MANUAL - ENGLISH

___
___
Cigarette
Lighter Adapter.
______
___
USB Port
___
___
Micro SD
Card Slot
____ "Down" Button
"Up" Button ___________
_
________ "Ok" Button
"Power" Button ___
_
______
___
USB Port
___
"Reset" Button
______ Screen
2

Installing The Dash Cam
1. Clean the area of the windshield where the
dash cam will be installed.
2. Press the suction cup onto the windshield then
press the lock latch down until it is flush with
the base of the device. The Dash Cam should
be placed in a location that does not obstruct
the driver’s view.
3. Hide the power cable by placing it in the space
between the windshield and the headliner. This
is the recommended location for the adhesive
wire clips that are used to arrange the power
cable.
4. Connect the provided Micro USB cable to the
USB port of the Dash Cam.
5. Plug the other end of the micro USB cable into
the USB port of the cigarette lighter adapter.
6. Plug the cigarette lighter adapter into your
car's cigarette port.
Note: The cigarette lighter adapter comes with
an additional USB port. This allows the user to
keep the dash cam powered on while charging
an additional device.
Power The Device On/Off
•The device will automatically be powered on
and begin recording once it has been
connected to an active power source. Such as
3

Using a Micro SD Card
•The Dash Cam Supports SD cards of up to 32G
(sold separately).
•Locate the micro SD card slot on the side of
the dash cam and insert the micro SD card.
•To keep your Micro SD card in good condition,
please reformat it regularly. Reformatting
erases all locked (Saved) content, be sure to
offload your photos and videos prior to
reformatting. Note: Details on how to
reformat your card are located below in the
settings section.
Video Recording
•After powering on, the device will
automatically begin recording. Press the
"OK" Button to stop/and restart recording.
Note: Using the "Ok" Button to stop
recording automatically forces the Dash
when the Dash Cam is plugged into a car
that is experiencing ignition.
4
•The device will automatically be powered off
in accordance with the "Auto Off" setting.
Note: This is discussed more in the "Settings"
section
•To manually turn the device On/Off, press and
hold the "Power" button for three seconds.
Note: The LED indicator will glow solid blue
when the device is on.

•When recording there will be a red counter
displayed in the bottom left side of the
screen. In addition, the user will also see the
LED indicator start flashing blue.
•When recording press the "Power" Button to
Lock the video. This will prevent the Dash
Cam from automatically recording over the
selected footage. Note: Pressing the "Power"
Button again will unlock the video.
Cam into standby mode.
Note: Standby mode is explained below.
•Standby mode is accessed via the recording
mode by pressing the "Ok" Button. When in
standby mode press the "Power" Button to
switch between, recording, camera,
playback, and settings. Press the "Ok" Button
to select and enter the settings or playback
modes.
Standby Mode
Using The Camera
•After pressing the "OK" Button to enter
standby mode from recording mode. Press
the "Power" Button once to enter camera
mode.
•When in camera mode press the "Ok"
Button to take photos.
5

Navigating Playback Mode
•After pressing the "OK" Button to enter
standby mode from recording mode. Press
the power button twice to navigate too
"Playback" mode and press the "Ok" button
to enter it.
•When in "Playback" mode press the "Up"
and "Down" Buttons to navigate.
Note: Photos and videos are stored in the
same folder in chronological order.
•To Play/Pause a video press the "Ok" Button.
•To fast forward or rewind a video press the
"Down" and "Up" Button respectively. Note:
You may adjust the speed with which you
fast forward and rewind too 2X, 4X, and 8X
normal speed. This is done by pressing the
"Up" and "Down" Button up to three times
while a video is in playback.
•Press and hold the "Ok" Button to delete the
selected file.
•Press the Power Button to exit.
•There are four submenus in the settings
mode. Video Settings, Camera Settings,
General settings, and exit settings.
•After pressing the "OK" Button to enter
standby mode from recording mode. Press the
"Power" Button three times to navigate too
the "Settings" mode and press the "Ok"
Settings
6

Button to enter it.
Press the "Power" Button again after
entering the settings menu to switch
between the four setting submenus.
•Press the "Ok" button to select among the
following options.
Note: The following options are those you
will find in the Video Settings Sub Menu.
1. Video Resolutions: The user may adjust the
"Video Resolution" between the following
options - 1080P.
2. Cyclic Record: The User may adjust the
loop recording time to 3, 5, or 10 minutes.
3. Motion Detection: The User may turn Off/
On the built-in "Motion Detector".
4. Voice Recording: The user may turn Off/On
the "Voice Recording" feature.
5. Date Stamp: The user may turn Off/On the
"Date Time Stamp."
6. Gravity Sensing: The User may change the
"Gravity Sensors" sensitivity between the
following options - Off, Low, Medium, High.
7. Parking Guard: The user may turn Off/On
the "Parking Guard."
8. WDR: The user may turn Off/On the "Wide
Dynamic Range" feature of the device.
•
7
•Press the "Ok" button to select among the
following options.
Note: The following options are those you will

find in the Camera Settings Sub Menu.
1. Capture Mode: The user may select from the
following options to adjust the delay timer of
any photo being taken- Single
Shot, 2 seconds, 5 seconds, or 10 seconds.
2. Resolution: The user may adjust the
"Resolution" of the photo between the
following options-High Res, Med Res, Low Res.
3. Sequence: The user may turn Off/On the
"Sequence" setting.
4. ISO: The user may adjust the "ISO" settings
between the following options - Auto, 100,
200, 400.
5. Date Stamp: The user may turn Off/On the
"Date Time Stamp."
•Press the "Ok" button to select among the
following options.
Note: The following options are those you will
find in the General Settings Sub Menu.
1. Screen Saver: The user may change the
"Screen Saver" timing between the following
options - off, 1 minute, 2 minutes or 5
minutes.
2. Auto Power Off: The user may change the
"Auto Power Off" feature between the
following option - off, 3 minutes, 5 minutes,
10 minutes.
3. Frequency: The user may change the
8

4.
5.
6.
7.
8.
9.
"Frequency between the following options
-50Hz, or 60Hz.
Beep Sound: The user may turn Off/On the
sound that accompanies button pressing.
Language: The User may change between the
following five language settings - English,
Spanish, French, Portuguese, Hebrew.
Screen Rotation: The user may turn Off/On
screen rotation (Flip the display).
Date/Time: The user may use this setting to
set the date and time. Note: Photo's and
Videos will reflect this date and time.
Format: The user may reformat the inserted
SD card.
Default Setting: The User may reset all
settings to their default option.
Version: Displays the current software version
running on this device.
•To exit the "Settings", navigate to the fourth
settings submenu. The user will see a prompt
saying "Press OK to exit." After pressing the
"Ok" Button the device will automatically re-
enter recording mode.
9
FCC STATEMENT
This device complies with part 15 of FCC Rules. Operation
is subject to the following conditions.
1. This device may not cause harmful interference.
2. This device must accept any interference received,
including interference that may cause undesired
operation.
10.

10
SUMMIT ELECTRONICS LLC ONE YEAR LIMITED WARRANTY
SUMMIT ELECTRONICS LLC LIMITED WARRANTY (“Warranty”) ― For Product
Categories Listed in Chart Below (as applicable, “Product”) Before returning your
Product for service under this Warranty, please (i) read the instruction manual carefully.
If you are still having trouble with your Product, please contact Technical Support at
Warning: Some Products may contain components that are small enough to be
swallowed. Please keep out of reach of children.
Subject to the terms and conditions herein, SUMMIT ELECTRONICS LLC (hereinafter
called “SUMMIT ELECTRONICS LLC”) warrants to the original purchaser of the
Product (“Customer”) that for the applicable Warranty Period listed below, the Product
will be free from defects in material or workmanship under normal, non-commercial use
(“Defects”). Warranty Period encompasses, as listed below, separate “Coverage
Periods” for Parts and Labor, each Coverage Period for one year, to begin from the
original date of Customer purchase. If Customer returns a defective Product (or any
component thereof) during the applicable
Warranty Period, SUMMIT ELECTRONICS LLC will, at its option, during the specified
Coverage Periods for Parts and Labor (as applicable) either: (i) repair Product (or, as
applicable, any component thereof) or (ii) replace the Product (or, as applicable, any
component thereof) with a new or refurbished Product (or, as applicable, any
component thereof), in either case free of charge to Customer for Parts and/or Labor
(as applicable) during the specified Coverage Period only, and excluding applicable
shipping charges (noted below), for which the Customer is responsible. The foregoing
states the Customer’s exclusive remedy and SUMMIT ELECTRONICS LLC’s sole
liability for breach of the limited warranty contained herein.
This Warranty specifically excludes any Product (or, as applicable, any component
thereof) that has been subject to or Defects resulting from: (a) any neglect or misuse by
a Customer, an accident, improper application, violation of operating instructions for the
Product, any other Customer-induced damage, or the alteration or removal of any
Product serial number: (b) any modification or repair to Product (or, as applicable, any
component thereof) by any party other than SUMMIT ELECTRONICS LLC or a party
authorized in writing by SUMMIT ELECTRONICS LLC; (c) any damage to Product (or,
as applicable, any component thereof) due to power surges, incorrect electrical voltage,
misconnection to any device, or malfunction of any device used with the Product (or, as
applicable, any component thereof); (d) cosmetic damage to the Product (or, as
applicable, any component thereof) caused by normal wear and tear; (e) shipping
damage that occurs while the Product is in transit; (f) damage caused by heat sources,
sunlight, electromagnetic conditions, or other climatic conditions; or (g) any acts of God. Product is sold
to Customer for personal, non-commercial use only. Product is not warranted for Customer’s
commercial or rental use. In addition, Product is not warranted against failure, and should not be used
by Customer for any application where (i) there is a risk that any data stored on Product will be
breached or otherwise compromised, or (ii) the data stored on Product is relied upon for medical or
lifesaving applications. SUMMIT ELECTRONICS LLC disclaims any Warranty for any of the foregoing
uses to the fullest extent permitted by law. Customer assumes any and all risks associated with such
uses of Product, and agrees to indemnify SUMMIT ELECTR-ONICS LLC for any damages claimed
against SUMMIT ELECTRONICS LLC for such uses. EXCEPT FOR

11
EXPRESS WARRANTIES STATED ABOVE AND TO THE MAXIMUM EXTENT
PERMITTED BY LAW, THE PRODUCTS ARE PROVIDED “AS IS”, AND SUMMIT
ELECTRONICS LLC DISCLAIMS ALL OTHER WARRANTIES, INCLUDING
WITHOUT LIMITATION ANY IMPLIED WARRANTY (I) OF MERCHANTABILITY, (II)
OF FITNESS FOR A PARTICULAR PURPOSE, OR (III) OF NON-INFRINGEMENT OF
THIRD PARTY RIGHTS. TO THE MAXIMUM EXTENT PERMITTED BY APPLICABLE
LAW, IN NO EVENT WILL SUMMIT ELECTRONICS LLC BE LIABLE TO CUSTOMER
OR ANY THIRD PARTY FOR ANY INDIRECT, SPECIAL, INCIDENTAL,
CONSEQUENTIAL, EXEMPLARY OR PUNITIVE DAMAGES, INCLUDING, WITHOUT
LIMITATION, ANY LOST PROFITS OR REVENUES, LOSS OR INACCURACY OF
ANY DATA OR COST OF SUBSTITUTE GOODS, REGARDLESS OF THE THEORY
OF LIABILITY (INCLUDING NEGLIGENCE) AND EVEN IF SUMMIT ELECTRONICS
LLC HAS BEEN ADV ISED OF THE POSSIBILITY OF SUCH DAMAGES,
SUMMIT ELECTRONICS LLC’S AGGREGATE LIABILITY TO CUSTOMER FOR
ACTUAL DIRECT DAMAGES FOR ANY CAUSE WHATSOEVER SHALL BE LIMITED
TO THE CUMULATIVE PRODUCT FEES PAID BY THAT CUSTOMER FOR THE
PRODUCT CAUSING THE DAMAGES, IF ANY. This Warranty gives Customer
specifics rights, and Customer may also have other rights that vary from jurisdiction to
jurisdiction. To obtain Warranty service, Customer must email SUMMIT
ELECTRONICS LLC Technical Support prior to making a Product return. Customer
must include with Product return the following items (failure to enclose any of these
items may result in a delay in the processing of your Warranty claim): (i) a dated sales
receipt that indicates the place of purchase, model number of Product, and amount
paid; (ii) a detailed description of Customer’s problem with Product; (iii) Customer’s full
name, phone number, and return address, and; (iv) a money order made out to
SUMMIT ELECTRONICS LLC Electronics Corporation to cover return shipping
charges to US destinations only, for the applicable dollar amount shown for the
Product in the table above. SUMMIT ELECTRONICS LLC will not make return
shipments to a P.O. Box. For shipping to international addresses, actual freight will be
charged to Customer. Return your Product freight-prepaid in its original packaging, or
packaging that affords an equal measure of protection. Please allow 4 to 6 weeks for
the processing of your claim (6 to 8 weeks from November to February).
PRODUCT CATEGORY SHIPPING*
(USD)
Adapters, Converters, Chargers, Headphones,
Microphones, Cellular Accessories $7.99
Alarm Clocks, Portable CD Players, Radios, Corded
Telephones, MP3 Players, Digital Photo Frames
(screen size less than 5”)
$7.99
Portable Stereo Systems, Speaker Systems,
Cordless Telephones, Home DVD Players $14.99
Home Theater DVD Systems, Portable DVD
Players, Portable Media Players, Digital Photo
Frames (screen sizes 5” to 11”)
$21.99
You must email SUMMIT ELECTRONICS LLC Technical Support prior to making a
return. Please ask if you are unsure of which category your product falls under
*US destinations only.

MODELO #: CDC-900 CAM DASH COCHE
ESTAMOS AQUÍ PARA AYUDAR
Llámanos:
(833) 227-3274
Chat en vivo con nosotros:
www.CarAndDriverDashCams.com
Envíenos un correo electrónico:
MANUAL DE USUARIO - Español

___
Adaptador De Encendedor
De Cigarrillos
___
Puerto USB
___
___
Ranura Para
Tarjeta Micro SD
___
____ Botón Abajo
___________ Ok Botón
Botón De Encendido ___
Botón De Arriba ___________
_
______
___
Puerto USB
___
Botón De Reinicio
______ Pantalla
____
2

Instalando El Dash Cam
1. Limpie el área del parabrisas donde se instalará la leva
del tablero.
2. Presione la ventosa sobre el parabrisas y luego
presione el pestillo de bloqueo hacia abajo hasta que
quede al ras con la base del dispositivo. La cámara del
tablero debe colocarse en un lugar que no obstruya la
vista del conductor.
3. Oculte el cable de alimentación colocándolo en el
espacio entre el parabrisas y el techo interior. Esta es
la ubicación recomendada para los clips de alambre
adhesivos que se utilizan para colocar el cable de
alimentación.
4. Conecte el cable Micro USB provisto al puerto USB de
la cámara del tablero.
5. Conecte el otro extremo del cable micro USB al puerto
USB del adaptador del encendedor de cigarrillos.
6. Enchufe el adaptador del encendedor en el puerto
para cigarrillos de su automóvil.
Nota: El adaptador del encendedor de cigarrillos viene
con un puerto USB adicional. Esto permite al usuario
mantener la cámara del tablero encendida mientras se
carga un dispositivo adicional.
Encender/Apagar El Dispositivo
•El dispositivo se encenderá automáticamente una vez
que se haya conectado a una fuente de alimentación
activa. Como cuando la cámara del tablero está tapada
en un coche que está experimentando ignición.
•El dispositivo se apagará automáticamente de acuerdo
con la configuración de "Apagado automático". Nota:
3

Usando Una Tarjeta Micro SD
•La Dashcam admite tarjetas SD de hasta 32 G (se
venden por separado).
•Ubique la ranura para tarjeta micro SD en el lado de la
cámara del tablero e inserte la tarjeta micro SD.
•Para mantener su tarjeta Micro SD en buenas
condiciones, vuelva a formatearla con regularidad. El
reformateo borra todo el contenido bloqueado
(guardado), asegúrese de descargar sus fotos y videos
antes de reformatear. Nota: los detalles sobre cómo
reformatear su tarjeta se encuentran a continuación
en la sección de configuración.
Grabación
•Después de encender, el dispositivo comenzará a
grabar automáticamente. Presione el botón "OK" para
detener / reiniciar la grabación.
Nota: al utilizar el botón "Aceptar" para detener la
grabación, se fuerza automáticamente el guión
cámara en modo de espera.
•Nota: el modo de espera se explica a continuación.
•Al grabar, aparecerá un contador rojo en la parte
inferior izquierda de la pantalla. Además, el usuario
también verá que el indicador LED comienza a
parpadear en azul.
•esto se discute más en la sección "Configuración".
•Para encender o apagar manualmente el dispositivo,
mantenga presionado el botón "Encendido" durante
tres segundos. Nota: el indicador LED se iluminará de
color azul cuando el dispositivo esté encendido.
4

•Al grabar, presione el botón "Encendido" para
bloquear el video. Esto evitará que la cámara del
tablero grabe automáticamente sobre el material de
archivo seleccionado. Nota: al presionar nuevamente
el botón "Encendido" se desbloqueará el video.
•Se accede al modo de espera a través del modo de
grabación presionando el botón "Aceptar". Cuando
esté en el modo de espera, presione el botón
"Encendido" para alternar entre la grabación, la
cámara, la reproducción y la configuración. Presione el
botón "Ok" para seleccionar e ingresar a los ajustes o
modos de reproducción.
Modo De Espera
Usando La Camara
•Después de presionar el botón "OK" para
ingresar al modo de espera desde el modo de
grabación. Presione el botón "Encendido" una
vez para entrar en el modo de cámara.
•Cuando esté en el modo de cámara, presione
el botón "Aceptar" para tomar fotos.
Navegación En Modo De Reproducción
•Después de presionar el botón "OK" para ingresar al
modo de espera desde el modo de grabación.
Presione el botón de encendido dos veces para
navegar también en el modo "Reproducción" y
presione el botón "Aceptar" para ingresar.
•Cuando esté en el modo "Reproducción", presione
5

•los botones "Arriba" y "Abajo" para navegar.
Nota: las fotos y los videos se almacenan en la misma
carpeta en orden cronológico.
•Para reproducir / pausar un video, presione el botón
"Aceptar".
•Para avanzar o rebobinar un video, presione el botón
"Abajo" y "Arriba" respectivamente. Nota: puede
ajustar la velocidad con la que avanza y retrocede
demasiado a la velocidad normal 2X, 4X y 8X. Esto se
hace presionando el botón "Arriba" y "Abajo" hasta
tres veces mientras se reproduce un video.
•Mantenga presionado el botón "Aceptar" para
eliminar el archivo seleccionado.
•Presione el botón de encendido para salir.
•Hay cuatro submenús en el modo de configuración.
Configuración de video, Configuración de cámara,
Configuración general y configuración de salida.
•Después de presionar el botón "OK" para ingresar al
modo de espera desde el modo de grabación.
Presiona el botón "Power" tres veces para navegar
también Presione el botón "Configuración" y
presione el botón "Aceptar" para ingresar.
•Presione el botón "Encendido" nuevamente después
de ingresar al menú de configuración para cambiar
entre los cuatro submenús de configuración.
Ajustes
•Presione el botón "Ok" para seleccionar entre las
siguientes opciones.
Nota: las siguientes opciones son las que encontrará
en el submenú de configuración de video.
6

1. Resoluciones de video: El usuario puede ajustar la
"Resolución de video" entre las siguientes
opciones: 1080P.
2. Registro cíclico: el usuario puede ajustar el tiempo
de grabación en bucle también 3, 5 o 10 minutos.
3. Detección de movimiento: el usuario puede
apagar / encender el "Detector de movimiento"
incorporado.
4. Grabación de voz: el usuario puede activar /
desactivar la función "Grabación de voz".
5. Sello de fecha: el usuario puede activar / desactivar
el "Sello de fecha y hora".
6. Sensor de gravedad: el usuario puede cambiar la
sensibilidad de los "sensores de gravedad" entre
las siguientes opciones: Desactivado, Bajo, Medio,
Alto.
7. Guardia de estacionamiento: El usuario puede
apagar / encender la "Guardia de
estacionamiento".
8. WDR: El usuario puede activar / desactivar la
función "Amplio rango dinámico" del dispositivo.
•Presione el botón "Ok" para seleccionar entre las
siguientes opciones.
Nota: las siguientes opciones son las que encontrará
en el submenú de configuración de la cámara.
1. Modo de captura: el usuario puede seleccionar una
de las siguientes opciones para ajustar el
temporizador de retardo de cualquier foto que se
tome: Disparo único, 2 segundos, 5 segundos o 10
segundos.
7

1. M
2. Resolución: El usuario puede ajustar la
"Resolución" de la foto entre las siguientes
opciones: Alta Res, Med Res, Baja Res.
3. Secuencia: el usuario puede desactivar / activar la
configuración de "Secuencia".
4. ISO: el usuario puede ajustar la configuración "ISO"
entre las siguientes opciones: Auto, 100, 200, 400.
5. Sello de fecha: el usuario puede activar / desactivar
el "Sello de fecha y hora".
• Presione el botón "Ok" para seleccionar entre las
siguientes opciones.
•Nota: las siguientes opciones son las que encontrará
en el submenú de configuración general.
1. Protector de pantalla: El usuario puede cambiar el el
"protector de pantalla" se sincroniza entre las
siguientes opciones: apagado, 1 minuto, 2 minutos
o 5 minutos.
2.
3.
4.
5.
Apagado automático: el usuario puede cambiar el
Función de "apagado automático" entre las
siguientes opciones: apagado, 3 minutos, 5 minutos,
10 minutos.
Frecuencia: El usuario puede cambiar la
"Frecuencia entre las siguientes opciones -50Hz o
60Hz.
Sonido de pitido: el usuario puede apagar /
encender el sonido que acompaña al presionar el
botón.
Idioma: El usuario puede cambiar entre las
siguientes cinco configuraciones de idioma: inglés,
español, francés, portugués y hebreo.
8

6.
7.
8.
9.
Rotación de la pantalla: el usuario puede activar /
desactivar la rotación de la pantalla (voltear la
pantalla).
Fecha / Hora: el usuario puede usar esta
configuración para configurar la fecha y la hora.
Nota: Las fotos y los videos reflejarán esta fecha y
hora.
Formato: el usuario puede reformatear la tarjeta
SD insertada.
Configuración predeterminada: El usuario puede
restablecer todas las configuraciones a su opción
predeterminada.
Versión: muestra la versión actual del software que
se ejecuta en este dispositivo.
•Para salir de "Configuración", navegue hasta el
cuarto submenú de configuración. El usuario verá un
mensaje que dice "Presione Aceptar para salir".
Después de presionar el botón "Ok", el dispositivo
volverá a ingresar automáticamente al modo de
grabación.
9
DECLARACION DE LA FCC
Este dispositivo cumple con la parte 15 de las normas
de la FCC. La operación está sujeta a lo siguiente
condiciones
1. Este dispositivo no puede causar interferencias
perjudiciales.
2. Este dispositivo debe aceptar cualquier interferencia
recibida, incluida la interferencia que pueda causar
Operación no deseada.
10.
Table of contents
Languages:
Other Car and Driver Dashcam manuals

Car and Driver
Car and Driver MINIOPRO CDC-628 User manual

Car and Driver
Car and Driver EAGLEEYE CDC-570 User manual

Car and Driver
Car and Driver ZX-1222 User manual

Car and Driver
Car and Driver CDC-629 User manual

Car and Driver
Car and Driver CDC-646 User manual

Car and Driver
Car and Driver Eye1Pro CDC-632 User manual

Car and Driver
Car and Driver Copilot CP-1001 User manual

Car and Driver
Car and Driver MINIOPRO CDC-628 User manual

Car and Driver
Car and Driver INTELLIDASH+ DU900 User manual

Car and Driver
Car and Driver Eye1Pro CDC-632 User manual