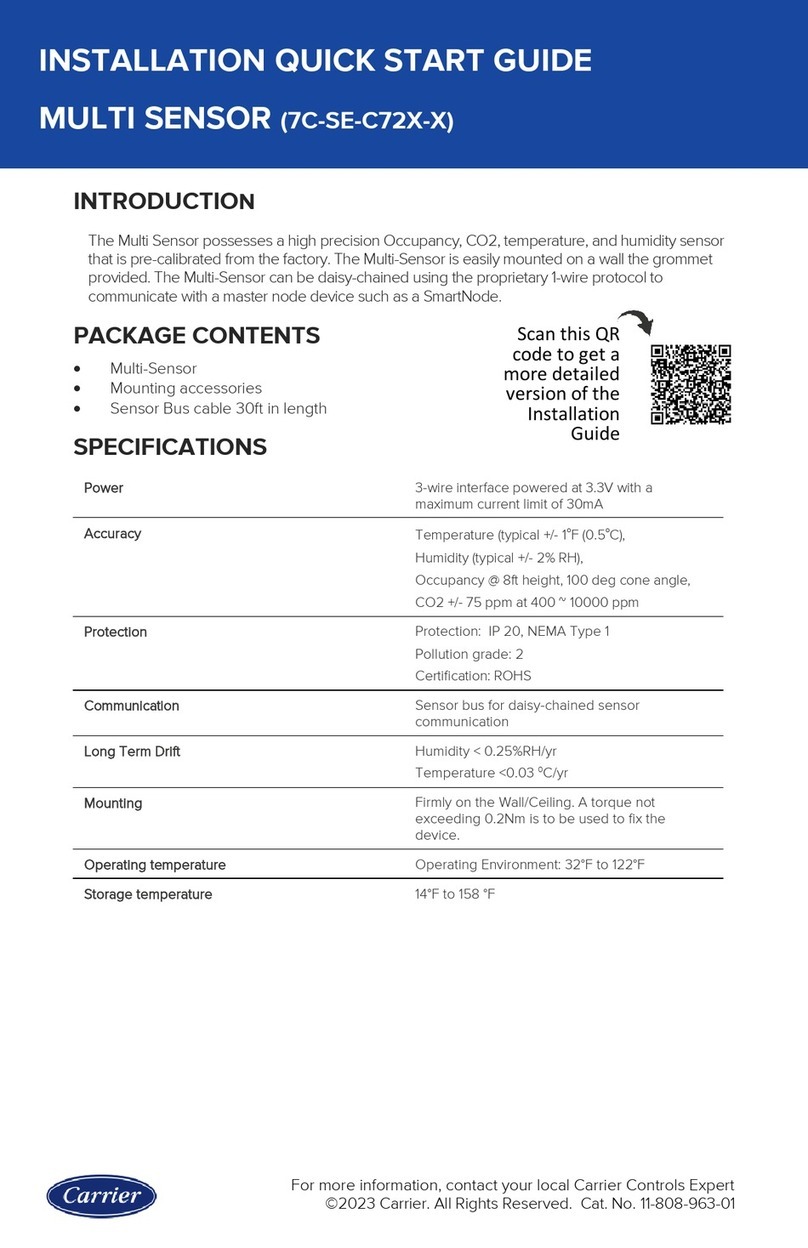
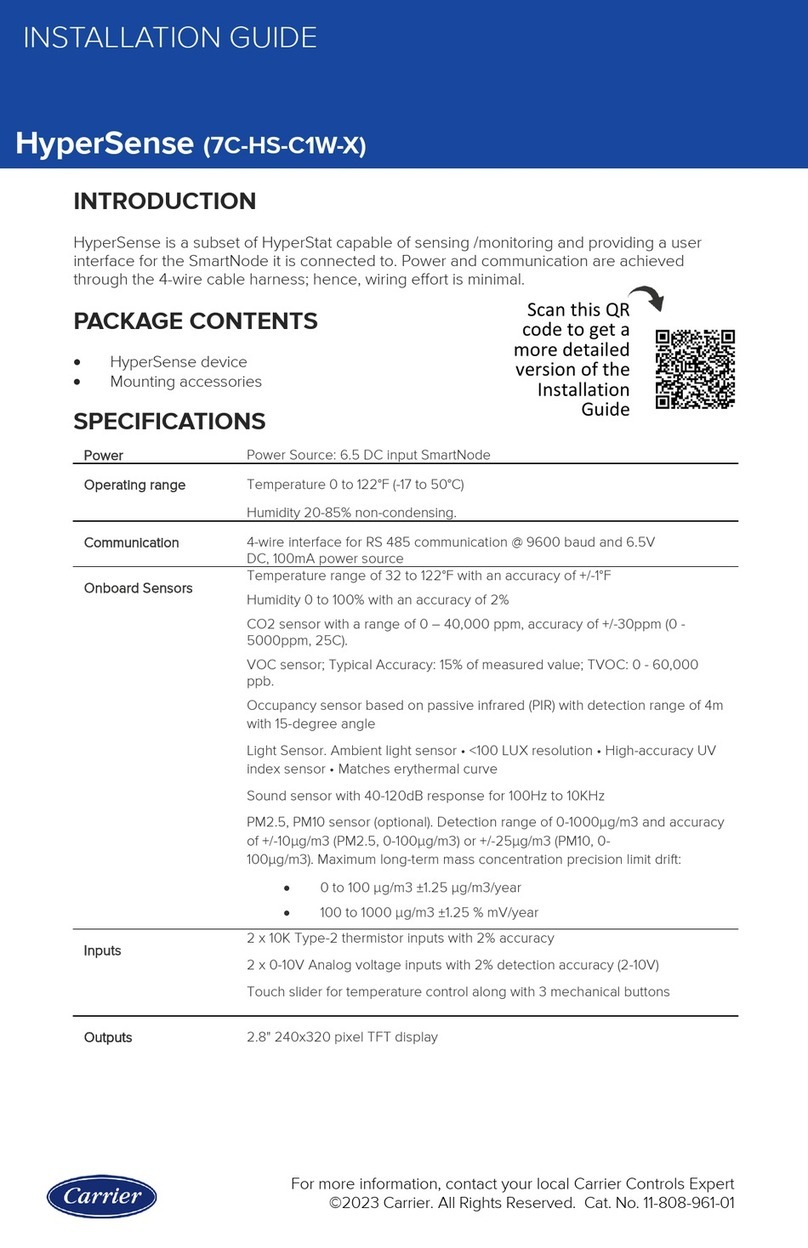
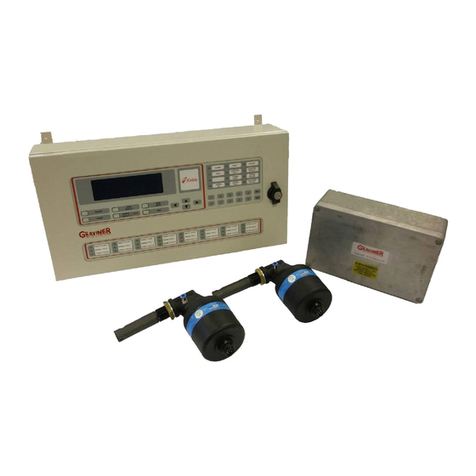
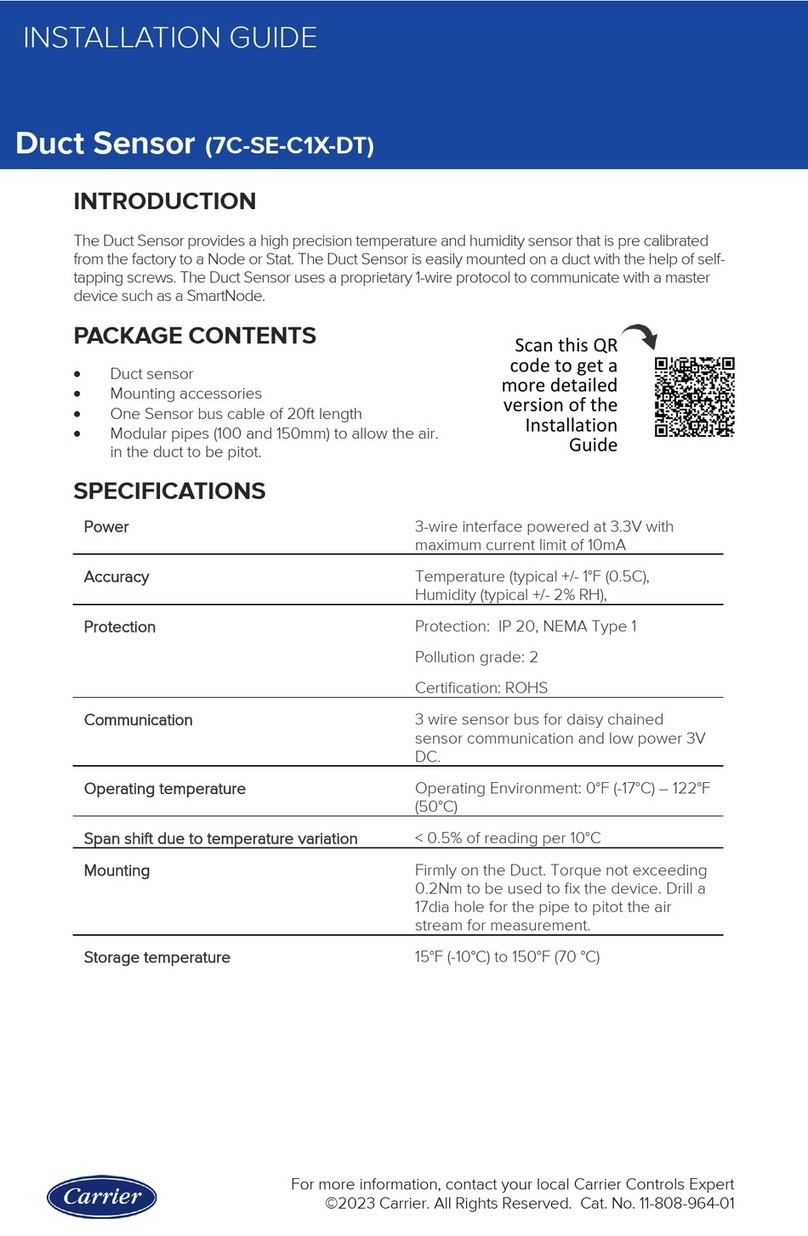
Carrier Graviner Mk7 User manual

March 2021 Page i of xi 59812-K007 Rev 17
Business Confidential
Mk 7 OIL MIST DETECTOR
INSTALLATION,
OPERATION AND
MAINTENANCE
MANUAL
59812-K007
PROPRIETY RIGHTS NOTICE
The information containedin thismanual isthe propertyof Carrier Fire &Security UKLtd and may not bereproduced
ortransmittedinanyformorbyanymeans,electronic,mechanical,photocopying,recordingorotherwise,norstored
in any retrieval system or any nature without the express written authority of Carrier Fire & Security UK Ltd.
© Copyright 2021 Carrier Fire & Security UK Ltd

March 2021 Page ii of xi 59812-K007 Rev 17
Business Confidential
TABLE OF CONTENTS
Chapter Page
1DESCRIPTION ............................................................................................................................... 1
1.1 INTRODUCTION 1
1.2 DESCRIPTION 2
1.3 TECHNICAL SPECIFICATION 6
1.4 SYSTEM OVERVIEW 8
2INSTALLATION AND COMMISSIONING..................................................................................... 10
2.1 CONTROL UNIT MOUNTING 10
2.2 CONTROL UNIT CABLING 11
2.3 DETECTOR MOUNTING 14
2.4 DETECTOR CABLES 17
2.5 REMOTE DISPLAY UNIT 20
2.6 REMOTE DISPLAY UNIT CABLING 23
2.7 CONNECTING THE SYSTEM 27
2.8 SYSTEM CHECKS PRIOR TO SWITCHING ON 32
2.9 SYSTEM SETUP / CONFIGURATION WITH A REMOTE DISPLAY UNIT 33
2.10 CONTROL UNIT MODBUS ADDRESSING 45
2.11 COMMISSIONING THE SYSTEM 51
3OPERATION................................................................................................................................. 58
3.1 SYSTEM POWER UP 58
3.2 ACCESS LEVELS 60
3.3 ENGINE SCREEN USER 61
3.4 ENGINE STATUS INFORMATION 62
3.5 TEST MENU 63
3.6 EVENT LOG 63
3.7 DETECTOR SCREEN USER 66
3.8 ALARM TEST 67
3.9 ENGINEERS ACCESS 69
3.10 SYSTEM CONFIGURATION MENU 69
3.11 ENGINE SCREEN ENGINEERS 70
3.12 ENGINE MENU 71
3.13 DETECTOR MENU 71
3.14 PRE-ALARM OPERATION 72
3.15 SLOWDOWN/SHUTDOWN ALARM OPERATION 73
3.16 BACKUP ALARM 74
3.17 RELAY OPERATION 75
4MAINTENANCE............................................................................................................................ 77

March 2021 Page iii of xi 59812-K007 Rev 17
Business Confidential
4.1 ENGINE ISOLATIONS 77
4.2 DETECTOR ISOLATIONS 82
4.3 SYSTEM MONITORING 85
4.4 ROUTINE MAINTENANCE SCHEDULE 85
4.5 READING DETECTOR PARAMETERS 89
4.6 DETECTOR CLEANING 90
4.7 DECOMMISSIONING 94
5FAULT FINDING........................................................................................................................... 95
5.1 FAULT INDICATIONS 95
5.2 FAULT DIAGNOSTICS AND REMEDIES 98
5.3 SYSTEM TEST LOG. 117
6SPARE PARTS........................................................................................................................... 118
6.1 CONTROL UNIT 118
6.2 REMOTE DISPLAY UNIT 125
6.3 DETECTOR 127
6.4 SPARES KITS 130
6.5 RECOMMENDED OPERATIONAL SPARES 131
6.6 COMPLETE SPARE PARTS LIST 131
7CATERPILLAR DETECTORS.................................................................................................... 135

March 2021 Page iv of xi 59812-K007 Rev 17
Business Confidential
LIST OF ILLUSTRATIONS
Figure Title Page
Figure 1 Areas of Failure 2 Stroke Engine 1
Figure 2 Areas of Failure 4 Stroke Engine 1
Figure 3 Graviner Mk7 OMD Components 2
Figure 4 Typical System Configuration With Membrane 4
Figure 5 Typical System Configuration Without Membrane 5
Figure 6 Control Unit 1-53836-K270 (With Membrane) 10
Figure 7 Control Unit 1-53836-K276 (Without Membrane) 11
Figure 8 Control Unit PCB 13
Figure 9 Ideal Mounting Position 14
Figure 10 Detector Head Installation 15
Figure 11 Detector Head Installation (Short Sample Pipe) 16
Figure 12 Detector Cable 17
Figure 13 Detector Cable Assembly (Straight Connector) 18
Figure 14 Detector Cable Assembly (Right Angle Connector) 19
Figure 15 Flush Mounting Cut-out for Remote Display Unit 20
Figure 16 Flush Mounting for Remote Display Unit 21
Figure 17 Bulkhead Mounting for Remote Display Unit 22
Figure 18 24v DC Socket Wiring Drawing 23
Figure 19 Modbus Connector Wiring Drawing 24
Figure 20 Remote Display Unit 1-53836-K271 25
Figure 21 Terminal Block Connection 26
Figure 22 Junction Box Connection 27
Figure 23 Inline Connector 27
Figure 24 Power cable 28
Figure 25 Power cable through EMC gland 28
Figure 26 Control unit relay cable assembly 29
Figure 27 Detector cable assembly 29
Figure 28 Control unit - Detector cable assembly 30
Figure 29 Wiring Drawing 31
Figure 30 RemoteDisplay Unit Splash Screen 33
Figure 31 Detecting Engines 33
Figure 32 Engine Overview Screen User Level 34
Figure 33 Engineers Login Screen 34
Figure 34 Engine Overview Screen Engineer Level 34

March 2021 Page v of xi 59812-K007 Rev 17
Business Confidential
Figure 35 System Configuration Menu 35
Figure 36 Engine Names Screen 35
Figure 37 Engine Names Saved 38
Figure 38 Set Time / Date Screen 38
Figure 39 Save Time /Date 38
Figure 40 Engineers New Pin Screen 39
Figure 41 Engineers New Pin Confirmation Screen 39
Figure 42 Save New Engineers Pin 39
Figure 43 Saving Event Log Screen 40
Figure 44 Event Log Saved 40
Figure 45 Engine Selection 40
Figure 46 Engine Screen Engineers Level 41
Figure 47 Engine Menu 41
Figure 48 Detector Names Screen 41
Figure 49 Detector Names Saved 44
Figure 50 Detector Selection 44
Figure 51 Detector Status Screen 44
Figure 52 Detector Menu 45
Figure 53 Alarm Levels Saved 45
Figure 54 Control Unit Membrane 46
Figure 55 Control Unit Membrane 47
Figure 56 Control Unit USB Connector 48
Figure 57 Computer Connection Type A USB Connector 48
Figure 58 Engine Screen 49
Figure 59 Engineers Login 49
Figure 60 Select Modbus Address 49
Figure 61 Engine Overview Screen User Level 50
Figure 62 Engineers Login Screen 50
Figure 63 Engine Overview Screen Engineer Level 50
Figure 64 System Configuration Menu 51
Figure 65 Detecting Engines 51
Figure 66 Engine Overview Screen User Level 52
Figure 67 Engineers Login Screen 52
Figure 68 Engine Overview Screen Engineer Level 52
Figure 69 Engine Selection 53
Figure 70 Engine Screen Engineers Level 53
Figure 71 Test Menu Engineers Level 53

March 2021 Page vi of xi 59812-K007 Rev 17
Business Confidential
Figure 72 Slowdown Relay Test 54
Figure 73 Pre-Alarm Relay Test 54
Figure 74 Fault Relay Test 54
Figure 75 Test Menu Engineers Level 55
Figure 76 Test Menu Backup Alarm OK screen 55
Figure 77 Smoke Tester 56
Figure 78 Smoke Test 56
Figure 79 Remote Display Unit Splash Screen 58
Figure 80 Detecting Engines 59
Figure 81 Engine Overview Screen User Level 59
Figure 82 Engine Overview Screen User Level 61
Figure 83 Engineers Login Screen 61
Figure 84 Engine Overview Screen Engineer Level 61
Figure 85 Engine Screen User 62
Figure 86 Engine Status Screen 62
Figure 87 Test Menu User 63
Figure 88 Event Log All Events 64
Figure 89 Event Log Date Selection 64
Figure 90 Event Log by Date 64
Figure 91 Event Type Selection 65
Figure 92 Event Log by Event 65
Figure 93 Detector Selection 65
Figure 94 Event Log by Detector 66
Figure 95 Detector Status Screen - User 66
Figure 96 Detector Alarm Test 67
Figure 97 Detector Alarm Test Activated 67
Figure 98 Engine Alarm User 67
Figure 99 Detector Alarm User 68
Figure 100 Accept Ok 68
Figure 101 Detector Alarm Reset 69
Figure 102 Detector Reset 69
Figure 103 Engine Overview Screen Engineer Level 69
Figure 104 System Configuration Menu 70
Figure 105 Engine Screen Engineers Level 70
Figure 106 Engine Menu 71
Figure 107 Detector Status Screen 71
Figure 108 Detector Menu 72

March 2021 Page vii of xi 59812-K007 Rev 17
Business Confidential
Figure 109 Engine Overview Screen Pre-Alarm 72
Figure 110 Engine Screen Pre-Alarm, Accept 73
Figure 111 Engine Screen Pre-Alarm, Accept 73
Figure 112 Engine Overview Screen Alarm 74
Figure 113 Engine Screen Pre-Alarm, Accept 74
Figure 114 Engine Screen Pre-Alarm, Accept 74
Figure 115 Relay Function Modes 76
Figure 116 Engine Isolation Menu 77
Figure 117 Isolate All Detectors 78
Figure 118 Isolate All Detectors - OK 78
Figure 119 De-isolate All Detectors 78
Figure 120 De-isolate All Detectors - Yes 79
Figure 121 Isolate Pre-Alarm Relay 79
Figure 122 Isolate Pre-Alarm Relay - Ok 79
Figure 123 De-isolate Pre-Alarm Relay 80
Figure 124 De-isolate Pre-Alarm Relay - Yes 80
Figure 125 De-isolate Pre-Alarm Relay - Ok 80
Figure 126 Isolate Slowdown/Shutdown Alarm Relay 81
Figure 127 Isolate Slowdown/Shutdown Alarm Relay - Ok 81
Figure 128 De-isolate Slowdown/Shutdown Alarm Relay 81
Figure 129 De-isolate Slowdown/Shutdown Alarm Relay - Yes 82
Figure 130 De-isolate Pre-Alarm Relay - Ok 82
Figure 131 Isolate Detector 82
Figure 132 Isolate Detector - Ok 83
Figure 133 De-isolate Detector 83
Figure 134 De-isolate Detector - Yes 83
Figure 135 De-isolate Detector - Ok 84
Figure 136 Control Unit Membrane 84
Figure 137 Event Log All Events 86
Figure 138 Detector Status Screen - User 86
Figure 139 Water Droplets in the base. 87
Figure 140 Emulsified oil in the detector base 88
Figure 141 Fuel in the lube oil 88
Figure 142 Detector Base Cleaning 89
Figure 143 Detector Parameters 90
Figure 144 Detector Assembly 91
Figure 145 Cleaning Kit 91

March 2021 Page viii of xi 59812-K007 Rev 17
Business Confidential
Figure 146 Pulling Tool 92
Figure 147 Sample Chamber Cleaning 93
Figure 148 Engine Overview Screen Fault 95
Figure 149 Remote Display Unit Communication Fault 96
Figure 150 Engine Screen Detector Fault 99
Figure 151 Detector Status Screen Communications Fault 99
Figure 152 Engine Screen Detector Fault 101
Figure 153 Detector Status Screen LED Fault 101
Figure 154 Engine Status Screen Memory Fault 102
Figure 155 Engine Status Screen Watchdog Fault 103
Figure 156 Engine Screen Detector Fault 104
Figure 157 Detector Status Screen Fan Fault 104
Figure 158 Detector Head Removal 105
Figure 159 Base Moulding Seal 105
Figure 160 Pulling Tool 106
Figure 161 Fan Removal 106
Figure 162 Engine Screen Detector Fault 107
Figure 163 Detector Status Screen Memory Fault 107
Figure 164 Engine Screen Detector Fault 108
Figure 165 Detector Status Screen Memory Fault 108
Figure 166 Engine Screen Detector Fault 109
Figure 167 Detector Status Screen Photodiode Fault 109
Figure 168 Engine Status Screen Memory Fault 110
Figure 169 Engine Screen Detector Fault 110
Figure 170 Detector Status Screen Watchdog Fault 111
Figure 171 RTC Battery Failure 111
Figure 172 CR1220 Battery 111
Figure 173 Real Time Clock Battery Location 112
Figure 174 RTC Battery Orientation 113
Figure 175 Control Unit RTC Battery Failure 113
Figure 176 Control Unit Middle Fixing Screws 114
Figure 177 Control Unit Battery Orientation 114
Figure 178 Remote Display Unit Communication Fault 115
Figure 179 Remote Display Reset 116
Figure 180 Remote Display Exception Error 117
Figure 181 Test Log Screen 117
Figure 182 Control Unit Spares 118

March 2021 Page ix of xi 59812-K007 Rev 17
Business Confidential
Figure 183 Control Unit Earth Wire 120
Figure 184 Ribbon Connector Ferrites 121
Figure 185 Ribbon Cable Removal 121
Figure 186 Control Unit Terminal Blocks 122
Figure 187 Control Unit With Membrane 123
Figure 188 Ribbon Cable Removal 123
Figure 189 Display Unit Spares 125
Figure 190 Detector Spares 127
Figure 191 Base Fixing Screw Removal 128
Figure 192 Caterpillar Detector with Short Sample Pipe, 1-53836-K269-03 135
Figure 193 Caterpillar Detector with Standard Sample Pipe, 1-53836-K269-02 136

March 2021 Page x of xi 59812-K007 Rev 17
Business Confidential
OIL MIST DETECTOR WARRANTIES
1. Carrier Fire & Security UK Ltd (Carrier) warrants, for a period of 3 years from the handover of the
new vessel which is installed with Graviner Mk7 Oil Mist Detector (OMD) system to the system
owner, and for a period of 2 years from the commissioning(*) date of a retro fitted Mk7 Oil Mist
Detector (OMD) system, that any component forming part of the original OMD system manufactured
by or supplied by Carrier shall be free from defects in workmanship or materials during normal
Carrier will, at its sole discretion and its cost, either repair or replace such component. Installation
of the repaired / replacement parts is not covered under the OMD System Warranty. Components
replaced or repaired under theterms ofthe OMD System Warranty shall continue to havethe benefit
of the unexpired portion of the OMD System Warranty, unless that unexpired portion is less than 12
months,inwhichcasetherepaired/replacementpartsshallhavethebenefitofa12monthwarranty
against defects in workmanship or materials during normal usage starting on the date of delivery.
OMD s supplied as spares shall be warranted in accordance with paragraph 2 below only.
2. Carrier warrants for a period of 12 months from delivery that individual OMD s supplied as spares
shall be free from defects in workmanship or materials during normal usage.
3. Performance of Carrier
Carrier
4. The Warranties shall not apply to the following:
a. defects reasonably judged by Carrier as being caused by the improper installation of the OMD s
and/or OMD system;
b. defects reasonably judged by Carrier as being caused by the failure to follow the
recommendationscontainedinCarrier
the frequency of routine maintenance and testing of the OMD s and/or OMD system and/or the
failure to have such routine maintenance performed;
c. defects which are attributable to careless handling or storage, accident, improper use of the
OMD s and/or OMD system, or incorrectly completed repairs or routine maintenance services;
d. damages or losses occurring as a result of any act or omission which is wilfully unlawful or
negligent;
e. defects arising from the use of non-genuine Carrier parts or accessories, or the use of
materials not approved for use by Carrier;
f. any modifications to or installations performed on the OMD s and/or OMD system outside the
scope of normal routine maintenance or running repairs without the express prior written
approval of Carrier;
g. deterioration, staining or corrosion of parts which will occur due to normal exposure and usage;
h. alleged defects not materially affecting the quality or proper functioning of the OMD system.
5. In addition, the Warranties shall be limited as follows:
a. CarriershallbeundernoliabilityinrespectofanydefectintheOMD sand/orOMDSystemarising
from any drawing, design or specification supplied by or at the request of the buyer or system
owner (not being a drawing, design or specification of Carrier);
b. Carrier shall be under no liability in respect of any defect or failure of the OMD s and/or OMD
System to operate in accordance with specifications, illustrations, descriptions or other
particulars due to their combination or use with any incompatible equipment or product.
March 2021 Page xi of xi 59812-K007 Rev 17
Business Confidential
6. The Warranties are conditional upon:
a. the buyeror OMD systemowner givingwritten noticeto Carrier ofthe allegeddefect, suchnotice
to be given immediately when the buyer or OMD system owner discovers or ought to have
discovered the defect;
b. the buyer or OMD system owner affording Carrier a reasonable opportunity to inspect the OMD s
and/or OMD system;
c. the buyer or OMD system owner not altering or attempting to repair the OMD s and/or OMD
system without the written consent of Carrier.
7. TheWarranties canbetransferred toany newownerofthe OMDsystem providedCarrier isinformed
inwriting within30daysofthetransfer.TheOMD System Warrantycannotbetransferred toanother
Carrier OMD system.
8. Save to the extent amended by the provisions set out above, Carrier
of sale shall apply.
* Commissioningis to be performed by a Carrier approved Service Provider.
certain conditions that could lead to crankcase explosions on large Diesel engines. They are
typically installed in harsh operating conditions - particularly with respect to temperature and
vibration - and are expected to provide continuous service over extended periods. They are
therefore subject to considerable wear and tear.
guidelines. Given that they are components within key safety systems, as precautionary advice
the manufacturer recommends the OMD system is overhauled during the routine 5year dry-dock
by a trained and Authorised Graviner OMD Service Engineer and any faulty components are
replaced at this time

March 2021 Page 1 of 143 59812-K007 Rev 17
Business Confidential
1
1.1 INTRODUCTION
Hightemperatures, inexcess of200oC that occur on bearing surfaces under initial failure conditions, can
lead to a rapid generation of oil vapour When the hot vapour contacts the relatively cooler atmosphere
of the crankcase it condenses into a fine mist, with typical particle sizes of around 0.5 to 5 microns in
diameter. When the density of these particles reaches between 30 to 50 mg/l (Milligrams per litre),
depending upon the type of oil, an explosive condition exists.
Piston Rod Seal
Cross Head Slides
Cross Head Bearing
Top End Bearing
Bottom End Bearing
Main Bearing
Figure 1 Areas of Failure 2 Stroke Engine
Piston Seizure
Cam Shaft Bearings
Bottom End
Bearing
Top End Bearing
Piston Blow By
Main Bearing
Figure 2 Areas of Failure 4 Stroke Engine
A fire or explosion needs three constituents: fuel, oxygen and an ignition source. Remove one of these
and no explosion will occur. Similarly, within the crankcase, the three constituents which could cause
oil mist density can be measured at levels as low as 0.05 mg/l and give early warning of a rise in oil mist
density.
Oil Mist Detection (OMD) techniques have been used to monitor diesel engine crankcases for potential
explosive conditions and early detection of bearing failures. The systems available rely mainly on
analysingtheopticaldensityofoilmistsamplesdrawn fromthecrankcasecompartments,through pipes
to the detector. While these systems proved successful in the past, engine design has improved

March 2021 Page 2 of 143 59812-K007 Rev 17
Business Confidential
significantly over the years and oil mist detection techniques have improved substantially to maintain
adequate protection.
The Graviner Mk 7 OMD provides the following benefits:
•Auto addressed system monitoring up to 10 detector heads per Control Unit
•Up to 10 Control Units per single system.
•Suitable for both 2 stroke and 4 stroke engines.
•Elimination of sample pipes - reduced installation costs.
•Engine mounted Control Unit.
•Remote Display Unit mounted in a safe area, typically the Engine Control Room (ECR).
Figure 3 Graviner Mk7 OMD Components
1.2 DESCRIPTION
The system comprises three main components (refer to Figure 3):
Detectors 1-53836-K269 (with base)
1-53836-K269-01 (Short sample pipe)
1-53836-K272 (replacement detector head)
Control Unit 1-53836-K270 (With Membrane)
1-53836-K276 (Without Membrane)
Remote Display Unit 1-53836-K271
And connecting cables
Control Unit to Detector cable (Right Angle) 1-43682-K285-XX
Control Unit to Detector cable (Straight) 1-43682-K286-XX
The Graviner Mk7 OMD system can comprise up to 100 detectors directly mounted on the crankcases of
up to 10 engines, allowing both main propulsion and auxiliary generators to be monitored at the same
time.
Detector

March 2021 Page 3 of 143 59812-K007 Rev 17
Business Confidential
Each detector communicates electronically over a serial data link via the engine mounted Control Unit
with the Remote Display Unit designed to be mounted within the Engine Control Room. This eliminates
the need to enter the machinery space in alarm conditions.

March 2021 Page 4 of 143 59812-K007 Rev 17
Business Confidential
Figure 4 Typical System Configuration With Membrane

March 2021 Page 5 of 143 59812-K007 Rev 17
Business Confidential
Figure 5 Typical System Configuration Without Membrane

March 2021 Page 6 of 143 59812-K007 Rev 17
Business Confidential
1.3 TECHNICAL SPECIFICATION
Detector
Mounting ¾inch BSP
Enclosure Rating IP65
Material Sample Tube Carbon Loaded PTFE
Detector Black Du Pont Nylon 70G33L
Indicators Green Detector On
Red Alarm
Amber Detector Fault
Power Consumption 1.5W
Operating Temperature Rating 0 to 70oC
Storage Temperature Rating -20oC to 60oC
Height 153mm
Width 90mm
Length 205mm
Weight 0.5kg
Control Unit
Enclosure Rating IP65
Material Aluminium
Max detector inputs 10
Output Relays Volt-free change over contacts rated at 30Vdc 1A
Relay contact minimum wetting current = 10mA
Pre-Alarm 1 set (de-energised during normal operation)
Fault Alarm 1 set (energised during normal operation)
Engine Slow/Shutdown Alarm 1 set (de-energised during normal operation)
Backup Alarm 1 set (de-energised during normal operation)
Alarm Ranges
Pre-Alarm 0.5mg/l to 1.2mg/l (adjustable) (Default 0.9mg/l)
Engine Slow/Shutdown Alarm 1.3mg/l to 2.4mg/l (adjustable) (Default 1.8mg/l)
Backup Alarm 3.0mg/l (fixed)
Operating Voltage 24Vdc (+30% -25%)
Power Consumption 3.9W
Operating Temperature Rating 0 to 70oC
Storage Temperature Rating -20oC to 60oC
Dimensions
Height 186mm (110mm mounting centres)
Width 318mm (240mm mounting centres)
Depth 90mm
Weight 2.8kg

March 2021 Page 7 of 143 59812-K007 Rev 17
Business Confidential
Remote Display Unit
Enclosure Rating IP32
Material ABS (PA-765+)
Max No. of detectors 100
Max No. of engines monitored 10
Power Supply 24Vdc (+30% -25%)
Power Consumption 6.0W
Operating Temp Rating 0 70oC
Storage Temperature Rating -20oC to 60oC
Humidity level 95%
Dimensions
Height 225mm (202mm mounting centres)
Width 240mm (217mm mounting centres)
Depth 58mm Bulkhead Mounted
55mm Panel Mounted
Weight 1.0kg

March 2021 Page 8 of 143 59812-K007 Rev 17
Business Confidential
1.4 SYSTEM OVERVIEW
The Graviner Mk7 OMD is an auto addressed oil mist detection system capable of monitoring up to 10
Control Units per system with each Control Unit having up to 10 detectors connected to it. This is
achievedwithoutexternalsamplepipes andwithminimum cabling.Eachdetectorheadmonitors a single
crank space and is a stand-alone device. On power up the detectors gather oil mist density data and
convert it to a digital signal for transmission via the data lines in the detector cable to the Control Unit
which is also mounted on the side of the engine. Alarm levels and alarm output requirements are all set
from either the Remote Display Unit or a PC connected directly to the Control Unit.
The Remote Display Unit n display that shows the oil mist level for each
engine and when required each detector, as well as the status of the system. In the event of an alarm,
the display immediately shows the oil mist levels for the relevant engine. It also enables the individual
readings of each detector on the engine to be displayed on demand and automatically under alarm
conditions.
In the event of a detector fault, that detector can be isolated without affecting the function of the other
detectors on the engine. The system will continue to operate while the faulty detector is replaced,
repaired or maintenance is carried out.
The Mk7 detectors use optical sensing;
the oil mist density in the crank space to which it is connected. In addition, the detector automatically
performs self-checks for any internal faults. The Control Unit interrogates each detector in turn,
identifyingthepositionconnectedattheControlUnit,theoilmistdensityvalueanddeterminesthestatus
of the detector.
Each detector is fitted with 3 LED indicator lights:
Green - Power on
Red - Alarm
Amber - Fault
As all detectors operate independently, the loss of one detector through a fault does not affect the
operation of the remaining system. Individual detectors, or engine groups, can be isolated from the
system for maintenance while the rest of the system remains in operation.
The Control Unit can be supplied with or without a control membrane. The control membrane has LED
indication for detectors connected, push buttons for isolation and de-isolation of detectors, as well as
pushbuttons for Accepting and Resetting Alarms.
Alarm Philosophy
The system has 3 separate alarm levels as detailed below
1. Pre-Alarm - This indicates that the oil mist levels are increasing in a particular crank-space and
that investigation should be undertaken. This alarm will not operate the slowdown/shutdown
relays.
2. Engine Slow/Shutdown Alarm - When any detector reaches this threshold then the
slowdown/shutdown relay will be operated if they are connected.
3. Back Up Alarm - In the event of a failure of either the Pre-Alarm or Engine Slow/Shutdown
Alarm, then the Back Up Alarm will operate, but it will not operate the slowdown/shutdown
relay. This is an additional functional precaution added by Carrier Fire & Security UK Ltd which
can be connected in any way the customer requires. This is usually connected to a warning
beacon or siren; however, the customer may choose to connect the relay to another device or to
the engine slowdown or shutdown circuitry.
On receipt of either a Pre-Alarm or Engine Slow/Shutdown Alarm the engine should, unless connected
to a slowdown/shutdown relay, be stopped if safe to do so and allowed to cool down so that the
background oil mist levels reduce before entering the engine room.
When the oil mist levels have returned to normal then the Accept and Reset buttons can be operated
from the Control Unit membrane if fitted or alternatively from the Remote Display Unit and the system
will then return to normal operation.

March 2021 Page 9 of 143 59812-K007 Rev 17
Business Confidential
Fault Diagnosis
When a system fault is received, the information on the display should be noted and then the appropriate
Fault Finding procedure, detailed in section 5 Fault Finding of the manual, should be checked to enable
the fault to be rectified.
When the faults have been rectified the Accept and Reset buttons can be operated and the system will
return to normal
Event Log
All alarms, faults and events are recorded in an Event Log which is date and time stamped indicating the
type of event which can be analysed at a later date. The Event Log is a rolling list and has a capacity of
1024 events.
SYSTEM CONTROLS AND DISPLAYS
The Remote Display Unit and PC software are menu driven and provides a logical route to all functions.
It has three operating levels:
User
Engineer
Service
The User level is essentially for read only interrogation and does not allow any adjustments to be made
to alarm settings or system configuration.
The Engineer level is password protected and allows access to most functions and the full range of
programmable settings.
When selected, a prompt for a password will appear, enter 012345, when programming is completed, if
required, the Password may be changed by an authorised person to prevent unauthorised access in the
future. This process can be followed in section 2.9 of this manual.
The Service level is also password protected (different from the Engineer Menu) and allows access to
all functions. This is only available to authorised Carrier personnel and authorised Service Providers.
Other manuals for Graviner Mk7
1
Table of contents
Other Carrier Security Sensor manuals

Carrier
Carrier KIDDE 60WLDR-W User manual

Carrier
Carrier 7C-SE-C72X-X Datasheet

Carrier
Carrier 7C-SE-C1X-DT User manual

Carrier
Carrier NSB-NO2-V-BB User manual

Carrier
Carrier 7C-SE-C68 Series User manual

Carrier
Carrier HyperSense 7C-HS-C1W-X User manual

Carrier
Carrier BN Series User manual

Carrier
Carrier Graviner Mk6 User manual

Carrier
Carrier Graviner Mk7 Configuration guide

Carrier
Carrier Aritech 6933AMP Assembly instructions