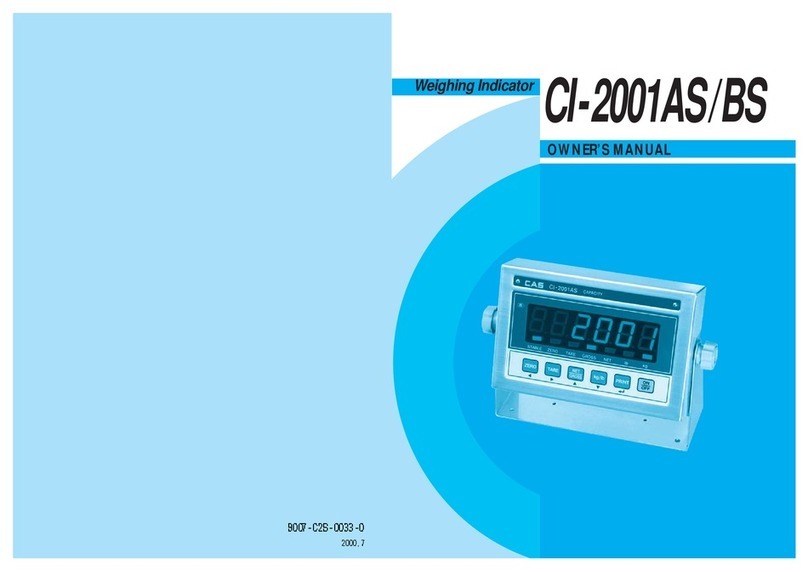
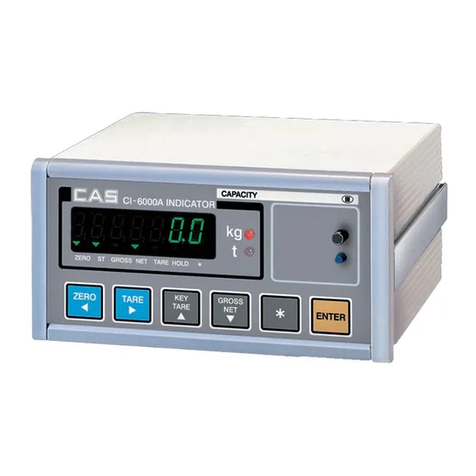
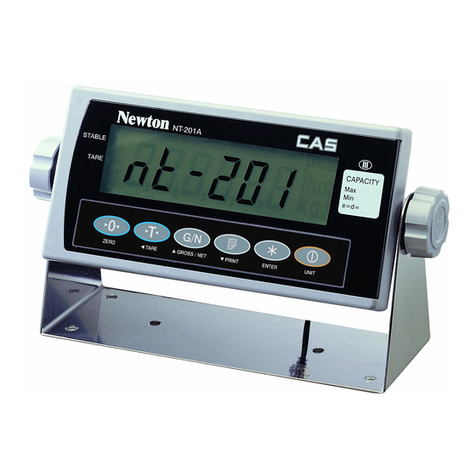
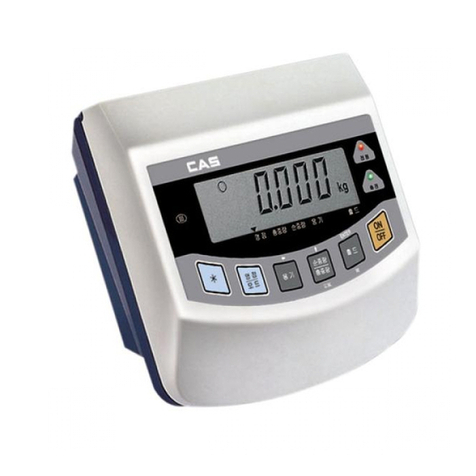
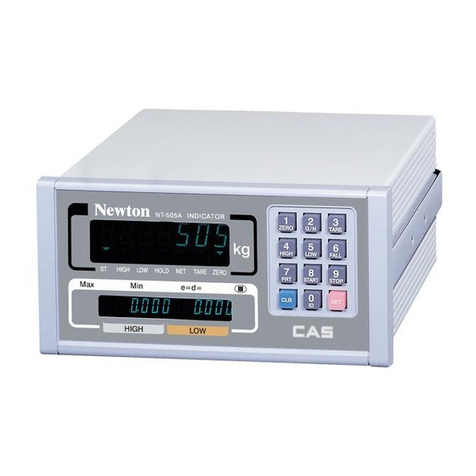
CAS CI-2400BS User manual


CI-2400BS
Weighing Indicator
OWNER’S MANUAL

CONTENTS
PRECAUTIONS 3
INTRODUCTION 5
CI-2400BS FEATURES 5
TECHNICAL SPECIFICATION 6
MEASURE OF APPEARANCE 7
FRONT PANEL DESCRIPTION 8
REAR PANEL DESCRIPTION 10
SEALING METHOD 14
SYSTEM MODE 15
GENERAL FUNCTION & DESCRIPTION 23
SET MODE 26
TEST MODE 34
CALIBRATION MODE 37
SIMPLE CALIBRATION MODE 40
ONLY ZERO CALIBRATION 42
GRAVITY COMPENSATION &
THE OTHERS SET MODE 44
OPTIONS 48
ERROR MESSAGE & TROUBLE SHOOTING 50

3
PRECAUTIONS
Place the indicator on a flat and stable
surface.
Do not use inflammable materials in
cleaning.
Do not severely press because the light
pressing of keys can incite the operation.
Keep the main body from rain and
keep in dry area.

4
Do not subject the scale to sudden
temperature changes.
Keep the scale away from strong EMI noises may cause incorrect weight
readings.

5
INTRODUCTION
CI-2400BS FEATURES
We greatly appreciate your purchase of the CI-2400BS weighing indicator. These
goods perform excellently and exhibit splendid properties through strike tests.
CAS indicator is delicately designed to coincide with the special requirements of
several industrial fields and includes many functions and various external
interfaces. Also, it is programmed for the user’s convenience and contains
display functions that are easily accessible.
Before using CI-2400BS, it is recommended that you read this manual carefully
so you may use this device to its full potential.
1. Features
Water proof(IP65)
Appropriate for weight and measurement system
Easy operation and various functions
Simple calibration
(Full digital calibration, installing the automatic weight at a time)
Watchdog circuitry(System restoration)
The construction of stainless steel
Standard fixed bracket type
2. Main Function
Adjustable display rate(Digital filter function)
RS232C serial communication function
Serial printer function
Count function
Weight/Count comparing function
Automatic power off function
Back light function(Auto/Manual)
Independent zero calibration function
Unit conversion/Hold function
Self test hardware function - You can test the condition about the condition of
every parts in circuit by module.

6
RS422 /RS485 Function
Charging Circuit + NiCd Battery (DC 7.2V,
2000mAh)
Relay Output Function
(Max. DC 30V, 100mA - Zero, Under, Ok,
Over)
FS-7000D Serial Printer
Option-1
Option-2
Option-3
Option-4
Option-5
Option-6
3. Option
TECHNICAL SPECIFICATION
DC 5V, (up to 6 load cells) 100mA
0.05mV 5mV
2 V/D (NTEP, OIML)
0.5 V/D (Non NTEP, OIML)
0.01% F.S.
1/200,000
1/10,000 (Max.)
10 times / sec
Load cell
excitation
voltage
Zero adjust range
Input sensitivity
Nonlinearity
A/D internal
resolution
Analog Part & A / D Conversion

7
Full Digital Calibration: SPACTM
(Single pass automatic span calibration)
LCD(5 digit)
25mm(Height)
“
-
” minus display
Zero, Tare, Net, Print, Stable, Hold
AC 110V/220V(DC 12V, 850mA)
12W
-10°C 40°C( 14°F 104°F)
200mm 130mm 53mm
Approx. 1kg(2.2lb)
Span calibration
Display
Size of letter
Display below
zero
Status display
Power
Power
consumption
Temperature
Digital Part
MEASURE OF APPEARANCE
Fixed Bracket Type(CI-2400BS) - Standard
53
70
200
240
130
165
CI-2400BS CAPACITY:

8
FRONT PANEL DESCRIPTION
1. Display Part Lamp
lamp: ON when the weight is stable.
ZERO lamp: ON when the current weight is 0kg.
GROSS lamp: ON when the weight is the total weight.
NET lamp: ON when the weight is the pure weight.
TARE lamp: ON when the tare weight is stored.
PRINT lamp: ON when any data is printed.
HOLD lamp: ON when you weigh the moving object.
BAT lamp: In case of using rechargeable battery, it is displayed the battery
recharging time.
POWER lamp: ON when it is connected to power.
lamp: ON when the current weight exceeds normal weight.
lamp: ON with alert when the current weight is normal.
lamp: ON when the current weight is 90 - 100% of normal weight.
lamp: ON when the current weight is 80 - 90% of normal weight.
lamp: ON when the current weight is below 80% of normal weight.

9
2. Key Part
Key functions in simple weighing mode & in weight comparing mode.
Used to turn ON/OFF BACK LIGHT, F03-00.
Used to print. F03-01 04.
Used to enter the SET MODE by pressing for 5 sec.
Used to return the display to the zero.
(Within 2% of Max. capacity)
Used to enter the system mode by pressing for 3 sec.
Used to weigh item by using tare.
Used to display NET weight or GROSS weight
In case tare weight is registered, tare plus item’s weight is GROSS
weight and only item’s weight is NET weight.
Used to change weight units(kg, lb, oz) to weigh the moving object.
(Auto/Manual).
Used to power ON/OFF.
Key functions in COUNT mode.
Used to display the unit weight(for approx 5 sec).
Used to display the current weight(for approx 5 sec).
Key functions in SET mode(Digit input method).
Input the digit with using the below keys.
key: Change the set value.
Increase the first place value to 1.
key: Change the digit of the set value.
Used to set current value 10.
key: Used to complete the input and move to the next mode.
Used to set the inputted value to “0”.
Used to escape from this mode.
LIGHT
PRINT
MODE
ZERO
ON
OFF
NET
GROSS
UNIT
HOLD
MODE
ZERO
LIGHT
PRINT
TARE
U.W.
W.

10
REAR PANEL DESCRIPTION
Power(0V, +12V) : Connect to DC 12V
RS-485/422 Interface(IN+, IN-, OUT+, OUT-) : Refer to option
RS-232 Interface(TXD, RXD, GND)
RXD
TXD
GND
2 Transmit Data
3 Receive Data
7 Signal Ground
4 Request To Send
5 Clear To Send
6 Data Set Ready
8 Carrier Detect
20 Data Terminal Ready
Connect RS-232C Port of Computer
25pin port(Female)
RS-232C port of Computer
RS-232C port of CI-2400BS
RXD
TXD
GND
3 Transmit Data
2 Receive Data
5 Chassis Ground
1 Carrier Detect
4 Data Terminal Ready
6 Data Set Ready
7 Request to Send
8 Clear to Send
9pin port(Female)
RS-232C port of Computer
RS-232C port of CI-2400BS

11
Connect Sub-display
RXD
TXD
GND
2 Transmit Data
3 Receive Data
7 Signal Ground
9pin port(Male)
RS-232C port of Sub-display
RS-232C port of CI-2400BS
Transmit Data Format(22 bytes)
,,,CR LF
Data(8 bytes)
US(Unstable)
ST(Stable)
OL(Over load)
GS(Gross)
NT(Net) UNIT
kg
Device ID
Space
Device ID
1 byte device ID is output to allow the receiver side to selectively receive
information supplied from the indicator.
Example : When host transmit device ID 01(ASCII code), the indicator of
device 01 answers.
(Device ID is able to set at F10.)
Data(8 bytes) : Weight data with decimal point
1. 13.5 kg : ‘0’, ‘0’, ‘0’, ‘0’, ‘1’, ‘3’, ‘.’, ‘5’
2. 135 kg : ‘0’, ‘0’, ‘0’, ‘0’, ‘1’, ‘3’, ‘5’, ‘0’
3. -135 kg : ‘-’, ‘0 ’, ‘0 ’, ‘0 ’, ‘1’, ‘3 ’, ‘5 ’, ‘0 ’
Simple Transmit/Receive Program(Language : BASIC)
10 OPEN “COM1:9600,N,8,1” As #1
20 IF LOC(1) = 0 THEN 60
30 A$ = INPUT$(1,1)
40 PRINT A$ ; “ ”;
50 GOTO 20
60 B$=INKEY$ : IF B$ =“ ” THEN 20
70 PRINT B$ ; “ ”;
80 PRINT #1,B$;
90 GOTO 20

12
Simple Transmit/Receive Program(Language C)
#include <bios.h>
#include <conio.h>
#define COM1 0
#define DATA_READY 0 100
#define TRUE 1
#define FALSE 0
#define SETTINGS 0 E3
int main(void)
{
int in, out, status, DONE = FALSE;
bioscom(0, SETTINGS, COM1);
cprintf(“... BIOSCOM [ESC] to exit ... n”);
while (!DONE)
{
status = bioscom(3, 0, COM1);
if (status & DATA_READY)
if ((out = bioscom(2, 0, COM1) & 0 7F) != 0)
putch(out);
if (kbhit( ))
{
if ((in = getch( )) == ‘ 1B’)
DONE = TRUE;
bioscom(1, in, COM1);
}
}
return 0;
}
Connection FS-7000D Printer
RXD
TXD
GND
2 Transmit Data
3 Receive Data
14 Signal Ground
15pin port(Female)
Serial port of FS-7000D Printer
RS-232C port of CI-2400BS

13
Connection ND-T102, ND-192 Printer
RXD
TXD
GND
3 Transmit Data
2 Receive Data
7 Signal Ground
9pin port(Female)
Serial port of ND-T102(THERMAL),
ND-192(DOT)
RS-232C port of CI-2400BS
Load cell Connection(EX+, EX-, SIG+, SIG-, GND)
EX+: Excitation voltage+, EX-: Excitation voltage-
SIG+: Sense voltage+, SIG-: Sense voltage-, GND: Shield ground
Connecting method
Ref 1. Each load cell manufacturer’s or model’s wire color could be different.
In that case, please note the following diagram.
Manufacturer’s wire colors
N0. 1 No. 2 No. 3 No. 4 No.5
(EX ) (EX ) (SIG ) (SIG ) (GND)
Red White Green Blue Shield
Red Black Green White Shield
Green Black White Red Yellow
Red Blue White Black Shield
Red Black Green White Shield
Red White Green Blue Yellow
Red Black White Green Shield
Red Blue White Black Yellow
Green Black Red White Shield
Green Black White Red
Yellow/Shield
Red Black Green White Shield
Company
CAS
KYOWA
INTERFACE
P.T
BLS
SHOWA
SHINKOH
TMI
TML
TFAC
HUNTLEIGH
RTI/RTE 5wires
RTI/RTE 7wires
Connector

14
Resolution to load cell output rate
5V impression to Load cell Max. Load cell output Recommended resolution
2mV 1/1,000(Max)
4mV 1/2,000(Max)
10mV 1/5,000(Max)
Relay Output(COM, OUT1, OUT2, OUT3, OUT4) : Refer to option
COM : Connect to external ground.
OUT1,2,3,4 : The output circuit is an open collector type. If you hook up
this line to TTL level & logic, please add a pull-up resistor.
SEALING METHOD
Perform the sealing as shown in the below figure after the calibration is completed.
Screw CAL switch sealing
bolt.
Connect to the sealing wire
as the follows and compress
the sealing lead.
Cal Switch Sealing Bolt
Sealing Bolt
Sealing Lead
How to Enter CAL Mode/TEST Mode
: Turn on the power while pressing the “CAL” switch on the back side.
How to Enter SET Mode
: Turn on the power while pressing the “LIGHT/PRINT” key.
Also press “LIGHT/PRINT” key for 5 sec in the weighing mode.
How to Enter SYSTEM Mode
: Press “ZERO/MODE” key for 3 sec in the weighing mode.

15
SYSTEM MODE
Simple weighing mode: Display the weight after weighing.
High. Low weight comparing mode: Decide that the weight is high, normal or
low value and perform the display.
Count mode: Display the quantity by setting the unit or sample weight.
Count comparing mode: Perform the display after discrimination by setting
HIGH/LOW quantity.
1. Mode Conversion
Press key for 3 sec and it is displayed the following message.
Execute depending on the below mode conversion and setting method.
2. Digit Input Method
Input the digit in use of the below keys.
key: Used to escape from mode.
key: Used to increase the first place of value by one.
key: Used to set current value 10.
key: After completing the input, it is moved to next mode.
key: Used to set the inputted value to ‘0’.
Conversion method
As you press , the mode change.
If it is completed, it will start the mode which is set by mode conversion.
ZERO
MODE
LIGHT
PRINT
ZERO
Weighing mode W-limit Count Enter EndCount-limit

16
Ex) In case of inputting 20.5
Display K e y Description
Step 1
Step 2
Step 3
Step 4
Step 5
Step 6
Press one.
(Set input value to
‘0’.)
Press twice.
(Input 2 as the first
place
value.)
Press once.
(Used to set current
value
10.)
Press once.
(Used to set current
value
10.)
Press five times.
(Input 5 as the first
place
value.)
ZERO
MODE
Note. The decimal point automatically is set to location which is set in CAL mode.

17
3. Simple Weighing Mode Conversion
Display K e y Platform Description
Step 1
Step 2
Step 3 Empty
Press once.
Press once.
It is operated
generally.
4. High/Low Comparing Mode Conversion
In case of no resetting the High/Low value.
Display K e y Platform Description
Step 1
Step 2
Step 3 Empty
Press twice.
Press once.
It is operated
generally.

18
In case of resetting the High/Low value.
Display K e y Platform Description
Step 1
Step 2
Step 3
Step 4
Step 5
Step 6
Step 7 Empty
Press twice.
Press once.
(Input low weight
value.)
Refer to digit
input
method.
Input high
weight
value.
Refer to digit
input
method.
ZERO
MODE

19
5. Count Mode Conversion
In case of no setting the unit/sample weight.
Display K e y Platform Description
Step 1
Step 2
Step 3 Empty
Press there
times.
Press once.
It is operated
generally.
Display K e y Platform Description
Step 1
Step 2
Step 3
Step 4
Step 5
Press three
times.
Press once.
Display the set
weight.
Input unit
weight.
MODE
MODE
After
completi
ng the
digit
input,
In case of setting the unit weight(Min. range of unit weight : Min. Div.)
Table of contents
Other CAS Accessories manuals

CAS
CAS CI-600D Series User manual

CAS
CAS CI-150A User manual

CAS
CAS SW II Series User manual

CAS
CAS CI-100A Installation and operating instructions

CAS
CAS HDI User manual

CAS
CAS CI-2001A User manual

CAS
CAS NT-500 Series User manual

CAS
CAS CI-2001AS User manual

CAS
CAS CI-2001A User manual

CAS
CAS CT100 Series User manual
Popular Accessories manuals by other brands

KMC Controls
KMC Controls STW-6010 installation guide

Nortek
Nortek M360PIRZ Installation & operation manual

APCO Aviation
APCO Aviation Edge user manual

Allergy Amulet
Allergy Amulet AMULET quick start guide

Siemens
Siemens SIWAREX WL200 Series operating instructions

Festo
Festo SDE1 Series operating instructions