manuals.online logo
Brands
  1. Home
  2. •
  3. Brands
  4. •
  5. cecotec
  6. •
  7. Kitchen Appliance
  8. •
  9. cecotec Rock'nCut Twin User manual

cecotec Rock'nCut Twin User manual

Instruction manual
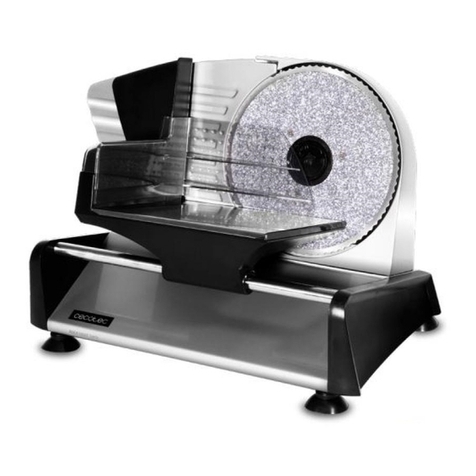
Food slicer
INDEX
1. Parts and components
2. Safety instructions
3. Before use
4. Product assembly
5. Operation
6. Cleaning and maintenance
7. Technical specifications
8. Disposal of old electrical appliances
9. Technical support service and warranty
1. Parts and components
1. Thumb guard
2. Food pusher
3. Thickness-adjustment knob
4. Power switch
5. Cutting disc
6. Cutting disc fixing element
7. Removable stainless-steel sliding plate
8. Suction cups
ROCK’NCUT TWIN ROCK’NCUT TWIN
2. SAFETY INSTRUCTIONS
Read these instructions thoroughly before using the appliance. Keep this instruction manual
for future reference or new users.
•Make sure that the mains voltage matches the voltage stated on the rating label of the
appliance and that the wall outlet is grounded.
•Do not use accessories not provided or suggested by Cecotec, as these could cause
damage to the product or result in risk.
•This appliance is designed for household only, do not use for industrial purposes or
outdoors.
•Do not place the appliance on unstable surfaces always place it on even, dry and stable
surfaces.
•Do not immerse the cord, plug, or any non-removable part of the appliance in water or
any otherliquid, nor expose the electricalconnections to water. Make sure yourhands are
dry before handling the plug or switching on the appliance.
•The appliance is designed for slicing food. Do not slice hard baked food, frozen food, food
in plastic or aluminium foil, meat with bones, fruit with hard stones etc.
•Check the power cord regularly for visible damage. If the cord is damaged, it must be
replaced by the official Technical Support Service of Cecotec in order to avoid any type of
danger.
• Make sure the disc is properly fixed before operating the machine.
•To push food against the cutting disc, use the food pusher supplied with this appliance
only.
• Do not touch the rotating cutting disc.
•If food gets stuck on the cutting disc, remove it with a plastic spatula. Turn the appliance
off and disconnect it from the power supply before cleaning it.
•Do not insert fingers or any other items such as knives, forks etc. into the area between
the cutting thickness-setting plate and the cutting disc.
• Make sure the cutting disc has completely stopped before removing food.
•The machine’s maximumtime of non-stop operation is 10 minutes.Afterthese 10 minutes,
allow the machine to rest for 15 minutes before operating it again.
•Always turn off and disconnect the appliance from the power supply before assembling,
disassembling it or if it is not going to be used for a long period of time. Pull from the plug
and not the cord to disconnect it.
•The appliance is not intended to be used by children, persons with reduced physical,
sensory or mental capabilities or lack of experience and knowledge.
3. BEFORE USE
1. Take the product out of the box and remove all packaging materials.
2. Wash all the accessories that come into contact with foodstuffs (cutting disc, sliding
plate, food pusher and thumb guard) in hot water and soap. Rinse them with water and
dry them thoroughly with a soft cloth.
4. PRODUCT ASSEMBLY
1. Place the product on flat, dry and stable surface.
2. Install the cutting disc to the machine by placing it in its place and turning the cutting dis
fixing element completely anticlockwise.
WARNING: do not touch the blade when assembling the cutting disc
3. Using the thickness-adjustment knob, set the plate at 0 mm.
4. Attach the thumb guard to the sliding plate.
5. OPERATION
1. Adjust the plate to the required position using the thickness-adjustment knob.
2. Connect the power cord to a power supply.
WARNING: make sure the cutting disc is securely fixed to the unit in order to avoid accidents.
3. Place food on the sliding plate, leaving it between the food pusher and the thickness-
adjustment plate.
4. With your left thumb, press the power switch. The product will start operating and the
cutting disc will start to spin.
5. Rest your right thumb against the thumb guard and place the rest of the fingers on the
outer side of the food pusher.
6. Move the sliding plate back and forward and move the food using the food pusher
towards the cutting disc.
Correct position:

ROCK’NCUT TWIN ROCK’NCUT TWIN
WARNING: if food gets stuck during operation, stop slicing, turn the machine off, disconnect it
from the power supply and clean the cutting disc with a plastic spatula.
NOTE: wet the cutting disc with water before slicing cheese.
6. CLEANING AND MAINTENANCE
•Always turn the appliance off and disconnect it from the power supply and set the plate
at 0 mm before cleaning it.
•Remove and clean anyfood rests aftereach use. Clean allthe parts that come into contact
with food.
• Use a soft cloth soaked in water to clean the appliance and then dry it.
•For a deeper cleaning, disassemble the food pusher, the sliding plate and the cutting disc
in order to clean them with warm water and kitchen detergent.
• Dry all the product parts thoroughly before assembling them again.
•Do not use abrasive cleaning agents or scouring pads to clean the appliance as these
could cause surface damage.
NOTE:
•To disassemble the cutting disc, turn the cutting disc fixing element clockwise and take
it out.
• Before using the machine again, assemble it following the steps in this manual.
If the appliance is not going to be used in a long period of time, store it in a dry and safe place,
out of the reach of children.
7. TECHNICAL SPECIFICATIONS
Model: Rock’nCut Twin
Product reference: 02307
200 W, 220-240 V, 50/60 Hz
Made in China | Designed in Spain
8. DISPOSAL OF OLD ELECTRICAL APPLIANCES
The European directive 2012/19/EU on Waste Electrical and Electronic Equipment
(WEEE), specifies that old household electrical appliances must not be disposed of
withthe normalunsortedmunicipalwaste.Old appliancesmust becollected separately,
in order to optimize the recovery and recycling of the materials they contain, and reduce the
impact on human health and the environment.
The crossed out “wheeled bin” symbolon the product reminds you ofyour obligationto dispose
of the appliance correctly. Ifthe product has a built-in battery or uses batteries, they should be
removed from the appliance and disposed of appropriately.
Consumers must contact their local authorities or retailer for information concerning the
correct disposal of old appliances and/or their batteries.
9. TECHNICAL SUPPORT SERVICE AND WARRANTY
This product is under warranty for 2 years from the date of purchase, as long as the proof
of purchase is submitted, the product is in perfect physical condition, and it has been given
proper use, as explained in this instruction manual.
The warranty will not cover the following situations:
•The product has been used for purposes other than those intended for it, misused,
beaten, exposed to moisture, immersed in liquid or corrosive substances, as well as any
other fault attributable to the customer.
•The product has been disassembled, modified, or repaired by persons, not authorised by
the official Technical Support Service of Cecotec.
• Faults deriving from the normal wear and tear of its parts, due to use.
•The warranty service covers every manufacturing defects of your appliance for 2 years,
based on current legislation, except consumable parts. In the event of misuse, the
warranty will not apply.
If at any moment you detect any problem with your product or have any doubt, do not hesitate
to contact Cecotec Technical Support Service at +34 963 210 728.
www.cecotec.es
Grupo Cecotec Innovaciones S. L.
C/de la Pinadeta s/n, 46930
Quart de Poblet, Valencia, Spain

Other manuals for Rock'nCut Twin

1

This manual suits for next models

1

Other cecotec Kitchen Appliance manuals

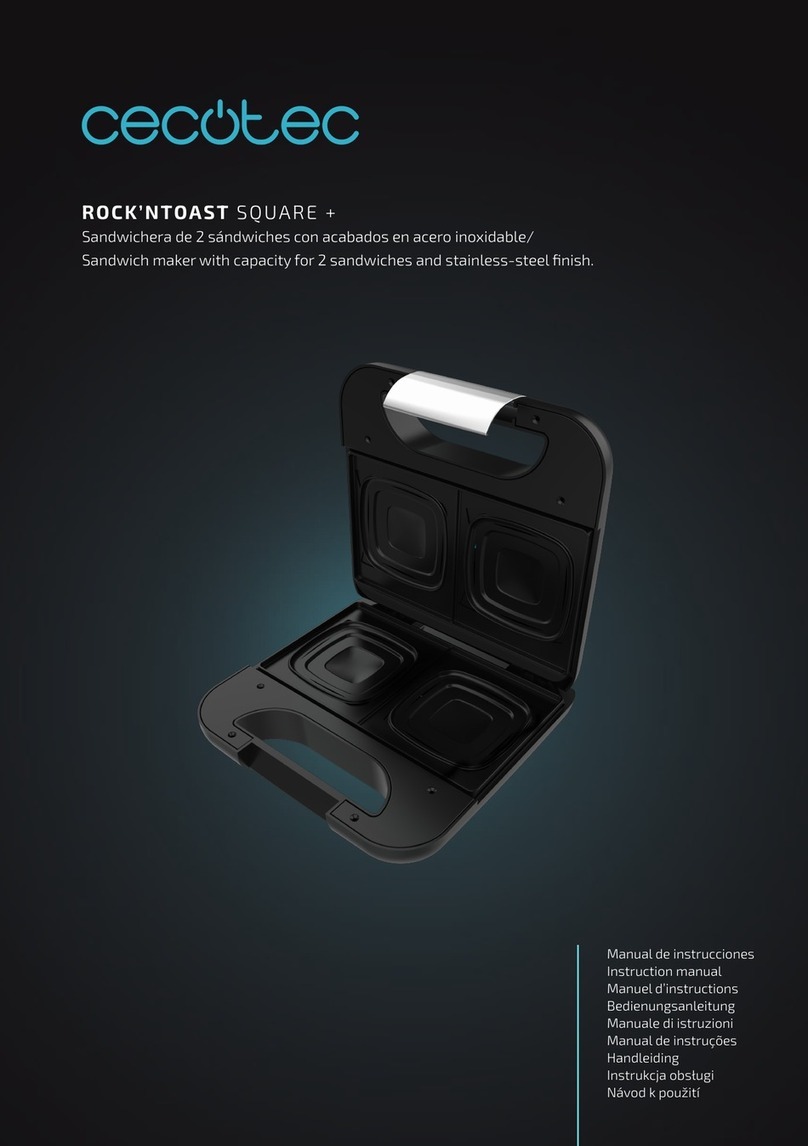
cecotec FUN CHOCOLICIOUS User manual

cecotec

cecotec FUN CHOCOLICIOUS User manual

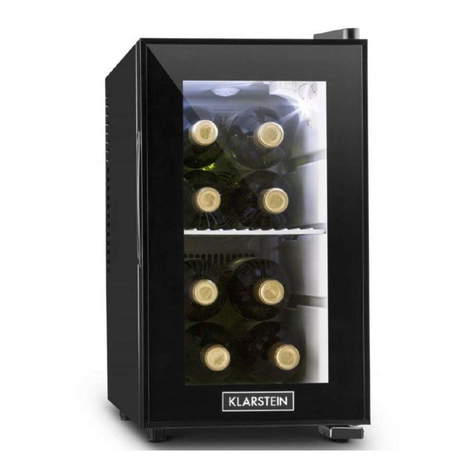
cecotec Grand Sommelier 800 User manual

cecotec

cecotec Grand Sommelier 800 User manual

cecotec FUN&TASTE P'CORN CLASSIC User manual

cecotec

cecotec FUN&TASTE P'CORN CLASSIC User manual

cecotec Fusion&Cook 4000 Luxury User manual

cecotec

cecotec Fusion&Cook 4000 Luxury User manual

cecotec CHOPBEAT 2000 DELHI GLASS User manual

cecotec

cecotec CHOPBEAT 2000 DELHI GLASS User manual

cecotec Rock'n Cut User manual

cecotec

cecotec Rock'n Cut User manual

cecotec OLLA GM H DELUXE User manual

cecotec

cecotec OLLA GM H DELUXE User manual

cecotec Olla GM H User manual

cecotec

cecotec Olla GM H User manual

cecotec Fun Crepestone XL Inox User manual

cecotec

cecotec Fun Crepestone XL Inox User manual

cecotec ROCK'NCUT SHURIKEN STEEL User manual

cecotec

cecotec ROCK'NCUT SHURIKEN STEEL User manual

cecotec FUN&TASTE P'CORN LOTUS User manual

cecotec

cecotec FUN&TASTE P'CORN LOTUS User manual

cecotec Rock'nToast Sanwich Squared User manual

cecotec

cecotec Rock'nToast Sanwich Squared User manual

cecotec ROCK'NTOAST 3IN1 User manual

cecotec

cecotec ROCK'NTOAST 3IN1 User manual

cecotec HYDROSTEAM 2030 ACTIVE User manual

cecotec

cecotec HYDROSTEAM 2030 ACTIVE User manual

cecotec GrandSommelier 15000 Black User manual

cecotec

cecotec GrandSommelier 15000 Black User manual

cecotec HydroSteam 1040 Active&Soap User manual

cecotec

cecotec HydroSteam 1040 Active&Soap User manual

cecotec Power Latte Spume 4000 User manual

cecotec

cecotec Power Latte Spume 4000 User manual

cecotec 03112 User manual

cecotec

cecotec 03112 User manual

cecotec ROCK'NTOAST 4IN1 User manual

cecotec

cecotec ROCK'NTOAST 4IN1 User manual

cecotec GRANDSOMMELIER DUO 77000 BLACK User manual

cecotec

cecotec GRANDSOMMELIER DUO 77000 BLACK User manual

cecotec SpiralChef 400 User manual

cecotec

cecotec SpiralChef 400 User manual

cecotec FUN CHOCOLICIOUS User manual

cecotec

cecotec FUN CHOCOLICIOUS User manual

cecotec OLLA GM H FRY User manual

cecotec

cecotec OLLA GM H FRY User manual

cecotec Rock'nToast Square + User manual

cecotec

cecotec Rock'nToast Square + User manual

Popular Kitchen Appliance manuals by other brands

Bartscher Mini 203.500 instruction manual

Bartscher

Bartscher Mini 203.500 instruction manual

Kenwood MGX300 manual

Kenwood

Kenwood MGX300 manual

Reliable Steamboy PRO T3 instruction manual

Reliable

Reliable Steamboy PRO T3 instruction manual

Nostalgia Electrics Vintage Series Instructions and recipes

Nostalgia Electrics

Nostalgia Electrics Vintage Series Instructions and recipes

Ritter E 118 Assembly instructions

Ritter

Ritter E 118 Assembly instructions

NAYATI NGSCD 9-90 CE Installation, operation and maintenance instructions

NAYATI

NAYATI NGSCD 9-90 CE Installation, operation and maintenance instructions

Philips CA6500 quick guide

Philips

Philips CA6500 quick guide

DS Produkte CP-06 instruction manual

DS Produkte

DS Produkte CP-06 instruction manual

JELLY BELLY Cotton Candy Maker instruction manual

JELLY BELLY

JELLY BELLY Cotton Candy Maker instruction manual

U-Line WineCaptain 3036WCWC Quick reference guide

U-Line

U-Line WineCaptain 3036WCWC Quick reference guide

Kuhn Rikon AUTO SAFETY MASTER OPENER Instructions for use

Kuhn Rikon

Kuhn Rikon AUTO SAFETY MASTER OPENER Instructions for use

OLDE MIDWAY SPIN1400 instruction manual

OLDE MIDWAY

OLDE MIDWAY SPIN1400 instruction manual

Sage Boss To Go Chill Cup Instruction book

Sage

Sage Boss To Go Chill Cup Instruction book

Centurion SL300 instruction manual

Centurion

Centurion SL300 instruction manual

Küchenprofi NAPOLI instructions

Küchenprofi

Küchenprofi NAPOLI instructions

Wilfa Carpe Diem operating instructions

Wilfa

Wilfa Carpe Diem operating instructions

Panasonic NC-SU403P operating instructions

Panasonic

Panasonic NC-SU403P operating instructions

Smeg MFF01 manual

Smeg

Smeg MFF01 manual

manuals.online logo
manuals.online logoBrands
  • About & Mission
  • Contact us
  • Privacy Policy
  • Terms and Conditions

Copyright 2025 Manuals.Online. All Rights Reserved.