manuals.online logo
Brands
  1. Home
  2. •
  3. Brands
  4. •
  5. Cisco
  6. •
  7. Conference System
  8. •
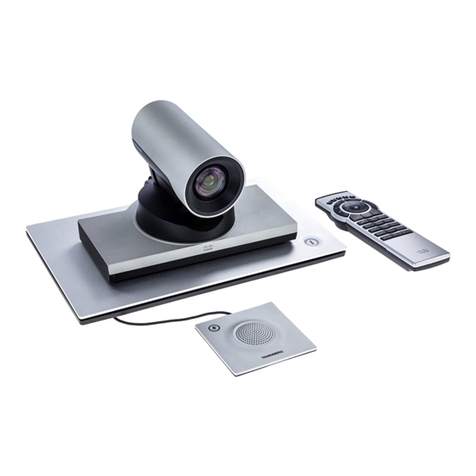
  9. Cisco Quick Set C20 User manual

Cisco Quick Set C20 User manual

Other manuals for Quick Set C20

10

This manual suits for next models

7

Other Cisco Conference System manuals

Cisco TelePresence SX10 Service manual

Cisco

Cisco TelePresence SX10 Service manual

Cisco SX80 User manual

Cisco

Cisco SX80 User manual

Cisco Quick Set C20 User manual

Cisco

Cisco Quick Set C20 User manual

Cisco Room Kit EQ User manual

Cisco

Cisco Room Kit EQ User manual

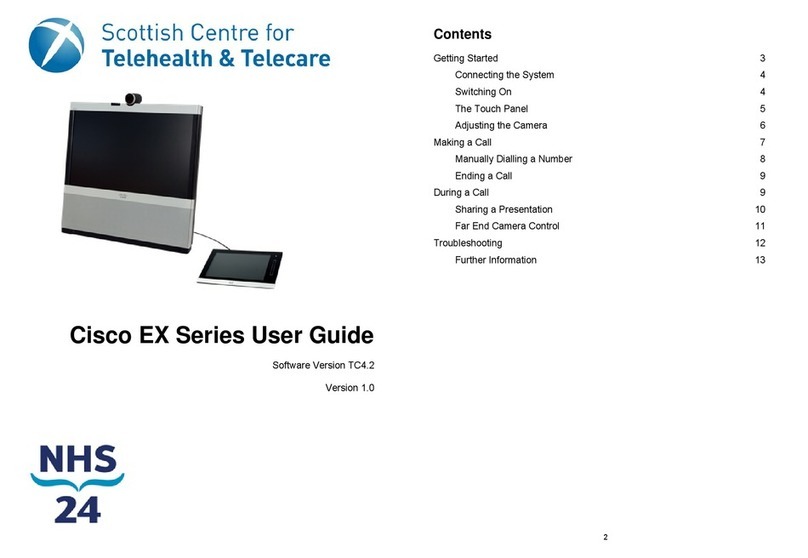
Cisco EX Series User manual

Cisco

Cisco EX Series User manual

Cisco Quick Set C20 Service manual

Cisco

Cisco Quick Set C20 Service manual

Cisco SX80 User manual

Cisco

Cisco SX80 User manual

Cisco EX90 User manual

Cisco

Cisco EX90 User manual

Cisco SX80 User manual

Cisco

Cisco SX80 User manual

Cisco TelePresenceSX10 User manual

Cisco

Cisco TelePresenceSX10 User manual

Cisco TelePresence MXP Series Service manual

Cisco

Cisco TelePresence MXP Series Service manual

Cisco Quick Set C20 Service manual

Cisco

Cisco Quick Set C20 Service manual

Cisco MX200 G2 Service manual

Cisco

Cisco MX200 G2 Service manual

Cisco 7936 - IP Conference Station VoIP Phone Instruction Manual

Cisco

Cisco 7936 - IP Conference Station VoIP Phone Instruction Manual

Cisco TelePresence User manual

Cisco

Cisco TelePresence User manual

Cisco Webex Room Kit Mini User manual

Cisco

Cisco Webex Room Kit Mini User manual

Cisco DX650 User manual

Cisco

Cisco DX650 User manual

Cisco TelePresence SX20 User manual

Cisco

Cisco TelePresence SX20 User manual

Cisco TelePresence Profile 55 User manual

Cisco

Cisco TelePresence Profile 55 User manual

Cisco CTS 1000 - TelePresence System 1000 Video... Instruction Manual

Cisco

Cisco CTS 1000 - TelePresence System 1000 Video... Instruction Manual

Cisco ?mi telepresence User manual

Cisco

Cisco ?mi telepresence User manual

Cisco Profile Series User manual

Cisco

Cisco Profile Series User manual

Cisco Quick Set C20 User manual

Cisco

Cisco Quick Set C20 User manual

Cisco 3500 MCU User manual

Cisco

Cisco 3500 MCU User manual

Popular Conference System manuals by other brands

Jabbla Tellus 6 operating instructions

Jabbla

Jabbla Tellus 6 operating instructions

LY International Electronics H-9500 Series Installation and operating manual

LY International Electronics

LY International Electronics H-9500 Series Installation and operating manual

RADVision Scopia XT1000 user guide

RADVision

RADVision Scopia XT1000 user guide

AT&T MERLIN LEGEND Reference

AT&T

AT&T MERLIN LEGEND Reference

Polycom RealPresence Group Series setup sheet

Polycom

Polycom RealPresence Group Series setup sheet

ProSoft Technology AN-X4-AB-DHRIO user manual

ProSoft Technology

ProSoft Technology AN-X4-AB-DHRIO user manual

Sony PCS-I150 Operation guide

Sony

Sony PCS-I150 Operation guide

Middle Atlantic Products VTC Series instruction sheet

Middle Atlantic Products

Middle Atlantic Products VTC Series instruction sheet

AVT MAGIC AC1 Go Configuration guide

AVT

AVT MAGIC AC1 Go Configuration guide

Prentke Romich Company Vanguard Plus Setting up and using

Prentke Romich Company

Prentke Romich Company Vanguard Plus Setting up and using

Speakerbus iD 712 user guide

Speakerbus

Speakerbus iD 712 user guide

Trelleborg SafePilot CAT PRO user guide

Trelleborg

Trelleborg SafePilot CAT PRO user guide

Sennheiser ADN instruction manual

Sennheiser

Sennheiser ADN instruction manual

ADTRAN NetVanta 7100 Configuration guide

ADTRAN

ADTRAN NetVanta 7100 Configuration guide

AINA PTT Voice Responder quick guide

AINA

AINA PTT Voice Responder quick guide

Yamaha ProjectPhone PJP-100H owner's manual

Yamaha

Yamaha ProjectPhone PJP-100H owner's manual

vissonic VLI Series user manual

vissonic

vissonic VLI Series user manual

Panasonic KX-VC500 user manual

Panasonic

Panasonic KX-VC500 user manual

manuals.online logo
manuals.online logoBrands
  • About & Mission
  • Contact us
  • Privacy Policy
  • Terms and Conditions

Copyright 2025 Manuals.Online. All Rights Reserved.

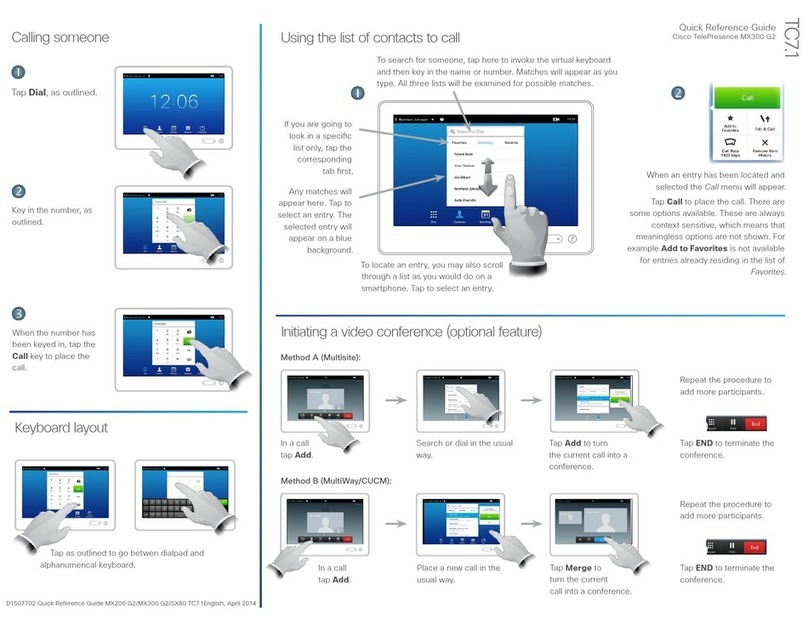
PLACING A CALL USING THE NAME, NUMBER OR ADDRESS
Tap Call.Tap the Search or Dial eld ()

This will produce the virtual keyboard. Tap ABC
to switch to the QWERTY keyboard and tap
123 to switch to the numeric keyboard.
Key in the name, number or address.
USING HISTORY
History lists the received, placed and missed
calls since the last time the list was cleared.
Tap History to
produce the list...
...then tap
the entry.
You will now be able to:
• Call the entry by tapping Start.
• Optional feature: Add the entry to a
video conference with several partici-
pants.
• Add the entry to as a Favorite.
• Edit the entry information and then place
the call.
• Change the call rate default settings.
• Remove the entry from the list
• Clear the entire list (see overleaf).
Tap
USING DIRECTORY
The Directory serves as your corporate
phone book. This directory cannot be edited
by you. You may, however, copy entries to
your list of favorites and edit them there.
Tap Contacts (if needed) and then tap
Directory. The directory is typically organized
as folders.
Tap a folder () to show its contents, scroll
() if needed to locate a folder or an entry
within a folder.
Once located, use it in the same way as with
the history list.
USING FAVORITES
Favorites is your own shortlist of contacts
you frequently call or otherwise want to have
easy access to.
To add someone to the Favorites, locate the
person (or location) in Directory or History
and tap that entry (). This will produce a
dialog box which allows you to tap Add to
Favorites ().
You may now edit the entry, if needed—just
tap a eld and the keyboard will be produced.
Tap Save to put changes into eect.
SEARCHING
You may search for entries (numbers or
URIs). Searches will be conducted within
all the folders, i.e. within the Favorites, the
Directory and the History.
Tap in the Search or Dial eld and key in the
name, URI or number. Matches will appear as
you search.
Once located, tap the entry to call, edit or
add to your list of favorites.
Note! When searching within the corporate
directory, the search will apply to the current
directory folder and its subfolders only. To go
one level up, tap . To make the search
apply to the entire corporate directory, do not
enter (tap) any folder before the search is
commenced.
VIDEO CONFERENCE I
Calling several to initiate a video conference
is an optional feature. If your system permits it
you may set up a list of several particpants to
call and then call them all in one go.
1. Enter a number or URI, or pick an entry
from the Directory, the list of Favor-
ites, or from the History.
2. Tap Add to add the entry to the list of
participants to be called. The entry will
appear along the bottom line of the
touch pad, as outlined.
3. Repeat the procedure to add more
participants. The maximum number of
participants possible will depend on
your system conguration.
4. When all have been added, tap to
call them all.
VIDEO CONFERENCE II
While in a call you may add participants
provided that your system permits to do so.
1. Tap Add as outlined ().
2. Select whom to call ().
3. Tap START to include this participant in
the meeting ().
4. Repeat the process by adding more, if
needed.
D14807.04 TC 5.1 Feb. 2012

Quick Reference Guide
Cisco TelePresence Systems
Prole Series / Codecs C Series
Quick Set C20/SX20 Quick Set/ MX200/MX300
TC5.1
Read more in the complete user
guide, available separately for
download.
When set to Do Not Disturb, ringtones are
muted and incoming calls are shown as
missed calls when you deactivate it. You may,
however, place calls as much as you like. To
activate this feature, press the icon in the
upper left corner. Press again to deactivate.
You may also hide the Do Not Disturb poster
by tapping Hide.
DO NOT DISTURB
In MultiSite and in Point-to-Point calls
with presentation running, you may alter
the layout on the screen. Tap More ()
followed by Layout ().
Select your preferred layout.
LAYOUT CONTROL
You may be urged to enter touch tones
(DTMF) during a call, typically to reach
extensions or to provide a pin code. Tap
Touch Tones.
Tap anywhere outside the pad to exit.
TOUCH TONES DTMF
You may deactivate the microphone for
privacy reasons, if needed ().
Tap as outlined () to adjust the sound
volume.
SOUND MATTERS
Assume that you are in a call and that
someone else calls you.
You may now accept and put the current on
hold; accept and end current; decline the
incoming call; or just ignore it.
If you put someone on hold, tapping
Resume will enable you to:
• Tap Swap to put the other on hold
instead.
• Tap Transfer to connect the one on
hold to somebody else.
• Tap Join to include the one on hold in
the current call in order to turn it into a
conference, or to expand an ongoing
conference. This is an optional
feature, that, if available, will act in lieu
of the optional conferencing feature
described overleaf.
Note that if you have set up a conference
by means of the Join feature, each
participant must actively disconnect own
equipment when the conference is over.
JOIN AND TRANSFER
In a call, you may share sources connected
to your video system. The sources are
initially named PC, DVD, Document
camera and Secondary camera, but
they may have been renamed by your
administrator.
To share a source, make sure the source
is connected and tap Presentation ().
Scroll horizontally, as outlined, to locate the
source ().


Tap Present to start sharing contents and
tap Present followed by Stop Presenting
to stop sharing contents.
SHARING PRESENTATIONSSELFVIEW & CAMERA CONTROL
To check how you appear on the screen,
either tap the Selfview icon as shown. To
adjust, tap Camera control next to it.
Expand menu, as shown, if needed.
Adjust zoom and pan, if required.
Tap anywhere outside the menu to exit
To set ringtones and sound, tap More
() followed by Settings (). Then tap
Ringtone & Sound Settings ().



Set Keytones to On or O, the Ringtone
volume and select the ringtone of your
choice. Tap Exit to go back.
RINGTONES & SOUNDS
D14807.04 TC 5.1 Feb. 2012
To clear History,
scroll as outlined
beyond what
appears to be the
top of the list.
A Clear List
button will then
appear.
CLEAR HISTORY
Copyright © 2010–2012 Cisco Systems, Inc. All rights reserved