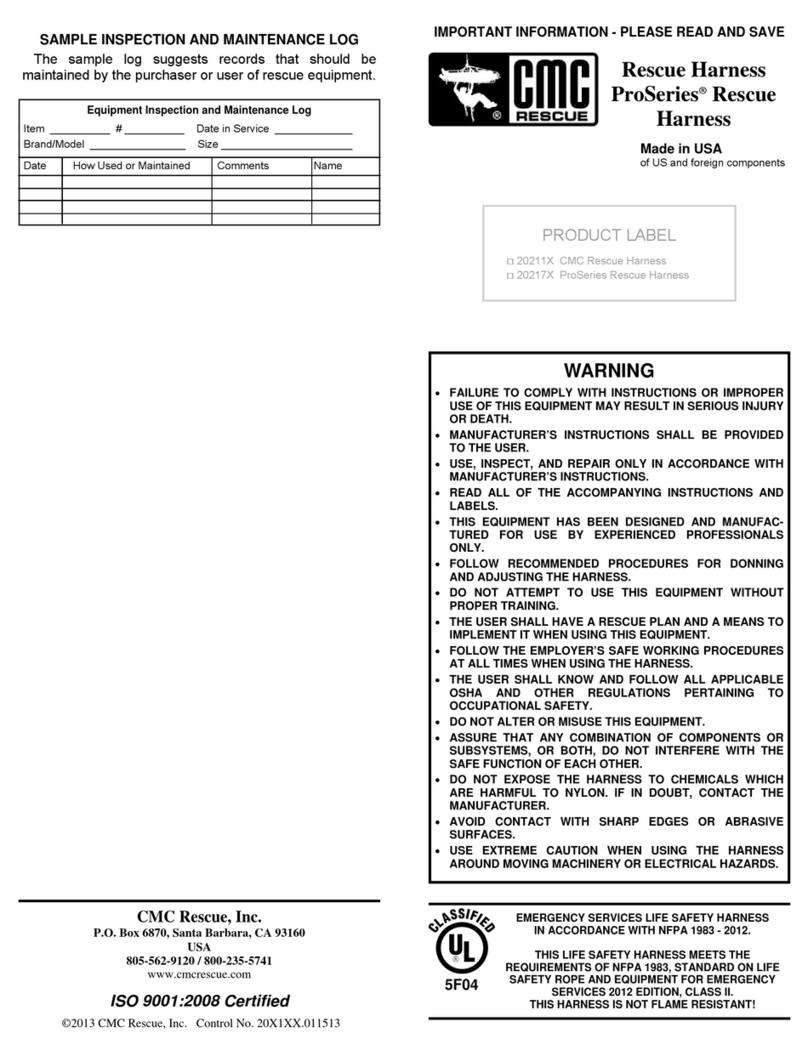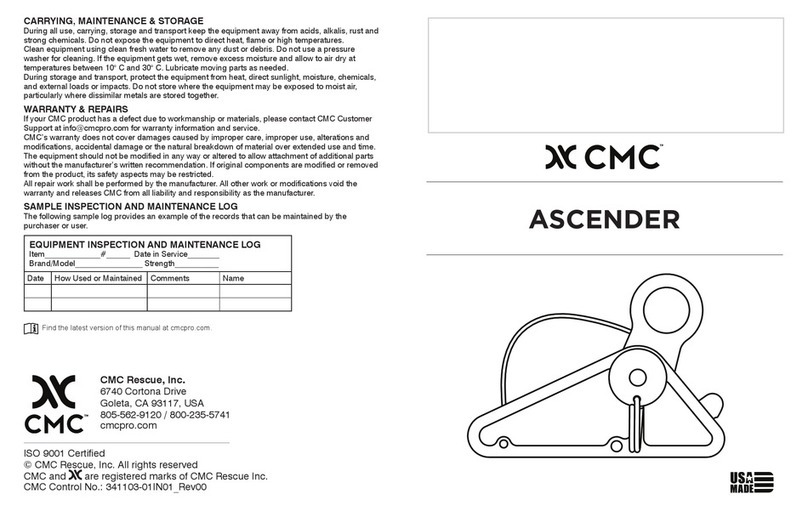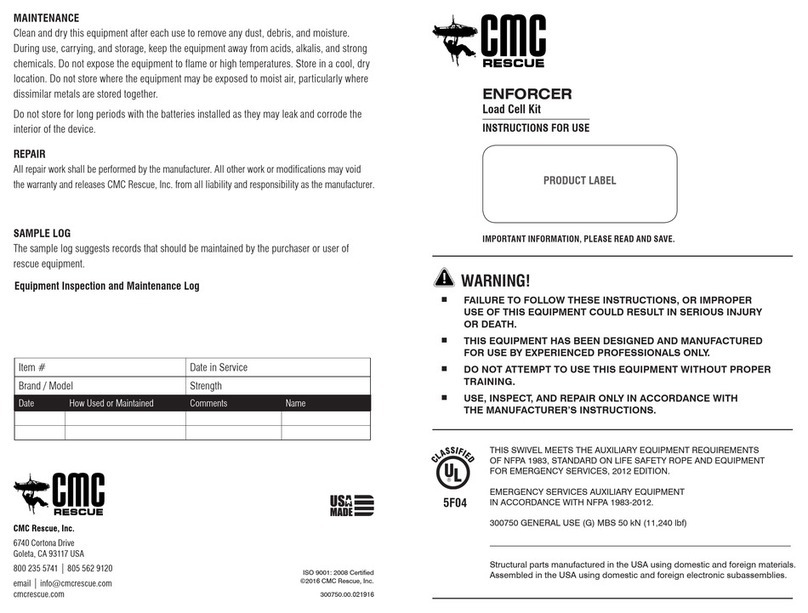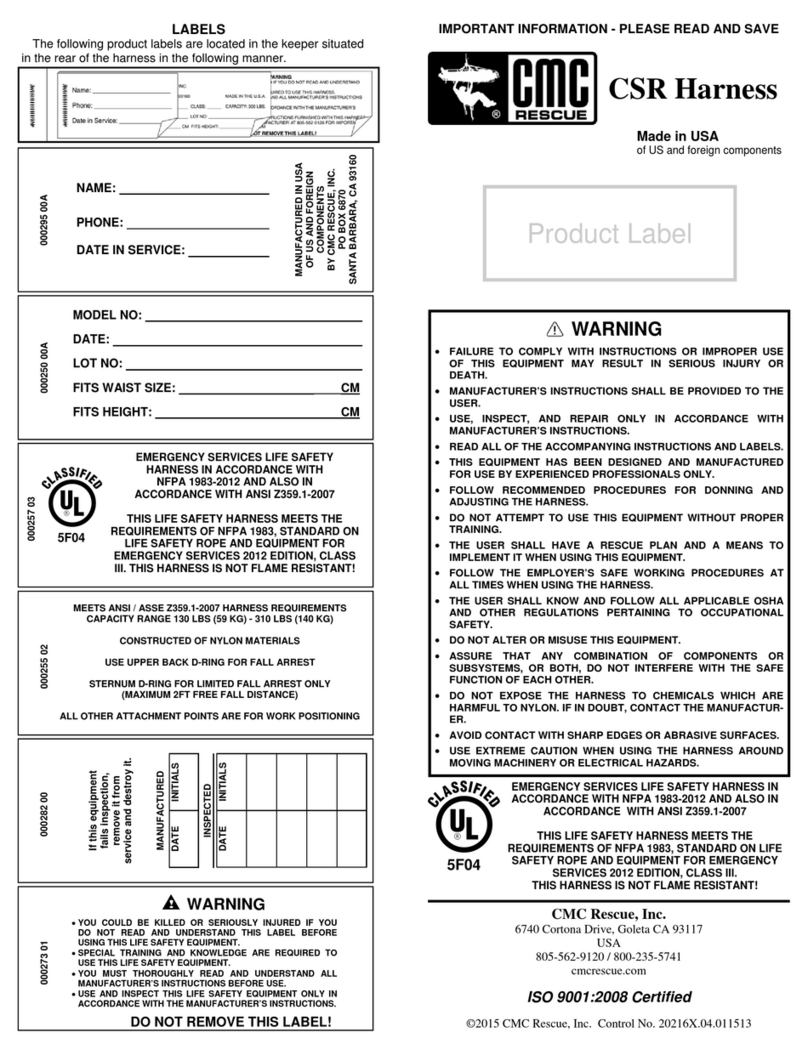
USER INFORMATION
User Information shall be provided to the user of the product. NFPA Standard 1983, incorporated
into the 2022 edition of NFPA 2500 recommends separating the User Information from the equipment
and retaining the information in a permanent record. The standard also recommends making a copy
of the User Information to keep with the equipment and that the information should be referred to
before and after each use.
Additional information regarding life safety equipment can be found in NFPA 1500 and NFPA 1858
and NFPA 1983, incorporated in the 2022 edition of NFPA 2500.
LIFESPAN / INSPECTION / RETIREMENT
The equipment has a lifespan of 10 years from the date of manufacture shown on the product label.
The type of use, intensity of use, and environment of use are all factors in determining serviceability
of the equipment. A single exceptional event can be cause for retirement after only one use, such as
exposure to sharp edges, extreme temperatures, chemicals, or harsh environments. Any concerns
about its safe use is cause for retirement. Remove retired equipment from service and destroy it to
prevent further use.
The equipment must be retired when:
• It fails to pass inspection.
• It fails to function properly.
• It has illegible product labels or markings.
• It shows signs of damage or excessive wear.
• It has been subjected to shock loads, falls, or abnormal use.
• It has been exposed to harsh chemical reagents.
• It has an unknown usage history.
• You have any doubt as to its condition or reliability.
• When it becomes obsolete due to changes in legislation, standards, technique or incompatibility
with other equipment.
Inspect the equipment according to your department’s policy for inspecting life safety equipment.
CMC recommends a detailed inspection by a competent person at least once every 12 months
depending on current regulations and conditions of use. Record the date, inspector name, and
inspection results in the equipment log as well as any other relevant information to track the usage
history.
Before each use, the user should:
• Conrm the equipment is functioning properly.
• Verify the presence and legibility of the product labels and markings.
• Check soft components for cuts, worn or frayed areas, broken bers, soft or hard spots,
discoloration, or melted bers. Check the stitching for pulled threads, abrasion, or breaks.
• Check hard components for excessive wear or indications of damage such as deformation,
corrosion, sharp edges, cracks, or burrs. Minor nicks or sharp spots may be smoothed with
emery cloth or similar.
• Check for the presence of dirt or foreign objects that can affect or prevent normal operation
such as grit, sand, rocks, and debris.
During Each Use, the user should:
• Conrm all pieces of equipment in the system are correctly positioned with respect to each
other.
• Monitor the condition of the equipment and its connections to other equipment in the system.
• Do not allow anything to interfere with the operation of the equipment or its components.
• Prevent foreign objects from interfering with moving parts.
LIMITATIONS AND PROPER USE
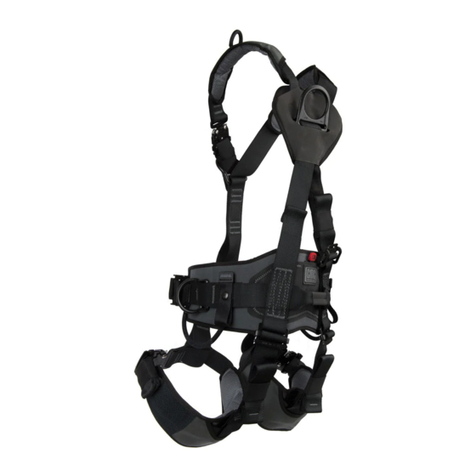
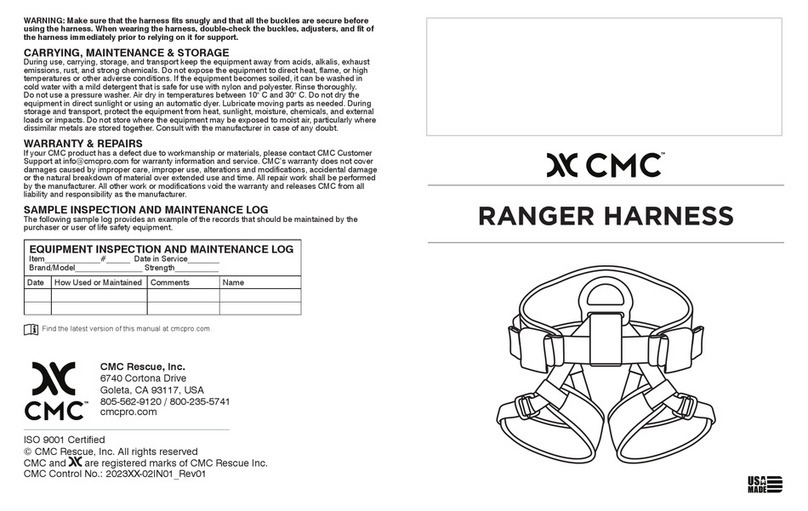
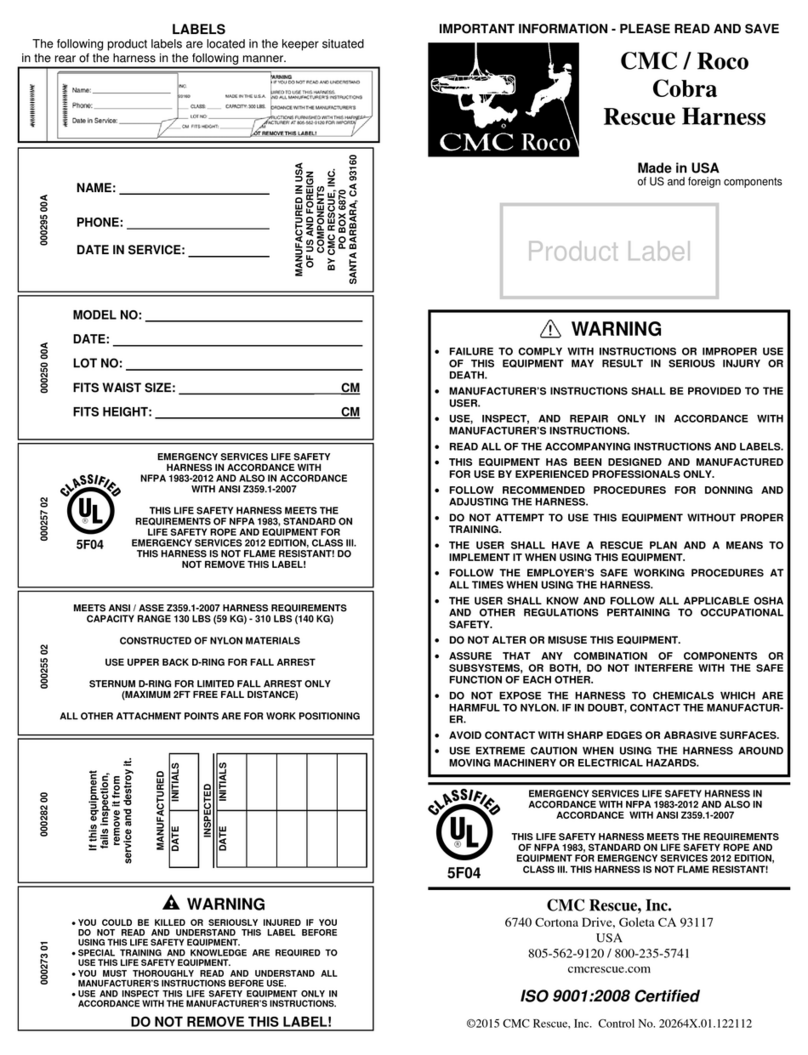
Rescue and work harnesses from CMC are designed to comfortably support the wearer, creating
a safe work platform. Depending on the intended use (rescue, rope access or fall protection)
harnesses are tested to specic standards set by the applicable industry. All front and back D-ring
connection points are dynamically and statically tested to this standard. The side D-rings are tested
as pairs in the manner of use. For ascending, descending, and static belays, use a carabiner
to connect directly to the front, waist D-ring. This attachment point can accomodate multiple
carabiners.
CMC warns against using the equipment around moving machinery and electrical hazards. When
using this harness, follow best practices for avoiding high impact falls. Always keep the safety line
(belay) above the wearer and keep the slack in the safety line to a minimum. To ensure the safety
and comfort of your harness, make sure it is properly sized and adjusted per the instructions below.
PUTTING ON YOUR HARNESS
1. Loosen the adjusting buckle on each side of the waist belt to make the waist larger (one or both
waist quick-connect buckles may be disconnected to facilitate donning the harness).
2. Holding the harness by the right shoulder strap, unhook the shoulder and thigh quick-connect
buckles. With the shoulder strap in the right hand, step through the waist belt.
3. Pull the waist belt up around your waist while sliding the shoulder strap over your right shoulder
(re-connect the waist buckles if necessary).
4. Tighten both waist straps until the waist is snug, and the front D-ring is centered. Fold the ends
of the waist straps under the Web-Keepers™ and secure them tightly.
5. Connect the shoulder strap quick-connect buckle.
6. Adjust the shoulder straps by sliding the webbing through the adjusting buckle until the straps
are snug.
7. Connect the thigh quick-connect buckles and adjust until snug.
An optional donning technique is to leave the shoulder strap connected and disconnect either the
left or right waist belt quick-connect buckle. Step through the space between the connected side of
the waist belt and the leg loop while placing the shoulder straps over your head.
A suspension test should be carried out in a safe place prior to putting the harness in service. A
suspension test will verify that the harness is the correct size, has sufcient adjustment and is of an
acceptable comfort level for the intended use.
WARNING: Make sure the straps are snug. This increases the comfort when sitting in the
harness and helps prevent the quick-connect buckles from disconnecting. When wearing
the harness, double check the buckles, adjusters, and t of the harness immediately prior to
relying on it for support.
ATTACHMENT POINTS
• The dorsal D-ring is the attachment point accommodates operations where a dorsal attachment
point is warranted
• The front waist D-ring is the primary rescue/work positioning attachment point. It allows the user
to be in a sitting position which provides the most comfort and freedom of movement.
• The front sternum D-ring holds the user in a more upright position which may provide easier
access during a vertical entry or exit.
• The side D-rings are for work positioning and must always be used in pairs.
To prevent roll out when using carabiners, use only locking models. If using manual locking
carabiners, verify that they are locked before use.
CARRYING, MAINTENANCE & STORAGE
During all use, carrying, storage, and transport keep the equipment away from acids, alkalis, exhaust
emissions, rust and strong chemicals. Do not expose the equipment to direct heat, ame, or high
temperatures or other adverse environmental conditions. If the equipment becomes soiled, it can
be washed in cold water with a mild detergent that is safe for use with nylon and polyester. Rinse
thoroughly. Do not use a pressure washer. Air dry in temperatures between 10° C and 30° C. Do not
dry the equipment in direct sunlight or using an automatic dyer. Lubricate moving parts as needed.
During storage and transport, protect the equipment from heat, direct sunlight, moisture, chemicals,
and external loads or impacts. Do not store where the equipment may be exposed to moist air,
particularly where dissimilar metals are stored together. Consult with the manufacturer in case of any
doubt.
