UNITED KINGDOM • www.clasohlson.co.uk
Ver. 20221110
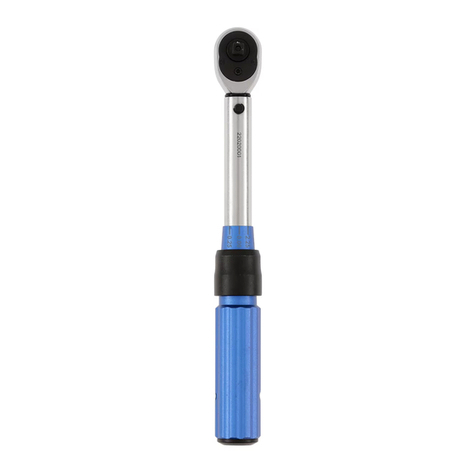
1/2"Torque Wrench
Art.no 41-2680 Model GS150W2
Please read theentire instruction manual before using theproduct and
then save it for future reference. We reserve theright for any errors in
text or images and any necessary changes made to technical data.
If you experience any technical problems or have questions, please
contact our customer service team (address on theback).
Safety
• Always release thespring tension after use by setting thetorque
wrench to its lowest torque setting.
• Never use thetorque wrench to undo nuts, bolts or other fasteners
– exceeding themaximum torque limit whilst loosening afastener
could damage thewrench and affect its accuracy for future use.
• Never continue tightening once thedesired torque setting has
been reached.
• Never set thetorque wrench to asetting higher or lower than
theworking torque range of thewrench (40–220 Nm).
• The torque wrench should be treated as aprecision instrument.
Handle it carefully and store it in aclean, dry place where there is
no risk of it sustaining damage.
Product description
1. Socket release button – depress
to attach/detach asocket/adapter/
extension bar.
2. Forward/Reverse switch to select clock-
wise or anticlockwise torque control.
3. Scale inNm (Newton metres)
4. Locking ring – pull down to unlock
thehandle.
5. Handle – twist to set thetorque.
6. 125 mm extension bar
7. 1/2" (F) to 3/8" (M) adapter
8. Minor scale
9. Major scale
10.Centre line
11.Top of thehandle
Instructions for use
• Always refer to themanufacturer’s recommended torque settings
and tightening sequences.
• Make sure that thethreading on thefastener to be tightened is free
from dirt and other contaminates.
• Tighten thefastener in asmooth and continuous motion until
aclick is heard and felt. At low torque settings, theclick can be felt
less noticeably than at high torque settings. Test using thewrench
on both low and high torque settings to familiarise yourself with
thefeel of thedifferent clicks.
Example: Setting atorque of 125Nm
210 220
200
180
160
140
120
190
170
150
130
0.0
1.0
9.0
N.m
210 220
200
180
160
140
120
190
170
150
130
5.0
4.0
6.0
N.m
Pull thelocking ring (4) down while
twisting thehandle. Twist thehandle
until thetop edge (11) is in line with
the120 Nm mark on themajor
scale (9). Make sure that the0.0
mark on theminor scale (8) is in line
with thecentre line (10).
Twist thehandle five
graduations on theminor
scale until thecentre line
is aligned with the 5.0Nm
mark.
Note:
Always release thespring tension after use by setting thetorque
wrench to its lowest torque setting.
Cleaning and care
Cleaning
Wipe thetorque wrench clean using aclean dry cloth. Never immerse
thewrench in any kind of cleaning fluid, doing so will affect
thelubrication of theinternal mechanism.
Calibration
In order to ensure thecorrect operation and accuracy of thetorque
wrench, it should be calibrated regularly. We recommend that thewrench
is calibrated at least every 12 months or more frequently depending on
how often it is used.
Responsible disposal
The product should be disposed of in accordance with local regulations.
If you are unsure how to proceed, contact your local council.
Specications
Working range 40–220Nm
Accuracy 3 %
Square drive 1/2"
Length 510mm
Conversion table
From To Multiply by
cNm in-lb 0.0885
cNm ft-lb 0.00737
cNm Nm 0.01
Nm in-lb 8.85074
Nm ft-lb 0.73756
Nm kg-cm 10.1972
Nm kg-m 0.10197
Nm cNm 100
kg-cm in-lb 0.86796
kg-cm ft-lb 0.07233
kg-cm Nm 0.09806
kg-m in-lb 86.7961
kg-m ft-lb 7.23301
kg-m Nm 9.80665
210 220
200
180
160
140
120
100
80
60
40
190
170
150
130
110
90
50
1.0
0.0
9.0
70
TORQUE
N.m
1 3 5
67
42
210 220
200
180
160
140
120
100
80
60
40
190
170
150
130
110
90
50
70
0.0
1.0
9.0
8
10
11
9

