manuals.online logo
Brands
  1. Home
  2. •
  3. Brands
  4. •
  5. Copernicus
  6. •
  7. Batteries Charger
  8. •
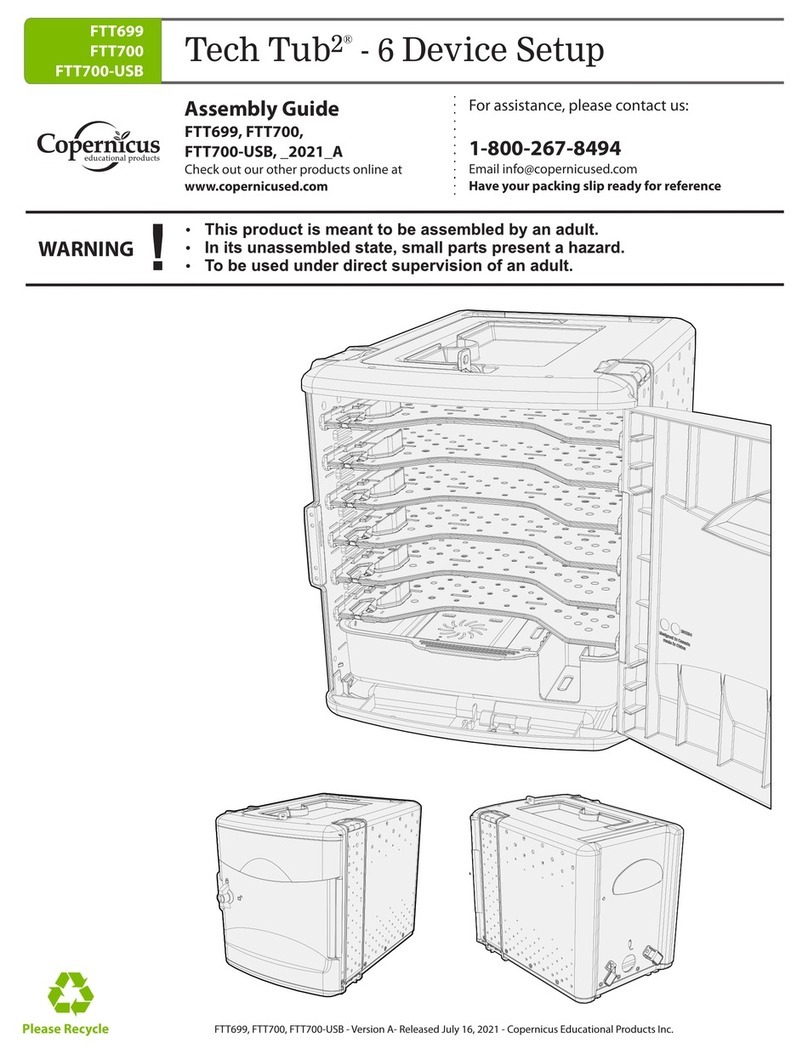
  9. Copernicus FTT706 User manual

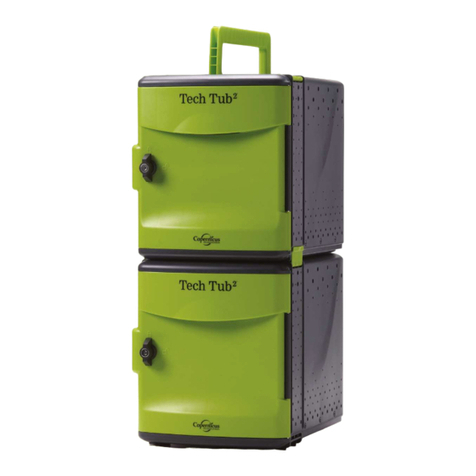
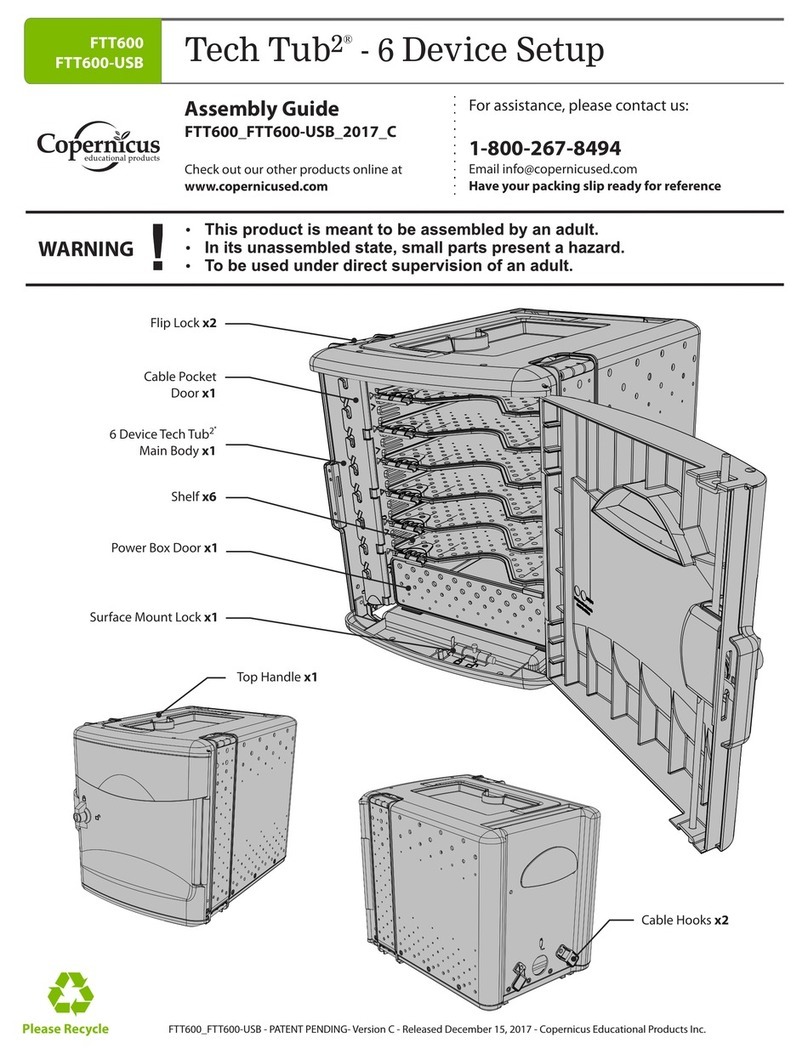
Copernicus FTT706 User manual

FTT706
FTT2010
FTT2010-USB
FTT2010-USBAUS
T
ec
h
Tub
2
®
T
r
olley
Assembly Guide
FTT706_2010_2010-USB_2010-USBAUS_2020_A
6 Device Trolley
(FTT706)
10 Device Trolley
(FTT2010, FTT2010-USB,
FTT2010-USBAUS)
Please Recycle
FTT706_2010_2010-USB_2010-USBAUS - Version A - Released August 13, 2020 - Copernicus Educational Products Inc.
2
FTT706_2010_2010-USB_2010-USBAUS - Version A - Released August 13, 2020 - Copernicus Educational Products Inc.
FTT706
FTT2010
FTT2010-USB
FTT2010-USBAUS
T
ec
h
Tub
2
®
T
r
olley
1
Year
Component
Warranty
Life
Time
Frame
Warranty
Life
Time
Tech
T
ub
2
®
Warranty
3
FTT706_2010_2010-USB_2010-USBAUS - Version A - Released August 13, 2020 - Copernicus Educational Products Inc.
Power Strip
Read your power strip electrical specifications. Only plug in devices that are approved for use with this
power strip. Connect the supplied power strip directly to a wall outlet.
Do not connect to another
power strip or use an extension cord.
Unplug when not in use.
Do not leave this product plugged in
for more than 72 consecutive hours.
Turn off power strip before unplugging.
Please read the warnings below for important safety information regarding your product. Failure to
read these warnings or to follow the instructions below could result in personal injury or damage to
your product that could void your warranty.
Small
Parts
In its unassembled state, this product contains parts that can be hazardous to small children. This
product should be assembled by an adult.
Adult
Supervision
This product is to be used under the supervision of an adult.
This product is intended for indoor use only. To reduce the risk of fire or electric shock, do not expose
this product to rain or moisture. The internal components are not sealed from the environment.
Indoor Use
Only
Specifications
Electronic
Equipment
Read the electrical specifications of any electronic equipment you are using with your Copernicus
products. Failure to read these specifications and follow their instructions could result in damage to your
equipment or personal injury.
Cable Trip
Hazard
Ensure that any cables extending across the floor to your product are properly bundled and marked to
avoid tripping or falling which may lead to personal injury.
Do not install or use the electrical components of this unit during a lightning storm.
Electrical Shock
Climb Hazard
Do not climb on, hang from or suspend objects from any components of your product unless otherwise
specified.
Warning! Hazard Risks!
4
FTT706_2010_2010-USB_2010-USBAUS - Version A - Released August 13, 2020 - Copernicus Educational Products Inc.
FTT706
T
ec
h
Tub
2
®
T
r
olley-
6
De
vice
STOP!
If you are building a FTT706
please follow this Assembly Guide
before following the Assembly Guide
that is included in your Tech Tub.
Please skip any steps that are marked
for FTT2010, FTT2010-USB or
FTT2010-USBAUS ONLY.
5
FTT706_2010_2010-USB_2010-USBAUS - Version A - Released August 13, 2020 - Copernicus Educational Products Inc.
FTT2010
FTT2010-USB
FTT2010-USBAUS
T
ec
h
Tub
2
®
Trolley- 10 Device
STOP!
If you are building a FTT2010,
FTT2010-USB or FTT2010-USBAUS
please follow this Assembly Guide
before following the Assembly Guide
that is included in your Tech Tub.
Please skip any steps that are
marked for FTT706
ONLY.
6
FTT706_2010_2010-USB_2010-USBAUS - Version A - Released August 13, 2020 - Copernicus Educational Products Inc.
erson Tas
!
Watch for These Helpful Symbols
This symbol denotes a 2-Person Task. For safety, please ensure that there are the
suggested number of people working on steps displaying this symbol.
Watch for this symbol throughout the Assembly Guide. Wherever you see it, pay close
attention. The symbol denotes a step needing extra attention to ensure it is done
correctly.
The star symbol highlights an advisory note.
Before You Begin
Lay out and identify all of the included parts.
The hardware has been packed together in one bag.
2-P k
Read the assembly guide over once to familiarize yourself with them.
Please note that in its unassembled state, this product contains parts that can be
hazardous to small children. This product should be assembled by an adult.
As You Assemble the Unit
Follow the steps in sequence.
Before beginning each step, find the part(s) that you need for that step.
Pay attention to the labels on the parts; they are there to help direct you at certain stages.
The title of each step states what you will be doing. Review the text and the pictures as you build the unit.
Tips for Assembly
!
7
FTT706_2010_2010-USB_2010-USBAUS - Version A - Released August 13, 2020 - Copernicus Educational Products Inc.
Before beginning, you should have:
Contents - Box 1
Trolley Handle
1x
Trolley Frame
1x
In Box 1
Hardware
Actual Size
M6 x 15mm
2x
M6 Acorn Nut
4x
C
M6 Washer
6x
M6 Lock Washer
4x
M6 Lock Nut
2x
Front Support
1x
F
M5 Washer
4x
M5 Lock Nut
4x
Tools
Not to Scale
Extension bracket
2x
Used only with
FTT2010
FTT2010-USB
FTT2010-USBAUS
Allen Key
(43281)
1x
8mm/10mm Hex Wrench
1x
FTT2010-USB
FTT706
FTT2010
FTT2010-USBAUS
Tech Tub Trolley
2
®
A
B
D
G
E
8
FTT706_2010_2010-USB_2010-USBAUS - Version A - Released August 13, 2020 - Copernicus Educational Products Inc.
FT
T2010
T
ec
h
Tub
2
®
T
r
olley
FT
T706
T
ec
h
Tub
2
®
T
r
olley
FTT700 (
1x
)
Tech Tub 2®
6 Device
Main Body
1x
6 outlet
Power Strip
(25515)
1x
FTT1100 (
1x
)
Tech Tub 2®
10 Device
Main Body
1x
10 outlet
Power Strip
(255159)
1x
FT
T2010-USB
T
ec
h
Tub
2
®
T
r
olley
FT
T2010-USBAUS
T
ec
h
Tub
2
®
T
r
olley
FTT1100-USB (
1x
)
Tech Tub 2®
10 Device
Main Body
1x
10 Port USB Hub
(255144)
1x
USB “B” Cable
1x
Power Adapter
(255146)
1x
North American
power cord shown.
Power Cord
1x
FTT1100-USBAUS (
1x
)
Tech Tub 2®
10 Device
Main Body
1x
10 Port USB Hub
(255144-AUS)
1x
USB “B” Cable
1x
Power Adapter
(255146)
1x
Australian
power
cord shown.
Power Cord
1x
9
FTT706_2010_2010-USB_2010-USBAUS - Version A - Released August 13, 2020 - Copernicus Educational Products Inc.
Adjust Trolley Handle to the Correct Height
Adjust the Trolley Handle Into the Correct Position According to Your Model Number
FTT706
Handle can be in raised or lowered position.
How To Adjust Handle
To Adjust Handle Up:
Depress button at the bottom
and pull up on the handle.
FTT2010/ FTT2010-USB/ FTT2010-USBAUS
Handle MUST be in raised position.
To Adjust Handle Down:
Depress button at the top
and push down on the handle.
PRESS
PRESS
1
You will need: (Not to Scale)
Trolley Handle
1x
Trolley Frame
1x
OR
10
FTT706_2010_2010-USB_2010-USBAUS - Version A - Released August 13, 2020 - Copernicus Educational Products Inc.
F
G
F
G
B
Actual Size:
M6 Acorn Nut
A
ttach
the
T
ech
T
ub
2
®
t
o
the
T
r
olley
F
r
ame
Fasten Hardware Through Inside of Tech Tub
Fasten Extension Bracket to top Holes on Trolley Handle
Pay Attention to Orientation of Brackets When Installing Them Onto the Trolley Handle
!
Ensure the tabs on the base of the trolley are
fully
insert
ed
in
t
o
the
f
eet
on
the
T
ech
T
ub
2
®
.
3
FTT2010,
You will need: (Not to Scale)
Extension
Bracket
2x
Trolley Handle
1x
FTT2010-USB,
FT
T2010-USBAUS
ONLY
Trolley Frame
1x
M6 Washer
2x
M6 Lock Washer
2x
C
D
2x
2
FTT706
ONLY
Actual Size:
F
M5 Washer
2x
You will need: (Not to Scale)
Trolley Handle
1x
G
M5 Lock Nut
2x
Trolley Frame
1x
1
Fit Trolley Onto Back of Tech Tub
2
B
D
B
C
D
C
Longer stud
goes through
Trolley Handle
11
FTT706_2010_2010-USB_2010-USBAUS - Version A - Released August 13, 2020 - Copernicus Educational Products Inc.
A
ttach
the
T
ech
T
ub
2
®
t
o
the
T
r
olley
F
r
ame
Fit Trolley Onto Back of Tech Tub
Ensure the tabs on the base of the trolley are
fully
insert
ed
in
t
o
the
f
eet
on
the
T
ech
T
ub
2
®
.
Fasten Hardware Through Inside of top and
Bottom Tech Tub
4
FTT2010,
FTT2010-USB,
FTT2010-USBAUS
ONLY
Actual Size:
F
M5 Washer
4x
You will need: (Not to Scale)
Trolley Handle
1x
G
M5 Lock Nut
4x
Trolley Frame
1x
1
2
!
G
G
F
F
F
G
F
G
12
FTT706_2010_2010-USB_2010-USBAUS - Version A - Released August 13, 2020 - Copernicus Educational Products Inc.
E
A
3
F
ast
en
T
r
olley
Base
t
o
B
ottom
of
the
T
ech
T
ub
2
®
Insert Fasteners Through Trolley and Tech Tub Fasten Hardware From Inside Tech Tub
5
Actual Size:
M6 x 15mm
2x
C
M6 Washer
2x
M6 Lock Nut
2x
2
1
Tip Trolley Onto Back
E
E
C
C
A
A
13
FTT706_2010_2010-USB_2010-USBAUS - Version A - Released August 13, 2020 - Copernicus Educational Products Inc.
A
ttach
F
r
on
t
Suppor
t
t
o
Bott
om
of
T
ech
T
ub
2
®
Note the orientation of the Front
Support before installation.
6
Actual Size:
You will need: (Not to Scale)
B
M6 Acorn Nut
2x
C
M6 Washer
2x
Front Support
1x
D
M6 Lock Washer
2x
Tighten all hardware but do not over tighten.
!
B
D
C
B
D
C
Tech Tub
2
®
- 6 and
10
Device
Setup:
Please follow the assembly guide found in the tub
shipping box to complete your Tech Tub
2
®
setup.

This manual suits for next models

7

Other Copernicus Batteries Charger manuals

Copernicus Tech Tub2 FTT706 User manual

Copernicus

Copernicus Tech Tub2 FTT706 User manual

Copernicus Tech Tub TEC601C User manual

Copernicus

Copernicus Tech Tub TEC601C User manual

Copernicus Tech Tub2 User manual

Copernicus

Copernicus Tech Tub2 User manual

Copernicus Tech Tub2 FTT699 User manual

Copernicus

Copernicus Tech Tub2 FTT699 User manual

Copernicus Tech Tub2 FTT1000 User manual

Copernicus

Copernicus Tech Tub2 FTT1000 User manual

Copernicus Tech Tub2 User manual

Copernicus

Copernicus Tech Tub2 User manual

Copernicus Tech Tub Premium User manual

Copernicus

Copernicus Tech Tub Premium User manual

Popular Batteries Charger manuals by other brands

Victron energy Orion-Tr Smart manual

Victron energy

Victron energy Orion-Tr Smart manual

Hilti NUTRON C 8-22 manual

Hilti

Hilti NUTRON C 8-22 manual

Wolf Garten ABC 36-03 Original operating instructions

Wolf Garten

Wolf Garten ABC 36-03 Original operating instructions

Suntactics sCharger-5 manual

Suntactics

Suntactics sCharger-5 manual

Hartig+Helling BL 506 operating instructions

Hartig+Helling

Hartig+Helling BL 506 operating instructions

AR I-CHARGE quick start guide

AR

AR I-CHARGE quick start guide

Larson Electronics SBC-2 manual

Larson Electronics

Larson Electronics SBC-2 manual

Code CORTEXJPOS CR2300 Quick start up guide

Code

Code CORTEXJPOS CR2300 Quick start up guide

Vimar ELVOX ZBA6 Connection and operating manual

Vimar

Vimar ELVOX ZBA6 Connection and operating manual

Mophie Juice Pack Boost user manual

Mophie

Mophie Juice Pack Boost user manual

BMZ 24555 series operating instructions

BMZ

BMZ 24555 series operating instructions

Motorola solutions IMPRES NNTN8845 user guide

Motorola solutions

Motorola solutions IMPRES NNTN8845 user guide

Panasonic CF-VCB201 operating instructions

Panasonic

Panasonic CF-VCB201 operating instructions

Bosch Standart Charger BCS220 Original operating instructions

Bosch

Bosch Standart Charger BCS220 Original operating instructions

Samsung EP-PA510 quick start guide

Samsung

Samsung EP-PA510 quick start guide

P.I.T. PH20-3.0A Operation manual

P.I.T.

P.I.T. PH20-3.0A Operation manual

Patriot PS5 user manual

Patriot

Patriot PS5 user manual

AEG BL 1218 Original instructions

AEG

AEG BL 1218 Original instructions

manuals.online logo
manuals.online logoBrands
  • About & Mission
  • Contact us
  • Privacy Policy
  • Terms and Conditions

Copyright 2025 Manuals.Online. All Rights Reserved.