manuals.online logo
Brands
  1. Home
  2. •
  3. Brands
  4. •
  5. Cornwell Tools
  6. •
  7. Tools
  8. •
  9. Cornwell Tools CTGCSGGA Product manual

Cornwell Tools CTGCSGGA Product manual

CTGCSGGA Rev. 2/01/18
CTGCSGGA
Continuous Shot
Air Grease Gun
Operating Instructions • Warning Information
• Parts Breakdown
Read this instruction manual carefully and understand all information before operating
this tool. • Always wear safety goggles (users & bystanders). • Extreme pressure may
cause whip hose to burst. Use only approved hoses and follow the hose instructions and
warnings. • This air operated Grease Gun can develop high pressures - up to 3,800 psig.
Use safety glasses and gloves while operating the gun. Keep hands clear of the exposed
rubber portion of the hose while operating the gun with hose. • If fluid appears to penetrate
the skin, seek immediate medical attention. Do not treat as simple cut. • Always wear
hearing protection (including bystanders). • Be sure the trigger is not depressed when
attaching the Gun to an air inlet hose. •Avoid accidental starting. • Hold the hose only by
the metal spring guards on the end. • Do not allow the hose to kink. Do not bend the hose
in a tight radius. •Replace the hose at first sign of wear, kink or damage to the outside
jacket. •Use only high pressure Grease Gun as a replacement. •This product may contain
one or more chemicals known to the State of California to cause cancer and birth defects
or other reproductive harm. Wash hands thoroughly after handling. •Failure to heed these
warnings may result in serious or fatal personal injury, property damage or both.
Pump Ratio (max): ...............................40:1
Output per Stroke: .............................288 ml
Pneumatic Inlet Pressure (min): .................40 PSIG
Pneumatic Inlet Pressure (max): ................100 PSIG
Grease Output Pressure: ......................3,800 PSIG
Grease Reservoir Capacity: .......................14 oz
Operating Temperature Range: ..................14˚-104˚
Weight (empty): ...............................3.5 lbs
Lubricant up to NLGI: ........................ #2 Grease
Pneumatic Port Inlet: .........................1/4" NPT
Grease Port Outlet: ...........................1/8" NPT
SPECIFICATIONS
High pressure hazard. • Do not
exceed 40 psig with hose or 100
psig with solid extension. To do so
may cause personal injury.
The Cornwell Air Operated
Continuous Shot Grease
Gun is a fully pneumatic
powered tool. The gun is
designed for lubrication of
grease points in automotive
and truck applications. The
gun has a single action
pump that delivers grease
each time the trigger is
depressed and the plunger
moves forward.
WARNING
WARNING
Copyright © Professional Tool Products, 2018
All rights reserved
CTGCSGGA 2 02/01/18
Ref. # Item # DESCRIPTION QTY
1 RS901104 Screw 4
2 RSCSGGA02 Finger Grip 1
3 RSCSGGA03 O-Ring 2
4 RSCSGGA04 Bumper 1
5 RSCSGGA05 Spring 1
6 RSCSGGA06 Spring 1
7 RS901111 Filler Plug 1
8 RS901607 Air Vent Valve 1
9 RSCSGGA09 Ball 1
10 RSCSGGA10 Spring 1
11 RS901108 Adapter 1
12 RSCSGGA12 Housing Cap 1
13 RSCSGGA13 Gasket 1
14 RSCSGGA14 Piston Set 1
15 RSCSGGA15 Rubber Valve 1
Ref # Item# DESCRIPTION QTY
16 RSCSGGA16 Piston Rod 1
17 RSCSGGA17 Plunger Lock 1
18 RSCSGGA18 Plunger 1
19 RSCSGGA19 Washer 1
20 RSCSGGA20 Long Spring 1
21 RSCSGGA21 Air Inlet 1
22 RS901612 Switch 1
23 RSCSGGA23 Pin 1
24 RSCSGGA24 Trigger 1
25 RSCSGGA25 Container Tube 1
26 RSCSGGA26 End Cap 1
27 RSCSGGA27 Handle 1
28 RS901608 6" Hex Spout 1
29 RSCSGGA29 18" Nylon Hose 1
PARTS BREAKDOWN - CTGCSGGA
1
2
3
4
5
6
7
8
9
10
11
13
12
14
16
17
18
19
24
25
26
27
23
22
21
15
28
29
20
CTGCSGGA 3 02/01/18
Operating Instructions • Warning Information • Parts Breakdown
It is the responsibility of the owner to make sure all personnel read this
manual prior to using the device. It is also the responsibility of the device
owner to keep this manual intact and in a convenient location for all to see
and read. If the manual or product labels are lost or not legible, contact
Cornwell Tools®for replacements. If the operator is not fluent in English,
the product and safety instructions shall be read and discussed with the
operator in the operator's native language by the purchaser/owner or his
designee, making sure that the operator comprehends its contents.
FEATURES AND FUNCTIONS
• Continuous grease feed with one trigger pull
• Heavy duty cast aluminum body for durability and long life
• 3 way loading - bulk, 14 oz. cartridge, filler pump
• Locking plunger for force priming the gun
• Bleeder valve for purging unwanted air
• Working pressure: 40 PSI - 100 PSI
• Includes 18" high press grease hose, and 6" bent metal spout
PROPER GREASE GUN USE
This Air Powered Continuous Shot Grease Gun was developed for the
specific purpose of dispensing grease by using pneumatic power.
The maximum rating listed in the specifications, should not
be exceeded.
This tool should only be used for its designed purpose and according to
the instructions in this manual.
GENERAL CAUTIONARY NOTES
Do not allow bystanders, children or other on-lookers in the work area as
they can cause distractions, which may lead to mistakes and accidents.
Carefully inspect the equipment for damaged, loose or missing parts. If the
unit is worn or damaged, do not use it and contact an authorized service
center for evaluation or repair.
The Continuous Shot Grease Gun must be primed after each refill or
grease cartridge change. You should also check the priming of the gun
before each use.
For best performance and to extend product life, add a few drops of air
tool oil through the air fitting at the bottom of the handle if gun begins to
cycle slowly or erratically.
CAUTION!
Air pockets in the cartridge will cause the gun to lose prime.
PRIMING THE CONTINUOUS
SHOT GREASE GUN
With the gun loaded with grease and the gun hooked to an air supply,
activate the trigger until grease flows from the hose or pipe. To relieve
air pockets, operate the air vent valve #8 while depressing the trigger. If
grease does not flow after 10-15 seconds of operation, remove the hose
or pipe and activate the trigger until grease flows from the hose/pipe
outlet. Make sure the bearing, fitting and lubrication line are clear and
free flowing before operating the gun. If the bearing, fitting or lubrication
line is blocked, the gun can stall.
REMOVING AN EMPTY
GREASE CARTRIDGE
Make sure that the Grease Gun is disconnected from air supply prior to
adding or removing the grease cartridge.
1. Pull the T-handle until the rod is fully extended. Hook the rod
into the rod notch in the end cap.
2. Unscrew the grease tube from the gun.
3. Carefully center the grease rod and eject the empty cartridge
from the grease barrel.
INSTRUCTIONS FOR
CARTRIDGE LOADING
Make sure that the Grease Gun is disconnected from air supply prior to
adding or removing the grease cartridge.
1. Pull the T-handle until the rod is fully extended, lock the rod into the
cap notch and remove the barrel assembly from the gun.
2. Turn T-handle 1/2 turn to lock the follower rod to the follower.
3. Remove the plastic cap from the grease cartridge and insert
the cartridge into the barrel assembly.
4. Remove the pull-tab from the grease cartridge.
5. Screw the barrel assembly on to the gun assembly.
6. Release the rod by centering the rod.
7. Push the rod by hand until the follower is inserted into the
grease cartridge. Then turn the T-handle 1/2 turn to unlock
the follower rod from the follower.
8. Prime the gun and remove any air pockets per the instructions
on priming the gun.
SUCTION FILLING
Make sure that the Grease Gun is disconnected from air supply prior to
adding or removing the grease cartridge.
1. Remove the barrel assembly from the gun.
2. Insert the open end of the barrel assembly into the grease bucket.
3. Pull the T-handle until it is fully to the rear and engage it in the rod
notch, making sure to keep the open end of the barrel well within
the grease.
4. When the barrel assembly is full of grease, screw it back on
to the gun assembly.
5. Release the rod by centering the rod.
6. Prime the gun and remove any air pockets per the instructions
on priming the gun.
USING A FILLER PUMP
Make sure that the Grease Gun is disconnected from air supply prior to
adding or removing the grease cartridge.
1. Attach the bulk load fitting to the bulk container.
2. Operate the filler pump.
3. When the T-handle and rod are fully extended (about 8-1/2"),
the barrel is full.
4. Remove the gun from the bulk load container.
5. Release the rod by centering the rod.
6. Prime the gun and remove any air pockets per the instructions
on priming the gun.
CTGCSGGA 4 02/01/18
WARRANTY
Cornwell Quality Tools Company (“Cornwell”) warrants this product against defects in material and workmanship for a period of ONE (1) YEAR from the date of original retail
purchase. Subject to the conditions and limitations set forth below, Cornwell will, at its option, either repair or replace any part of the product(s) that proves defective by reason
of improper workmanship or materials.
This warranty does not cover any damage to this product that results from accident, abuse, misuse, natural or personal disaster, or any unauthorized disassembly, repair, or
modification. Repairs, disassembly and modification are only authorized to be made by Cornwell or a Cornwell Authorized Warranty Center.
WARRANTY SERVICE
In order to have your tool repaired, return the tool to any Cornwell Authorized Warranty Center, freight prepaid. Please include a copy of your proof of purchase and a brief descrip-
tion of the problem. The tool will be inspected and if any part or parts are found to be defective in material or workmanship, they will be repaired free of charge, and the repaired
tool will be returned to you freight prepaid.
EXCLUSIONS AND LIMITATIONS
THIS WARRANTY AND THE REMEDIES SET FORTH ABOVE ARE EXCLUSIVE AND IN LIEU OF ALL OTHER WARRANTIES, REMEDIES AND CONDITIONS, WHETHER ORAL OR WRITTEN,
EXPRESS OR IMPLIED. CORNWELL SPECIFICALLY DISCLAIMS ANY AND ALL IMPLIED WARRANTIES, INCLUDING, TO THE EXTENT PERMITTED BY APPLICABLE LAW, ANY WARRANTIES
OF MERCHANTABILITY AND FITNESS FOR A PARTICULAR PURPOSE. IF CORNWELL CANNOT LAWFULLY DISCLAIM IMPLIED WARRANTIES UNDER THIS LIMITED WARRANTY, ALL
SUCH IMPLIED WARRANTIES ARE LIMITED IN DURATION TO THE DURATION OF THIS WARRANTY.
IN NO EVENT SHALL CORNWELL BE LIABLE TO THE PURCHASER OR TO THE USER OF A CORNWELL PRODUCT FOR ANY SPECIAL, INCIDENTAL OR CONSEQUENTIAL DAMAGES
BASED UPON BREACH OF WARRANTY, BREACH OF CONTRACT, NEGLIGENCE, TORT, OR ANY OTHER LEGAL THEORY. SUCH DAMAGES INCLUDE, WITHOUT LIMITATION, EXPENSES,
LOST REVENUES, LOST SAVINGS, LOST PROFITS, OR ANY OTHER INCIDENTAL OR CONSEQUENTIAL DAMAGES ARISING FROM THE PURCHASE, USE OR INABILITY TO USE THE
CORNWELL PRODUCT.
Some states do not allow the exclusion or limitation of incidental or consequential damages or exclusions or limitation on the duration of implied warranties or conditions, so the
above limitations or exclusions may not apply to you. This warranty gives you specific legal rights, and you may also have other rights that vary by state.
Repair kits and replacement parts are available for many Cornwell products, regardless of whether or not the product is still covered by a warranty plan.

Other Cornwell Tools Tools manuals

Cornwell Tools CAT-250AH User manual

Cornwell Tools

Cornwell Tools CAT-250AH User manual

Cornwell Tools CAT6000SD User manual

Cornwell Tools

Cornwell Tools CAT6000SD User manual

Cornwell Tools CTGSSAGG User manual

Cornwell Tools

Cornwell Tools CTGSSAGG User manual

Cornwell Tools CSE1100 User manual

Cornwell Tools

Cornwell Tools CSE1100 User manual

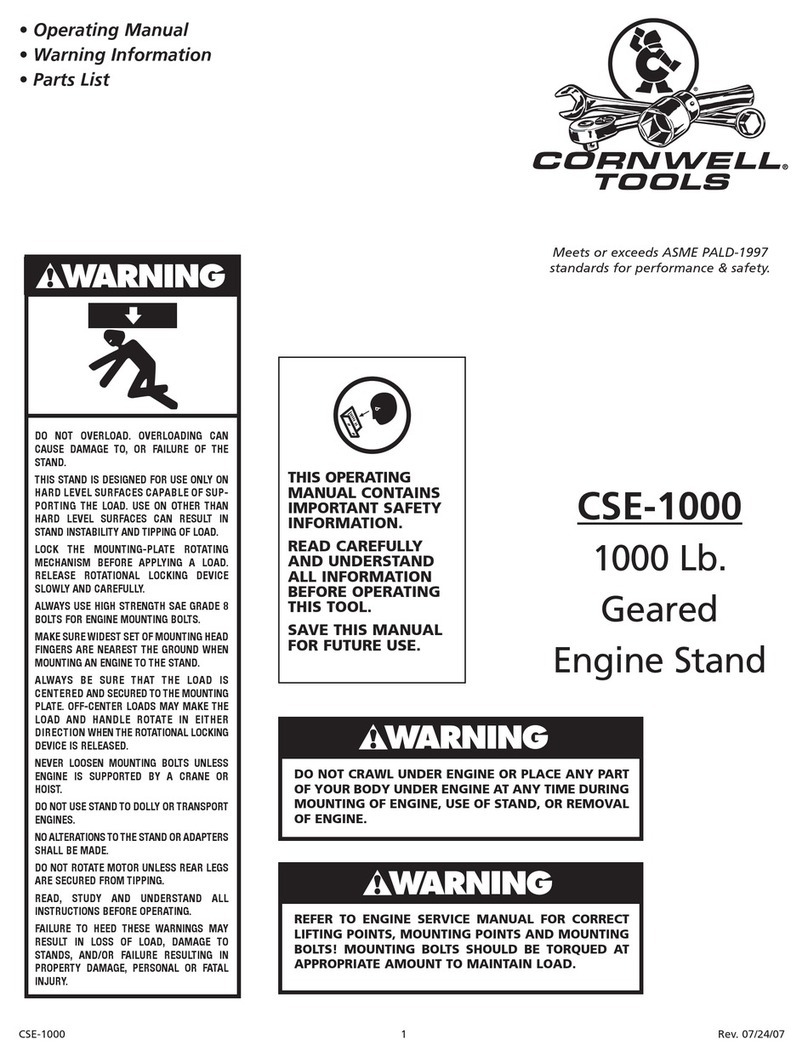
Cornwell Tools CSE-VS300 User manual

Cornwell Tools

Cornwell Tools CSE-VS300 User manual

Cornwell Tools CATPR14 User manual

Cornwell Tools

Cornwell Tools CATPR14 User manual

Cornwell Tools CAT900HD Product manual

Cornwell Tools

Cornwell Tools CAT900HD Product manual

Cornwell Tools CSEPR4TA User manual

Cornwell Tools

Cornwell Tools CSEPR4TA User manual

Cornwell Tools CAT3PST User manual

Cornwell Tools

Cornwell Tools CAT3PST User manual

Cornwell Tools CSE-1100ESB User manual

Cornwell Tools

Cornwell Tools CSE-1100ESB User manual

Cornwell Tools CAT-100PFT User manual

Cornwell Tools

Cornwell Tools CAT-100PFT User manual

Cornwell Tools Pro Series User manual

Cornwell Tools

Cornwell Tools Pro Series User manual

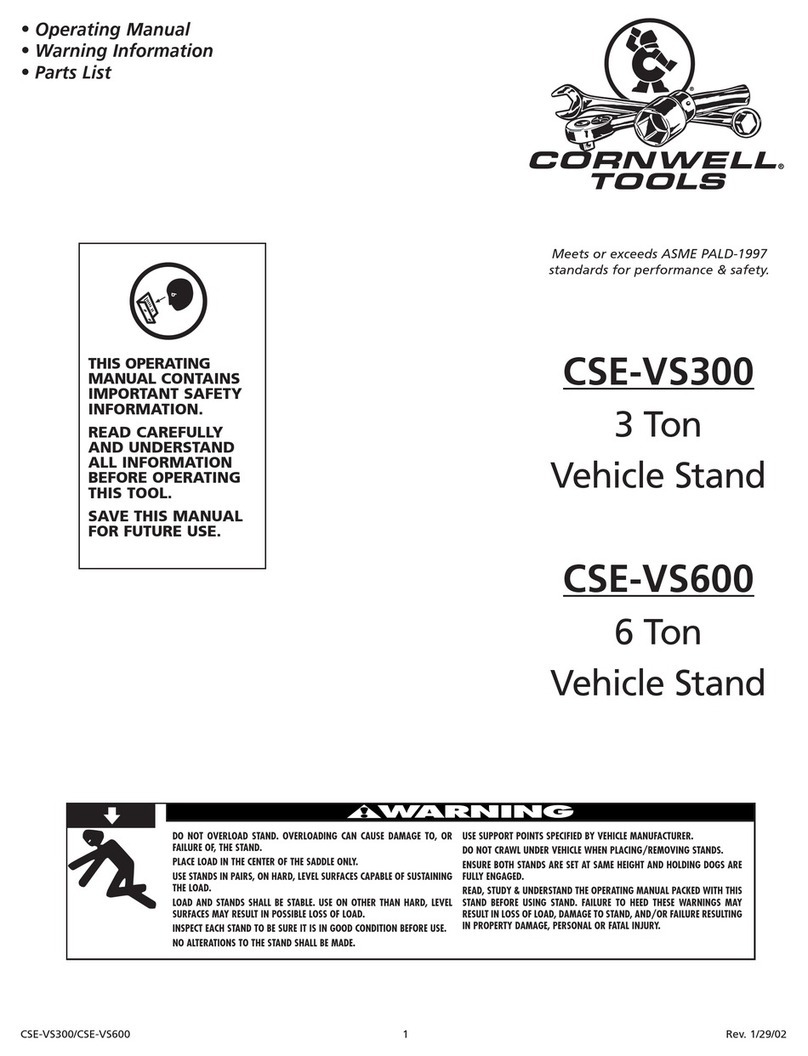
Cornwell Tools CSE-1000 User manual

Cornwell Tools

Cornwell Tools CSE-1000 User manual

Cornwell Tools GG-CSGGA User manual

Cornwell Tools

Cornwell Tools GG-CSGGA User manual

Cornwell Tools CAT800FR User manual

Cornwell Tools

Cornwell Tools CAT800FR User manual

Cornwell Tools CAT250ARR User manual

Cornwell Tools

Cornwell Tools CAT250ARR User manual

Cornwell Tools blue POWER CAT851XLR User manual

Cornwell Tools

Cornwell Tools blue POWER CAT851XLR User manual

Cornwell Tools CAT650AS User manual

Cornwell Tools

Cornwell Tools CAT650AS User manual

Cornwell Tools CSEPR4T User manual

Cornwell Tools

Cornwell Tools CSEPR4T User manual

Cornwell Tools CTG-SSAGG User manual

Cornwell Tools

Cornwell Tools CTG-SSAGG User manual

Cornwell Tools CAT3250AHMV User manual

Cornwell Tools

Cornwell Tools CAT3250AHMV User manual

Cornwell Tools CAT-255HD User manual

Cornwell Tools

Cornwell Tools CAT-255HD User manual

Cornwell Tools CAT820 User manual

Cornwell Tools

Cornwell Tools CAT820 User manual

Cornwell Tools CAT700MB User manual

Cornwell Tools

Cornwell Tools CAT700MB User manual

Popular Tools manuals by other brands

RED ROOSTER RRI-BA30IOA H19 manual

RED ROOSTER

RED ROOSTER RRI-BA30IOA H19 manual

Makita HR2652 instruction manual

Makita

Makita HR2652 instruction manual

ECODORA s. 560 instruction manual

ECODORA

ECODORA s. 560 instruction manual

ToneWinder The Ultimate CNC Winder V 1.0 operating manual

ToneWinder

ToneWinder The Ultimate CNC Winder V 1.0 operating manual

Noha Model 1 Swinging Installation

Noha

Noha Model 1 Swinging Installation

BorMann BWR5118 user manual

BorMann

BorMann BWR5118 user manual

LaserPecker 4 user manual

LaserPecker

LaserPecker 4 user manual

SUHNER ABRASIVE LRC 20 Technical document

SUHNER ABRASIVE

SUHNER ABRASIVE LRC 20 Technical document

Hilti DX 5 Original operating instructions

Hilti

Hilti DX 5 Original operating instructions

Cameron DYNATORQUE SD quick start guide

Cameron

Cameron DYNATORQUE SD quick start guide

Beechcraft Pressurized Baron 58PA Wiring Diagram Manual

Beechcraft

Beechcraft Pressurized Baron 58PA Wiring Diagram Manual

Milwaukee M18 FSAG115X Original instructions

Milwaukee

Milwaukee M18 FSAG115X Original instructions

SUHNER ABRASIVE LWG12 manual

SUHNER ABRASIVE

SUHNER ABRASIVE LWG12 manual

Pittsburgh 63953 Owner's manual & safety instructions

Pittsburgh

Pittsburgh 63953 Owner's manual & safety instructions

Harbor Freight Tools DOYLE CARPENTERS VISE Owner's manual & safety instructions

Harbor Freight Tools

Harbor Freight Tools DOYLE CARPENTERS VISE Owner's manual & safety instructions

AL-KO 3004 How-to

AL-KO

AL-KO 3004 How-to

ITATOOLS ITA11 Operation manual & spare parts list

ITATOOLS

ITATOOLS ITA11 Operation manual & spare parts list

CMT BTS-002 owner's manual

CMT

CMT BTS-002 owner's manual

manuals.online logo
manuals.online logoBrands
  • About & Mission
  • Contact us
  • Privacy Policy
  • Terms and Conditions

Copyright 2025 Manuals.Online. All Rights Reserved.