manuals.online logo
Brands
  1. Home
  2. •
  3. Brands
  4. •
  5. Costco
  6. •
  7. Indoor Furnishing
  8. •
  9. Costco BACK-IN-MOTION 790820 User manual

Costco BACK-IN-MOTION 790820 User manual

Other Costco Indoor Furnishing manuals

Costco 2327656 User manual

Costco

Costco 2327656 User manual

Costco 1902260 Quickspecs

Costco

Costco 1902260 Quickspecs

Costco 155A551UG-024-1715 User manual

Costco

Costco 155A551UG-024-1715 User manual

Costco 1900658 Quickspecs

Costco

Costco 1900658 Quickspecs

Costco 1193777 User manual

Costco

Costco 1193777 User manual

Costco 155-C156W-306 User manual

Costco

Costco 155-C156W-306 User manual

Costco 341948 User manual

Costco

Costco 341948 User manual

Costco 327447 User manual

Costco

Costco 327447 User manual

Costco 319001 User manual

Costco

Costco 319001 User manual

Costco MNY2297 User manual

Costco

Costco MNY2297 User manual

Costco MNY2884-9GP User manual

Costco

Costco MNY2884-9GP User manual

Costco 1031519 Quickspecs

Costco

Costco 1031519 Quickspecs

Costco 269019 User manual

Costco

Costco 269019 User manual

Costco 319231 User manual

Costco

Costco 319231 User manual

Costco 254775 User manual

Costco

Costco 254775 User manual

Costco 155-A293-093-316 User manual

Costco

Costco 155-A293-093-316 User manual

Costco 3pc Woven Balcony Set Quickspecs

Costco

Costco 3pc Woven Balcony Set Quickspecs

Costco GORILLA RACK CCA72IR5S-BT User manual

Costco

Costco GORILLA RACK CCA72IR5S-BT User manual

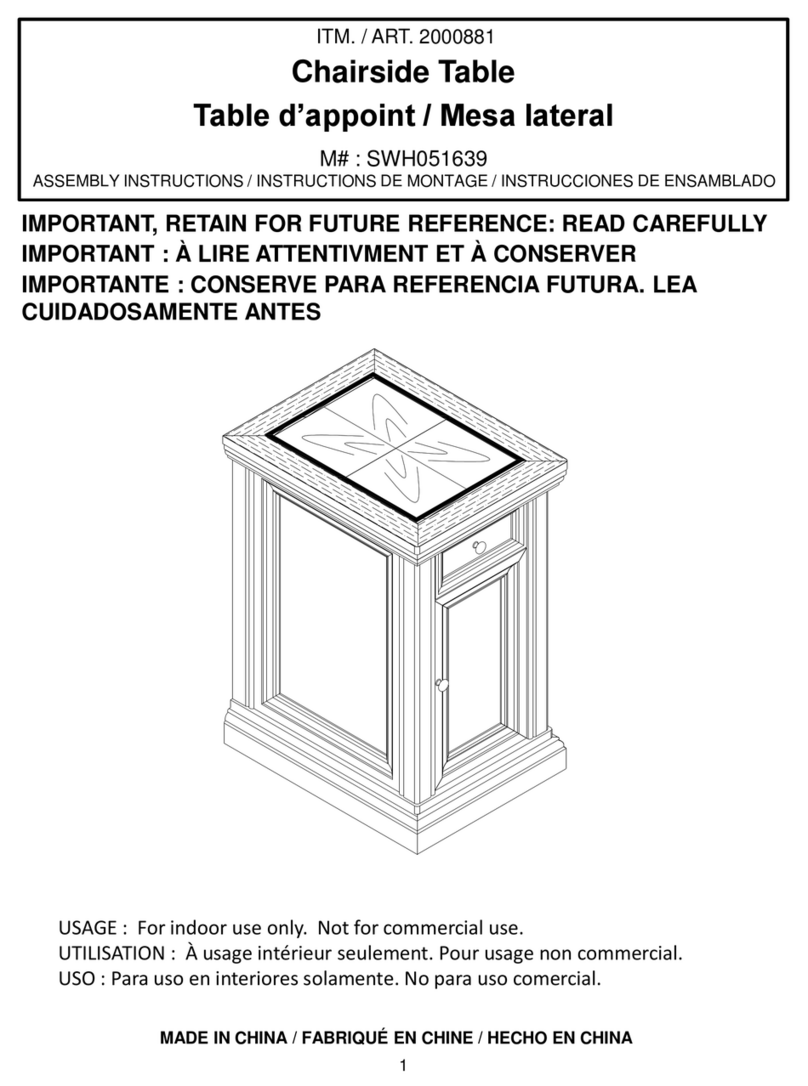
Costco SWH051639 User manual

Costco

Costco SWH051639 User manual

Costco Recliner 18586 User manual

Costco

Costco Recliner 18586 User manual

Costco 1635268 User manual

Costco

Costco 1635268 User manual

Costco 155-2074UG-403-783 User manual

Costco

Costco 155-2074UG-403-783 User manual

Costco CAST TABLE User manual

Costco

Costco CAST TABLE User manual

Costco 1500058 Quickspecs

Costco

Costco 1500058 Quickspecs

Popular Indoor Furnishing manuals by other brands

Regency LWMS3015 Assembly instructions

Regency

Regency LWMS3015 Assembly instructions

Furniture of America CM7751C Assembly instructions

Furniture of America

Furniture of America CM7751C Assembly instructions

Safavieh Furniture Estella CNS5731 manual

Safavieh Furniture

Safavieh Furniture Estella CNS5731 manual

PLACES OF STYLE Ovalfuss Assembly instruction

PLACES OF STYLE

PLACES OF STYLE Ovalfuss Assembly instruction

Trasman 1138 Bo1 Assembly manual

Trasman

Trasman 1138 Bo1 Assembly manual

Costway JV10856 manual

Costway

Costway JV10856 manual

moss DESIGN Caisson Credenza Assembly instructions

moss DESIGN

moss DESIGN Caisson Credenza Assembly instructions

Aquaglide FULL DECK 15.0 owner's manual

Aquaglide

Aquaglide FULL DECK 15.0 owner's manual

AREBOS AR-HE-SW30 user manual

AREBOS

AREBOS AR-HE-SW30 user manual

Till-Hilft Fulda 87005.330 Assembly instructions

Till-Hilft

Till-Hilft Fulda 87005.330 Assembly instructions

Twoey Outside 2010 quick start guide

Twoey Outside

Twoey Outside 2010 quick start guide

Hettich Easys 200 operating instructions

Hettich

Hettich Easys 200 operating instructions

The bedboss RELAX 404 Series owner's manual

The bedboss

The bedboss RELAX 404 Series owner's manual

Oeseder Möbelindustrie Bern 991 720 Assembly instructions

Oeseder Möbelindustrie

Oeseder Möbelindustrie Bern 991 720 Assembly instructions

Costway HW68469 user manual

Costway

Costway HW68469 user manual

Next ALIX A27743 Assembly instructions

Next

Next ALIX A27743 Assembly instructions

BROSA Hans Assembly guide

BROSA

BROSA Hans Assembly guide

Prodigg MINIKA PBA015T-FUR installation manual

Prodigg

Prodigg MINIKA PBA015T-FUR installation manual

manuals.online logo
manuals.online logoBrands
  • About & Mission
  • Contact us
  • Privacy Policy
  • Terms and Conditions

Copyright 2025 Manuals.Online. All Rights Reserved.

Costco Model #: 790820
B A C K - I N - M O T I O N ™ E X E C U T I V E C H A I R
1. To Adjust Seat Height:
While seated, reach under the right side of the
chair to find the handle. Lift the handle and raise
your body up slightly to allow the chair to rise to
the desired height. To lower the seat, lift the
handle while applying more weight downward on
the seat. The chair will descend until the handle is
released or the chair reaches the bottom position.
2. To Operate Tilt Lockout
While seated, reach under the left side of the chair
to find the handle. Push down the handle and lean
back to allow the chair to tilt backwards. To lock the
chair in the upright or vertical position, sit upright
and pull the handle to the level position.
3. To Adjust Tension on The Tilt:
Reach under the front center of the chair, grasp the
round knob and turn counter- clockwise to make
the tilt mechanism firmer (stiffer). To make the tilt
mechanism less firm, twist the knob clockwise until
the desired resistance is found.
4. About the Back in Motion:
While seated, the seat and lumbar are fixed
together on a tilting axis that allows you to rotate
your pelvis while flexing the muscles of the core. It
allows you to articulate the spine and perform
pelvic tilt exercise. This increased both strength &
circulation while reducing pain.
Please check to ensure that you have received all the parts for the assembly of this chair. If you find any
missing or damaged parts, do not return to the store. Please call toll free at 1-855-372-2315 for assistance.
Service hours are: Pacific Time: 6:00 am-5:00 pm Monday – Friday. Please note that a receipt is required for
all warranty replacements. This chair has been tested and approved for normal use which is defined as a
standard work week of forty hours by a person weighing less than 250lbs (113kg).
OPERATING INSTRUCTIONS
* Note:
Before placing your full weight onto the chair, ensure
you are fully positioned against the back cushion and
not sitting on the front edge of the seat, as the front
edge is designed to tilt forward. This may result in a fall.
As this chair promotes pelvic exercise:
If you are pregnant, have any medical conditions or
have previous pain please consult your physician prior
to using this product.
If you are using this product and begin to experience
any pain or notice any increases in discomfort please
consult with your physician before continuing use the
this product.
This product does not make any claims to cure or treat
any medical condition.
Costco Model #: 790820
B A C K - I N - M O T I O N ™ E X E C U T I V E C H A I R
Part # Description Quantity
1.
2.
3.
4.
5.
6A.
6B.
7.
8.
9.
10.
11.
12.
13.
14.
15.
16.
H1.
H2.
Casters
5 Star Base
Telescoping Cover
Gas Lift
Seat Plate
Left Arm
Right Arm
Seat Cushion
Active Lumbar
Back support plate(Already
attached to the back cushion)
Back Cushion
1” Small Screws
1-3/8” Big Screws
7/8” Big Screws
1-1/4” Small Screws
Black Plastic Caps
Allen Keys
Right Handle
Left Handle
5
1
1
1
1
1
1
1
1
1
1
9
2
2
8
8
2
1
1
P A R T S L I S T
Costco Model #: 790820
B A C K - I N - M O T I O N ™ E X E C U T I V E C H A I R
Costco Model #: 790820
B A C K - I N - M O T I O N ™ E X E C U T I V E C H A I R
A. Remove all parts from carton and separate them into part number groups as indicated in parts list.
B. To begin assembly, place 5 Star Base (2) upside down and insert Casters (1) into bottom of Base (2).
C. Turn Base (2) right side up on the floor and insert Gas Lift (4) into center hole on Base (2).
D. Place Telescoping Cover (3) over the Gas Lift (4) and rest it on the Base (2).
E. Align Active Lumbar (8) with Seat Cushion (7) by positioning Back Support Plate (9) over the Active
Lumbar (8) by using 1" Small Screws (11) as shown in Diagram 1. Tighten screws completely.
F. Place the Seat Cushion (7) & Back Cushion (10) on one side, and put one arm (6A or 6B) on the side of the
chair. Align the arm holes with the holes on the Seat Cushion (7) and Back Cushion (10) by inserting 1-1/4”
Small Screws (14) through the arm holes as shown in Diagram 2. Do not tighten screws completely.
G. Turn the chair to the other side and assemble the second arm (6A or 6B) as shown in Diagram 3. Now,
tighten all the screws.
H. Turn up the chair, attach Seat Plate (5) onto the bottom of Seat Cushion (7) (with front of seat plate facing
front of Seat Cushion (7) by using 1-3/8" Big Screws (12) for the front holes of Seat Plate (5) and 7/8” Big
Screws (13) for the rear holes of Seat Plate (5) as shown in Diagram 4 and tighten screws. Attach
Handles (H1&H2) of Seat Plate (5) to Seat Cushion (7) by using 1” Small Screws (11) for the holes of Seat
Cushion (7) as shown in Diagram 5 and tighten screws.
Note: Tighten the screws completely. Fix the cable for the seat plate into the plastic clips attached
to the bottom of the seat cushion.
I. Place the assembled chair on top of Gas Lift (4) and press down until fully engaged.
J. Place the Black Plastic Caps (15) into arm holes once screws have been tightened.
K. Periodically (every 90 days) make sure that the screws are still fully tightened.
ATTENTION: Be certain that all screws are fully tightened before using chair.
A S S E M B L Y I N S T R U C T I O N S