manuals.online logo
Brands
  1. Home
  2. •
  3. Brands
  4. •
  5. Croydex
  6. •
  7. Indoor Furnishing
  8. •
  9. Croydex WC9400 Series User manual

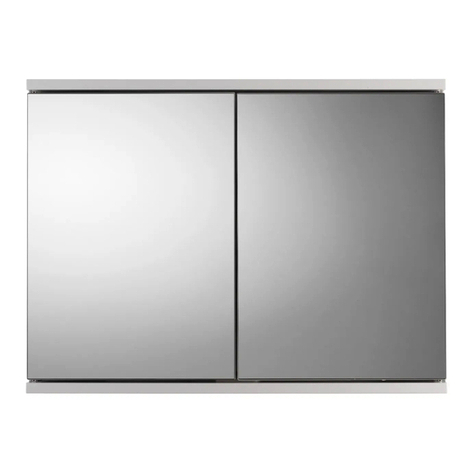
Croydex WC9400 Series User manual

CAB 141 R05
x1
A.
B.
C.
WC9400##
WC9401##
WC9402##
WC9403##
26 3/8” (670mm)
26 3/8” (670mm)
26 3/8” (670mm)
26 3/8” (670mm)
15 3/4” (400mm)
19 11/16” (500mm)
23 5/8” (600mm)
31 1/2”(800mm)
4 23/32”(120mm)
4 23/32”(120mm)
4 23/32”(120mm)
4 23/32”(120mm)
A. B. C.
Please read the information sheet before proceeding.
MAX
22Ib
(10kg)
MAX
11Ib
(5kg)
Dimensions are approximate and shown for reference only.
Page 1
5/16” or 7/16”
(8mm or
11mm)
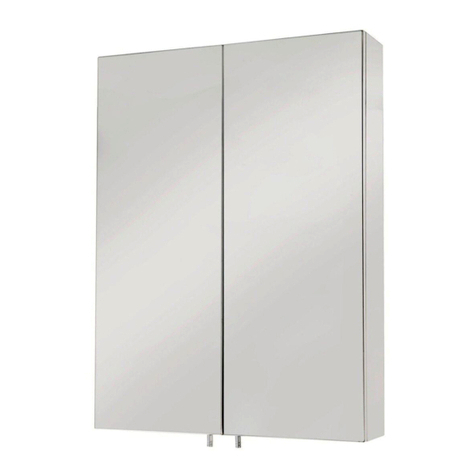
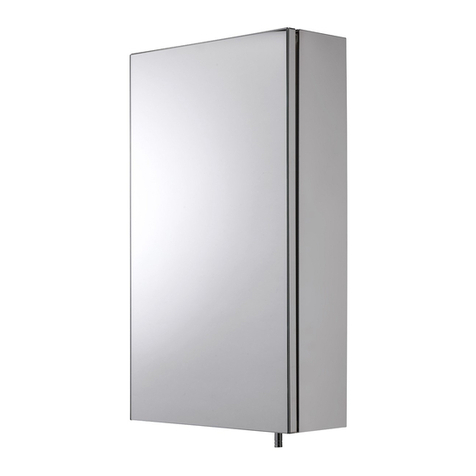
Stainless Steel Cabinet
Icon Library
For reference only Parts may vary.
(Optional)
Warning! Please take
special care.
Safety and Care
Please read all of the information carefully and refer back when you see the numbered icons
throughout instructions.
UK: Croydex, Central Way, Andover,
Hampshire, SP10 5AW, UK
EU: MIL, Unit 8 Purcellsinch Ind Est, Dublin Road,
Kilkenny, R95 HP71, Ireland
+44 (0) 1264 365881
+44 (0) 1264 356437
info@croydex.co.uk
www.croydex.com CAB 141 R05
Wall Plug Mounting Screw Top Hat Bracket & Cap Hole Blanking Cap
Toggle Bolt Pin Handle & Screw
Page 2
O-Ring O-Ring
Bottom Bracket
(Large Diameter)
Top Bracket
(Small Diameter)
Metal Washer
Mounting Screw
Spacer
Locking Cap
Cover
Metal Washer
Mounting Screw
Spacer
Locking Cap
Cover
THIS IMAGE SHOWS THE
TOP BRACKET MOUNTING
COMPONENTS
THIS IMAGE SHOWS THE
BOTTOM BRACKET MOUNTING
COMPONENTS
1
2
5
6
7
8
3
4
9
Always take care when using power tools, particularly if there is any water in the working area.
Always check for hidden cables and pipework before drilling and take extreme care if there is any water in the
working area.
Always use a residual current circuit breaker (RCCB/GFCI).
Always wear suitable eye protection when drilling.
When drilling into a tiled surface do not use a hammer drill.
Always use a drill bit that is suitable for the surface that is being drilled.
The wall plugs supplied are for use on solid walls only. For cavity walls or plasterboard use specialist fixings
that are suitable for the type of wall construction.
Do not use power tools for assembly.
To retain the best quality finish, clean product regularly with a soft damp cloth.
Do not use abrasive or chemical cleaners, as these may damage the product.
Redecoration may be required on some painted surfaces after removal.
The max load of the cabinet is 22lb (10kg) when fitted to a solid wall and 11lb (5kg) then fitted to a cavity wall.
Do not slam the door open, this may damage the hinge.
10
11
12
13
TOGGLE BOLT WALL INSERT
PUSH THE 7/16” (11MM)
DIAMETER WALL INSERT
INTO THE 11MM HOLE IN
THE PLASTER BOARD FOR
MAXIMUM LOAD BEARING
STRENGTH.
+44 (0) 1264 365881
+44 (0) 1264 356437
info@croydex.co.uk
www.croydex.com CAB 141 R05
Place the cabinet in the desired position on the
wall and mark the position of the top mounting
hole. Note that single door cabinets can be
positioned with either a left or right opening door.
Simply turn the cabinet upside down to change
the door opening direction.
For solid walls drill an 5/16” (8mm) diameter hole in the marked
postion and insert a wall plug ush to the surface of the wall. If
tting to a tiled surface, the wall plug should be inserted below the
surface of the wall to avoid cracking the tiles.
For cavity walls drill an 7/16” (11mm) diameter hole and assemble
the top bracket and metal washer onto the toggle bolt as shown
above. Ensure the 7/16”(11mm) diameter toggle bolt insert is
pushed into the hole in the plaster board wall for maximum strength.
Fasten the top bracket to the wall ensuring the
O-ring is correctly seated at the back of the
bracket. Do not overtighten!
(This image shows the solid wall installation.)
Hang the cabinet onto the top wall bracket, (see
image 1) and secure in place by screwing the
locking cap and spacer onto the top bracket, (see
image 2).
Place the cover onto the locking cap, (see image 3).
Image 1 Image 2
Image 3
1. 2.
3.
4.
Page 3
Top Bracket
(Small Diameter)
Metal Washer
IMPORTANT NOTE:THE TOP BRACKET HAS A SMALLER DIAMETER OUTER FLANGE TO THE BOTTOM BRACKET.
7/16” (11mm)
diameter toggle
bolt wall insert
IMPORTANT!
If the wall plugs are not inserted ush with the wall
surface, the O-ring will not contact the wall correctly.
This will prevent the bracket from functioning properly.
Croydex, Central Way, Andover,
Hampshire, SP10 5AW, UK
EU: MIL, Unit 8 Purcellsinch Ind Est, Dublin Road,
Kilkenny, R95 HP71, Ireland
123
5
4
6
5/16” or 7/16”
(8mm or 11mm)
drill bit.
7
8
7. 8.
5. 6.
Mark centre of bottom hole.
Using a spirit level adjust the cabinet so it is level. When level accurately mark a hole in the centre of
the bottom xing hole using the bottom bracket as
a guide.
Drill an appropriate hole for the xing
to be used in the centre mark. Then
insert the wall plug or the toggle
bolt assembly. If using the wall plug,
ensure it is inserted ush to the wall
surface. If tting to a tiled surface, the
wall plug should be inserted below the
surface of the tile to avoid cracking the
tiles.
Page 4 CAB 141 R05
Screw the bottom bracket and spacer in position
as shown, (image 1). Do not overtighten! If the
cabinet is not level, loosen the screw and adjust
until it is level. The slot will allow for adjustment.
Then screw the locking cap to the bottom bracket
and t the cover, (see image 2).
Image 1
Image 2
5/16” or 7/16”
(8mm or
11mm)
123
6
4
7
58
CAB 141 R05
9. 10.
12.
+44 (0) 1264 365881
+44 (0) 1264 356437
info@croydex.co.uk
www.croydex.com
11.
Additional top xings are supplied if required and
these can be xed with wall plugs or toggle bolts.
See images above for assembly details.
Insert the hole blanking caps into the bottom
holes, as shown above.
Assemble the shelf supports and shelves as
shown above.
Attach the pin handle
to the underside of the
door(s) as shown.
Page 5
Croydex, Central Way, Andover,
Hampshire, SP10 5AW, UK
EU: MIL, Unit 8 Purcellsinch Ind Est, Dublin Road,
Kilkenny, R95 HP71, Ireland
5/16” or 7/16”
(8mm or
11mm)
123
6
4
7
5
8
8
8
CAB 141 R05
13.
+44 (0) 1264 365881
+44 (0) 1264 356437
info@croydex.co.uk
www.croydex.com
Page 6
Croydex, Central Way, Andover,
Hampshire, SP10 5AW, UK
EU: MIL, Unit 8 Purcellsinch Ind Est, Dublin Road,
Kilkenny, R95 HP71, Ireland

This manual suits for next models

3

Other Croydex Indoor Furnishing manuals
Croydex SIMPLICITY WC257222 User manual

Croydex

Croydex SIMPLICITY WC257222 User manual

Croydex Chetsford User manual

Croydex

Croydex Chetsford User manual

Croydex MONTANA User manual

Croydex

Croydex MONTANA User manual

Croydex Chetsford Series User manual

Croydex

Croydex Chetsford Series User manual

Croydex Flexi-Fix QA2010 Series User manual

Croydex

Croydex Flexi-Fix QA2010 Series User manual

Croydex Norton WC010322 Manual

Croydex

Croydex Norton WC010322 Manual

Croydex Anton WC736005 Installation guide

Croydex

Croydex Anton WC736005 Installation guide

Croydex WC257122 User manual

Croydex

Croydex WC257122 User manual

Croydex Arun User manual

Croydex

Croydex Arun User manual

Croydex WC9300 Series User manual

Croydex

Croydex WC9300 Series User manual

Croydex AD149341 Manual

Croydex

Croydex AD149341 Manual

Croydex MM720400E User manual

Croydex

Croydex MM720400E User manual

Croydex MM703000E User manual

Croydex

Croydex MM703000E User manual

Croydex WC257122 User manual

Croydex

Croydex WC257122 User manual

Croydex WC410122 User manual

Croydex

Croydex WC410122 User manual

Croydex WC806305 User manual

Croydex

Croydex WC806305 User manual

Croydex AP400522 User manual

Croydex

Croydex AP400522 User manual

Croydex PA155941 Manual

Croydex

Croydex PA155941 Manual

Croydex QA200021 User manual

Croydex

Croydex QA200021 User manual

Croydex Flexi-Fix 1919 User manual

Croydex

Croydex Flexi-Fix 1919 User manual

Croydex AP130422 User manual

Croydex

Croydex AP130422 User manual
Croydex MM720200E User manual

Croydex

Croydex MM720200E User manual

Croydex Triple Corner Basket Set User manual
Croydex

Croydex Triple Corner Basket Set User manual

Croydex 5012044112446 User manual

Croydex

Croydex 5012044112446 User manual

Popular Indoor Furnishing manuals by other brands

RATTAN WF197131 Assembly instruction

RATTAN

RATTAN WF197131 Assembly instruction

Moderno JOHN 04 Assembly instructions

Moderno

Moderno JOHN 04 Assembly instructions

Max-Ability Pressalit Care  3000 Installation drawing

Max-Ability

Max-Ability Pressalit Care 3000 Installation drawing

Bretford FLIP TOP QUATTRO TABLE Assembly instructions

Bretford

Bretford FLIP TOP QUATTRO TABLE Assembly instructions

Walker Edison OAWC4SS-2 Assembly instructions

Walker Edison

Walker Edison OAWC4SS-2 Assembly instructions

Costco 1193777 quick start guide

Costco

Costco 1193777 quick start guide

Greentouch Scott Living 1055VA-36-223 Assembly / care & use instructions

Greentouch

Greentouch Scott Living 1055VA-36-223 Assembly / care & use instructions

Elle Decor 4131900 Assembly instructions and warranty information

Elle Decor

Elle Decor 4131900 Assembly instructions and warranty information

IKEA FORNBRO PEDESTAL TABLE 18" instructions

IKEA

IKEA FORNBRO PEDESTAL TABLE 18" instructions

JWA Fry 75228 Assembly instruction

JWA

JWA Fry 75228 Assembly instruction

Argos 875/3775 Assembly instructions

Argos

Argos 875/3775 Assembly instructions

Leisure made PEARSON 163596V Assembly instructions

Leisure made

Leisure made PEARSON 163596V Assembly instructions

SIT&MORE SONOMA manual

SIT&MORE

SIT&MORE SONOMA manual

LEGRAND MIDDLE ATLANTIC C5 Series instruction sheet

LEGRAND

LEGRAND MIDDLE ATLANTIC C5 Series instruction sheet

GIANTEX HU10570-T manual

GIANTEX

GIANTEX HU10570-T manual

Bouclair 9397520 Assembly instructions

Bouclair

Bouclair 9397520 Assembly instructions

Hooker Furniture 5750-75206-MWD Assembly instruction

Hooker Furniture

Hooker Furniture 5750-75206-MWD Assembly instruction

SitOnit Seating Mobile Pedestal HOME EDITION Assembly instructions

SitOnit Seating

SitOnit Seating Mobile Pedestal HOME EDITION Assembly instructions

manuals.online logo
manuals.online logoBrands
  • About & Mission
  • Contact us
  • Privacy Policy
  • Terms and Conditions

Copyright 2025 Manuals.Online. All Rights Reserved.