manuals.online logo
Brands
  1. Home
  2. •
  3. Brands
  4. •
  5. CRU Dataport
  6. •
  7. Enclosure
  8. •
  9. CRU Dataport HotDock Secure User manual

CRU Dataport HotDock Secure User manual

Protecting Your
Digital Assets™
Protecting Your
Digital Assets™
CRU DataPort®
HotDock Secure Enclosure
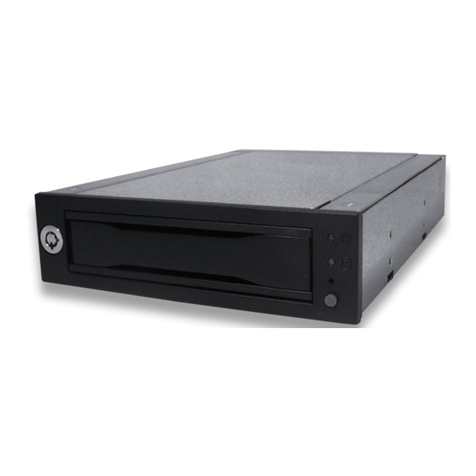
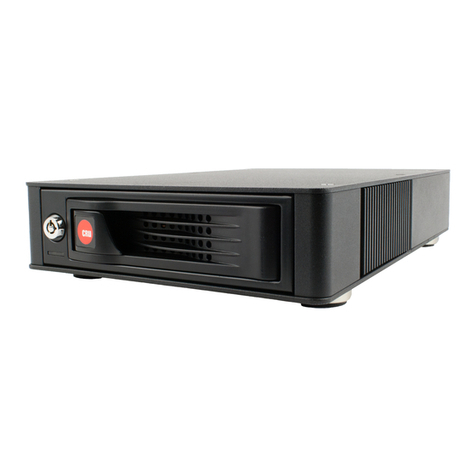
The DataPort HotDock Secure is an “expandable” storage enclosure, making
it easy to hot-swap as many hard drives as you need with any PC or laptop.
Using DataPort 10 removable hard drive carriers, you can quickly access
and archive any capacity 3.5” SATA hard drive through USB 3.0, USB 2.0, or
eSATA. The DataPort HotDock Secure enclosure keeps your data safe using
its AES 256-bit encryption engine by encrypting the entire contents of your
hard drive, including the boot sector, operating system, and temporary les.
Features
• Access data anywhere via USB 3.0
• Easily transport your data with the HotDock Secure’s lightweight
and portable design
• Military-grade AES 256-bit data protection encrypts the entire hard
drive–including boot sector, OS, and temporary les.
• All CRU Secure 256-bit product architecture and encryption engine
designs meet FIPS140-2, level 3 per certication number 1471, and
all CRU AES 256-bit security chips are NIST & CSE validated (FIPS
PUB 197).
• A Security Key stored separately from the unit makes the DataPort
SecureDock less vulnerable to attack if the unit is lost or stolen. No
PINs or passwords are needed.
©2013 CRU Acquisition Group LLC, ALL RIGHTS RESERVED. DataPort®and CRUTM are trademarks of CRU Acquisition Group, LLC and
are protected by trademark law.
Product Warranty
CRU warrants this product to be free of signicant defects in material and workmanship for a period of two years from the original date of
purchase. CRU’s warranty is nontransferable and is limited to the original purchaser.
Limitation of Liability
The warranties set forth in this agreement replace all other warranties. CRU expressly disclaims all other warranties, including but not
limited to, the implied warranties of merchantability and tness for a particular purpose and non-infringement of third-party rights with
respect to the documentation and hardware. No CRU dealer, agent, or employee is authorized to make any modication, extension, or
addition to this warranty. In no event will CRU or its suppliers be liable for any costs of procurement of substitute products or services, lost
prots, loss of information or data, computer malfunction, or any other special, indirect, consequential, or incidental damages arising in
any way out of the sale of, use of, or inability to use any CRU product or service, even if CRU has been advised of the possibility of such
damages. In no case shall CRU’s liability exceed the actual money paid for the products at issue. CRU reserves the right to make modica-
tions and additions to this product without notice or taking on additional liability.
FCC Compliance Statement: “This device complies with Part 15 of the FCC rules. Operation is subject to the following two conditions:
(1) This device may not cause harmful interference, and (2) this device must accept any interference received, including interference that
may cause undesired operation.”
This equipment has been tested and found to comply with the limits for a Class B digital device, pursuant to Part 15 of the FCC Rules.
These limits are designed to provide reasonable protection against harmful interference when the equipment is operated in a home or
commercial environment. This equipment generates, uses, and can radiate radio frequency energy and, if not installed and used in ac-
cordance with the instruction manual, may cause harmful interference to radio communications.
In the event that you experience Radio Frequency Interference, you should take the following steps to resolve the problem:
1) Ensure that the case of your attached drive is grounded.
2) Use a data cable with RFI reducing ferrites on each end.
3) Use a power supply with an RFI reducing ferrite approximately 5 inches from the DC plug.
4) Reorient or relocate the receiving antenna.
Product Models DataPort HotDock Secure
Host Interfaces • USB 3.0: Up to 5 Gbps
• eSATA: Up to 1.5 Gbps
Drive Types Supported 3.5 inch SATA (Serial-ATA) Hard Drives
Data Connectors • One (1) USB 3.0 connector (backwards compatible)
• One (1) eSATA connector
Encryption 256-bit AES (Advanced Encryption Standard)
Operating System
Requirements
• Windows 8, 7, Vista, or XP
• Windows Server 2012, 2008, and 2003 product families
• Mac OS X 10.4.x or higher
• Linux distributions that support the connection type used
Torque 3.5-inch hard drives, #6-32 screws: 6 inch-pounds max.
Compliance EMI Standard: FCC Part 15 Class B, CE
EMC Standard: EN55022, EN55024
Shipping Weight 7 pounds (includes accessories)
Product Dimensions 2.44” x 6.72” x 10.57” (62mm x 171mm x 269mm)
Technical Support Your investment in CRU products is backed up by our free technical
support for the lifetime of the product. Contact us through our website,
cru-inc.com/support or call us at 1-800-260-9800 or +1-360-816-1800.
A5-000-0003-1 Rev. 1.0
FOR HOME OR OFFICE USE
PMS711 2cyan
85magenta
76yellow
10.25.12
CRU Mark
1 Installation Steps
1.1 Hard Drive Installation
a. Remove the carrier from the HotDock Secure enclosure.
b. Use a Phillips-head screwdriver to remove the screw securing the carrier
cover to the back of the carrier, then slide the cover off.
c. Insert a SATA hard drive into the unied power and data connector inside
the carrier.
d. Secure the hard drive to the carrier by using the mounting screws provided.
e. Attach the Temperature Control Cooling Sensor to the top of the hard drive
with a piece of tape. The Temperature Control Cooling Sensor is the double-
wired cord with a sensor thermistor at the end that extends out from the
carrier PCB board.
f. Replace the cover and secure it into the rear of the carrier with the screw you
removed in Step B.
g. Reinsert the carrier into the dock.
1.2 Operating Your DataPort HotDock Secure Enclosure
a. Connect the DataPort HotDock Secure enclosure to a computer using either
the included eSATA or USB 3.0/2.0 cables.
b. Connect the DataPort HotDock Secure to a power outlet with the included
AC Adapter.
c. If you have not already done so, slide the carrier into the DataPort HotDock
Secure.
d. Insert the Security Key into the Mini-USB Security Key Port on the face of
the receiving frame.
e. Insert a DataPort Key into the keylock and turn it 90 degrees clockwise to
power on the unit.
f. When both green LEDs are lit, showing that the drive is ready and encryption
is activated, remove the Security Key and store it in a safe location.
When any hard drive is rst used with the DataPort HotDock Secure enclosure
it will show up as a blank, unallocated drive and you’ll need to format the drive
inside the enclosure before you can use it. Note that formatting a drive will
erase all data on the drive, so be sure to back up your data before beginning this
operation.
3 Encryption
• The DataPort Hotdock Secure enclosure uses full disk hardware encryption to
encrypt the entire contents of the drive—including the boot sector, operating
system and all les—without performance degradation.
• The Security Key must be installed prior to powering on the DataPort HotDock
Secure enclosure for the data to be decrypted on the drive. If the key is
externally connected to the Mini-USB Security Key Port and is not internally
installed, then once it has been accepted, it may be removed and stored in a
safe location. Always store Security Keys apart from the data so that in the
event that the drive is lost or stolen, the data is protected.
• When a drive is formatted using an encryption key, the same or a duplicate key
must be used in order to access the data. There is no “back door” to access the
data; lost keys make data recovery virtually impossible.
3 Warnings and Notices
• Though the Security Key port is mechanically identical to the standard Mini-
USB port, inserting Security Keys into any other Mini-USB port may damage
the keys and render them useless. Please only use Security Keys in DataPort
HotDock Secure products.
Likewise, inserting a Mini-USB cable or other device into the DataPort
enclosure’s Security Key port on the carrier may cause internal damage and
potentially lead to loss of data.
• Any time power is cycled on the DataPort HotDock Secure enclosure, the
Security Key should be installed prior to recycling the power in order to access
the data on the drive.
NOTE: To connect the DataPort HotDock enclosure to a USB 2.0 host,
you must use a USB 2.0 cable. Both USB 2.0 and USB 3.0 cables are
included with your RTX unit.

Other CRU Dataport Enclosure manuals

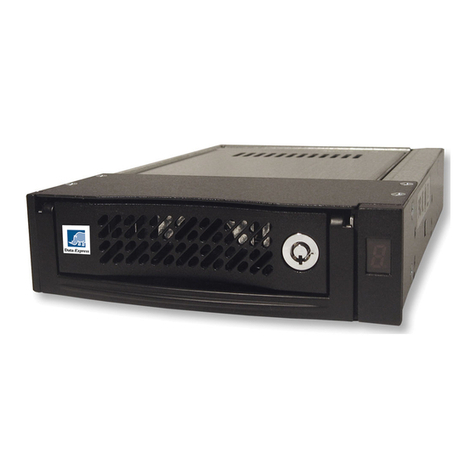
CRU Dataport Data Express DX115 SATA User manual

CRU Dataport

CRU Dataport Data Express DX115 SATA User manual

CRU Dataport ToughTech m3 User manual

CRU Dataport

CRU Dataport ToughTech m3 User manual

CRU Dataport RJR110 Ultra320 User manual

CRU Dataport

CRU Dataport RJR110 Ultra320 User manual

CRU Dataport RTX110-3Q User manual

CRU Dataport

CRU Dataport RTX110-3Q User manual

CRU Dataport DE100 ATA 33 User manual

CRU Dataport

CRU Dataport DE100 ATA 33 User manual

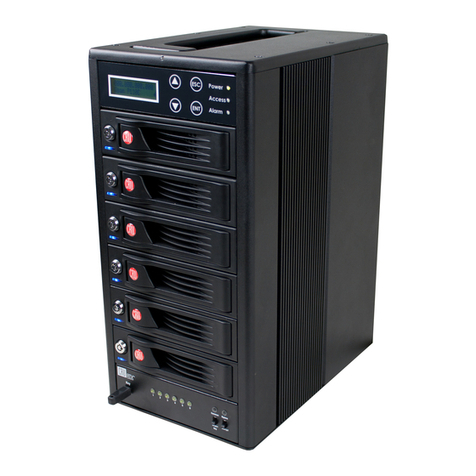
CRU Dataport SecureDock User manual

CRU Dataport

CRU Dataport SecureDock User manual

CRU Dataport DE110 User manual

CRU Dataport

CRU Dataport DE110 User manual

CRU Dataport Data Express DE275 User manual

CRU Dataport

CRU Dataport Data Express DE275 User manual

CRU Dataport DE110 Series User manual

CRU Dataport

CRU Dataport DE110 Series User manual

CRU Dataport DE100 Series User manual

CRU Dataport

CRU Dataport DE100 Series User manual

CRU Dataport DE110 Series User manual

CRU Dataport

CRU Dataport DE110 Series User manual

CRU Dataport RTX430-3QR User manual

CRU Dataport

CRU Dataport RTX430-3QR User manual

CRU Dataport DataPort 350 User manual

CRU Dataport

CRU Dataport DataPort 350 User manual

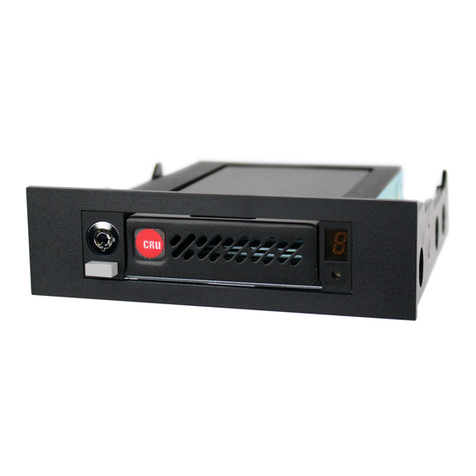
CRU Dataport 25 Secure User manual

CRU Dataport

CRU Dataport 25 Secure User manual

CRU Dataport Multi-Lane DataPAK User manual

CRU Dataport

CRU Dataport Multi-Lane DataPAK User manual

CRU Dataport RTX 610-IR User manual

CRU Dataport

CRU Dataport RTX 610-IR User manual

CRU Dataport RTX Secure 410-SJ User manual

CRU Dataport

CRU Dataport RTX Secure 410-SJ User manual

CRU Dataport DataPort 5 User manual

CRU Dataport

CRU Dataport DataPort 5 User manual

CRU Dataport DE50 IDE User manual

CRU Dataport

CRU Dataport DE50 IDE User manual

CRU Dataport Data Express DE200 SCSI User manual

CRU Dataport

CRU Dataport Data Express DE200 SCSI User manual

CRU Dataport DE200 SCSI User manual

CRU Dataport

CRU Dataport DE200 SCSI User manual

CRU Dataport 10 USB-to-SATA User manual

CRU Dataport

CRU Dataport 10 USB-to-SATA User manual

CRU Dataport DataPort 3 User manual

CRU Dataport

CRU Dataport DataPort 3 User manual

CRU Dataport RTX220-QR User manual

CRU Dataport

CRU Dataport RTX220-QR User manual

Popular Enclosure manuals by other brands

Genesis IRID 400 Quick installation guide

Genesis

Genesis IRID 400 Quick installation guide

HPE HPE D6020 Maintenance and service guide

HPE

HPE HPE D6020 Maintenance and service guide

Nanoxia DEEP SILENCE 2 manual

Nanoxia

Nanoxia DEEP SILENCE 2 manual

XtendLan XL-RAID-SATA2-USB user manual

XtendLan

XtendLan XL-RAID-SATA2-USB user manual

DataComm Electronics Easy Mount Series Instruction/installation sheet

DataComm

DataComm Electronics Easy Mount Series Instruction/installation sheet

Compaq StorageWorks 2100 user guide

Compaq

Compaq StorageWorks 2100 user guide

SilverStone Temjin Series manual

SilverStone

SilverStone Temjin Series manual

Diablotek CPA-802 Specifications

Diablotek

Diablotek CPA-802 Specifications

Stahl 8264 operating instructions

Stahl

Stahl 8264 operating instructions

Lenovo ThinkAgile VX3720 7Y12 user guide

Lenovo

Lenovo ThinkAgile VX3720 7Y12 user guide

Vantec NexStar 3 user manual

Vantec

Vantec NexStar 3 user manual

WiebeTech RTX100-INT user manual

WiebeTech

WiebeTech RTX100-INT user manual

Gigabyte GZ-X1 user guide

Gigabyte

Gigabyte GZ-X1 user guide

ADC FRE-765 manual

ADC

ADC FRE-765 manual

Netstor NS780S-G3 user manual

Netstor

Netstor NS780S-G3 user manual

HighPoint RocketStor 6314A Setup guide

HighPoint

HighPoint RocketStor 6314A Setup guide

Bradley 7910 Installation

Bradley

Bradley 7910 Installation

Icy Box IB-HUB1703-QC3 Quick installation guide

Icy Box

Icy Box IB-HUB1703-QC3 Quick installation guide

manuals.online logo
manuals.online logoBrands
  • About & Mission
  • Contact us
  • Privacy Policy
  • Terms and Conditions

Copyright 2025 Manuals.Online. All Rights Reserved.