manuals.online logo
Brands
  1. Home
  2. •
  3. Brands
  4. •
  5. CRU Dataport
  6. •
  7. Enclosure
  8. •
  9. CRU Dataport Multi-Lane DataPAK User manual

CRU Dataport Multi-Lane DataPAK User manual

Rugged, Reliable, Mobile, SecureTM
1-800-260-9800 www.CRU-DataPort.com
DataPort Multi-Lane DataPAK
Package Contents
Enclosure accessories:
1 - 1.8M external power cord
6 - M5x.6x8 PHMS Phillips black
DataPAK carrier accessories:
3 - DataExpress Keyset
4 - 6-32 x .250 FHMS Phillips
8 - 6-32 shoulder screws with anti-shock grommets
Hard Drive Installation
Remove the DataPAK carriers from the enclosure to install hard
drives. Review and follow the instructions to install hard drives
in the DataPAK carriers.
1. Remove the 4 cover screws and slide the carrier cover of the
DataPAK carrier to open.
2. Add the shoulder screws with anti-shock grommets to the hard
drives.
3. Remove the foam from the drive connectors.
4. Connect the hard drives and secure via bottom mount screws.
5. Install the hard drive in the carrier so the shoulder grommets
align with the mounting slots. Press the drive firmly in place.
6. Slide the cover on the carrier to close and secure it with the 4
cover screws.
Enclosure Setup Instructions
WARNING: The DataPort 1U Enclosure requires slide rails or
another support system to be rack mounted. The front mount-
ing brackets will not allow the DataPort 1U Enclosure to be rack
mounted without additional support.
1. Power off the host computer and disconnect the power cord.
2. Install the internal drives in the DataPort 1U Enclosure. See In-
stalling a Hard Drive in the Enclosure section for more details.
3. Install hard drives in the removable carriers. See Installing a
Hard Drive in the Carrier section for more details.
4. Insert the removable carriers into the enclosure and engage
the lock on the carrier.
5. Connect the host computer to the DataPAK 1U Multi-Lane
Enclosure with an external multi-lane cable (not provided).
6. Power on the DataPort 1U Enclosure with the power button
located on the back of the enclosure. For best results power on
the enclosure prior to powering on the host system.
NOTE: The DataPAK 1U Multi-Lane Enclosure supports hot
swapping the hard drives in the Removable Drive Carriers,
provided the host bus adapter also supports that feature.
When hot swapping drives, ensure drive activity has
stopped before powering down the Removable Drive Carri-
ers. The DataPAK will remove 2 drives from the array when
the carrier is removed, this will cause some RAIDs to fail
and could require a system reboot to restore functionality.
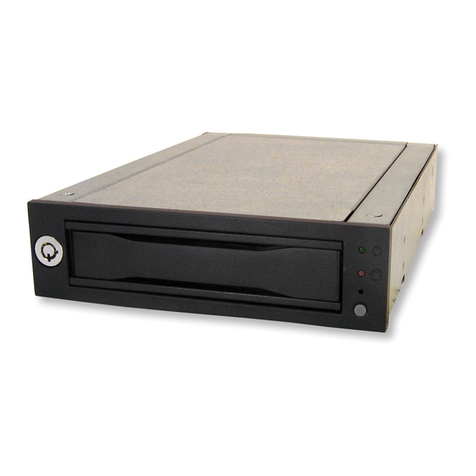
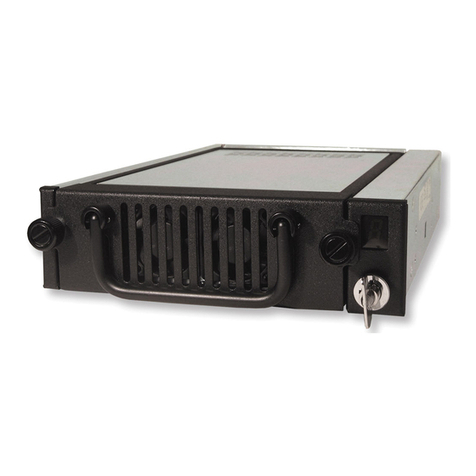
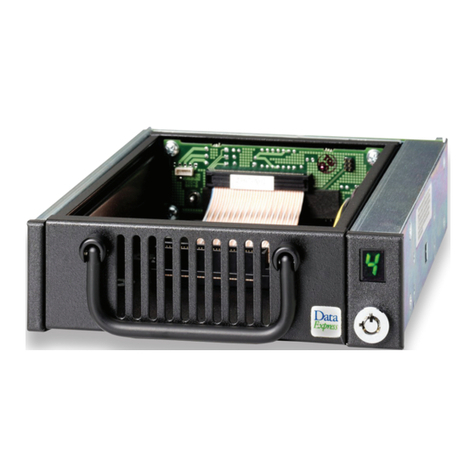
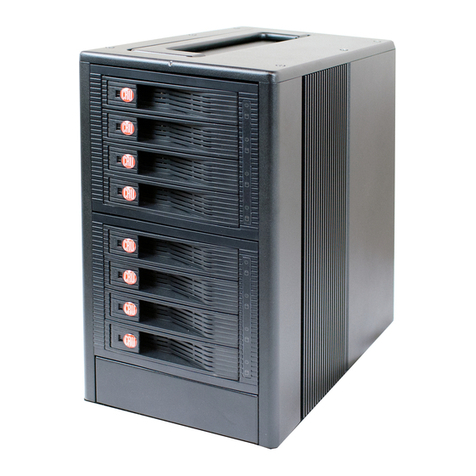
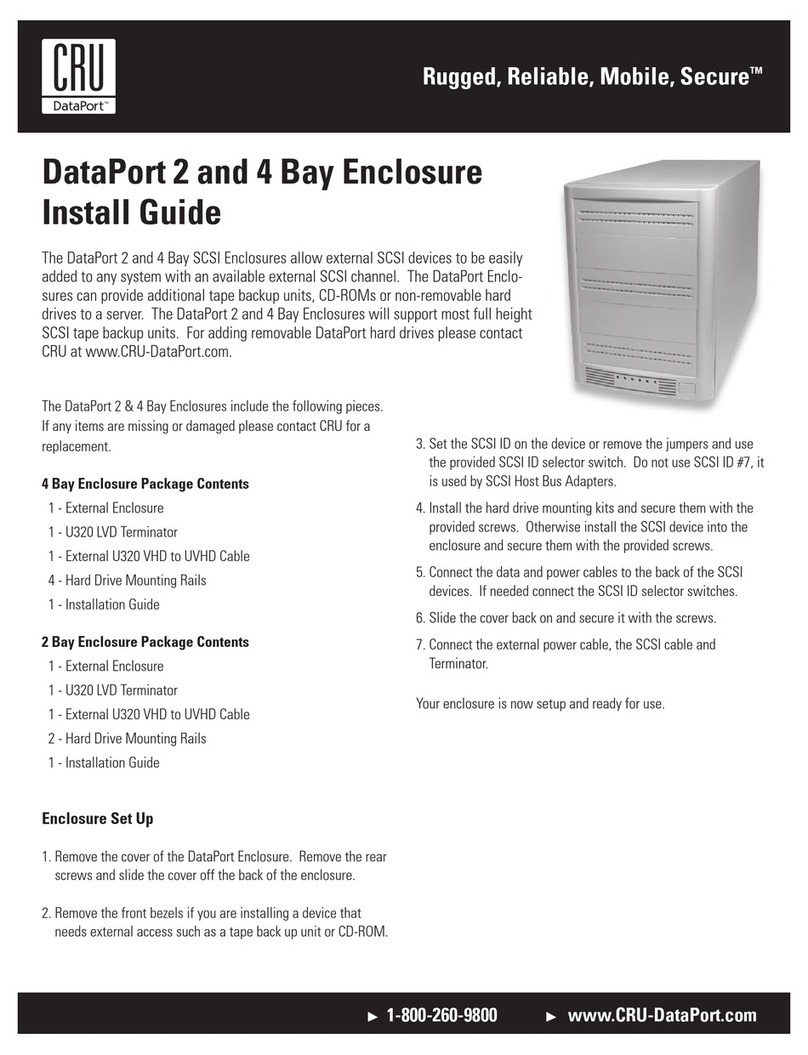
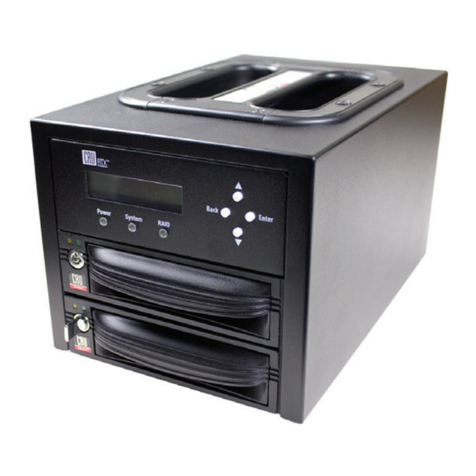
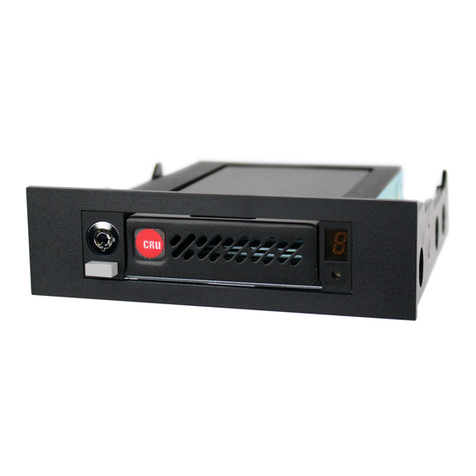
1U Rack mount enclosure with DualPAK™ removable dual drive carriers. Ideal
for disk-to-disk backup where users can “pull” a backup at anytime. Rugged
Sheet Metal Design and Shock-mounted DualPAK multi-disk removable drive
carriers for drive protection during operation, removal, transporting and stor-
age. Available in Quad RAID (eSATA, USB 2.0, FireWire 800/400) or Multilane
Point-to-Point SAS/SATA JBOD.
Rugged, Reliable, Mobile, SecureTM
1-800-260-9800 www.CRU-DataPort.com
The lower amber activity LED will display the drive activity
of the back drive in carrier. The actual functionality of the
LED is set by the hard drive. Please see your hard drive
manual for details.
Rack Mounting Instructions
• Elevated Operating Ambient: If installed in a closed or
multi-unit rack assembly, the operating ambient tempera-
ture of the rack environment may be greater than room
ambient. Therefore, consideration should be given to
installing the equipment in an environment compatible
with the maximum ambient temperature (Tma) specified
by the manufacturer.
• Reduced Air Flow: Installation of the equipment in a rack
should be such that the amount of air flow required for
safe operation of the equipment is not compromised.
• Mechanical Loading: Mounting of the equipment in the
rack should be such that a hazardous condition is not
achieved due to uneven mechanical loading.
• Circuit Overloading: Consideration should be given to
the connection of the equipment to the supply circuit
and the effect that overloading the circuits might have
on overcurrent protection and supply wiring. Appropriate
consideration of equipment nameplate ratings should be
used when addressing this concern.
• Reliable Earthing: Reliable earthing of rack-mounted
equipment should be maintained. Particular attention
should be given to supply connections other than direct
connections to the branch circuit (e.g. use of power
strips).
Limited Product Warranty
CRU-DataPort (CRU) warrants the DataPAK 1U enclosure to be
free of significant defects in material and workmanship for a
period of one year from the original date of purchase. CRU’s war-
ranty is nontransferable and is limited to the original purchaser.
Operation
The DataPAK 1U Multi-Lane Enclosure supports up to 4 SATA
hard drives and uses the SFF-8470 (InfiniBand) connector. It
requires a multi-lane cable with the SFF-8470 connector for the
enclosure.
NOTE: The DataPAK 1U Multi-Lane Enclosure does not
include the required enclosure to host cable.
The DataPAK 1U Multi-Lane Enclosure supports two differ-
ent multi-lane cables, the SFF-8470 (InfiniBand) to SFF-8470
(InfiniBand) cable (CRU Part Number 7366-700-03); and the SFF-
8470 (InfiniBand) to SFF-8088 (Mini-SAS) cable (CRU part number
7366-701-01). Consult your host bus adapter manual to determine
which interface (connector) it supports.
For host support CRU offers a cable assembly kit. The 4x SATA
to SFF-8470 (InfiniBand) PCI host adapter with (4) SATA data
cables and SFF-8470 (InfiniBand) to SFF-8470 (InfiniBand) external
cable (CRU part number 7100-800-10) will provide the end to end
cabling required to set up the DataPAK 1U Multi-Lane Enclosure.
These cables are available through CRU’s authorized resellers.
Enclosure LEDs
Power LED
The green power LED will illuminate when the enclosure power
is on.
Fan Failure LEDs
Red LEDs will flash in the event of fan failure.
Carrier LEDs
Power LED
The green power LED will light up when the carrier is properly
installed in the chassis.
Activity LED
The upper amber activity LED will display the drive activity of the
front drive in carrier. The actual functionality of the LED is set by
the hard drive. Please see your hard drive manual for details.
Rugged, Reliable, Mobile, SecureTM
1-800-260-9800 www.CRU-DataPort.com
Limitation of Liability
The warranties set forth in this agreement replace all other war-
ranties. CRU expressly disclaims all other warranties, including
but not limited to, the implied warranties of merchantability and
fitness for a particular purpose and non-infringement of third-
party rights with respect to the documentation and hardware.
No CRU dealer, agent or employee is authorized to make any
modification, extension, or addition to this warranty. In no event
will CRU or its suppliers be liable for any costs of procurement
of substitute products or services, lost profits, loss of informa-
tion or data, computer malfunction, or any other special, indirect,
consequential, or incidental damages arising in any way out of
the sale of, use of, or inability to use any CRU product or service,
even if CRU has been advised of the possibility of such damages.
In no case shall CRU’s liability exceed the actual money paid for
the products at issue. CRU reserves the right to make modifica-
tions and additions to this product without notice or taking on
additional liability.
FCC Certification
This device has been tested and found to comply with the limits
for a Class B digital device, pursuant to Part 15 of the FCC rules.
Operation is subject to the following two conditions:
1. This device may not cause harmful interference, and
2. This device must accept any interference received;
including interference that may cause undesired operation.
IT Power Systems
This enclosure is intended for use on a TN power system. This
enclosure was evaluated for use on an IT power system in ac-
cordance with Norway National Differences to IEC60950-1.
Register your product at www.CRU-DataPort.com.
A5-001-0006 Rev. 1.0

Other CRU Dataport Enclosure manuals

CRU Dataport 25 Secure User manual

CRU Dataport

CRU Dataport 25 Secure User manual

CRU Dataport DataPort 350 User manual

CRU Dataport

CRU Dataport DataPort 350 User manual

CRU Dataport DE50 IDE User manual

CRU Dataport

CRU Dataport DE50 IDE User manual

CRU Dataport DE110 Series User manual

CRU Dataport

CRU Dataport DE110 Series User manual

CRU Dataport DE50 SATA User manual

CRU Dataport

CRU Dataport DE50 SATA User manual

CRU Dataport RTX800-XJ User manual

CRU Dataport

CRU Dataport RTX800-XJ User manual

CRU Dataport Data Express DX115 SATA User manual

CRU Dataport

CRU Dataport Data Express DX115 SATA User manual

CRU Dataport Data Express DE110 Ultra ATA133 User manual

CRU Dataport

CRU Dataport Data Express DE110 Ultra ATA133 User manual

CRU Dataport DataPort 350 User manual

CRU Dataport

CRU Dataport DataPort 350 User manual

CRU Dataport RTX 610-IR User manual

CRU Dataport

CRU Dataport RTX 610-IR User manual

CRU Dataport RJR400 User manual

CRU Dataport

CRU Dataport RJR400 User manual

CRU Dataport 10 USB-to-SATA User manual

CRU Dataport

CRU Dataport 10 USB-to-SATA User manual

CRU Dataport RTX430-3QR User manual

CRU Dataport

CRU Dataport RTX430-3QR User manual

CRU Dataport Rugged, Reliable, Mobile, Secure DataPort 2... User manual

CRU Dataport

CRU Dataport Rugged, Reliable, Mobile, Secure DataPort 2... User manual

CRU Dataport Data Express DE75 SAS User manual

CRU Dataport

CRU Dataport Data Express DE75 SAS User manual

CRU Dataport 2U User manual

CRU Dataport

CRU Dataport 2U User manual

CRU Dataport DataPort 3 User manual

CRU Dataport

CRU Dataport DataPort 3 User manual

CRU Dataport ToughTech m3 User manual

CRU Dataport

CRU Dataport ToughTech m3 User manual

CRU Dataport HotDock Secure User manual

CRU Dataport

CRU Dataport HotDock Secure User manual

CRU Dataport Data Express DE200 SCSI User manual

CRU Dataport

CRU Dataport Data Express DE200 SCSI User manual

CRU Dataport RTX220-QR User manual

CRU Dataport

CRU Dataport RTX220-QR User manual

CRU Dataport DE200 SCSI User manual

CRU Dataport

CRU Dataport DE200 SCSI User manual

CRU Dataport TT-Q User manual

CRU Dataport

CRU Dataport TT-Q User manual

CRU Dataport DE110 User manual

CRU Dataport

CRU Dataport DE110 User manual

Popular Enclosure manuals by other brands

TOOQ TQE-2538B user manual

TOOQ

TOOQ TQE-2538B user manual

IC IB-RD2253-C31 manual

IC

IC IB-RD2253-C31 manual

AirClean systems POWDERSAFE AC794BE Operator's manual

AirClean systems

AirClean systems POWDERSAFE AC794BE Operator's manual

SFF time N-ATX manual

SFF time

SFF time N-ATX manual

CommScope Mini-OTE 200 Series Installation instruction

CommScope

CommScope Mini-OTE 200 Series Installation instruction

Vantec Nexstar 3 Super Speed user manual

Vantec

Vantec Nexstar 3 Super Speed user manual

Phanteks Enthoo Evoly series user manual

Phanteks

Phanteks Enthoo Evoly series user manual

Advantech MIC-3035 manual

Advantech

Advantech MIC-3035 manual

Extron electronics Cable Cubby 300C user guide

Extron electronics

Extron electronics Cable Cubby 300C user guide

Peavey PVs 18 Sub operating manual

Peavey

Peavey PVs 18 Sub operating manual

Peavey SP 2XT Specifications

Peavey

Peavey SP 2XT Specifications

Thermaltake Urban T21 user manual

Thermaltake

Thermaltake Urban T21 user manual

Pulsar AWO 220K Assembly instructions

Pulsar

Pulsar AWO 220K Assembly instructions

Fantec MD-25US user manual

Fantec

Fantec MD-25US user manual

EMC CX4 Series Field installation guide

EMC

EMC CX4 Series Field installation guide

Ewent EW7730 manual

Ewent

Ewent EW7730 manual

Manhattan 700511 user manual

Manhattan

Manhattan 700511 user manual

CommScope FOSC-ACC-B-TRAY-12-RBN Installation instruction

CommScope

CommScope FOSC-ACC-B-TRAY-12-RBN Installation instruction

manuals.online logo
manuals.online logoBrands
  • About & Mission
  • Contact us
  • Privacy Policy
  • Terms and Conditions

Copyright 2025 Manuals.Online. All Rights Reserved.