manuals.online logo
Brands
  1. Home
  2. •
  3. Brands
  4. •
  5. DANLERS
  6. •
  7. Switch
  8. •
  9. DANLERS CESPLL10VDC Quick start guide

DANLERS CESPLL10VDC Quick start guide

Installation notes
DANLERS Limited, Vincients Road, CHIPPENHAM, Wiltshire, SN14 6NQ, UK.
Telephone: +44 (0)1249 443377 Fax: +44 (0)1249 443388
E-mail: [email protected] Web: www.danlers.co.uk
Company Registered Number 2570169 VAT Registration Number 543 5491 38
Products available from DANLERS
• PIR occupancy switches • Daylight linked dimmers • Manual high frequency dimmers
• Photocells • Radio remote controls • Time lag switches • Outdoor security switches
• Dimmers • Heating, ventilation and air-conditioning controls • Bespoke / O.E.M. products
Please call for more information or a free catalogue, or visit our website.
This product conforms to BS EN 60669-2-1. Product complies to Class 2 insulation.
Please ensure the most recent edition of the appropriate local wiring regulations are
observed and suitable protection is provided e.g. 6 amps over current, 1kV over voltage.
Please ensure that this device is disconnected from the supply if an insulation test is made.
This product is covered by a warranty which extends to 5 years from the date of manufacture.
Precautions and Warranty
06/04/17 INS218 CESPLL10VDC
Variants
Variants can be supplied to special order, please ask for details.
Troubleshooting
The load will not switch on:
• The LUX adjuster is set too low and is inhibiting the switch.
• The moving body is not emitting more IR than the background.
(Person wearing insulating clothing in a warm environment)
• Person is too far from the PIR switch, see detection diagram.
• Person is moving unusually slowly (perhaps when testing).
Loading
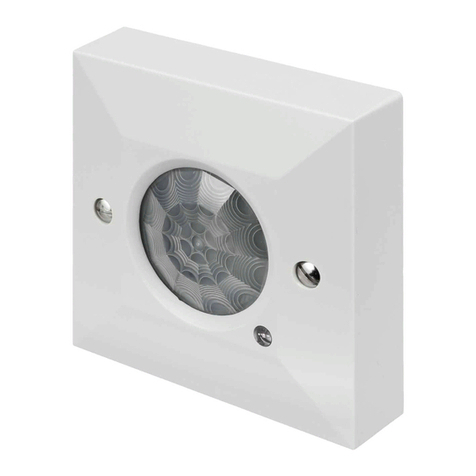
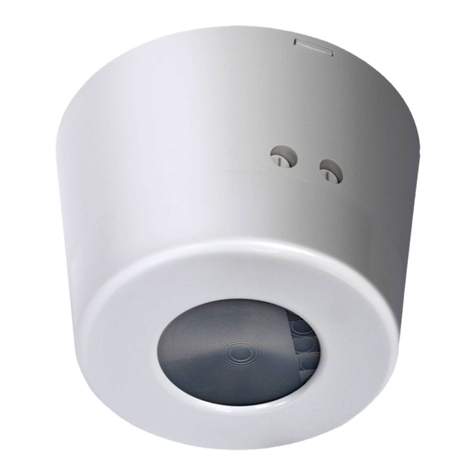
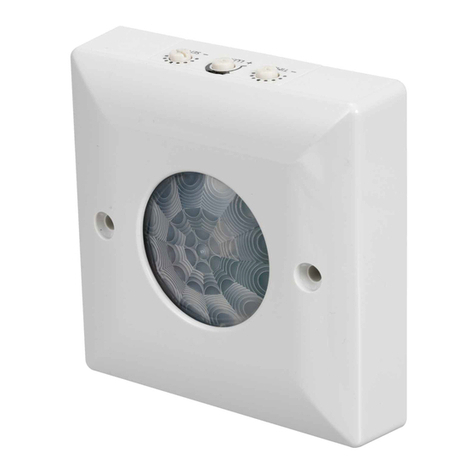
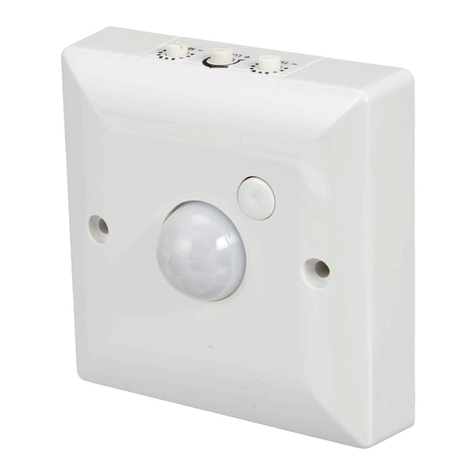
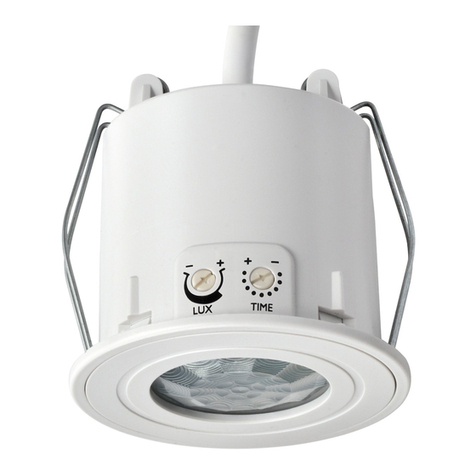
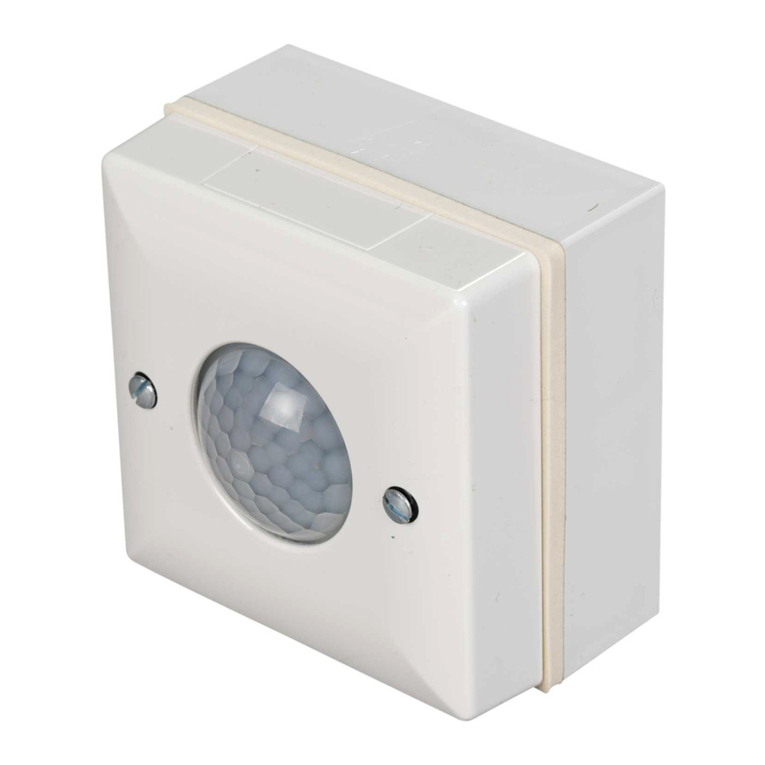
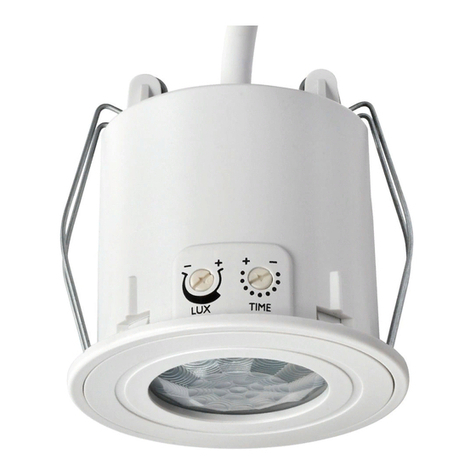
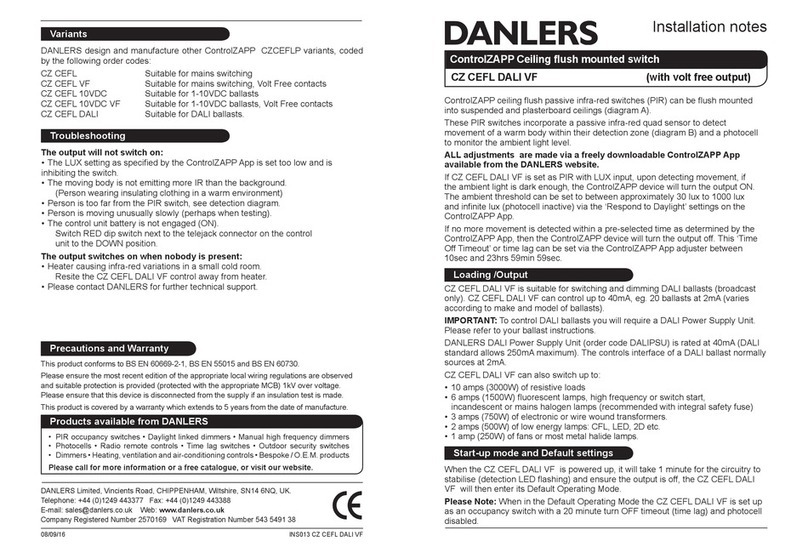
PIR occupancy switch with 1-10V
‘Step Down’ illuminance
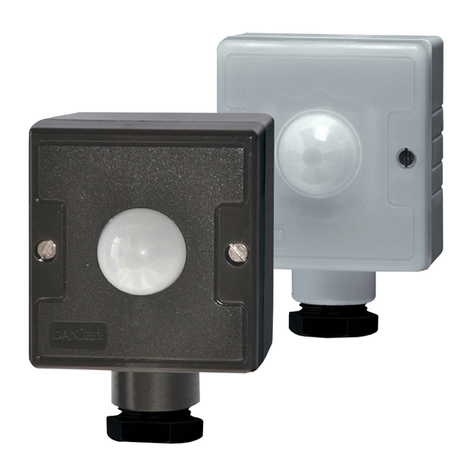
CESPLL10VDC CEFPLL10VDC IP66
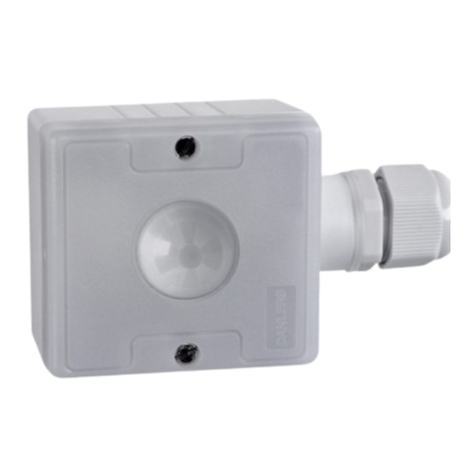
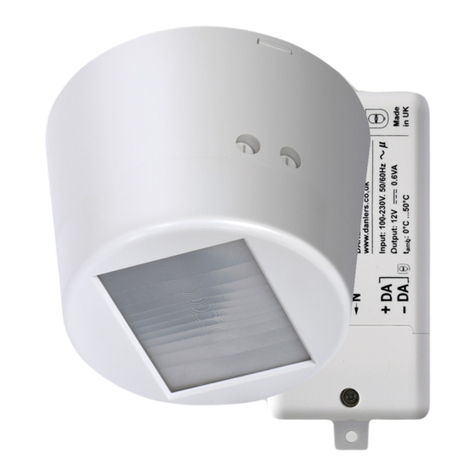
CESPLL10VDC(IP66) can be used to control high frequency 1-10VDC
dimmable ballasts. The products can be surface mounted onto ceilings.
These PIR switches incorporate a passive infra-red quad sensor to
detect movement of a warm body within their detection zone (diagram
B), a photocell to monitor the ambient light level and a adjustment
spindle to select the level of ‘Step Down’ illuminance.
Upon detecting movement, the PIR will switch the 1-10V dimmable
ballast to 100% on via the Switched Line output if the room is darker
than the setting on the rst lux adjuster (LUX, diagram D). Upon
nonoccupation the 1-10V dimmable ballast will switch to a pre-set
lower light level (‘Step Down’ illuminance), variable from 10% to
100% in 9 steps.
There is also a time lag function for adjusting the time that must
elapse with no movement detected before the PIR switch will switch
to its lower ‘Step Down’ level. This time lag can be set via the TIME
adjuster to 10 seconds, 20s, 40s, 1 minute 15 seconds, 2m30s, 5m,
10m, 20m or 40 minutes (diagram D).
CESP LL10VDC (IP66) also incorporates a sensitivity adjuster, labelled
‘SENS’, to reduce the range and sensitivity of detection (diagram D).
CESPLL10VDC can be ceiling mounted on the square pattress box
(not supplied). CESPLL10VDC IP66 is weatherproof to an IP66 rating
and can be ceiling mounted on the square pattress box (PABO)
supplied (to maintain an IP66 rating a suitable cable gland would
have to be tted).
These PIR switches can control up to 20x 1-10V dimmable ballasts,
assuming each ballast has a constant current output of 1mA.
-0
+10 C
2
SL
2
NC
-0
+10
BALLAST
OUTPUT
DANLERS
‘Step Down’ PIR
Occupancy Switch
PIR Occupancy
Switch with
slave relay
PIR Occupancy
Switch with
slave relay
PIR Occupancy
Switch with
slave relay
C
2
SL
2
NC
C
2
SL
2
NC
E. Controlling corridors and larger areas
For the control of larger areas and corridors it is advised that
CESPLL10VDC (or CEFPLL10VDC IP66) are used in conjuntion with
DANLERS standard ceiling mounted PIR occupancy switches such as
CEFLPIR or CESFPIR and a DANLERS slave relay (CESLBL).
Installation procedure
1. Please read these notes carefully before commencing work. In case of
doubt please consult a qualied electrician.
2. POSITIONING: The CESPLL10VDC (IP66) should be installed to
achieve correct coverage of the area, see diagram B. Avoid locating this
product where it is exposed to drafty conditions (exposed lobbies, open
ceiling voids or near fans) or near heat sources.
3.
To cover larger areas and corridors PIRs should be spaced in a 5 metre grid
formation, with one CESPLL10VDC(IP66) and the rest with switching PIRs
with Volt Free secondary output and Normally Closed, Logic Gold relay
contacts (CESFPIRVFNCLG) with all
Switch Line outputs wired in series
(diagram E).
4. Make sure the power is
isolated from the circuit.
The PIR should be connected
as shown in diagram C:
Start-up mode
When the PIR is powered up, it will switch on the load for 1 minute, the load
will then switch off and the PIR will enter its Operating Mode. If a manual
override-off switch is positioned before the PIR in the circuit (diagram C,
note 1) it will do this each time the wall switch is switched on.
Time, Lux and ‘Step Down’ set-up
For convenience, ensure that the TIME is set to the minimum when setting up
the LUX level. Afterwards set the TIME to a value suitable for the application.
The LUX is best set up when the local ambient light is at approximately the
minimum desired working light level. With the LUX set fully clockwise wait
for the PIR to switch off. Rotate the LUX adjuster slowly anticlockwise (- to
+), whilst waving your hand approximately 1m below the PIR, until the load
switches on.
The single adjuster spindle on the back of the PIR is used to regulate the ‘Step
Down’ illuminance function lux level, see diagram A opposite. This must be
adjusted in situ so that the desired level of brightness is achieved under the
luminaire(s) being controlled. In areas where no natural daylight is present it
is advised that the LUX level is set to . inhibit off.
L
N
1
tsallab
10
1
tsallab
10
1
tsallab
10
CESPLL10VDC (IP66)
control lines
230 VAC
Optional
switch for
overriding off
TIME
min max
LUX
max min
SENS
min max
20s
40s
1m15s
2m30s
5m
10m
10s
20m
40m 100
∞
1000
66% 100%
Typical settings
up to 5m
up to 7m
Strong detection zone
i.e. person moving arm
or walking towards PIR
Secondary detection zone
i.e. person walking
perpendicular to PIR
For optimum coverage
recommended mounting
height: 2.4 to 5m
B: Detection diagram
C: Wiring diagram,
single PIR
D: Adjusting time
and lux at the
side of product
‘Step Down’ set-up
The STEP DOWN low light level range is
adjusted via the spindle on the top of the product
and allows the 1-10VDC ballast to switch from
10% to 100% in 9 steps. Fully clockwise will allow
the ballast to switch to 100% on nonoccupation.
Fully anti-clockwise will allow the ballast to
switch to 10% on non-occupation.
A: ‘Step Down’ adjuster on
the back of the product
100
%
10%
L
S
te
p
Do
wn
A
d
j
uster
Terminal
block

This manual suits for next models

1

Other DANLERS Switch manuals

DANLERS CESRAPIRSD Quick start guide

DANLERS

DANLERS CESRAPIRSD Quick start guide

DANLERS WACE RFS Quick start guide

DANLERS

DANLERS WACE RFS Quick start guide

DANLERS ControlZAPP CZ CEFL DALI Quick start guide

DANLERS

DANLERS ControlZAPP CZ CEFL DALI Quick start guide

DANLERS BMEXPIR Quick start guide

DANLERS

DANLERS BMEXPIR Quick start guide

DANLERS ControlZAPP CZ CEFL Quick start guide

DANLERS

DANLERS ControlZAPP CZ CEFL Quick start guide

DANLERS CZ CEFL Quick start guide

DANLERS

DANLERS CZ CEFL Quick start guide

DANLERS TWSW Quick start guide

DANLERS

DANLERS TWSW Quick start guide

DANLERS CESRA PIR DSIP Quick start guide

DANLERS

DANLERS CESRA PIR DSIP Quick start guide

DANLERS CESF PIR Quick start guide

DANLERS

DANLERS CESF PIR Quick start guide

DANLERS EZ CESR Quick start guide

DANLERS

DANLERS EZ CESR Quick start guide

DANLERS CZ HB ND Quick start guide

DANLERS

DANLERS CZ HB ND Quick start guide

DANLERS ControlZAPP CZ CEFL 10VDC Quick start guide

DANLERS

DANLERS ControlZAPP CZ CEFL 10VDC Quick start guide

DANLERS CEPH NO Quick start guide

DANLERS

DANLERS CEPH NO Quick start guide

DANLERS CESF PIR User manual

DANLERS

DANLERS CESF PIR User manual

DANLERS TLSW HB Quick start guide

DANLERS

DANLERS TLSW HB Quick start guide

DANLERS BMPIR10M Quick start guide

DANLERS

DANLERS BMPIR10M Quick start guide

DANLERS CEFL PIR LR Quick start guide

DANLERS

DANLERS CEFL PIR LR Quick start guide

DANLERS CESF PIR IP66 Quick start guide

DANLERS

DANLERS CESF PIR IP66 Quick start guide

DANLERS CEFLAPIR Quick start guide

DANLERS

DANLERS CEFLAPIR Quick start guide

DANLERS CEFL PIR Quick start guide

DANLERS

DANLERS CEFL PIR Quick start guide

DANLERS GRTLA MK Quick start guide

DANLERS

DANLERS GRTLA MK Quick start guide

DANLERS CESFPIRSV Quick start guide

DANLERS

DANLERS CESFPIRSV Quick start guide

DANLERS EasyZAPP EZ CEFL Quick start guide

DANLERS

DANLERS EasyZAPP EZ CEFL Quick start guide

DANLERS CEFLA PIR DSIP Quick start guide

DANLERS

DANLERS CEFLA PIR DSIP Quick start guide

Popular Switch manuals by other brands

GUIYUAN INDUSTRY DEVELOPMENT 0030066 user manual

GUIYUAN INDUSTRY DEVELOPMENT

GUIYUAN INDUSTRY DEVELOPMENT 0030066 user manual

Shinybow USA SB-3691 instruction manual

Shinybow USA

Shinybow USA SB-3691 instruction manual

Televes EUROSWITCH MSW 17 Series manual

Televes

Televes EUROSWITCH MSW 17 Series manual

Hama Super Speed USB 3.0 Hub Operating	 instruction

Hama

Hama Super Speed USB 3.0 Hub Operating instruction

Field Controls 46104600 manual

Field Controls

Field Controls 46104600 manual

ELMARK TE 17 manual

ELMARK

ELMARK TE 17 manual

LeisureTech Abus ABX-88 installation manual

LeisureTech

LeisureTech Abus ABX-88 installation manual

SOR T21 General instructions

SOR

SOR T21 General instructions

Intel EXPRESS 550T user guide

Intel

Intel EXPRESS 550T user guide

Sunricher SR-ZGP2801K4-DIM-S2-E instruction manual

Sunricher

Sunricher SR-ZGP2801K4-DIM-S2-E instruction manual

Compex SGX3226 user manual

Compex

Compex SGX3226 user manual

Foxun SX-SW441-HD4K2K operating instructions

Foxun

Foxun SX-SW441-HD4K2K operating instructions

ADTRAN NetVanta 1570-24-370W quick start guide

ADTRAN

ADTRAN NetVanta 1570-24-370W quick start guide

Conceptronic HUBBIES 01 Multi Language Quick Guide

Conceptronic

Conceptronic HUBBIES 01 Multi Language Quick Guide

TP-Link T1600G Series Configuration guide

TP-Link

TP-Link T1600G Series Configuration guide

INSTEON 2242 2 Series quick start guide

INSTEON

INSTEON 2242 2 Series quick start guide

Gefen DVI-441DLS user manual

Gefen

Gefen DVI-441DLS user manual

EmpirBus NXT DCM user manual

EmpirBus

EmpirBus NXT DCM user manual

manuals.online logo
manuals.online logoBrands
  • About & Mission
  • Contact us
  • Privacy Policy
  • Terms and Conditions

Copyright 2025 Manuals.Online. All Rights Reserved.