manuals.online logo
Brands
  1. Home
  2. •
  3. Brands
  4. •
  5. Degelman
  6. •
  7. Farm Equipment
  8. •
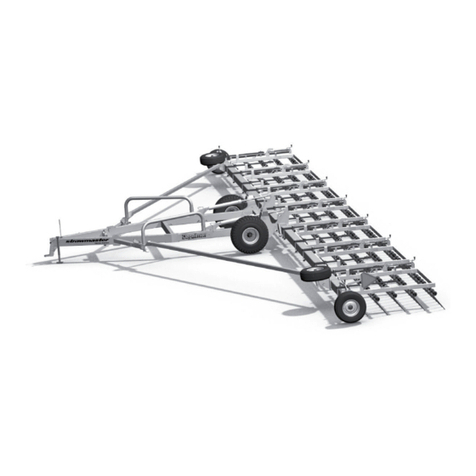
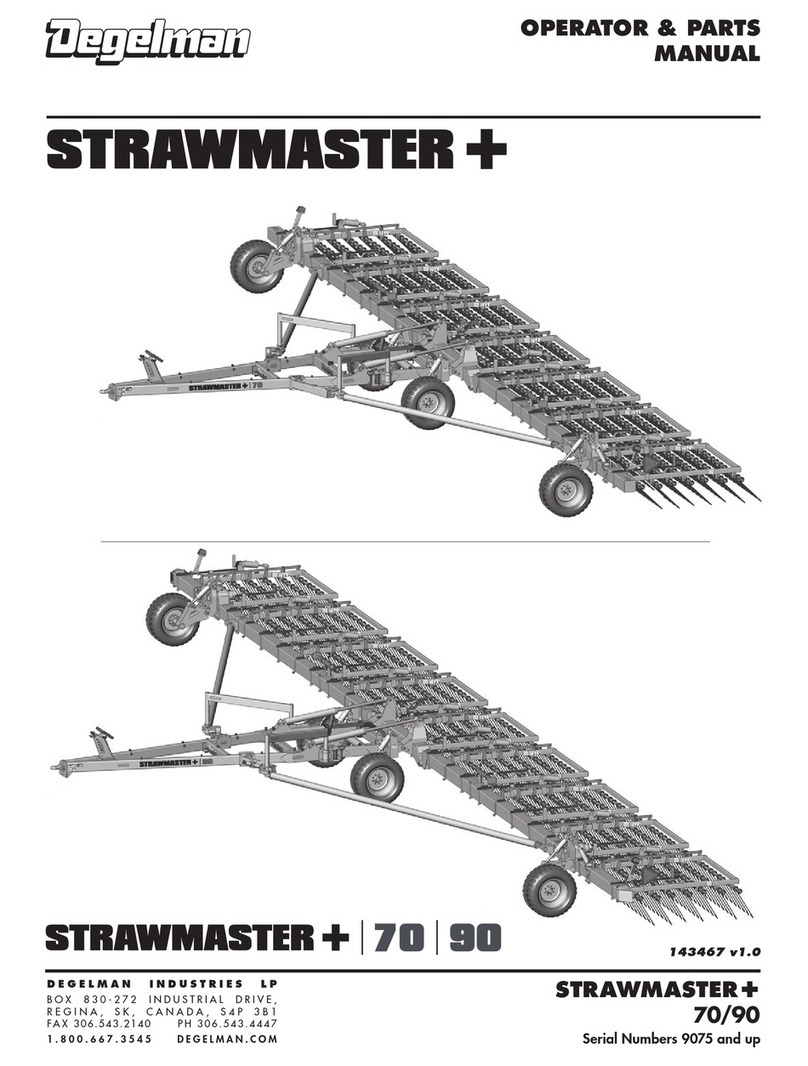
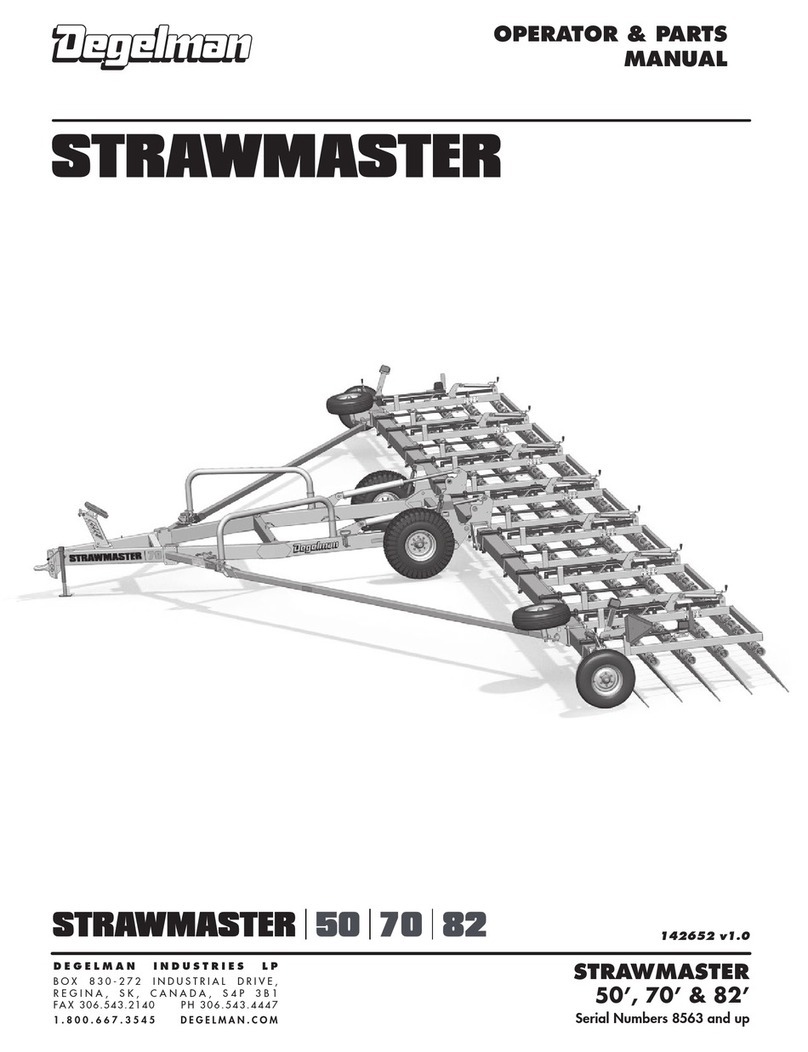
  9. Degelman STRAWMASTER Plus User manual

Degelman STRAWMASTER Plus User manual

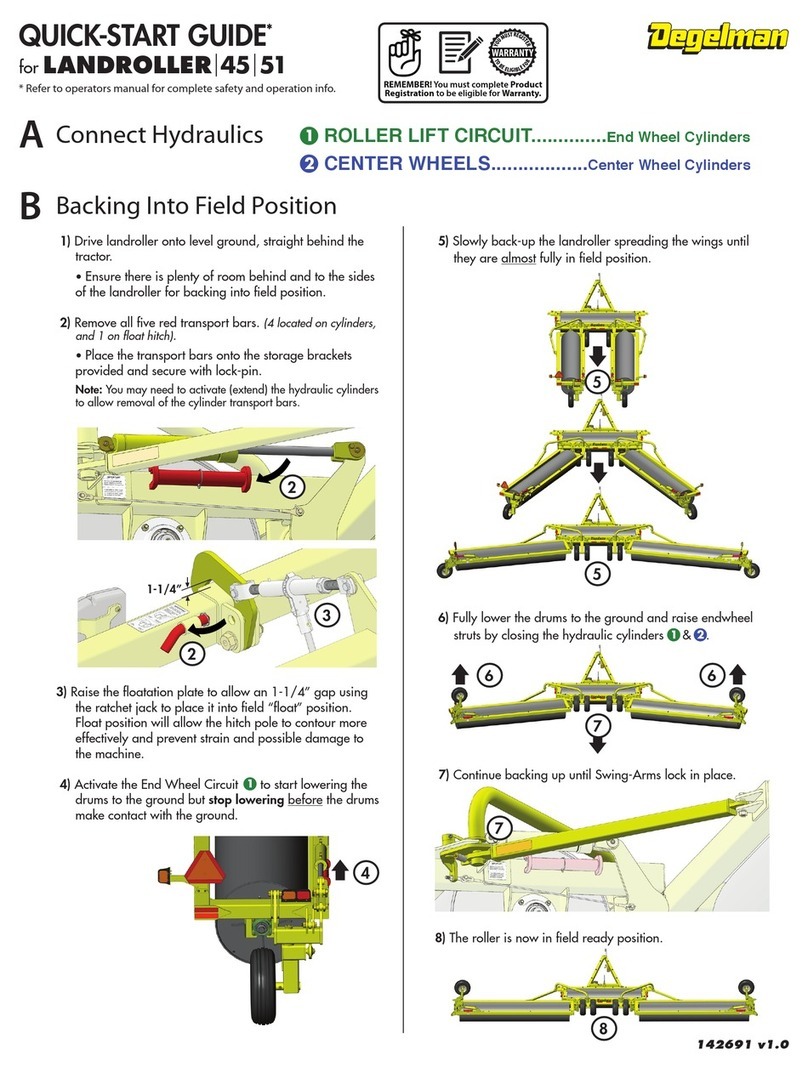
AConnect Hydraulics
143431 v1.0
QUICK-START GUIDE*
for STRAWMASTER+
* Refer to operators manual for complete safety and operation info.
T
O
B
E
E
L
I
G
I
B
L
E
F
O
R
Y
O
U
M
U
S
T
R
E
G
I
S
T
E
R
WARRANTY
REMEMBER! You must complete Product
Registration to be eligible for Warranty.
WHEELS............................Wheel Height Cylinders
TRANSPORT..................... Transport Cylinders
TINE ANGLE (Option).......... Harrow Section Cylinders
3
2
1
LATCH & ENDWHEEL...... Latch/Steering Cylinders
4
IMPORTANT: Before working in eld, lock the function to avoid accidental operation.
Note: Ensure there is plenty of room behind
and to the sides of the Strawmaster
before backing into eld position.
3
3
3
3
3
3
3
4
4
4
4
FULLY ROTATE end wheels
BEFORE latching truss arm clamps.
4
When lowering harrow sections, keep
TRAILER HEIGHT AT MAXIMUM.
4
4
2
Make sure truss arm LATCHES ARE
FULLY ENGAGED before lowering
harrow sections into eld position. 2
1
BACK-UP SLOWLY/EVENLY to avoid
serious damage to transport wheels.
BBacking Into Field Position
1)1)
1)1)
2)2)
3)3)
4)4)
5)5)
6)6)
1
1
1
7)7)
7)7)
4) As wings are almost fully opened, FULLY ROTATE the end
wheels into eld position BEFORE completely open.
4
5) Activate the LATCH hydraulics to fully secure the truss arms
into place. Make sure truss arm LATCHES ARE FULLY
ENGAGED before lowering harrow sections into eld position.
IMPORTANT: To prevent serious damage, ensure both
latches have fully engaged and then LOCK-OUT
the Latch & Endwheel circuit before operating. 4
6) Ensure the TRAILER HEIGHT is raised to MAXIMUM and
then lower the harrow sections into eld position using the
Transport Cylinders.
1
2
OpenOpen
ClosedClosed
7) Adjust Tine Angle and Trailer Height settings.
3) Back-up slowly. The wings will open up. Ensure there is lots of
room behind and to the sides. Back-up evenly so you don’t
damage the transport wheels.
IMPORTANT: Be sure to back-up evenly to avoid
serious damage to the transport wheels.
StoreStore
StoreStore
RemoveRemove
CylinderCylinder
LockLock
RemoveRemove
Transport PinTransport Pin
1) Remove the front Center Beam Transport Pins (2),
Cylinder Lock Bars (2), and Endwheel Transport Bars (2)
and place in storage locations.
StoreStore
RemoveRemove
TransportTransport
BarBar
2) Activate the steering cylinders to slightly angle open the
transport wheels, but no more than 20º.
20º
MAX
4
1) When placing machine into Transport position, keep the Trailer Height at Maximum.
2) Operate the transport hydraulics to fully raise the harrow sections.
3) Fully Rotate the endwheels before driving forward. The wing beams should fold back into transport position.
4) Install all frame transport pins (2), cylinder lock bars (2), and endwheel transport bars (2).
IMPORTANT: Endwheel transport bars MUST be installed during transport.
5) Ensure SMV sign and reectors are clean and lights are working. Follow all local transport laws when transporting.
DMoving Into Transport Position
2
4
1
CSetting Tine Angle, Pressure & Frame
• Straw should be dry.
• A speed of 8 to 12 MPH (12 to 16 KPH) is suggested to
efficiently shatter and spread straw and residue.
• The harrow sections can be set in Float Position (
~
),
where the section drags the ground under its own weight.
Remember When Operating:
• If machine leaves small clumps of straw, apply slight
down pressure by extending Transport cylinders.
• If machine leaves large clumps of straw, reduce
down pressure by retracting the Transport cylinders
and reducing the tine angle.
2
2
Tine Angle Adjustment There are no standard angles for running the tines, the operator
may adjust the tine angles as needed to achieve desired results.
FIELD PACKING
4321
CHEMICAL INCORPORATION 4321
RAKING 4321
Some suggested tine angle settings are shown, adjust as required:
Refer to Operator’s Manual for more
suggested tine angle setting info.
Strawmaster +may have either Manual or Hydraulic Tine Adjustment.
Manual models - Use the manual jacks
located on each harrow section. Start
at one end, set as desired. Set all the
other sections to the same setting.
(Manual shown)
Hydraulic models - Retract
rephasing tine angle
cylinders to raise tines.
Extend cylinders to lower.
Note: Actual settings will vary
with tine wear. Ensure trailer
and frame are leveled properly.
(Refer to Height Adjustment)
Hydraulic models - Re-syncronize the tine section cylinders by fully
extending the rephasing cylinders and holding for 30 seconds.
This should be repeated a few times daily or as needed, especially
in hilly conditions. Refer to manual for more information.
3
BREAKING &
SPREADING STRAW 4321
Tine Angle Indicator
• Check for missing, worn or damaged parts.
• Working points & pins • Grease Endwheel Turrets (25hrs)
Maintenance
(Check Machine Daily)
• Hydraulic Connections & Hoses
• Hubs & Spindles
* Refer to operators manual for complete safety and operation info.
• Tire Pressure:
41 PSI (283 kPa)
After Tine Angle Adjustment is complete, adjust wheel height until trailer frame is parallel to the ground. If needed, clevis height may be adjusted.
When set level with harrows...
Front & back tines apply equal pressure Front tines apply less pressure Front tines applying more pressure
When set higher... When set lower...
Trailer & Wing Beam Height Adjustment
NOTE: The trailer height indicator reads “0” when fully raised and “5” at the lowest height.
This is adjusted with the“Wheel Height Cylinders”. 1
Center Beam Torque Adjustment
NOTE: The applied beam torque shown on the indicator is adjusted by applying (+) or reducing (–)
pressure with the Transport Cylinders.
This circuit can also be placed into Float (
~
)for better contouring in hills or uneven ground.
2
2+
–
~
5
4
3
2
1
0
Maximum Pressure
(Light Tillage)
Minimum Pressure
(Spread Chaff
& Residue)
Normal Harrowing
Beam Torque Indicator
5
4
3
2
1
0
Adjust
According to
Tine Angle
Setting
- Transport
2
1
–
+
Trailer Height Indicator
Other Degelman Farm Equipment manuals

Degelman Pro-till 20 Programming manual

Degelman

Degelman Pro-till 20 Programming manual

Degelman Pro-till 20 User manual

Degelman

Degelman Pro-till 20 User manual

Degelman STRAWMASTER PRO 80 Programming manual

Degelman

Degelman STRAWMASTER PRO 80 Programming manual

Degelman Pro-Till 33 Programming manual

Degelman

Degelman Pro-Till 33 Programming manual

Degelman Tri-Plex Landroller 7634 Programming manual

Degelman

Degelman Tri-Plex Landroller 7634 Programming manual

Degelman STRAWMASTER 54NT Programming manual

Degelman

Degelman STRAWMASTER 54NT Programming manual

Degelman Rock King 9600 Programming manual

Degelman

Degelman Rock King 9600 Programming manual

Degelman M28 Programming manual

Degelman

Degelman M28 Programming manual

Degelman ROCK DIGGER RD320 Programming manual

Degelman

Degelman ROCK DIGGER RD320 Programming manual

Degelman M28 User manual

Degelman

Degelman M28 User manual

Degelman STRAWMASTER 700 Series User manual

Degelman

Degelman STRAWMASTER 700 Series User manual

Degelman PRO-TILL SCORPION HITCH Programming manual

Degelman

Degelman PRO-TILL SCORPION HITCH Programming manual

Degelman STRAWMASTER 7000 User manual

Degelman

Degelman STRAWMASTER 7000 User manual

Degelman Pro-Till 33 Programming manual

Degelman

Degelman Pro-Till 33 Programming manual

Degelman LANDROLLER 45 User manual

Degelman

Degelman LANDROLLER 45 User manual

Degelman Landroller LRX Series User manual

Degelman

Degelman Landroller LRX Series User manual

Degelman Pro-till 26 User manual

Degelman

Degelman Pro-till 26 User manual

Degelman PRO-TILL 14 Programming manual

Degelman

Degelman PRO-TILL 14 Programming manual

Degelman PRO-TILL 33/40 User manual

Degelman

Degelman PRO-TILL 33/40 User manual

Degelman Pro-Till 33 Programming manual

Degelman

Degelman Pro-Till 33 Programming manual

Degelman STRAWMASTER X User manual

Degelman

Degelman STRAWMASTER X User manual

Degelman PRO-CAST 80 User manual

Degelman

Degelman PRO-CAST 80 User manual

Degelman SILAGE KING Programming manual

Degelman

Degelman SILAGE KING Programming manual

Degelman PRO-TILL 30 User manual

Degelman

Degelman PRO-TILL 30 User manual

Popular Farm Equipment manuals by other brands

CONVEY-ALL BTS-115 Operator's manual

CONVEY-ALL

CONVEY-ALL BTS-115 Operator's manual

Fransgard TI-6000 manual

Fransgard

Fransgard TI-6000 manual

MacDon D1X Series Unloading and assembly instructions

MacDon

MacDon D1X Series Unloading and assembly instructions

LELY LOTUS 460 Stabilo Operator's manual

LELY

LELY LOTUS 460 Stabilo Operator's manual

sweeek. JAVA manual

sweeek.

sweeek. JAVA manual

BSL Giga-Vitesse CFS 3201 Original operating instructions

BSL

BSL Giga-Vitesse CFS 3201 Original operating instructions

Patriot equipment Snout Cone manual

Patriot equipment

Patriot equipment Snout Cone manual

Case IH Axial-Flow Series user guide

Case IH

Case IH Axial-Flow Series user guide

Landoll Tilloll 875 Series Operator's manual

Landoll

Landoll Tilloll 875 Series Operator's manual

Hardi COMMANDER 4500 Operator's manual

Hardi

Hardi COMMANDER 4500 Operator's manual

Agrimate AM-RT-212-7P user manual

Agrimate

Agrimate AM-RT-212-7P user manual

GREAT PLAINS BD7600 quick start guide

GREAT PLAINS

GREAT PLAINS BD7600 quick start guide

Spudnik 991 Owner's/operator's manual

Spudnik

Spudnik 991 Owner's/operator's manual

Raven VSN installation manual

Raven

Raven VSN installation manual

Vicon EXTRA 628 FT Operator's manual

Vicon

Vicon EXTRA 628 FT Operator's manual

Norden Mfg AF15 owner's manual

Norden Mfg

Norden Mfg AF15 owner's manual

GLEANER R66 Service manual

GLEANER

GLEANER R66 Service manual

Landoll 7822 Series Operator's manual

Landoll

Landoll 7822 Series Operator's manual

manuals.online logo
manuals.online logoBrands
  • About & Mission
  • Contact us
  • Privacy Policy
  • Terms and Conditions

Copyright 2025 Manuals.Online. All Rights Reserved.