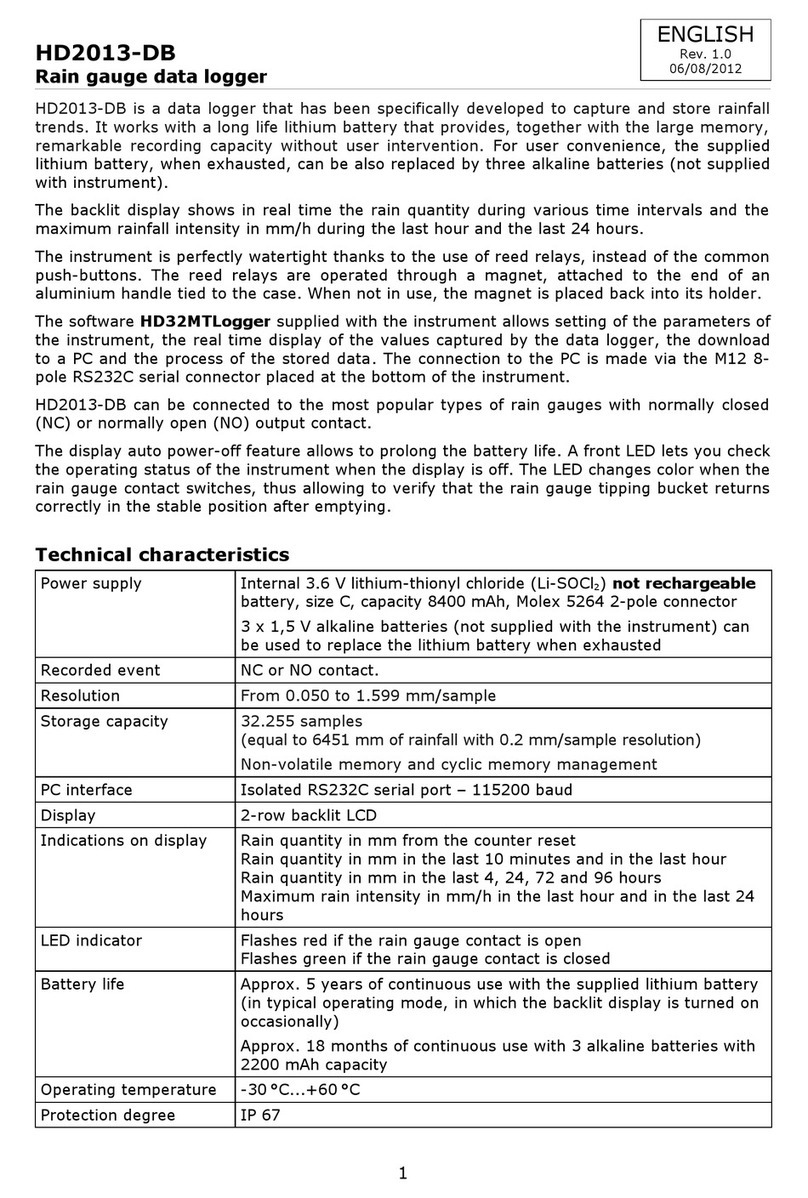
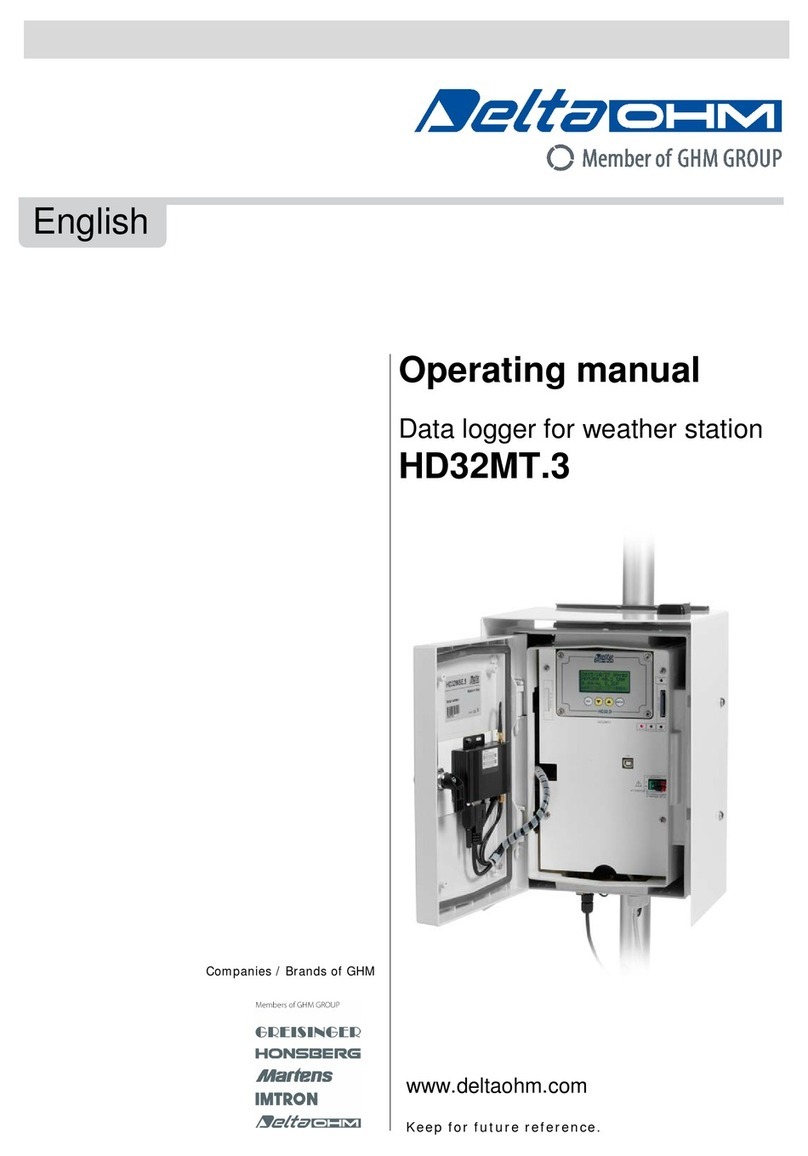
Delta OHM HD32MT.1 User manual

DeltaOhm | HD32MT.1 HD32MT TCPIP Server.docx
1
Rev. 1.0 30/03/2016
HD32MT.1
TCP/IP Server
HD32MTLogger
MeteoStudio
HD 32.D Display
QUICK START
ENGLISH

DeltaOhm | HD32MT.1 HD32MT TCPIP Server.docx
2
HD32MT.1 Power Supply
MAIN POWER
The LINE IN 100-240Vac must be connected by the correspondent input box.
After put the Backup Battery connector like figure:
PHOTOVOLTAIC POWER
If the power supply of datalogger falls below 11.0V (i.e. the battery near 12.0V), the datalogger
goes in LOW POWER Mode and suspends all measures and stops the supply to the sensors, until the
power supply goes to 11.8V.

DeltaOhm | HD32MT.1 HD32MT TCPIP Server.docx
3
HD32MT.1 TCP/IP Server Connection Mode
FIRST SETTING TCP/IP SERVER MODE
HDF2414 IP MODEM
Connect the ANTENNA wire by the correspondent inputs box, to the internal antenna terminal of
HDF2414 (IP MODEM). The antenna can be attached in the left bottom side of the box.
Take attention to put the Antenna far from electromagnetic interference.
Disconnect the green connector of the HDF2414 and connect it by the flying “Configuration
Cable” with green connector, insert your SIM Card and connect the cable to the COM of your PC
Note: previously by a mobile phone, you must disable the request of the PIN code on the SIM (if it’s active)
.
Figure 1
It’s better to disable the Windows Firewall, for example for XP:
Figure 8

DeltaOhm | HD32MT.1 HD32MT TCPIP Server.docx
4
Run the software \\Deltaohm\Programs\IP_Modem\IP Modem Configure.exe
Click Close and choose the right COM number of your PC (baudrate=115200,Parity=None), then
press Open and immediately Power on the IP MODEM (power supply of the Configuration
Cable). Take attention that the Config option should be set.
Re-Power if the software doesn’t reach the IP MODEM in the Output info.
Data Service Center Settings (Figure 2)
Put your router IP fix address (here example is 177.120.61.84) and/or TCPIP domain in the Main
Center, and if you use others address in the Backup Center and 2nd Center domain.
Near the address, put your Port number (here example is 1725) opened to your PC
Note: previously on the router, a port number must be open to your PC.
Put Main, Backup, 2nd , Center DNS.
Press the Save button. Check in Output Info the correct saving by the OK messages.
Press again the Save button if some parameter show “Save… Failed” [*].
Figure 2
IP Modem Setting (Figure 3)
Check the correct setting correspond to the below figure. It’s important to set:
Debug Level: 0
Connect Retry Times: 1000
Reconnect Time Interval: 15
Transfer Meaning: 1
Press the Save button. Check in Output Info the correct saving by the OK messages.
Press again the Save button if some parameter show “Save… Failed” [*].
Figure 3

DeltaOhm | HD32MT.1 HD32MT TCPIP Server.docx
5
Other Setting (Figure 4)
Put your APN ( for example for a Wind SIM is internet.wind)
Press the Save button. Check in Output Info the correct saving by the OK messages.
Press again the Save button if some parameter show “Save… Failed” [*].
Figure 4
[*]
Note: if some parameter shows many time “Save… Failed”, may be not so. Then click Close, and after Open, power
off /on the IP MODEM, and re-read all the parameters on the tab of the DTU Config, if are OK.
Press Reboot Enter Communication State wait some seconds and follow the next chapter.
TESTING THE TCP/IP SERVER MODE
To verify if the TCPIP Server connection works well, see the next chapter that uses the
HD32MTLogger software.

DeltaOhm | HD32MT.1 HD32MT TCPIP Server.docx
6
USING TCP/IP SERVER MODE
Reconnect the green connector of the HDF2414 and check if the other black connector is inserted
in the COM PC input of HD32MT.1 datalogger :
Figure 11
HD32MTLOGGER
The DeltaOhm software HD32MTLogger permits the configuration of the HD32MT.1 and the
single station communication:
Figure 12
Press the Service button until the Automatic Service (if it appears) show DISABLE in the bottom
Status bar.

DeltaOhm | HD32MT.1 HD32MT TCPIP Server.docx
7
TCP/IP SETUP
In the menù Tools, click Choice of instrument model and connection type and choose the
TCP/IP server connection and press Apply and Exit. Put your Port number in the menù Tools and
TCP/IP connection setup and press Apply and Exit:
Figure 13
CONNECTION STEPS
Clicking Connect, (the Automatic Service becomes DISABLE in the same way that clicking the Service button),
the software remains in the LISTEN Mode and tries to reach the HD32MT.1 of the station.
Step 1: This is the LISTEN Mode
Figure 14
Step 2: The software reach the Client IP MODEM when Reached Client appear in the status bar:
Figure 15
Note: In the Automatic Service, there is a 2.5 minutes timeout for the event “Reached Client”.

DeltaOhm | HD32MT.1 HD32MT TCPIP Server.docx
8
Step 3: the datalogger is transferring its Program settings
Figure 16
In the case of manual clicking Connect (not Automatic Service), appear also the Datalogger
Information and Password Insert windows:
Figure 17
It’s necessary to insert the correct Password if you desire to use Send Program or User code setup
functions: 00000000 (eight zeros, default setting)
Note: if you insert a new password, you must take attention to remember it
MONITOR -SEND PROGRAM -SCHEDULING
Clicking Monitor, appears the Monitor of the measurements:

DeltaOhm | HD32MT.1 HD32MT TCPIP Server.docx
9
To change the measuring Program running on the datalogger, (see also the chapter Programming
the datalogger, clicking the Help ), click Program Setup / RUNNING Program:
Figure 18
For example this Program has two storing tables, Table n.1 and Table n.2 (T1 and T2), the one that
appears on the left shows 2 minutes of data storing of Wind Speed and Direction.
When is composed a table, the quantities chosen on it, (on the example the Wind Speed and
Direction), are the same that will appear together on the graphs of HD32MTLogger and also on
MeteoStudio (see the below chapter Graphical Archive of MeteoStudio).
To send a new Program to the datalogger HD32MT.1, press the button Send Program and the
Scheduling form appears:
Figure 19
Start scheduling
It’s possible to choose which datalogger Output ALARM (1 or 2) drives the IP MODEM power.
Choosing the Status ON, the modem will be always turn on (powered off only a bit after
disconnection).
This is the only option available running with the software MeteoStudio multi stations.
Choosing the Status SCHEDULING,it’s possible to select the moment of appointment through
router and datalogger, by the Period 5th, 10th, 15th, 20th, 30th minute every hour. This option is
used only for HD32MTLogger single station.

DeltaOhm | HD32MT.1 HD32MT TCPIP Server.docx
10
No scheduling
The IPMODEM is always OFF and the TCPIP Server connection is impossible. This option is
necessary for Serial or RadioModem or TCPIP Client connections. If the HD32MT.1 has a running
Program with No scheduling option, to work with TCPIP Server mode, first you must connect your
PC to send to the datalogger a Scheduling Program, directly by RS232 cable to the COM PC input
of HD32MT.1 and choose Serial connection in the above Choice of connection type (figure 13).
Finally, pressing Send, the measuring Program with the scheduling can be send to the HD32MT.1.
With the option Start scheduling, after the sending of the Program, the software disconnects the
datalogger and puts the Automatic Service ENABLE (only for HD32MTLogger single station).

DeltaOhm | HD32MT.1 HD32MT TCPIP Server.docx
11
MeteoStudio
The DeltaOhm software MeteoStudio permits to use multi stations communicating. To use the
MeteoStudio, close the HD32MTLogger. At the first connection, accept the HD32MT.1 datalogger:
STATIONS ARCHIVE
Press File/Weather Stations to open the Weather Stations Archive (if isn’t open).
To configure a set of Stations, press the Add/Config Station button on the up right side.
Press the Browse button, and on the \\MeteoStudio directory press the “Crea nuova cartella” to
create a new folder with the name you desire, for example SunTech.
Put on the Ser. Num. the serial number of the HD32MT.1 of the station, and put on the Name, the
name of this station, for example Station 1. Press Save modifications.
Repeat for all the stations you need. For every station you can add a picture with Insert Station
Picture (.bmp max 210x210 pixel). The settings Description, file .XML, file .CSV.., Automatic
download every, aren’t important.
Press OK.

DeltaOhm | HD32MT.1 HD32MT TCPIP Server.docx
12
Press the button Setting of measures to be displayed
Appears the form where you can select the Time Zone, with the selection Use local time, viewing
for all the graphs:
Figure 20
See the chapter UTC Offset of the HD32.D Display.
Press OK.
HD32MT.1 MULTI STATIONS COMMUNICATION
Press Import from HD32MT1 and appears the Stations configured on the above Stations Archive:
For every station choose the Conn. Type (serial RS232/485 or TCPIP Client or TCPIP Server).
Then the serial port or the address (if are necessary) and the TCPIP port (if necessary). Click the
Enable download of the station you desire to connect. Choose the Download interval through
which the data coming from the stations, are memorized on the \\MeteoStudio\SunTech directory of
PC.

DeltaOhm | HD32MT.1 HD32MT TCPIP Server.docx
13
Press Start to run all the software Clients that communicate whit the stations and starts the
dumping of the data. Wait until all the stations are connected and Stop Import appears:
Every Client is independent, it’s able to connect to its station, to reconnect the station if its
communication fails, to dump the data from its storing Tables. On the above example there are three
clients running.
To finish the dumping of the data, press Stop Import and all the Clients will be closed.
Note:
For a single client is not possible to close it manually.
If the MeteoStudio crashes and it is closed with some clients at service, please wait until all the clients automatically
close themselves, before to run again the MeteoStudio.
If some client aren’t able to connect to them station, because there are problems on the line of communication through
the IP Modem and router:
So the MeteoStudio waits 5 minutes of timeout until to free the button and informs of the problem with this
message:

DeltaOhm | HD32MT.1 HD32MT TCPIP Server.docx
14
GRAPHICAL ARCHIVE
From the Weather Stations Archive, (with the clients communicating with stations or not), select a
single station by its Name or All Stations option:
Then appears a tree with year/month and day and all the Tables coming from the stations, for
example T1 and T2 (see the above chap. Monitor-Send Program -Scheduling of HD32MTLogger )
Double click for example over T2 and only first will appear the message about the type of
measurements and sensors, press OK:
Note:
The quantities on a table, are already chosen to stay together, during the composing of the Table (see the above Fig.18
chapter Monitor-Send Program-Scheduling), and there is no necessity to specify the type of sensor or the unit.

DeltaOhm | HD32MT.1 HD32MT TCPIP Server.docx
15
Here the multi stations graphs of all the data for every Table T2:
To choose the format of every graph, use the window Select the graph to draw, station by station:
To close all the graphs opened:

DeltaOhm | HD32MT.1 HD32MT TCPIP Server.docx
16
HD32.D Display
When the IP MODEM isn’t running with MeteoStudio or HD32MTLogger connected, press the
ESC button in the HD32.D Display.
After the WAITING FOR.. status, the Display show all the sensors measurements.
When the IP MODEM is running, after a timeout, the Display stops all measures and goes to mode
switch OFF.
Note:
If the Display shows some WAITING MEASURE, press ESC and wait a new re-connection.
With MeteoStudio or HD32MTLogger connected to the IP Modem, the Led On-Line of the modem is green fixed, and
the HD32.D Display shows BYPASS MODE ACTIVATED.
UTC OFFSET
If the HD32.D Display is equipped with GPS sensor, the Clock of the datalogger is adjusted from
the HD32.D Display and is always set to the UTC time.
Do not change the HD32MT.1 clock with the button of the HD2MTLogger.
All the data on the graph of MeteoStudio can be relative to a specific Time Zone. To set this, you
must change the UTC OFFS of the HD32.D Display:
When the Display is showing measurements, after pressing ESC, immediately press the down
arrow until SELECT UTC OFFS appears and then press ENTER. After, adjust your Time Zone
with the Up/Down arrows and press ENTER (see the above Figure 20 chapter Stations Archive).
Table of contents
Other Delta OHM Data Logger manuals
Delta OHM
Delta OHM DO2003 User manual

Delta OHM
Delta OHM HD50CR-AS User manual

Delta OHM
Delta OHM HD50R-MB User manual
Delta OHM
Delta OHM HD32.7 User manual

Delta OHM
Delta OHM HD32.1 User manual
Delta OHM
Delta OHM HD32.8.8 User manual
Delta OHM
Delta OHM HD 2013 Series User manual
Delta OHM
Delta OHM DO 9721 User manual
Delta OHM
Delta OHM DO 9847K User manual

Delta OHM
Delta OHM HD37B17D User manual
