BMW
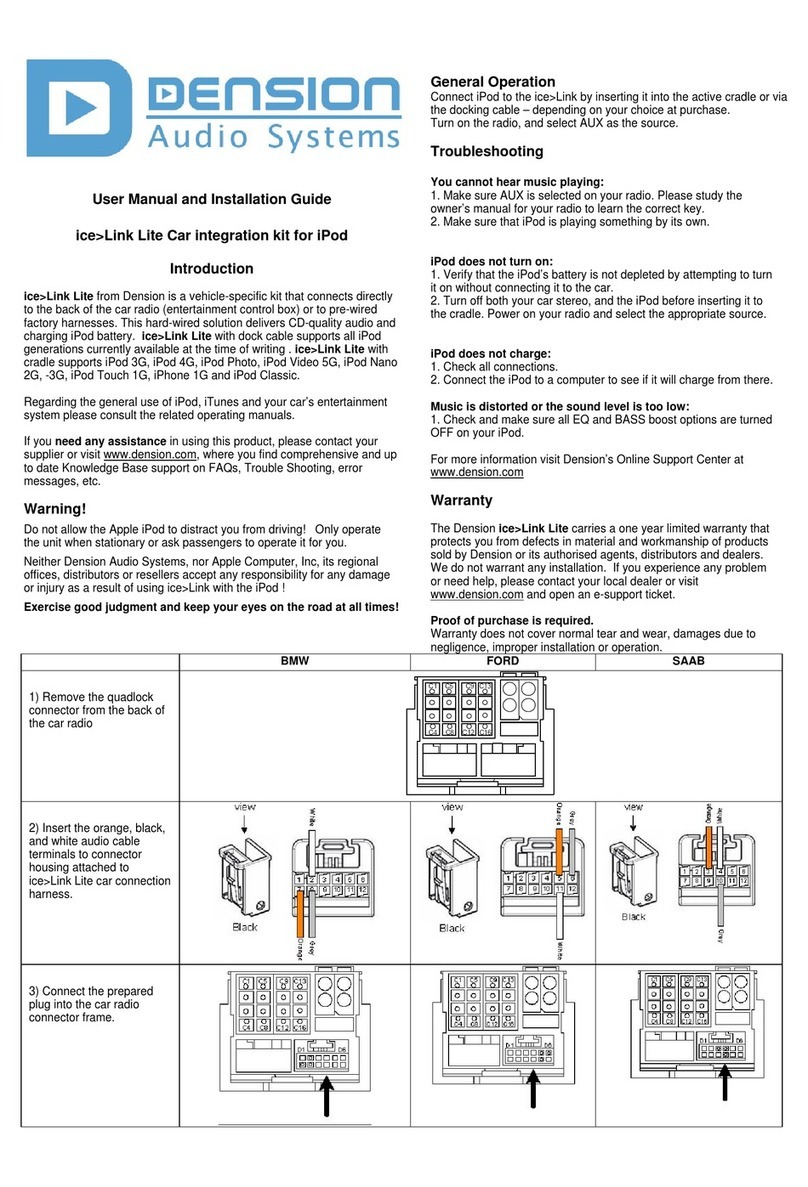
First carefully remove the Head Unit (radio) module from the dashboard as
described in the factory instructions and using the correct tools.
Remove the optical cable and the Quadlock connector. Follow the
recommended installation on Fig 2., connect our Quadlock cable to the
Head Unit and connect the original female Quadlock to the male end of
our cable. For further details, please check Fig. 5.
3. HOW TO USE THE GEN TOOL
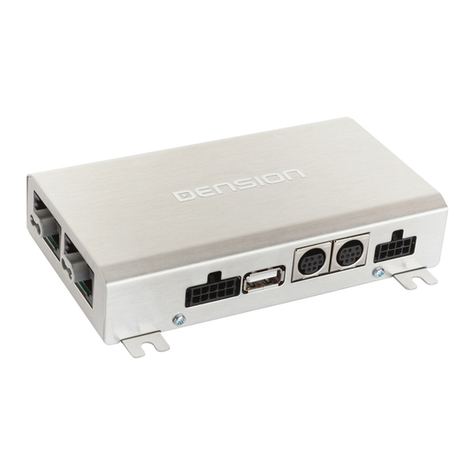
At rst you need to use the GEN enabler tool for enabling the TV-Tuner and
VIM (Video in Motion) functions. The Activator tool is delivered in a ready-
to-enable state, which means that when plugging the Activator tool into a
vehicle, it will perform the enabling process automatically. Please follow the
steps below:
Turn the ignition ON and connect the Activator tool to the OBD
connector. The enabling procedure starts immediately and takes approx.
1 minute. During the enabling procedure the status signal LED is ickering
yellow (Do not remove within this time). When the enabling procedure is
nished successfully the LED will turn to permanent green (Now it is safe to
disconnect).
5. DISCLAIMER AND WARRANTY
Disclaimer
The Activator tool does not have all vehiclediagnostics and conguration
functions that are available in other diagnostics tools. It is meant to help
gateway installations only and to work on the majority of BMW and Audi cars.
Despite all eorts and several tests, Dension and its authorized distributors
and retailers cannot guarantee for all vehicles that by using the Activator
tool there is no need for enabling with a professional diagnostics tool.
The Activator tool can in many cases replace the enabling functions of
a professional diagnostics tool, but in no way replaces the professional skills
of a trained installer.
If your car’s electrical system begins to behave erratically, please
disconnect the Activator tool and the Gateway interface immediately and
have it checked by your installer. Dension and its authorized distributors and
retailers are not liable for any incidental consequential or indirect
damages or loss and do not assume liability for any diagnostic fees.
Dension reserves the right to modify its products or specications without
prior notice.
Warranty
Dension devices carry a one-year limited warranty that protects you from
defects in material and workmanship of products sold by Dension or its
authorized distributors and retailers. Dension does not warrant any installation
work or assume liability for any damage caused due to negligence, improper
installation or operation. For warranty claims, proof of purchase is required.
Further assistance
If you need further assistance in using your Dension product, please contact
your local supplier or visit www.dension.com and click on ‘Support’.
If any problem arise during the activation procedure, please check the
download section for the latest rmware version and product documentation,
as these may provide additional features, compatibilities or descriptions.
(Fig. 5)
Connect the VMX module and the connector port to the Gateway hardware.
When all devices and cables are connected and powered (as it can be seen
on the above diagram) you can continue with the next step, which is the
enabling procedure by GEN enabler.
Active mode
(Blue LED solid)
Status LED
Reset button
Bypass mode
(LED ashing) USB connector
(for SW update only)
Remove the original Quadlock harness and replace it with our cable.
Connect the original female Quadlock harness (which was removed from the
Multimedia device) onto the male end of our cable.
Disconnect the video cable from the Multimedia device (if available) and
connect our video cable. The original must be connected to the VMX video-in
socket. For further details, please check the hardware installation
diagram. (Fig. 4)
Connect the VMX module and the connector port to the Gateway hardware.
When all devices and cables are connected and powered (as it can be seen
on the above diagram) you can continue with the next step, which is the
enabling procedure by GEN enabler.
(Fig. 4)
After the activation procedure turn your Audio System OFF (turn ignition OFF,
remove the car key and close the doors) and wait approximately 2-3 minutes.
After the required time period you can test the system functionality if the
Gateway was already installed.
The Activator tool is capable of enabling almost all BMW and Audi (only A6
at the moment) vehicles with a CCC Professional or MMI3 system, (see the
compatibility table above). However, there may be very specic vehicle
congurations and set-ups where the Activator tool is not operational and
the enabling procedure cannot be completed. In such cases the LED on
the Activator tool turns RED at the end of the enabling procedure (after 2-3
minutes). In this case please make sure that the ignition was turned ON.
If the problem still persists after retrying, please contact your local supplier or
open a ticket at www.dension.com/support.
Alternatively the necessary functions (TV-Tuner and VIM) can be programmed by
dealer or other car service.
Important note
Once the Enabler Tool is utilized the Enabler gets linked to the car it was
installed on.
Therefore:
• You cannot enable multiple cars with a single GEN tool.
• Keep the GEN tool with the owner of the Gateway as it may be needed
in the future
4. CONNECTOR PORT
On the connector port there is a mode selector switch, which lets you to
toggle between two dierent modes Active / Bypass mode. In Bypass mode
(LED ashes), the iCon drive will be fully ‘invisible’, so no functions - as media
playback from iPod or the phone - will be accessible.
Use this mode if:
1, You want to use the original TV-tuner (if available)
2, If the car is taken in for service
