manuals.online logo
Brands
  1. Home
  2. •
  3. Brands
  4. •
  5. DENTAURUM
  6. •
  7. Dental Equipment
  8. •
  9. DENTAURUM palex screws User manual

DENTAURUM palex screws User manual

9. Availability
Description straight legs bent legs Quantity
palex®Mini–7
(Expansion 7 mm)
602-800-11
602-800-31
602-800-55
602-801-11
602-801-31
602-801-55
1 piece
10 pieces
50 pieces
palex®Medium–10
(Expansion 10 mm)
602-808-11
602-808-31
602-808-55
602-840-11
602-840-31
602-840-55
1 piece
10 pieces
50 pieces
palex®Maxi–12
(Expansion 12 mm)
602-811-11
602-811-31
602-811-55
602-812-11
602-812-31
602-812-55
1 piece
10 pieces
50 pieces
Packages (1 piece / 10 pieces): with 1 / 10 safety key(s)
Packages (50 pieces): with 1 safety key
Safety key 611-120-00 10 pieces
Universal bending tool 611-122-00 1 piece
10. Quality information
Dentaurum guarantees the perfect quality of its products. These
recommendations are based upon Dentaurum´s own experiences. The user is
solely responsible for the processing of the products. Responsibility for failures
cannot be taken, as we have no influence on the processing on site.
11. Explanation of symbols used on the label
Please refer to the label. Additional information can be found at
www.dentaurum.com (Explanation of symbols REF989-313-00).
Information for the doctor / patient
Before the palex®appliance is cemented into position, turn the spindle (screw)
slightly 2–3 quarter turns in the direction of the arrow to test the function.
Then turn back to the original position.
Turn the palex®screw only in the direction of the arrow. Opening and closing
the screw several times during the treatment can cause its malfunction. The
finished palex®appliance is cemented into position in the usual manner. Please
observe the instructions from the cement manufacturer.
Following this, the screw is turned four times by 90° using the blue
safety key (REF 611-120-00) for this purpose. One full 360° turn of the
spindle = 0.8 mm expansion.
The patient should turn the screw two times by 90° both in the morning and
evening (according to your instructions) until the desired expansion is achieved.
#
Important: Use only the blue safety key supplied, as this cannot accidentally
be swallowed.
Regular visits are recommended to monitor progress.
The palex®appliance is secured against unwanted turning-back, after the
desired degree of expansion is achieved, by fitting a ligature or blocking
with acrylic. For stabilization the appliance should remain in the mouth for
approximately 2–3 months.
A retainer should be worn following removal of the palex®appliance.
The product should not be used, if there is a known allergic reaction
to one or more of the material components.
Instructions for use
palex®screws
(Biederman)
US
989-516-21 Printed by Dentaurum Germany 10/18/B/R1-22
 For more information on our products,
please visit www.dentaurum.com
 Our orthodontic technicians are available to answer
any questions you may have regarding our products:
Customer Service: Phone 800 523 3946
[email protected]
Date of information: 10/18
Subject to modifications
Dentaurum Inc. | 2050 Cabot Boulevard West, Suite 100 | Langhorne, PA 19047 I USA
Phone +1- 800 -523- 3946 I Fax + 1 -800- 553 -6389 | www.dentaurum.com I [email protected]
Dear Customer
Thank you for choosing a quality product from Dentaurum.
In order to achieve the best results with this product, it is important to carefully
study and follow these instructions for use.
Instructions for use cannot describe every eventuality and possible application.
In case of questions or ideas, please contact your local representative.
Due to constant developments we recommend, even when you use our
products regularly, to study the enclosed current instructions for use or to refer
to our website at www.dentaurum.com.
1. Manufacturer
Dentaurum GmbH & Co. KG
Turnstr. 31 | 75228 Ispringen | Germany
2. General product description
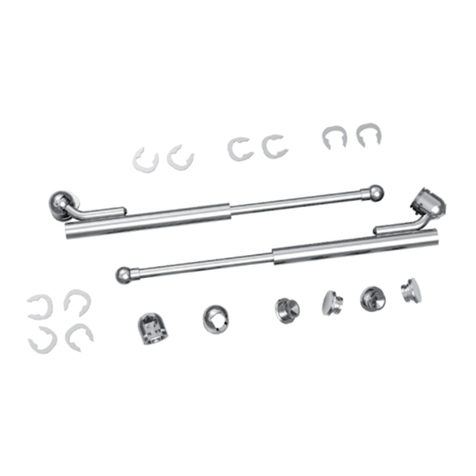
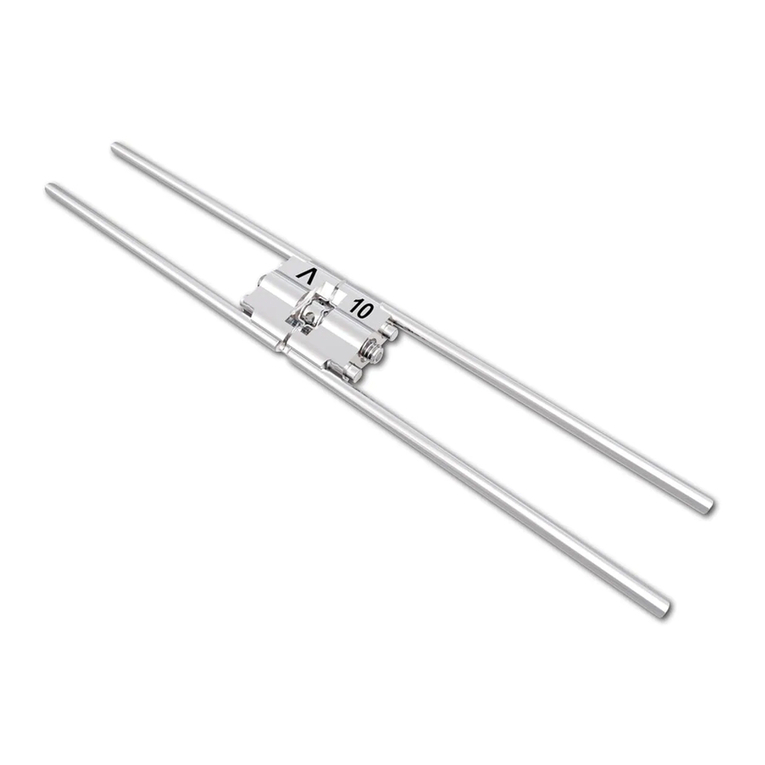
The palex®screw (Palatal Expansion Screw) is a special screw for rapid palatal
expansion. The retention legs of the palatal expansion screw are welded onto
preformed metal bands or cap splints. Alternatively, they can be polymerized
into acrylic splints. The bands or splints are cemented in the usual way. Please
observe the instructions from the cement manufacturer.
3. Area of application
Used for rapid palatal expansion with a fixed appliance.
4. Fabricating a palex®appliance using the example of preformed
bands
Preformed bands are fitted on the maxillary left and right 1st bicuspids
and left and right 1st molars. These bands are transferred to a dental stone
model using an impression or fitted to a dental stone model. The legs of the
palex®screw are then bent to fit the bands so that they can be welded into
place (Fig. 1).
Fig. 1
Fig. 2
Fig. 3
Fig. 4
Fig. 5
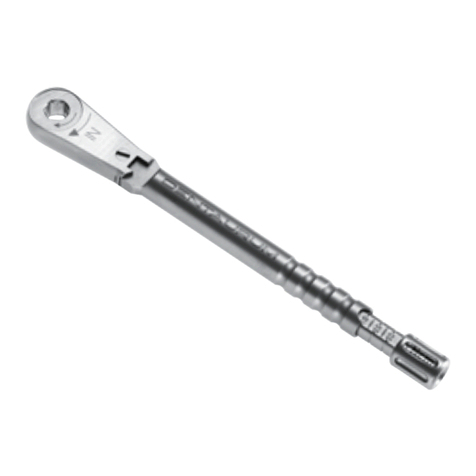
Universal bending tool
REF 611-122-00
Safety key
REF 611-120-00
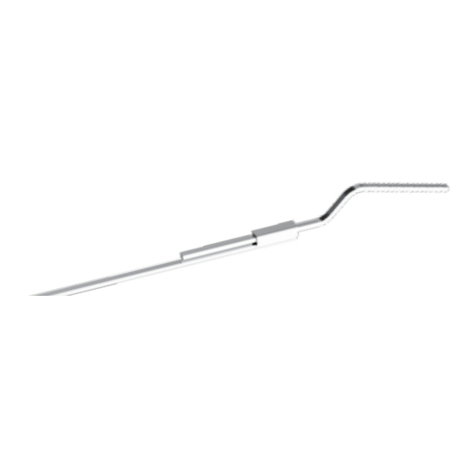
To prevent the legs from breaking during bending, we recommend using our
universal bending tool (REF 611-122-00, Fig.4). If one is not available,hold the
legs against the body of the expansion screw, using strong flat pliers (Fig. 5).
The palex®screw should „float“ freely at least 1–2 mm above the palate
roof/gingiva (Fig. 2). Its posterior side should form a straight line with the
mesio palatal cusps of the 1st molars.To avoid any leverage effect, it should be
ensured that the occlusal level is parallel.
5. Information on use of palex®screws
To increase strength, the bands can be joined on the buccal and/or lingual side
with a piece of 1.0 mm remaloy®wire (REF 528-100-00). Laser weld these
wires above the legs. The palatal strengthening wire should project slightly
beyond the bands and be supported by the adjacent teeth to allow better
distribution of expansion forces.
Easy, problem-free bending of the retention legs of palex®screws with the
universal bending tool (REF 611-122-00), without the use of additional pliers
(leverage principle).
To prevent the legs from breaking during bending, they should be held against
the body of the expansion screw using strong flat pliers e.g. Maxi wire-bending
pliers (REF 013-522-00).
When using the soldering technique please protect the body of the screw
against excessive heat, e.g. with heat screen (REF 380-070-00).
6. Composition
The composition is included in the materials list, refer to www.dentaurum.com.
7. Safety information
Always use the blue safety key (REF 611-120-00) to prevent swallowing! The
product should not be used, if there is a known allergic reaction to one or more
of the material components.
8. Information on single-use products
The product is intended for single use only. Reconditioning of a product that
has already been used (recycling) and its reuse on a patient is not permitted.
Other DENTAURUM Dental Equipment manuals

DENTAURUM discovery pearl User manual

DENTAURUM

DENTAURUM discovery pearl User manual

DENTAURUM discovery sl 2.0 User manual

DENTAURUM

DENTAURUM discovery sl 2.0 User manual

DENTAURUM discovery pearl User manual

DENTAURUM

DENTAURUM discovery pearl User manual

DENTAURUM Variety User manual

DENTAURUM

DENTAURUM Variety User manual

DENTAURUM hyrax User manual

DENTAURUM

DENTAURUM hyrax User manual

DENTAURUM discovery sl User manual

DENTAURUM

DENTAURUM discovery sl User manual

DENTAURUM discovery pearl User manual

DENTAURUM

DENTAURUM discovery pearl User manual

DENTAURUM tomas uprighting spring User manual

DENTAURUM

DENTAURUM tomas uprighting spring User manual

DENTAURUM Orthocryl LC User manual

DENTAURUM

DENTAURUM Orthocryl LC User manual

DENTAURUM tomas X marker User manual

DENTAURUM

DENTAURUM tomas X marker User manual

DENTAURUM SUS2 User manual

DENTAURUM

DENTAURUM SUS2 User manual

DENTAURUM tiologic User manual

DENTAURUM

DENTAURUM tiologic User manual

DENTAURUM amda User manual

DENTAURUM

DENTAURUM amda User manual

DENTAURUM Herbst IV User manual

DENTAURUM

DENTAURUM Herbst IV User manual

DENTAURUM tomas handpiece User manual

DENTAURUM

DENTAURUM tomas handpiece User manual

DENTAURUM Assistent 3000 User manual

DENTAURUM

DENTAURUM Assistent 3000 User manual

DENTAURUM tomas torque ratchet User manual

DENTAURUM

DENTAURUM tomas torque ratchet User manual

DENTAURUM Assistent 3000 User manual

DENTAURUM

DENTAURUM Assistent 3000 User manual

DENTAURUM Assistent 3000 User manual

DENTAURUM

DENTAURUM Assistent 3000 User manual

DENTAURUM hyrax click User manual

DENTAURUM

DENTAURUM hyrax click User manual

DENTAURUM tiologic User manual

DENTAURUM

DENTAURUM tiologic User manual

DENTAURUM Herbst I User manual

DENTAURUM

DENTAURUM Herbst I User manual

DENTAURUM Paratherm User manual

DENTAURUM

DENTAURUM Paratherm User manual

DENTAURUM tomas screw driver User manual

DENTAURUM

DENTAURUM tomas screw driver User manual

Popular Dental Equipment manuals by other brands

Codent APOLLO Series Operation Manual & Maintenance Guide

Codent

Codent APOLLO Series Operation Manual & Maintenance Guide

Shofu BlueShot Instructions for use

Shofu

Shofu BlueShot Instructions for use

DentalEZ RAMVAC Utility user manual

DentalEZ

DentalEZ RAMVAC Utility user manual

rayence EzSensor Classic quick guide

rayence

rayence EzSensor Classic quick guide

Eighteeth UltraMint user manual

Eighteeth

Eighteeth UltraMint user manual

DENTSPLY CEREC MC X Cleaning and maintenance

DENTSPLY

DENTSPLY CEREC MC X Cleaning and maintenance

Kuraray America Clearfil Majesty ES-2 Instructions for use

Kuraray America

Kuraray America Clearfil Majesty ES-2 Instructions for use

Ivoclar Vivadent Bluephase Style 20i Instructions for use

Ivoclar Vivadent

Ivoclar Vivadent Bluephase Style 20i Instructions for use

Carestream DENTAL CS 9000C user guide

Carestream DENTAL

Carestream DENTAL CS 9000C user guide

ASI Triton Advanced Dental System 2025M Operation & service manual

ASI

ASI Triton Advanced Dental System 2025M Operation & service manual

Eighteeth HyperLight user manual

Eighteeth

Eighteeth HyperLight user manual

Dentsply Sirona ProPex II user manual

Dentsply Sirona

Dentsply Sirona ProPex II user manual

Renfert EASY view 3D quick start guide

Renfert

Renfert EASY view 3D quick start guide

Zubler VARIOstar Series instructions

Zubler

Zubler VARIOstar Series instructions

EMS AirFlow Master Piezon Operation instructions

EMS

EMS AirFlow Master Piezon Operation instructions

DeguDent Multivac compact Instructions for use

DeguDent

DeguDent Multivac compact Instructions for use

KaVo EXPERTmatic LUX E25 L Instructions for use

KaVo

KaVo EXPERTmatic LUX E25 L Instructions for use

Satelec Acteon Piezotome 2 user manual

Satelec Acteon

Satelec Acteon Piezotome 2 user manual

manuals.online logo
manuals.online logoBrands
  • About & Mission
  • Contact us
  • Privacy Policy
  • Terms and Conditions

Copyright 2025 Manuals.Online. All Rights Reserved.