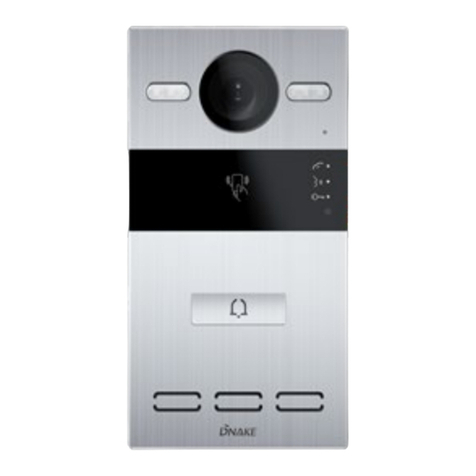
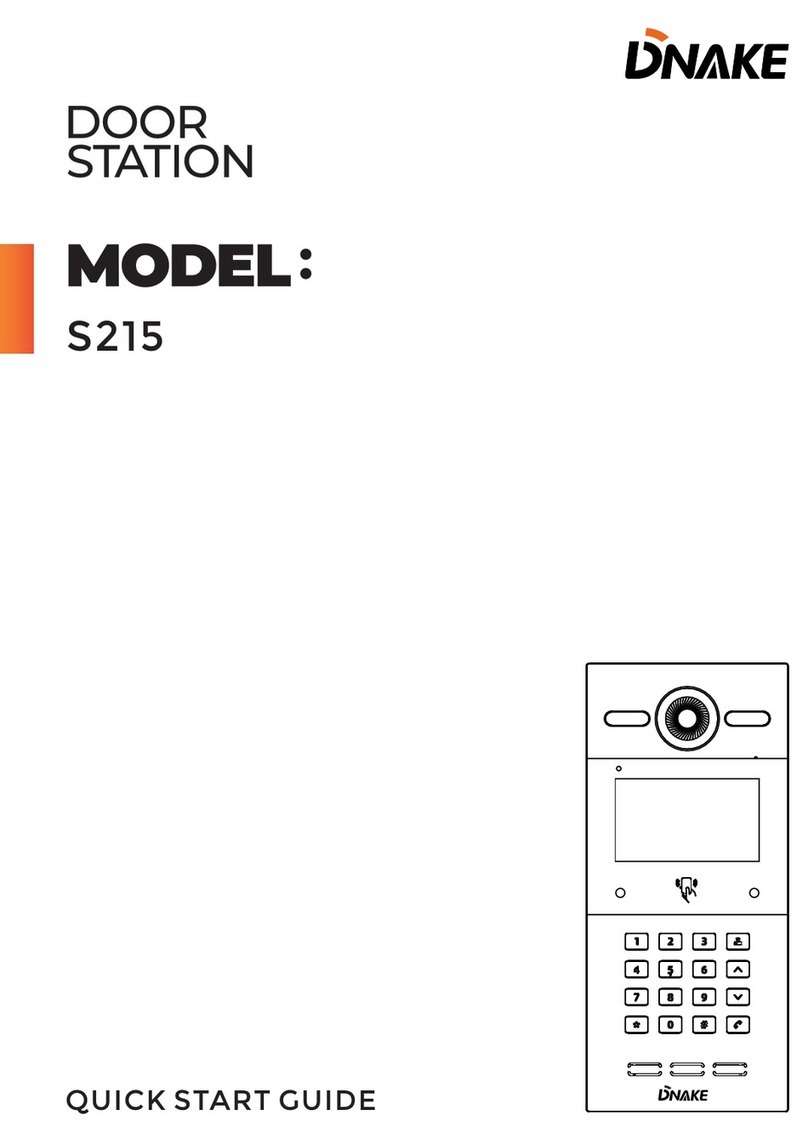
Dnake 905D-Y4 User manual

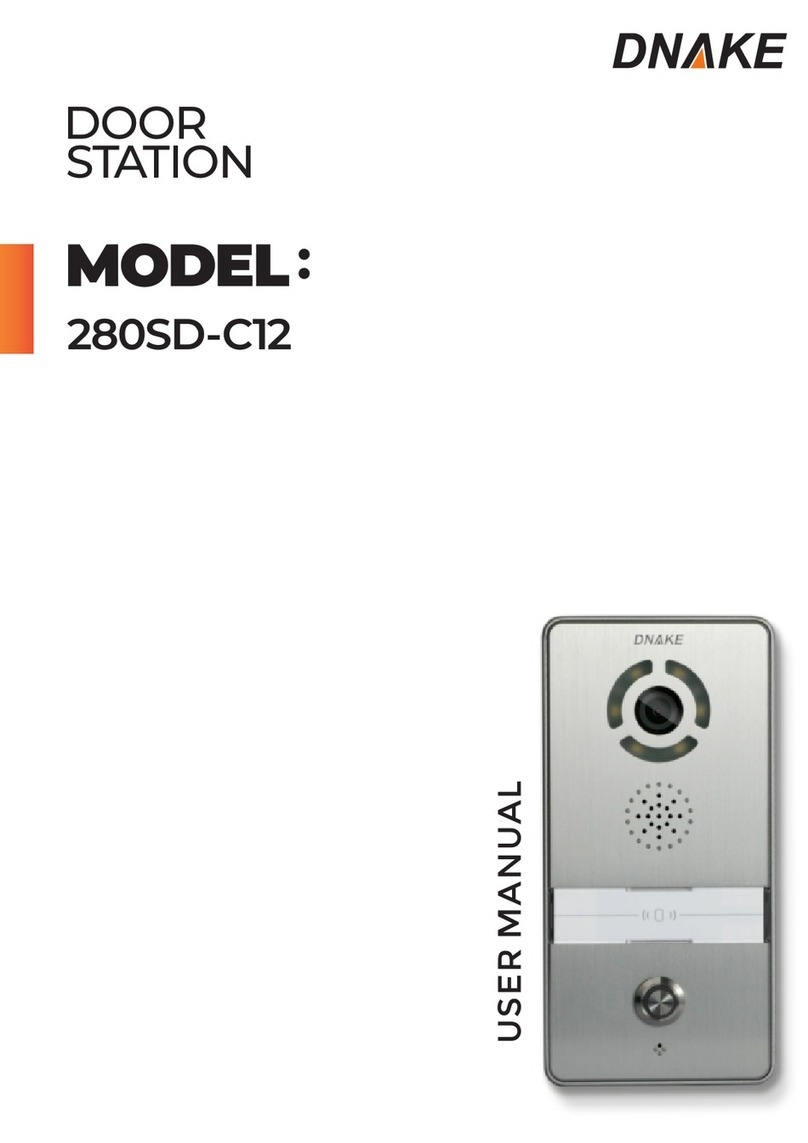
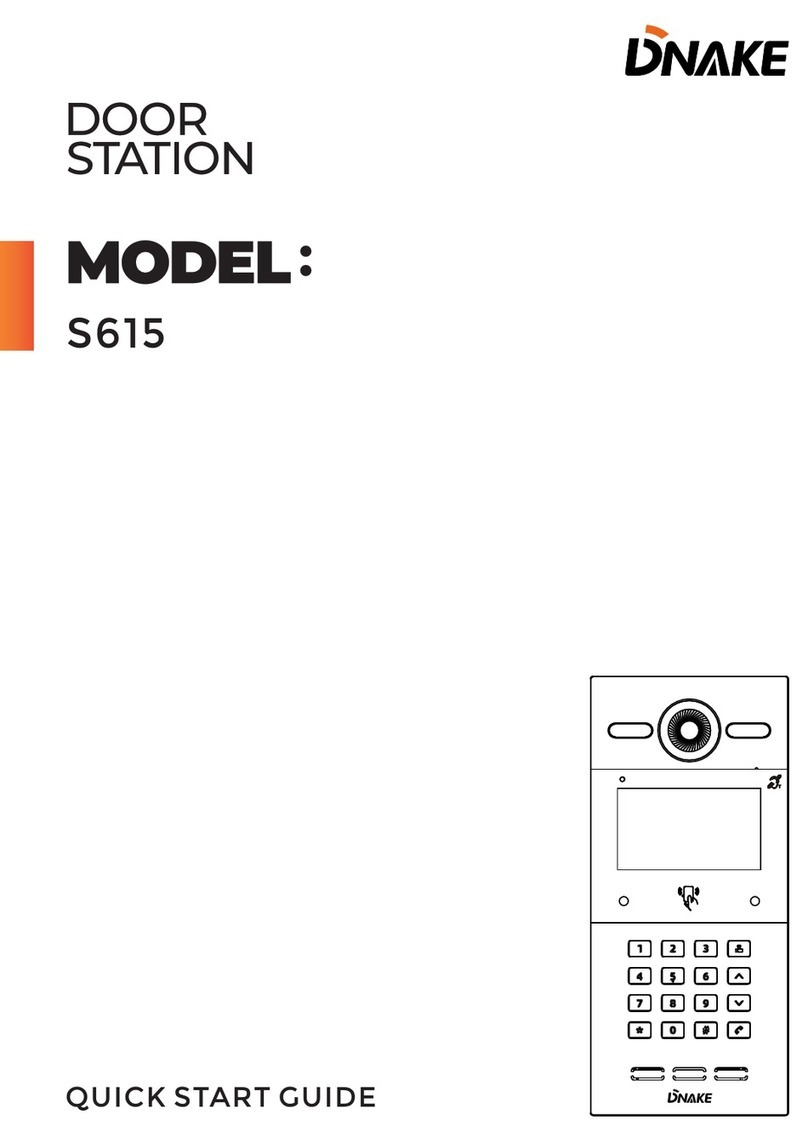
Model: 280SD-C12
280SD-R2
280SD-R5
Quick Start Quide
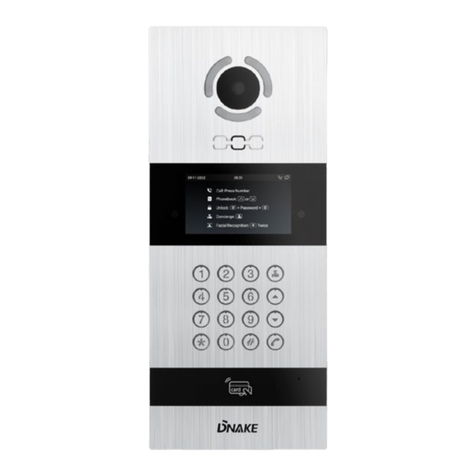
Door Station
The picture is only a schematic diagram. The actual product shall prevail.
USER MANUAL

Please follow the user manual for correct installation and
testing. If there is any doubt please call our tech-supporting
and customer center.
Our company applies ourselves to reformation and
innovation of our products. No extra notice for any change.
The illustration shown here is only for reference. If there is
any difference, please take the actual product as the
standard.
The product and batteries must be handled separately from
household waste. When the product reaches the end of
service life and needs to be discarded, please contact the
local administrative department and put it in the designated
collection points in order to avoid the damage to the
environment and human health caused by any disposal. We
encourage recycling and reusing the material resources.
REMARK

CATALOG
Technical Parameters...............................................1
Package Contents ....................................................1
Basic Function..........................................................1
Pictures.....................................................................2
Basic Operations......................................................3
Basic Settings ..........................................................5
Web Settings ..........................................................14
System Configuration ............................................20
System Diagram.....................................................21
Installation..............................................................24
Troubleshooting .....................................................26
Safety Instructions .................................................27

TECHNICAL PARAMETERS
1
1. Working voltage: DC12V
2. Rated power: 25W
3. Standby power: 5W
4. Working temperature: -40℃~+55℃
5. Storage temperature: -40℃~+70℃
6. Working Humidity: 10% to 90% (noncondensing)
8. RAM: 2GB
9. ROM: 8GB
10. Camera: 1920*1080CMOS
PACKAGE CONTENTS
Quick Start Guide
Door Station Screw Expansion Tube Screw Wrench
BASIC FUNCTION
1. Video intercom with indoor monitor and master station;
2. Support unlocking by IC card;
3. It can register IC card information on the door station and store up to
100,000 IC cards;
4. Support password unlocking and exit button unlocking;
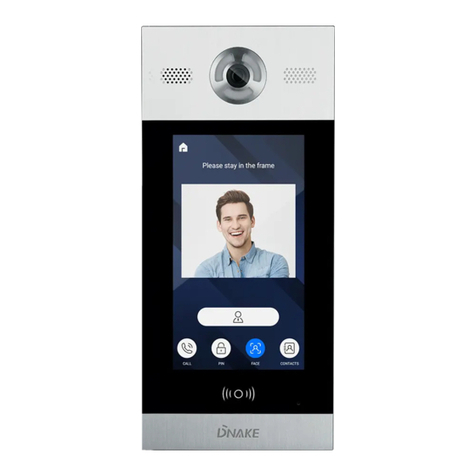
5. Support face recognition function;

Package Contents
Please make sure the package contains the following items:
2
PICTURES
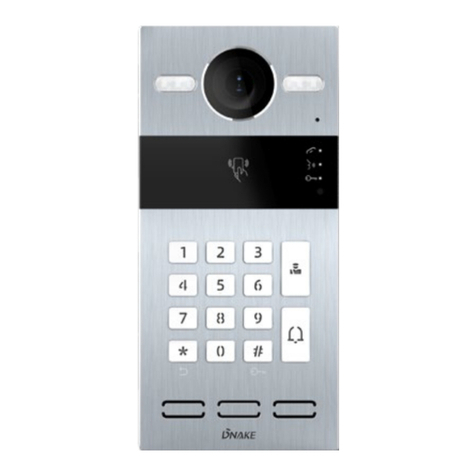
LED Light
Display
Camera
Microphone
Card reader area
Speaker

3
BASIC OPERATIONS
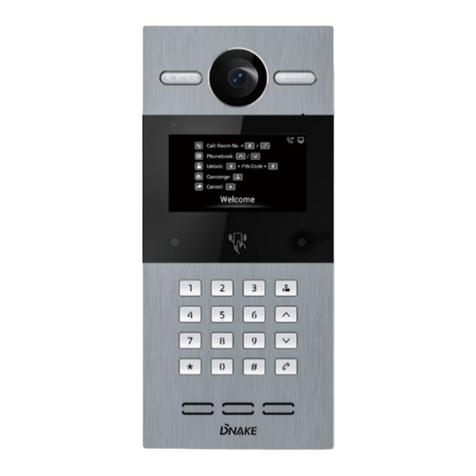
After the door station is powered on, the LCD display is shown as below:
Call: RoomNo+#
Center: 0000+#
Unlock: #+PSW+#
Cancel: Press*
Admin:
Press * twice to start face recognition.
In a standby mode, inputting "0000"(4 digits) on door station, the LCD display
is as shown as below, then press “#” to enter the call state.
Note: During communication, pressing “*” on the door station, the call will be
cut off.
Call: RoomNo+#
Center: 0000+#
Unlock: #+PSW+#
Cancel: Press*
0000
Press * twice to start face recognition.

4
1. Calling indoor monitor
In a standby mode, input room number on door station, for example, when
inputting "123" on door station, the LCD display will show as below, then press
“#” to enter the call state.
Call: RoomNo+#
Center: 0000+#
Unlock: #+PSW+#
Cancel: Press*
123
Press * twice to start face recognition.
2. Unlock the door
2.1. Unlocking by access password
In a standby mode, press “#” key and enter the access password(default is
0000). Then press “#” key to confirm. If the password is correct, the door
will be unlocked; if not, it will make a sound like “Deng Deng”.
Call: RoomNo+#
Center: 0000+#
Unlock: #+PSW+#
Cancel: Press*
Password
Press * twice to start face recognition.

5
2.2. Unlocking by IC card
Put the registered IC card on card reader area of the door station. If
successful, the door will be unlocked.
2.3. Unlocking by Face Recognition
When someone looks at the LCD screen, door station will automatically
start the face recognition or the user can press the “*” key twice to enable
the face recognition. If the face has been registered, the door will be
unlocked.
BASIC SETTINGS
Pressing the "#" key twice, LCD display will show as below. Enter six-digit
admin password(default password: 123456) and go to settings.
Call: RoomNo+#
Center: 0000+#
Unlock: #+PSW+#
Cancel: Press*
Admin:
Press * twice to start face recognition.

6
System settings
Dev i ce Set ting s Net work Se ttin gs
Acc ess Set ting s Fac e S ett i ngs
Mis c S e tti ngs Abo u t S yst em
In System Settings page, you can set the following items.
1. Device settings
Press to enter the following setting interface:
OK
Device S ettings
Mode: Unit Panel
Language: English
Building: 1
Unit: 1
Index: 1
Password: 123456
Volume: 6
Size: 640x480
1.1 Device Mode
The device can be used as unit panel or wall panel. The device mode
can be set through the item "Mode".

7
Press “OK” to confirm after inputting. When the door station gives an
indication tone, it means that it is changed successfully. If the device is
used as unit panel, it can only call the indoor monitors in this unit. If the
device is used as wall panel, it can call all the indoor monitors in the whole
community.
1.2 Language, Volume and Size
The language, volume and size (resolution) are set in the same way as
the settings of device mode. "Language" is used to set the language to be
shown on the door station, supporting simplified Chinese, English,
traditional Chinese and Spanish. "Volume" is used to set the prompt tone of
door station, including 1-6 volume levels selection. There is 320x240,
640x480 or 1280x720 for the size.
1.3 Building No., Unit No., Index and Password
Select the item to set Input the number to change Press “OK” to
confirm. When the door station gives an indication tone, it means that it is
changed successfully.
Note: Please keep the admin password confidential. If the password is
forgotten, the user will not be able to log into the system. The password
can only be recovered by resetting to factory defaults.
2. Network Settings
Press to enter the following setting interface:

8
DHCP: Enable
IP: 192.168.68.90
Mask: 255.255.255.0
Gateway: 192.168.68.1
DNS: 8.8.8.8
Server: 192.168.12.40
Network Settings
OK
2.1 DHCP
Select this item to go to settings. Press “OK” to confirm after inputting.
When the door station gives an indication tone, it means that it is changed
successfully. The user can enable or disable the function.
2.2 IP
The default IP address of the system is 192.168.68.90. The LCD screen will
display as shown above. As for the devices which are connected on the
same LAN (the same subnet of network segment), their IP addresses
cannot be the same.
2.3 Mask
The system default is 255.255.255.0. The LCD screen will display as shown
above.
2.4 Default Gateway
It refers to the gateway address for network segment of device’s IP
address. The system default is 192.168.68.1. The LCD screen will display as
shown above.
2.5 DNS
The system default is 8.8.8.8. The LCD screen will display as shown
above.

9
2.6 Server
The server address refers to the IP address of computer with
management software. In case that management software isn’t required
for managing the intercom devices, this setting is invalid. The default IP
address of server is 192.168.12.40. The LCD screen will display as shown
3. Access Settings
Press to enter the following setting interface:
Timeout: 8
Delay: 5
Elev Refer: 12
Password: 123456
Encryption: Enable
OK
Access Settings
3.1 Timeout
The item is used for controlling the unlocking time, namely, how long it will
take the door to shut automatically after unlocking.
Select this item to go to settings. Input any number from 1 to 9. If the user
enters the number 8, it means the unlocking time is set at 8 seconds. Press
“OK” to confirm after inputting. When the door station gives an indication
tone, it means that the time is changed successfully.
Input any number from 1 to 9. If the user enters the number 8, it means the
unlocking time is set at 8 seconds. Press “OK” for confirmation after
inputting. When the outdoor panel gives an indication tone, it means that
the time is changed successfully.

10
3.2 Delay
The item is used for setting the delayed opening time, meaning how long it
will delay unlocking the door after the user presses the unlock button on
the indoor monitor.
Select this item to go to settings. The LCD screen will display as shown
above. Input any number from 1 to 9. If the user enters the number 5, it
means the delayed opening time is set at 5 seconds. Press “OK” to confirm
after inputting. When the door station gives an indication tone, it means
that the time is changed successfully.
3.3 Password
The item is used for setting the password to unlock the door. Press this item to
go to settings. Press “OK” to confirm after inputting. When the door station
gives an indication tone, it means that it is changed successfully.
3.4 Elev Refer (This item can only be used after connection to elevator
control devices)
The item is used for setting the floor No. of door station.
Select this item to go to settings. The LCD screen will display as shown
above. Set the floor No. of door station ranging from 01 to 99. After the
door is unlocked, the elevator will reach the floor of door station. Press “OK”
to confirm after inputting. When the door station gives an indication tone,
it means that it is changed successfully.
3.5 Encryption
Select this item to go to settings. Press “OK” to confirm after inputting.
When the door station gives an indication tone, it means that it is changed
successfully. The user can enable or disable the function.
4. Face Settings
Press to enter the following setting interface:

11
The item “Recognizer” is used for setting the state of recognizer function.
“Disable” means the function has been closed. Press this item to go to
settings. Press “OK” to confirm after inputting. When the door station gives
an indication tone, it means that it is changed successfully.
The item “Similarity” is used for setting the face similarity. There are 3 levels
to choose.
The item “Live Detect” means if you can move when being recognized.
The item “Identify” is used to enable or disable continuous face recognition.
The item “Register” is used for recording the new face. Enter the Room
number and then register the face on the system of door station. When the
system gives a prompt tone, it means the registration is completed.
The item “Face Clear” is used for clearing the registered information. Enter
"1#" and then press “OK” to confirm.
5. Misc Settings
Press to enter the following setting interface:
Recognizer: Disable
Similarity: Low
Live Detect: Enable
Identify: Enable
Register: Room No.
Face Clear: Press 1#
OK
Face Settings

12
RoomNum: Room No.
Card:
Reboot: Press 1#
Default: Press 1#
OK
Misc Settings
The item “RoomNum” is used for registering the access card corresponding
to the room number. Select this item to go to settings. Press “OK” to
confirm after inputting. When the door station gives an indication tone, it
means that it is changed successfully.
Enter the room number and then place the access card close to the card
reader area. When the door station gives an indication tone, it means that
the card has been registered successfully. Then the No. of registered card
will be displayed.
The item “Reboot” is used for restarting the door station. Enter the number
“1#” and then press “OK” to confirm. The system will restart automatically.
The item “Default” is used for resetting to system default. Enter the number
“1#” and then press “OK” to confirm. The system will be reset.
6. About System
Press to enter the following setting interface:

13
FW: 1.6.0 20180619
UI: 1.8.1 20180502(std)
MCU: 1.1.0
IP: 192.168.68.90
MAC: BC:F8:11:02:96:35
SIP: ERROR
Abo u t S yst em
You can look over the relevant information.

WEB SETTINGS
14
1. Network Settings:
Click “Network” icon on the interface to enter into the following interface:
Connect door station and PC to the network switch on the same LAN. Input
IP address of door station in the web browser of PC, then input the user
name and password(the default name is admin, the password is 123456) to
enter into the following interface:
IP: IP address should be unique on the same Network.
Mask: the default Mask is 255.255.255.0.
Gateway: it depends on IP address.
DNS: it depends on Network.
Server IP: it is the same as the IP address of management PC.
Password: it's used for connecting management PC.
Usually, the communication among master station, indoor monitor and
door station will be available on the same LAN; if they are not on the same
network, you need to set SIP server to support the communication.
Click “Submit” icon to confirm settings.

15
2. Device Settings:
Click “Device” icon on the interface to enter into the following interface:
3. Access Settings:
Click “Access” icon on the interface to enter into the following interface:
The settings of Building and Unit No. should be the same as that of
corresponding door station.
No.: It is unique number for the door station. You can have max.9 door
stations in one house, and you need to distinguish their numbers from 1 to
9.
Sys password: you can change the login password as you like (the default
password is 123456).
Panel mode: unit panel, wall panel or outdoor panel for selection.
Language selection: only support simplified Chinese and English.
System volume: adjust the system volume with 6 levels for selection.

Unlock Timeout is used for controlling the unlocking time ranging from 1 to
9 seconds.
Unlock Delay refers to the delayed opening time ranging from 0 to 9
seconds.
Elev refer is used for setting the floor No. of door station ranging from 01 to
99.
Security ON/OFF: arming/disarming by card is only available for secondary
door station; unit panel only supports disarming by card.
Unlock Password: it’s used for unlocking the door. The system default is
0000. Eight unlocking passwords can be added.(This is only applicable for
door station with keypad.)
Card Registration:
The Admin Card is used for registering user card. There are two ways to
register the admin card:
1. The user enters card No. of the admin card in the box after “Admin Card”
and then clicks “Submit” to finish the registration of the admin card.
2. If the user isn’t aware of admin card No., please enter 0 in the box first
and click “Submit”. Then place the admin card close to the card reader area.
When the system gives an indication tone, it means that the card is
registered successfully.
When registering the user card, the user should swipe the admin card first.
The system emits a beep. Then place the card to be registered near the
card reader area within 10 seconds. If the system gives an indication tone, it
means that the user card is registered successfully. When registering the
user card, the card to be registered should be swiped 10 seconds after the
admin card is swiped. Once a user card is registered, it will postpone for 10
seconds. When there is no activity for 10 seconds, the system will exit from
registration status automatically. To register a new user card, the user
should swipe the admin card again.
4. VOIP:
Click “VOIP” icon on the interface to enter into the following interface:
16

5. Forward (Call transfer):
Click “Forward” icon on the interface to enter into the following interface:
SIP enable: when SIP account No. is enabled, the SIP server of a third party is
used.
Proxy: URL of SIP proxy server in format: sip:ip or sip: domain name.
Realm: realm of the device, generally the same as IP or domain name.
STUN IP Port and refer to the IP and port of public server for NAT traversal of
audio and video.
User: user name assigned by SIP server
Password: password assigned by SIP server
Timeout: 120 seconds, 300 seconds, 600 seconds, 1200 seconds or 1800
seconds.
Ringing: ringing time of indoor monitor which is called by door station can be
set. The time can be set at 35 seconds, 45 seconds, 60 seconds, 90 seconds or
120 seconds.
Once this is set up, click the key “Submit” to enable new settings.
17
Other manuals for 905D-Y4
1
Table of contents
Other Dnake Intercom System manuals