General information
• If the device does not have a signal, no alarm can be sent.
• The personal alarm unit must not come into contact with water or
any other liquid.
• Used batteries should be disposed of in an environmentally
responsible manner.
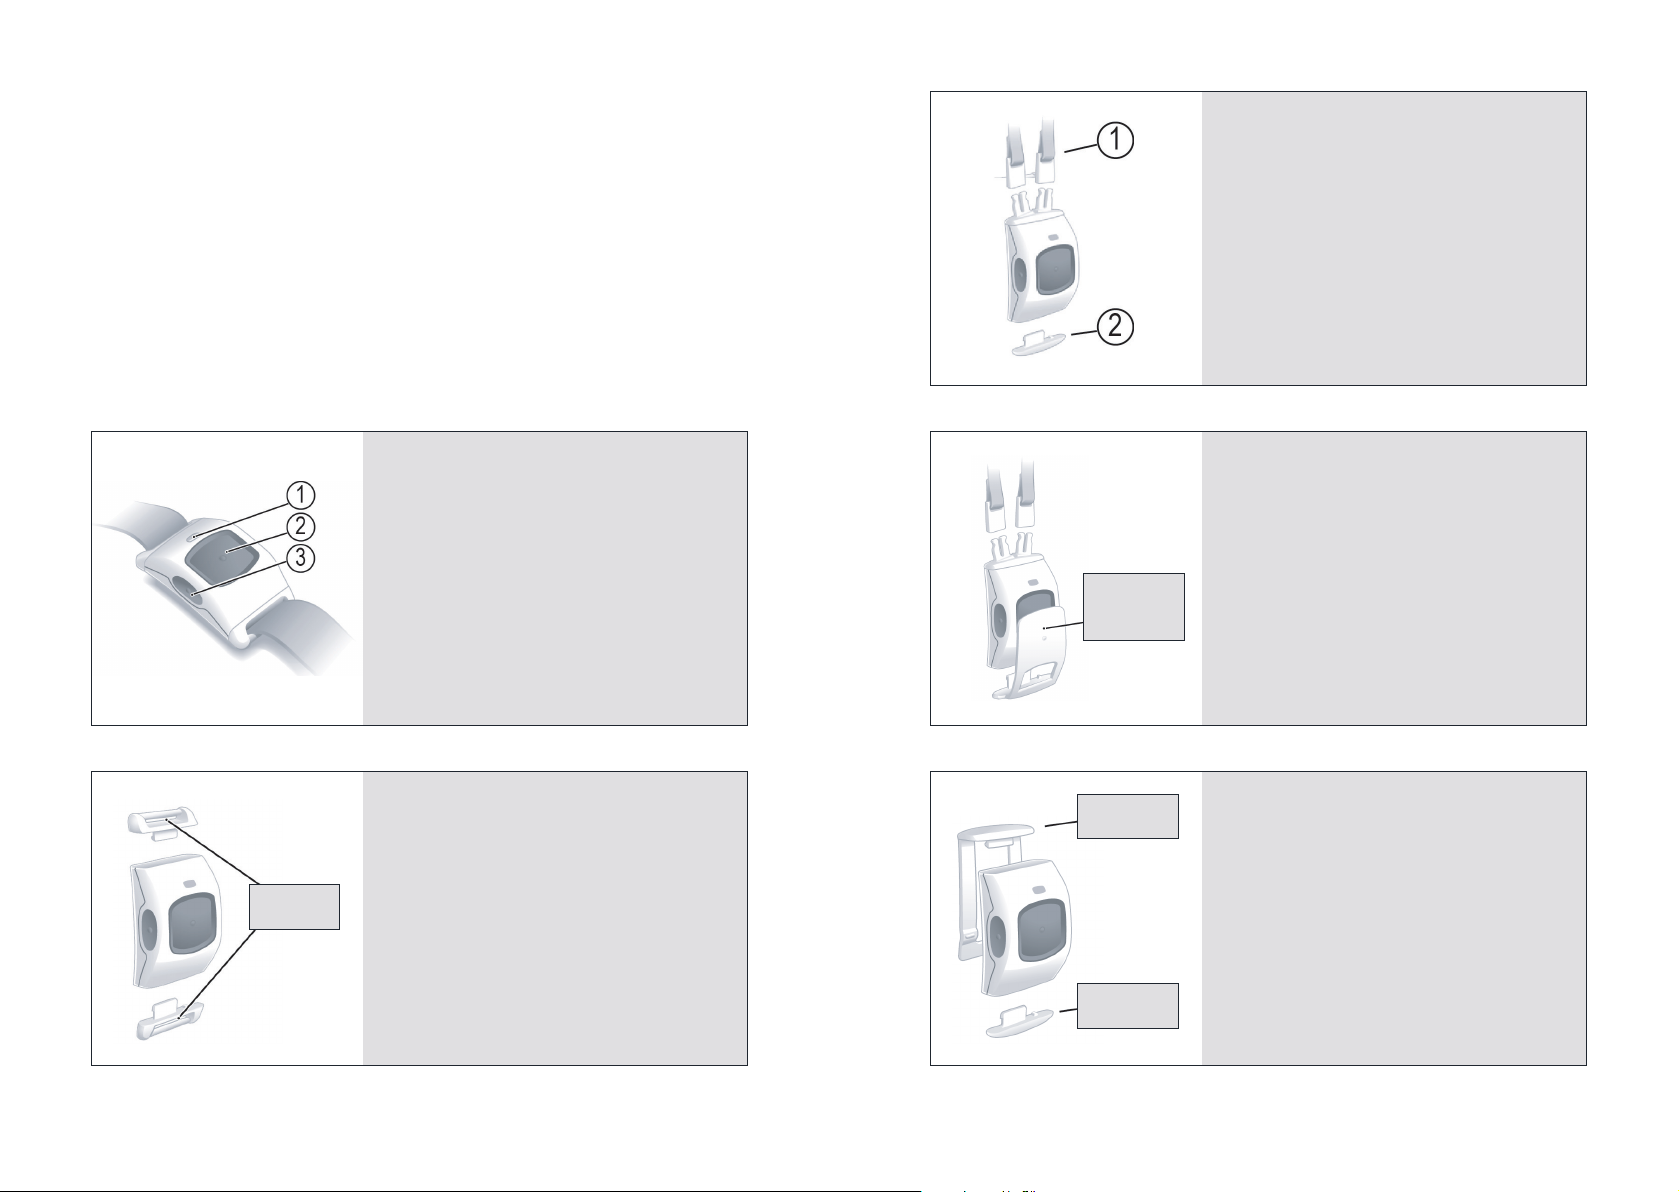
Maintenance
Cleaning
The personal alarm unit and pendant
should be cleaned using a slightly damp
cloth. Solvents should not be used.
Problems with the equipment
If you have a problem with your
equipment or need to ask any questions
you can either place a call via the
Welbeing alarm unit or call our technical
helpline on 01323 408972. If your
equipment is found to be faulty we will
send you a replacement, along with a
jiy bag to return the faulty equipment
to us for test, inspection and repair.
Please ensure you return the faulty
equipment in its entirety within 28 days
of receiving replacement, otherwise
you may be charged.
Power cuts
Your alarm unit has an internal battery
that keeps it working for up to 30 hours
(depending on use). In the event of a
power failure the unit will automatically
connect to the contact centre to let us
know the power has failed.
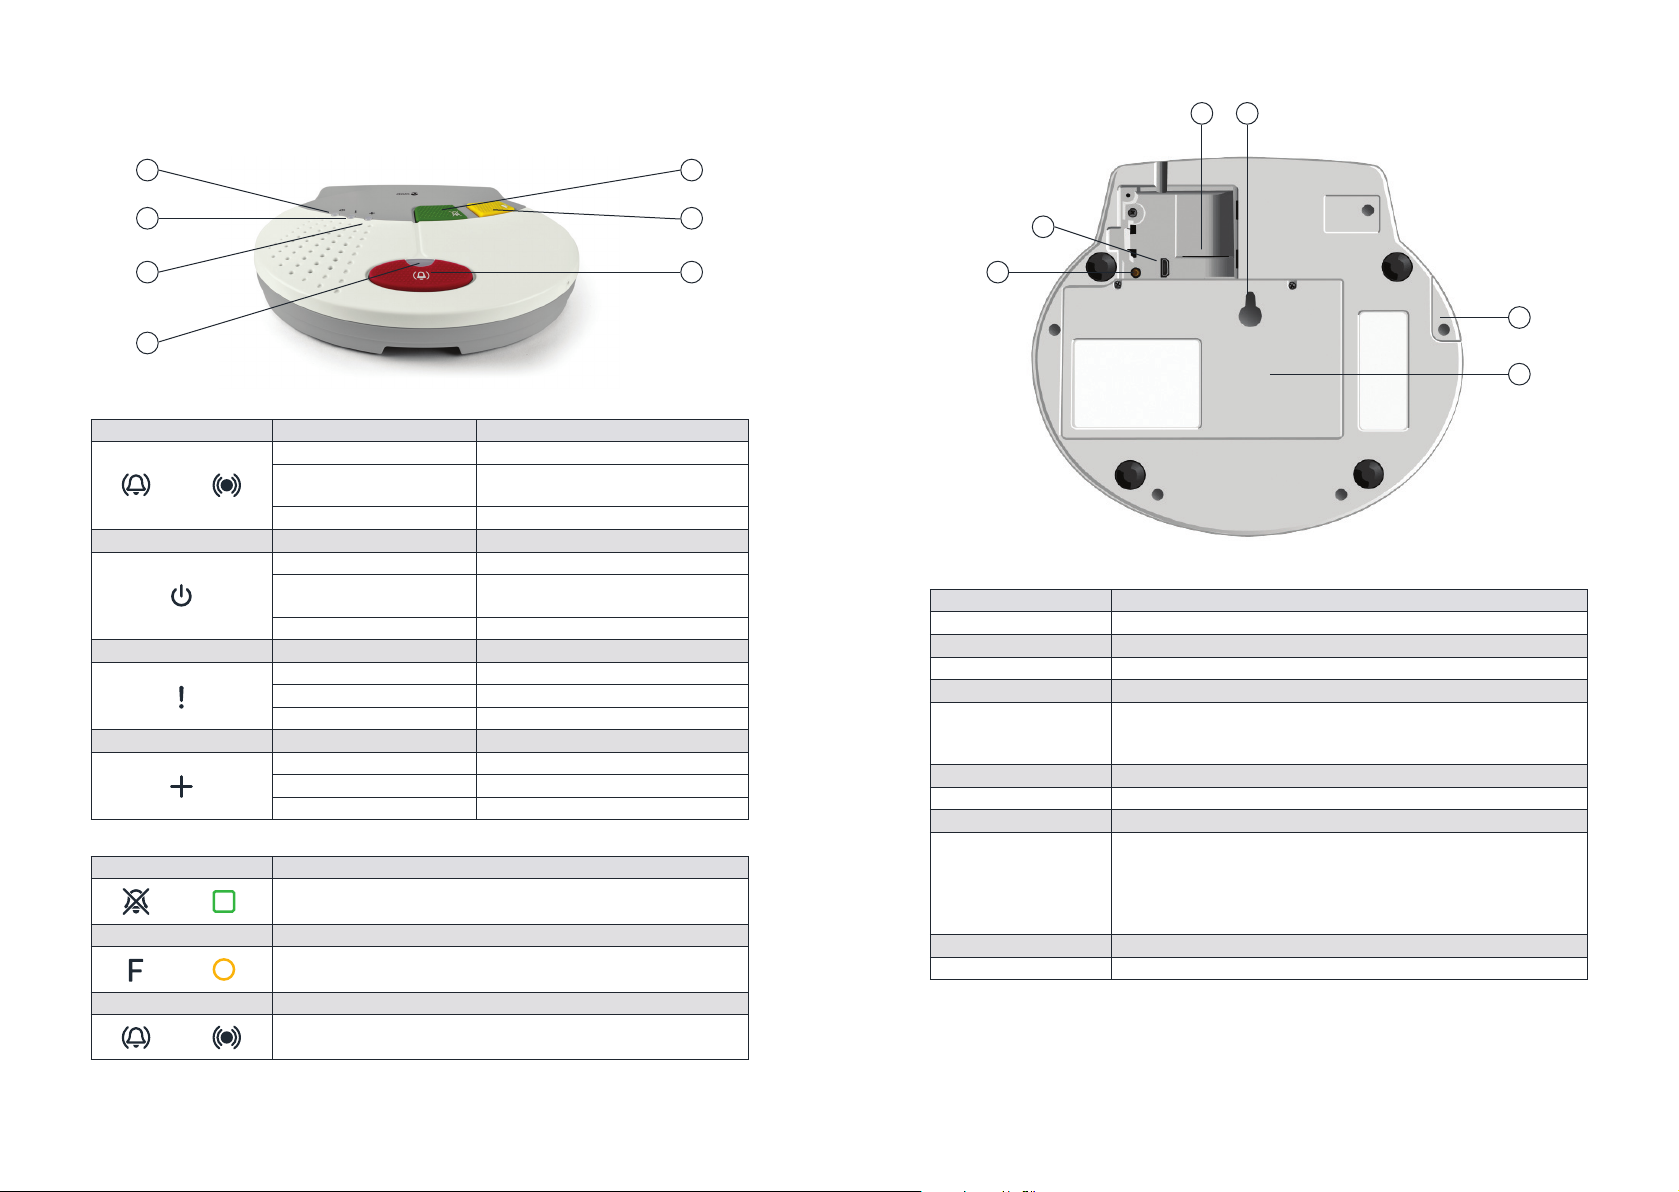
Test calls (once a month)
Once a month test the equipment
by pressing the pendant, let us
know it is a test call. We will confirm
that the equipment is working and
that we have received your call. This
makes sure we know all is well with
your equipment. It also helps the
user feel familiar with the process.
If there are other devices fitted it
will be beneficial for you to activate
each device in turn to ensure that the
whole system is operational.
Periods away from the home
If you are going away for a while,
perhaps on holiday, let us know the
dates so we will be aware that your
property is empty. When you return
home press your pendant to let the
sta in the contact centre know you
are back.
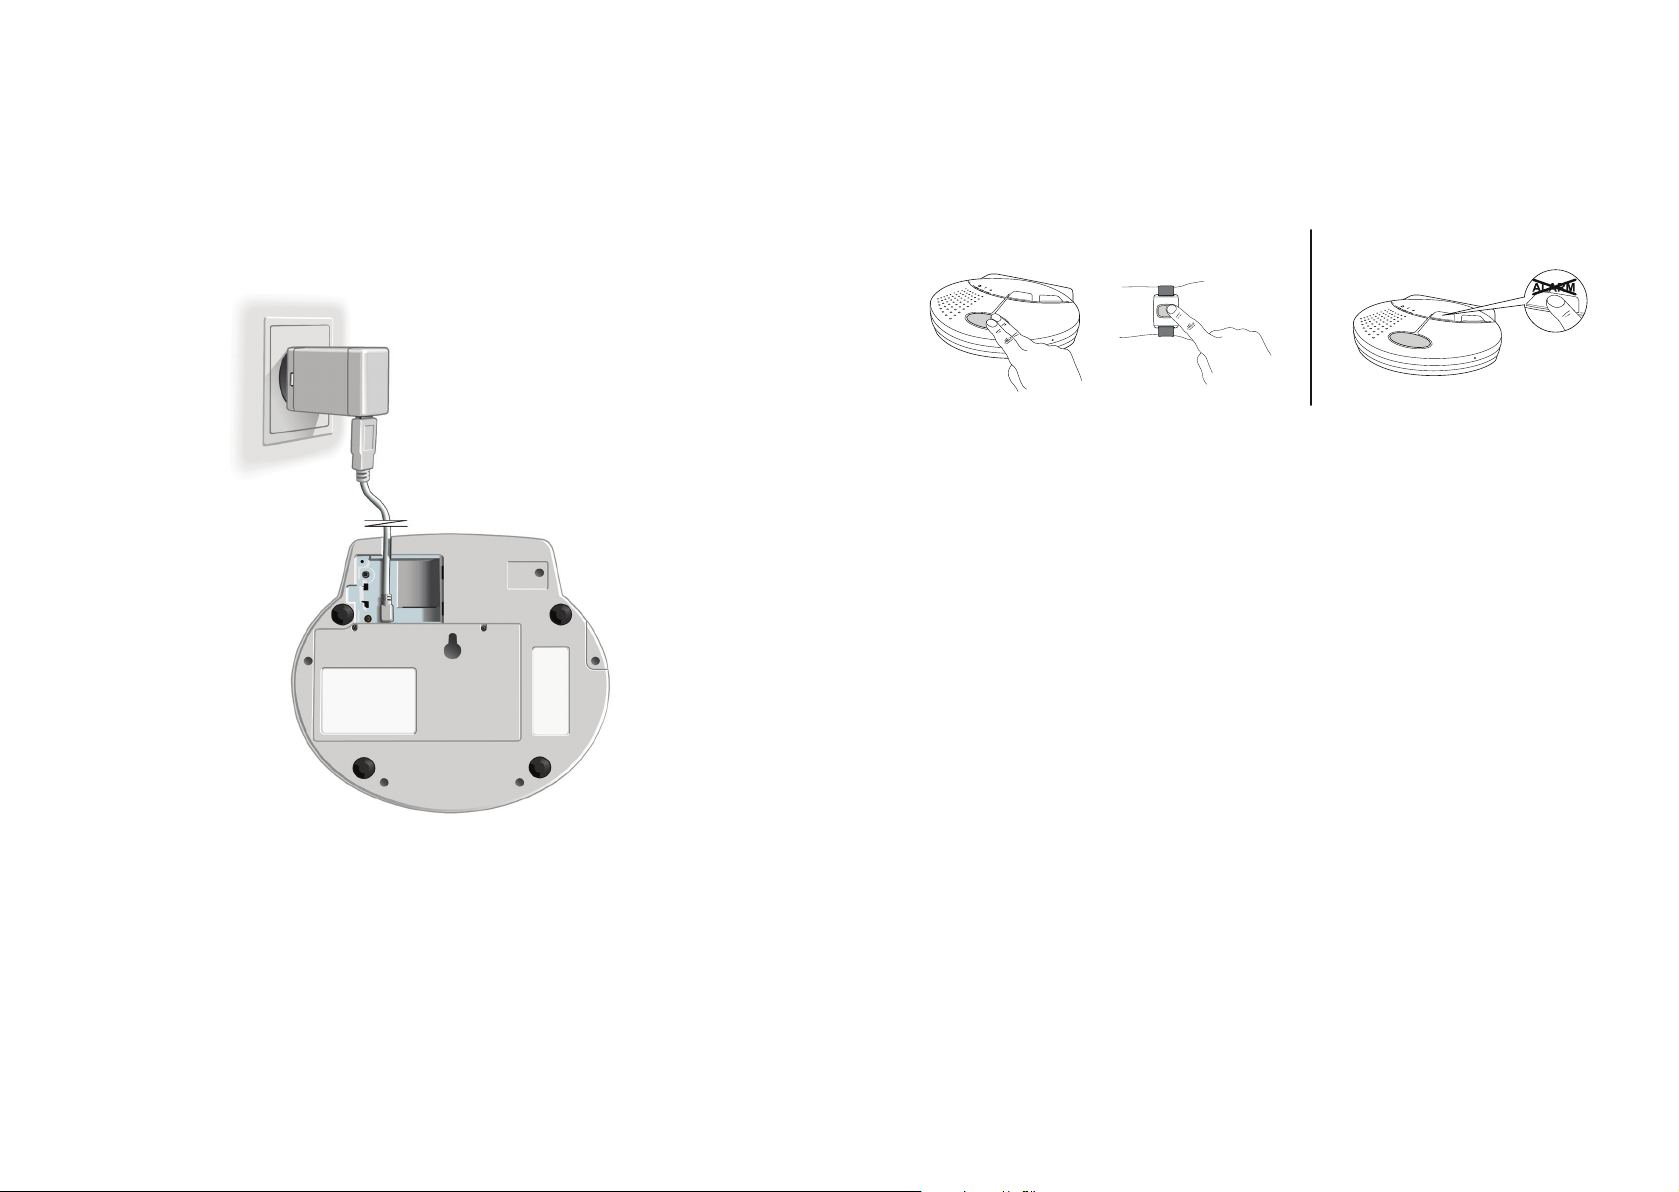
• Protect the unit from moisture. Rain/snowfall, moisture and all types of liquid
can contain substances that corrode the electronic circuits.
• The personal alarm unit should be placed on a hard surface to avoid blocking
the microphone (positioned underside of the unit).
• Battery replacement may be performed only by authorised persons. Only use
recommended battery type.
• Only use recommended power supply.
• The power supply can be used as a disconnecting device. The wall socket shall
be installed near the equipment and shall be easily accessible.
• AUX-port: Wired installation must be performed only by authorised persons
in accordance with the instructions in the service manual.
Important information
All systems using radio and network communication are subject to interference
beyond the user’s control.
These products are designed to minimise the impact of such interference.
Nevertheless, the user must be aware that system components can be
subjected to interference or other influences that may cause malfunction.
It is therefore important to regularly check that every part of the system works
in all areas, especially radio communications. Contact Welbeing immediately in
case of any suspected malfunction.
Users should pay particular attention to the risk of disruption from products
which communicate using the same or adjacent frequencies.
Read safety information
Always read and follow the safety information accompanied
by this symbol.
Caution: Risk of explosion if battery is replaced by an incorrect type.
Dispose of used batteries according to the instructions.