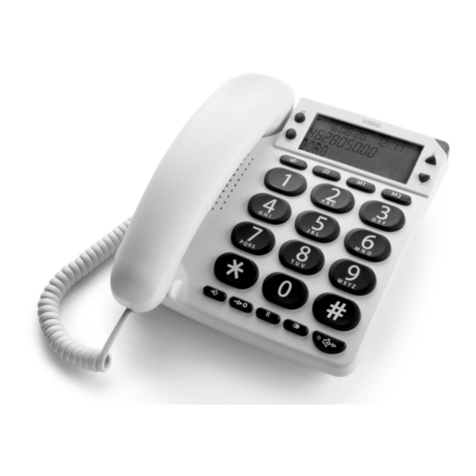
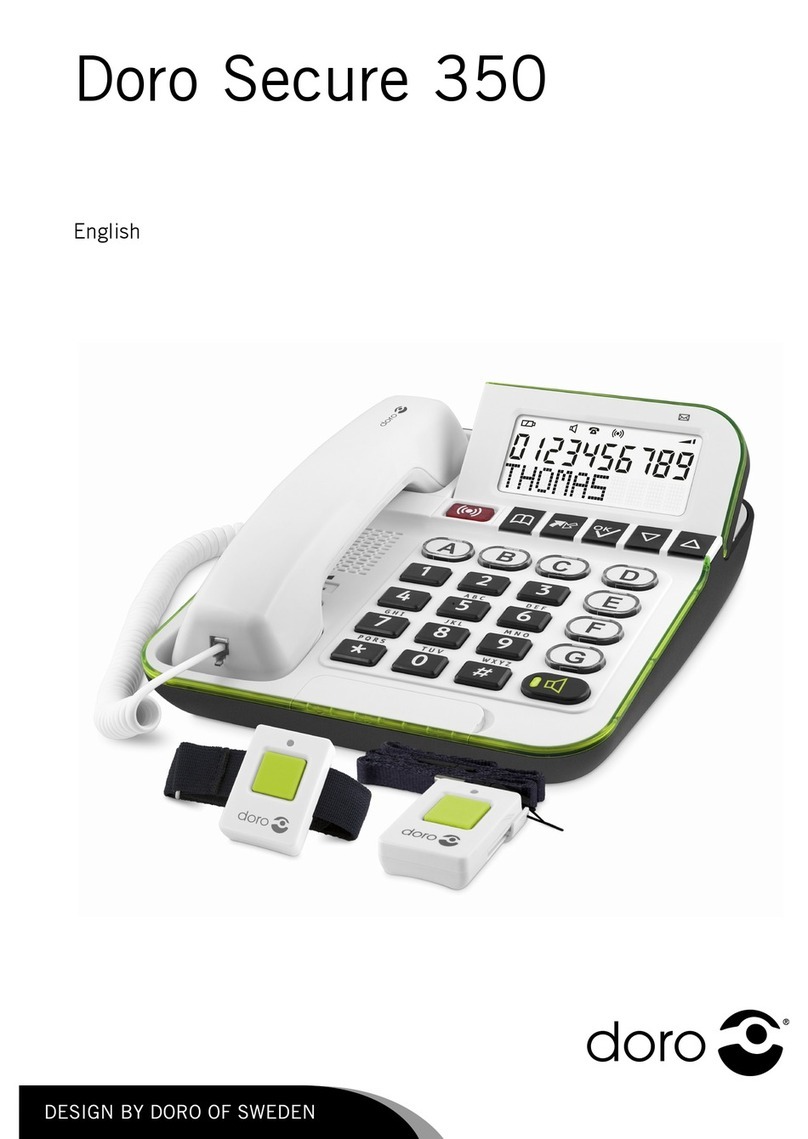
Doro Magna 2005 User manual

English
Doro Magna 2005

1
2
3
5
4
6
8
911
12 22
23
21
14
13
15
10
18 19
7
20
16 17
1. Ringer LED
2. Earpiece
3. Extra amplification
(boost)
4. Up/Call log
5. Left menu key/OK
6. Call key
7. */Keypad lock
8. Speakerphone on/off
9. Microphone
10. Phonebook
11. Recall key
12. #/Ring tone on/off
13. Down/Redial
14. End call
15. Right menu key/Back/In-
ternal call
16. Answer machine: play-
back/stop
17. Answer machine: on/off
18. Speakerphone
19. Speakerphone volume
20. Paging
21. Speed dial keys
22. Charging contacts
23. Ringer LED

English
Contents
Congratulations on your purchase ............................................. 1
Installation................................................................................... 1
Connection........................................................................... 1
Basic setup .......................................................................... 2
Operation ..................................................................................... 2
Calls...................................................................................... 2
Sound................................................................................... 4
Handle the phone................................................................ 6
Phonebook........................................................................... 6
Call list (Caller ID)................................................................ 8
Settings......................................................................................10
Handset settings (HS SETTINGS) .....................................10
Base unit settings (BS SETTINGS)....................................11
Reset to default.................................................................12
Expanded system (two or more handsets) ......................12
Answering machine...................................................................14
Setup from handset ..........................................................14
Use from handset..............................................................16
Use from base unit............................................................19
Out of memory...................................................................19
Remote access..................................................................19
Other ..........................................................................................20
Battery................................................................................20
Range.................................................................................21
Eco functionality................................................................21
Troubleshooting.................................................................21
Care and Maintenance .....................................................22
Warranty.............................................................................23
Specific Absorption Rate (SAR) ........................................24
Declaration of Conformity.................................................24

English
1
Congratulations on your purchase
Doro Magna 2005 combines an exceptionally loud receiver,
ringer and speakerphone with a stylish design and a built-in
answer machine. The speakerphone base allows you to an-
swer calls and dial your three favourite numbers without hav-
ing to retrieve the handset, perfect for hands free
conversations. Additional features include flashing ringer, ex-
tra volume boost button, hearing aid compatibility and tone
control for clear sound adjustable to your hearing needs. For
more information about accessories or other Doro products
please visit www.doro.com.
Installation
This device is intended for the analogue telephone network
lines in AT, BE, BG, CH, CY, CZ, DE, DK, EE, ES, FI, FR, GB, GR,
HU, IE, IS, IT, LV, LT, LU, MT, NL, NO, PL, PT, RO, SE, SI, SK.
Connection
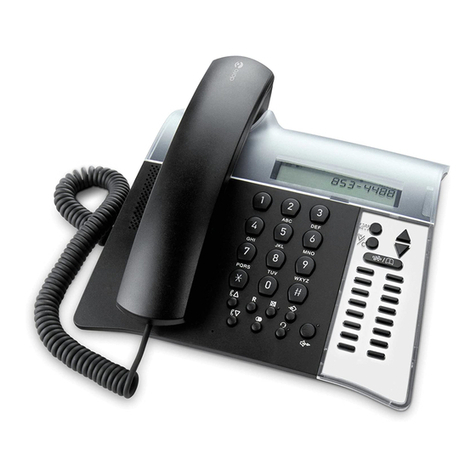
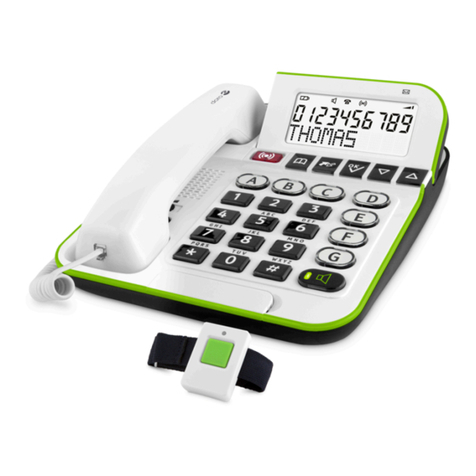
1. Connect the mains adapter to an electrical wall socket
and to yon the base unit.
2. Connect the telephone line cord to a network wall socket
and to Kon the base unit.
3. Insert the batteries 2 x 1.2 V AAA 500 mAh NiMH into the
handset in accordance with the markings.
4. Place the handset in the base unit to charge (24 hours
the first time).
Note! Use the telephone line cord supplied. An existing line
cord from a previous phone may not be compatible.
English
2
Basic setup
Language setup
1. Press w/0. Select (}/{)HS SETTINGSHS SETTINGS.
Press w/0.
2. Scroll to LANGUAGE. Press w/0.
3. Scroll to ENGLISH. Press w/0.
4. Press Lto exit the menu.
Date/Time setup
1. Press w/0. Select (}/{)HS SETTINGS. Press w/0.
2. Select DATE & TIME. Press w/0.
3. Select DATE FORMAT and press w/0. Select DD-MM-YY
or MM-DD-YY and press w/0.
4. Select TIME FORMAT and press w/0. Select 24 HR or
12 HR. Press w/0.
5. Select SET TIME and press w/0.
6. Enter current time. Press w/0.
7. Select SET DATE. Press w/0.
8. Enter current year followed by date (DD – MM). Press w/
0.
Note! You need to set the correct date and time to gain full
functionality.
Operation
Calls
Note! It is not possible to make or receive a call on the base
unit if the handset is already using the line and vice versa.

English
3
Make a call
1. Enter phone number. Delete with c.
2. Press qto make the call. Press Lto end the call.
Base unit: Speed dial
Once Speed dials have been saved you only need to press one
button to make a call.
Store speed dial
1. Press w/0.
2. Select HS SETTINGS, press w/0.
3. Select DIRECT MEM., press w/0.
4. Select M1–M3 and press w/0.
5. Enter phone number. Delete with c. Press w/0.
Speed dialling
1. Base unit: press the equivalent button (M1–M3).
2. Press to end the call.
Receive a call
An incoming call is indicated on the display with a blinking
and with flashing blue ringer LEDs on the base unit and the
handset.
Tip: When someone calls, you can press Lto turn off the
handset’s ring signal.
Handset
1. Press qto answer.
2. Press Lto end the call.
Base unit
1. Press to answer.

English
4
2. Press again to end the call.
Redial
Press . Scroll through the 10 most recently dialled numbers
with }/{. If the number is already in the phonebook, the
corresponding name will also be displayed. Press qto call
the displayed entry, or press w/0for the submenu, see Pho-
nebook, p.6.
Call timer
During a call the display will show a timer HH-MM-SS, indicat-
ing the call duration.
Sound
Volume control
During a call, press }or {to adjust the volume. The volume
level is indicated on the display.
Tip: When you end the call, the setting will remain at the last
selected level.
Boost (sound amplification)
CAUTION
The handset volume can be very loud. Boost should only be
used by persons with impaired hearing ability.
Press on the side of the handset, to activate/deacti-
vate the volume Boost. When activated the LED indicator illu-
minates and is displayed. Boost cannot be activated in
speaker mode. Boost is deactivated at the end of each call to
avoid harming people with normal hearing.
Hearing aid compatible

English
5
CAUTION
Do not use extra sound amplification (boost) together with a
hearing aid if not necessary. The handset volume can be
turned up very loud.
This telephone is hearing aid compatible. Select the T-mode
on your hearing aid to use this feature. Hearing aid compatibil-
ity is not a guarantee that a specific hearing aid will work with
a specific telephone. To ensure that a specific hearing aid
works well with this telephone, test them together before mak-
ing a purchase.
Speaker
To switch between handset/speaker press . When activated
is displayed.
Note! Loud noises (music, etc.) in the background may
interfere with the function. To save power, the speaker phone
and the display light cease to operate at low battery strength.
Mute
During a call, press cto switch on/off the microphone.
Ringer
Press and hold #in standby to turn on/off the handset ring
signal. When ringer is deactivated is displayed.
Note! Base unit ringer is not affected.

English
6
Handle the phone
Keypad lock
Press and hold *to activate/deactivate the keypad lock.
When activated is displayed. Incoming calls can be an-
swered by pressing qeven if the keypad is locked. During
the call, the keypad is unlocked. When the call is ended the
keypad is locked again.
Paging
Press Jon the base unit to page the handset/s. The hand-
set/s will ring and PAGING is displayed. The signal will stop au-
tomatically, or press Jagain, or press Lon the handset.
Return to previous or to standby mode
Press Lonce to return to previous display, continue to
pressLto return to standby mode.
Handset power on/off
Press and hold Lin standby to power on/off the handset.
Phonebook
The phonebook will store 100 entries of names and phone
numbers. Contacts in the phonebook are arranged alphabeti-
cally. Each name can be up to 12 characters in length, and
phone numbers can be up to 24 digits in length.
If you subscribe to a Caller ID service, the name/number of
the caller will be shown when you receive an incoming call (for
those numbers stored in the phonebook or the memories).
Store contacts
1. Press b. Press w/0.

English
7
2. Select ADD. Press w/0.
3. Enter name. Press w/0.
4. Enter phone number. Delete with c. Press w/0.
5. Select required MELODY. Press w/0.
Dial from the phonebook
1. Press b.
2. Scroll }/{between contacts. Quick search the phone-
book by pressing the corresponding number button for
the first letter.
3. Press qto make the call. Press Lto end the call.
Edit contacts
1. Press b.
2. Scroll }/{to the contact you want to edit. Press w/0.
3. Select EDIT. Press w/0.
4. Edit the name. Delete/backspace with c. Press w/0.
5. Edit the number. Delete/backspace with c. Press w/0.
6. Select the required MELODY. Press w/0.
Delete a contact
1. Press b.
2. Scroll }/{to the contact you want to delete and press
w/0.
3. Select DELETE and press w/0.
4. Press w/0to confirm.
PB STATUS
Here you can check how many phonebook entries are stored
and the available storage capacity.
1. Press band press w/0to enter the menu.

English
8
2. Scroll }/{to PB STATUS and press w/0.
Character table
1[Space] 1 @ _ # = < > ( ) & £ $ ¥ € [ ] { } ¤
2A B C 2 Ä À Á Â Ã Å Ą Ă Æ Ç Ć Č
3DEF3ĎÐÈÉËÊĘĚ
4G H I 4 Ğ Ì Í Î Ï İ
5J K L 5 Ł Ĺ
6M N O 6 Ñ Ń Ň Ö Ò Ó Ô Õ
7P Q R S 7 Ŕ Ř Ś Ş Š
8T U V 8 Ť Ţ Ü Ù Ú Û
9W X Y Z 9 Ý Ϋ Ź Ž Ż
00 . , / : ; " ' ! ¡ ? ¿ * + - % \ ^ ~ |
Call list (Caller ID)
Caller ID allows you to see who is calling before you answer
and to see who has called in your absence. If the number is
stored in the phonebook, the caller’s name will be displayed.
The calls are stored in chronological sequence. The last 20 in-
coming answered and unanswered calls are stored. NEW
CALL/NEW CALLS will be displayed in standby mode and «in
the call list indicates a new missed call.
Note! This function requires a subscription from your service
provider. Contact your service provider for more information.
Retrieve and dial incoming numbers
1. Press .

English
9
Or press w/0and select CALL LIST.
2. Select desired number with }/{.
3. Press qto dial or press w/0for options in the
submenu:
ADD TO PB Store number in Phonebook
DELETE Delete this number from the call log (not from
Phonebook)
DELETE ALL Delete all numbers from the call log (not from
Phonebook)
CATEGORY
Save information about MISSED CALLS (un-
answered) or ALL CALLS (answered and
unanswered).
Note! As default the last 20 incoming answered and
unanswered calls are stored along with the date and time of
the calls. To save memory storage you can select to save only
MISSED CALLS.
Caller identification messages
The following messages can be displayed occasionally:
OUT OF AREA No information received, e.g. an international
call
WITHHELD The call comes from a withheld number or a
PBX
oMessage indication from your network
operator*.
* Only functions in certain countries.
To remove the message indicator: Press and then press
and hold 4.

English
10
Settings
Handset settings (HS SETTINGS)
1. Press w/0. Select HS SETTINGS and press w/0.
2. Select desired function e.g. ALARM and press w/0.
3. Select desired setting and press w/0.
ALARM
Select ON/OFF to activate/deactivate the alarm.
When the alarm is activated is displayed in
standby. When the alarm goes off, a signal will be
heard for 45 seconds. The signal can be turned off
with any key. If SNOOZE is activated the alarm will
go off again approximately 7 minutes later. Turn
the alarm off permanently via the menu or by hold-
ing Ldown for a few seconds. The volume is
determined by the set ringer level.
RING
SETUP
Select ringer signal for INT. RING (internal calls)
and for EXT. RING (external calls).
The handset ringer signal volume (RING VOLUME)
can be adjusted. 1= lowest, 5= highest, or VOL-
UME OFF.
TONE
SETUP
Any of the following tones can be enabled/dis-
abled: KEY TONE,BATTERY TONE and OUT OF
RANGE.
EQUALIZ-
ER
Set the sound settings to best fit your hearing. Se-
lect one of the following options:
NATURAL – Normal sound.
TREBLE – Increased sound for high frequencies.
BASS – Increased sound for low frequencies.
LANGUAGE Language of display texts. See also Language set-
up, p.2.
RENAME
HS
Text displayed in standby.

English
11
AUTO
ANSWER
The call is answered when the handset is lifted
from the base unit.
DATE &
TIME
Set date/time. The format of date/time can also
be adjusted. See also Date/Time setup, p.2
DIRECT
MEM.
Set speed dial numbers for the base unit. See also
Base unit: Speed dial, p.3
Base unit settings (BS SETTINGS)
1. Press w/0. Select BS SETTINGS and press w/0.
2. Select desired function e.g. ALARM and press w/0.
3. Select desired setting and press w/0.
BS RINGER Select ringer tone for the base unit. Press w/0to
confirm.
RING
VOLUME
Base unit ringer volume.
1= lowest, 5= highest, or VOLUME OFF. Press w/
0to confirm.
DELETE HS
To de-register a handset:
Enter your current base unit PIN code (0000 is de-
fault) and select the handset you wish to de-regis-
ter. Press w/0to confirm.
FLASH
TIME
Set the appropriate recall time (R,FLASH TIME)
to ensure correct functionality.
SHORT = EU/EES/GB/AUS.
MEDIUM = France/Portugal.
LONG = New Zealand.
Note! A de-registered handset can no longer be used with the
system. It needs to be registered as a new handset, see
Register a new handset, p.12

English
12
Change PIN
Note! This PIN is not the same as used for remote access of
answering machine, see Setup from handset, p.14
1. Press w/0. Scroll }/{to BS SETTINGS and press w/
0.
2. Scroll to CHANGE PIN and press w/0. Enter the old PIN
code and press w/0.
3. Enter the new PIN code and press w/0. Confirm with
the new PIN code and pressw/0again.
Reset to default
You can reset your phone to the default settings. After reset,
all your personal settings, call lists and redial lists will be de-
leted, but your phonebook remains unchanged.
1. Press w/0. Scroll }/{to DEFAULT and press w/0.
2. Enter the PIN code (default code is 0000). Press w/0.
3. Press w/0again to confirm.
Expanded system (two or more handsets)
The handset call number for internal calls will be displayed to
the right on the display in standby mode. The base unit should
be positioned centrally so that the coverage area is roughly
equal for all handsets.
Register a new handset
All handsets included in the package are already registered to
the base unit. You can register up to 5 handsets to one base
unit.

English
13
Note! This model is GAP (Generic Access Profile) compatible,
which means that the handset and the base unit can both be
used with most other GAP compatible units irrespective of
manufacturer. However the GAP protocol cannot guarantee
that all functions may be accessed.
1. Hold down Jon the base unit until you hear a beep
(around 6 seconds).
2. Press w/0. Select REGISTRATION. Press w/0.
3. Select the base unit you wish to register. Press w/0.
4. Enter base unit’s PIN code (default code is 0000). Press
w/0.
5. If the registration is successful the unit will return to
standby within one minute.
Intercom / internal call
1. Press c.
2. If using more than 2 handsets: Select handset call num-
ber 1-5for the desired handset or ALL for all and
press w/0.
A tone will be heard if an external call comes in while an
internal call is in progress. End the internal call with L
and then answer the external call with q.
Transferring calls/conference between handsets
When an external call is connected;
1. Press w/0.
2. Select INTERCOM. Press w/0.
If using more than 2 handsets: Select handset call num-
ber 1-5for the desired handset or ALL for all and
press w/0.
3. To transfer: press L.

English
14
For conference: press and hold *.
Answering machine
When the answering machine is switched on (displayed by a
steady lit ) calls are answered after a set number of ring
signals, your outgoing message is heard and the caller can
leave a message. Total memory capacity is up to 30 minutes.
Most functions can be accessed from both base unit and
handset.
Setup from handset
1. Press w/0. Select ANS. MACHINE. Press w/0.
2. Select TAM SETTINGS. Press w/0.
3. Select desired setting. Press w/0:
ANSWER
MODE
Select ANS & REC or ANSWER ONLY (caller cannot
leave message).
TAM LAN-
GUAGE
Select language for pre-recorded outgoing
message.
OGM
SETTINGS
Record/listen to outgoing messages. See also Out-
going message, p.17

English
15
ANSWER
DELAY
Select after how many ring signals (2 RINGS – 8
RINGS or TIME SAVER) the call will be answered.
Note! The Time Saver function answers calls
after approximately 6 ring signals, until the first
new message has been registered - then the
answering machine switches to answering after
approximately 2 signals. This is useful when
using remote access; if you call up the
answering machine and there is no reply after 4
signals that means there are no messages
recorded and you can hang up before you are
charged for the call.
RECORD
TIME
Select maximum recording time for each message.
BS
SCREEN-
ING
Enable/disable the function in base unit. See also
Screening, p.18.
REMOTE
ACC.
Select remote access off/on. See also Remote ac-
cess, p.19

English
16
COMPRES-
SION
Higher compression gives longer recording time
but reduced sound quality, LOW = best sound
quality but about the half memory capacity.
CHANGE
PIN
Change remote access code (default code is
0000).
Note! Using a PIN code can prevent other
people from accessing your machine without
permission. For security reasons, it is
recommended that you change the PIN code
from the default setting of 0000.
This PIN is not the same as used for
registering/de-registering handsets, see Base
unit settings (BS SETTINGS), p.11
Use from handset
New messages are indicated by flashing in the display in
standby. Playback always starts with new messages.
1. Press w/0. Select ANS. MACHINE. Press w/0.
2. Select MSG PLAYBACK. Press w/0.
3. During playback the following commands are available:
2Delete current message
4Go back to previous message
5Stop playback
6Go to next message
Speaker OFF/ON
}/{Volume control
Table of contents
Other Doro Telephone manuals

Doro
Doro ALERTACALL 200E User manual

Doro
Doro congress 205 User manual

Doro
Doro HEARPLUS 313CI User manual

Doro
Doro aub200h User manual

Doro
Doro PhoneEasy 311 User manual

Doro
Doro Congress 100 User manual

Doro
Doro PhoneEasy 312ci User manual

Doro
Doro PhoneEasy 331ph User manual

Doro
Doro AUB 300i User manual

Doro
Doro 515C User manual