DTS DOCTUS Series User manual


User Manual Ver. 1.02 1 di 21
DOCTUS
Release 1.02
Code:
For more information
Language EN

User Manual Ver. 1.02 2 di 21
DOCTUS
ITA
Le informazioni contenute in questo documento sono state attentamente redatte e controllate. Tuttavia non è
assunta alcuna responsabilità per eventuali inesattezze. Tutti i diritti sono riservati e questo documento non può
essere copiato, fotocopiato, riprodotto per intero o in parte senza previo consenso scritto della D.T.S.
Illuminazione S.r.l.
D.T.S. Illuminazione S.r.l. si riserva il diritto di apportare senza preavviso cambiamenti e modifiche estetiche
funzionali o di design a ciascun proprio prodotto. D.T.S. Illuminazione S.r.l.. non assume alcuna responsabilità
sull’uso o sull’applicazione dei prodotti o dei circuiti descritti.
ENG
The information contained in this publication has been carefully prepared and checked. However, no
responsibility will be taken for any errors. All rights are reserved and this document cannot be copied,
photocopied or reproduced, in part or completely, without prior written consent from D.T.S. Illuminazione S.r.l.
D.T.S. Illuminazione S.r.l. reserves the right to make any aesthetic, functional or design modifications to any of
its products without prior notice. D.T.S. Illuminazione S.r.l. takes no responsibility for the use or application of the
products or circuits described herein.
FRA
Les informations contenues dans le présent manuel ont été rédigées et contrôlées avec le plus grand soin. Nous
déclinons toutefois toute responsabilité en cas d'éventuelles inexactitudes. Tous droits réservés. Ce document
ne peut être copié, photocopié ou reproduit, dans sa totalité ou partiellement, sans le consentement préalable
de D.T.S. Illuminazione S.r.l.
D.T.S. Illuminazione S.r.l. se réserve le droit d'apporter toutes modifications et améliorations esthétiques,
fonctionnelles ou de design, sans préavis, à chacun de ses produits. D.T.S. Illuminazione S.r.l. décline toute
responsabilité sur l'utilisation ou sur l'application des produits ou des circuits décrits.
ESP
Las informaciones contenidas en este documento han sido cuidadosamente redactadas y controladas. Con todo,
no se asume ninguna responsabilidad por eventuales inexactitudes. Todos los derechos han sido reservados y
este documento no puede ser copiado, fotocopiado o reproducido, total o parcialmente, sin previa autorización
escrita de D.T.S. Illuminazione S.r.l.
D.T.S. Illuminazione S.r.l. se reserva el derecho a aportar sin previo aviso cambios y modificaciones de carácter
estético, funcional o de diseño a cada producto suyo. D.T.S. Illuminazione S.r.l. no se asume responsabilidad
de ningún tipo sobre la utilización o sobre la aplicación de los productos o de los circuitos descritos.

User Manual Ver. 1.02 3 di 21
DOCTUS
Table of Contents
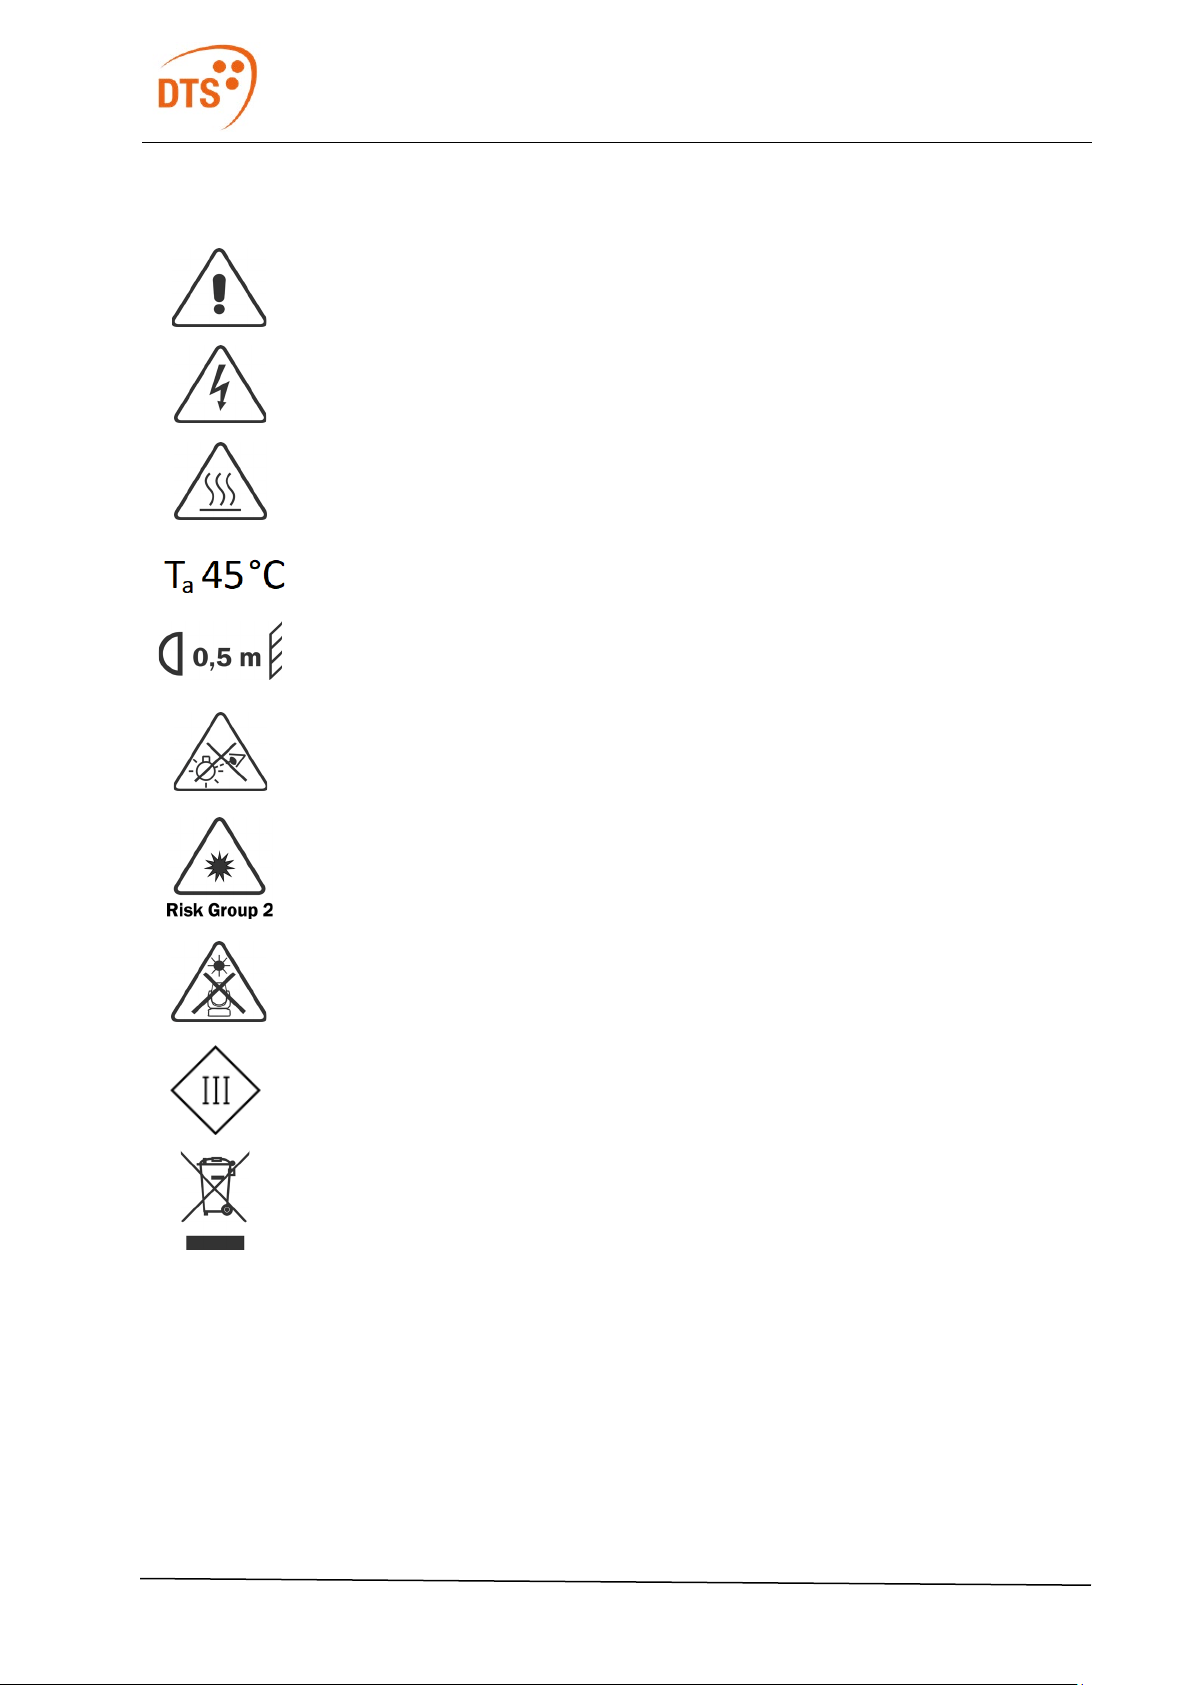
1Symbols........................................................................................................................................................ 5
2Safety and Operation ................................................................................................................................... 6
2.1 Fire prevention ..................................................................................................................................... 6
2.2 Prevention of electric shock ................................................................................................................. 6
2.3 Level of protection IP ........................................................................................................................... 6
2.4 Safety................................................................................................................................................... 7
2.5 Waste Electrical and Electronic Equipment (WEEE) directive............................................................. 7
3Introduction................................................................................................................................................... 8
3.1 General Information ............................................................................................................................. 8
3.2 Features............................................................................................................................................... 8
3.3 Dimensions .......................................................................................................................................... 9
4Installation .................................................................................................................................................... 9
4.1 Things to Consider............................................................................................................................... 9
4.2 Before the Installation ........................................................................................................................ 10
4.2.1 Check-up List for the Installation ................................................................................................... 10
4.2.2 Tips for the Installation................................................................................................................... 10
4.2.3 Preparation Procedure for Cables and Connectors....................................................................... 10
4.2.4 Cable Folding................................................................................................................................. 11
4.3 DOCTUS Mounting ............................................................................................................................ 12
4.3.1 Drilling Templates .......................................................................................................................... 12
4.4 Vertical Orientation ............................................................................................................................ 13
4.4.1 Excursion ....................................................................................................................................... 13
4.4.2 Adjustment..................................................................................................................................... 13
4.5 Power Supply..................................................................................................................................... 14
4.5.1 PSU Requirements ........................................................................................................................ 14
4.5.2 Connection Charts ......................................................................................................................... 14
4.5.3 Serial Connection .......................................................................................................................... 15
4.5.4 Maximum Distance ........................................................................................................................ 15
5Maintenance............................................................................................................................................... 15
6Technical Specifications............................................................................................................................. 16
7Troubleshooting.......................................................................................................................................... 18
8Accessories and their Installation............................................................................................................... 18
8.1 Safety Cable ...................................................................................................................................... 18
8.1.1 Safety Cable Installation ................................................................................................................ 19
8.2 Top Hat .............................................................................................................................................. 19
8.2.1 Dimensions .................................................................................................................................... 19
8.2.2 Top Hat Installation........................................................................................................................ 20
9Warranty..................................................................................................................................................... 20
10 Product Disposal ........................................................................................................................................ 20

User Manual Ver. 1.02 4 di 21
DOCTUS

User Manual Ver. 1.02 5 di 21
DOCTUS
1 Symbols
General risk
Electric shock risk
Burn risk – hot surface
Maximum operating ambient temperature
Minimum distance from illuminated surface.
Do not stare at the operating lighting source
Photobiological safety Risk Group 2
Never expose the front lens, from any angle, to direct sun light or strong artificial light
sources in order to avoid damage to the internal parts of the product
IEC Protection Class III
Never throw with regular waste
ATTENTION Before the installation and use of the device, read carefully this document and follow all
instructions. Keep this document along with the device for future reference. Use the device only as it is
described by this document. Do not use the fixture as a safety device.

User Manual Ver. 1.02 6 di 21
DOCTUS
2 Safety and Operation
Do not attempt to install and use the device (or the devices) before carefully reading this manual and
understanding all warning symbols.
Installing the device (or the devices) without following the instructions in this document may be dangerous and
cause damage, injury, or death.
Any ordinary maintenance operation not described in this manual must be done only by a qualified technician.
Failing to follow the instructions on this “User Manual” shall cancel the warranty issued by D.T.S. Illuminazione
Srl.
Before installation, please carefully read this “User Manual” and make sure to check the latest technical
updates available on the D.T.S. Illuminazione Srl’s website – (www.dts-lighting.it).
2.1 Fire prevention
Minimum distance from illuminated surface.
Never expose the front lens, from any angle, to direct sun light or strong artificial light
sources in order to avoid damage to the internal parts of the product
2.2 Prevention of electric shock
Before making any attempt at installation, disconnect the power supply from the mains.
DOCTUS do not have parts that can be repaired by the user. Do not try to open the product.
Do not use the product if any part of it, or its cables, is damaged. Use the product within the
specified voltage and current ranges
IEC Protection Class III
The protection against electrtic shock relies on the fact that there are no voltages higher than
the very low safety voltage SELV. The voltage produced is low to the point that it is not
normally dangerous in case of contact with the human body
2.3 Level of protection IP
This product is designed for both indoor and outdoor use.
The IP rating is guaranteed for new products.
Any tampering of the device, like its opening or a cable substitution, or the improper use,
shall cancel the warranty.
The cable is part of the IP rating. Because of this, it must be undamaged and its connection
must be compliant with the protection rating degree desired for the product.

User Manual Ver. 1.02 7 di 21
DOCTUS
2.4 Safety
These products must be installed by qualified personnel only, following national laws and
local regulation regarding construction and electrical systems.
This product can only be installed by personnel qualified for the installation of electrical
appliances. They must ensure that:
a. The installation must be compliant with all relevant regulations, local and national
laws, bills, norms, and safety regulations;
b. The setting must be thoroughly analyzed and one or more preemptive measures
must be taken in order to ensure adequate protection from overvoltage and
overcurrent, direct or inducted.
Do not exceed the specified input voltage and current.
Do not drop, hit, or shake the product. Strong accelerations can damage the device and
cancel its warranty.
Burn risk – hot surface
Never handle the unit until at least 5 minutes have elapsed since the unit was turned off.
The ambient temperature should not exceed 45°C
If the product has been subjected to drastic temperature variances, for example, following
transportation, do not connect the fixture until it has reached ambient temperature, as
moisture condensation may cause electric shock and product damages.
For your own safety, do not stare directly at the operating light source.
It could cause damage to the eyes and skin.
Photobiological safety Risk Group 2 according to the European Directive EN 62471
For permanent installation, the product must be positioned so that it can’t be possible to
stare directly at the light source for a prolonged period of time, from a minimum distance
of
DOCTUS 1 FC: 5,77 m (18.93 ft);
DOCTUS 3 FC: 10,23 m (33.56 ft);
DOCTUS 6 FC 13,40 m (43.96 ft);
DOCTUS 12 FC: 19,54 m (64.11 ft).
2.5 Waste Electrical and Electronic Equipment (WEEE) directive
Electrical and Electronic Equipment
The projector, accessories and packaging should be sorted for environmental-friendly
recycling. European Community Directive 2012/19/EU on Waste Electrical and Electronic
Equipment (WEEE).
(For EC countries: according to the European Directive 2012/19/EU for Waste Electrical
and Electronic Equipment and its implementation into national right, luminaires that are no
longer usable must be collected separately and disposed of in an environmentally correct
manner)

User Manual Ver. 1.02 8 di 21
DOCTUS
3 Introduction
3.1 General Information
LED lighting fixture for indoor and outdoor use.
The product is particularly useful for “architainment” lighting, landscaping, or illuminating architectural elements.
The DOCTUS family can be controlled via DTS Illuminazione’s “Drivenet” series PSU, it is possible to control
the luminous intensity of each color.
DOCTUS FC / DOCTUS WH
Power absorption Dimensions (Ø x H x P)
Model W mm in
DOCTUS 1 8 80 x 112 x 70 3.15 x 4.41 x 2.76
DOCTUS 3 24 124 x 157 x 70 4.88 x 6.18 x 2.76
DOCTUS 6 48 156 x 201 x 80 6.14 x 7.91 x 3.15
DOCTUS 12 96 204 x 265 x 95 8.03 x 10.43 x 3.74
3.2 Features
•For indoor and outdoor use.
•Bracket mounted.
•Vertical rotation: 230°.
•Ingress protection rating: IP65.
•ACC coating.
•Maximum input LED-driving constant current: 700 mA for each channel.
•IEC Protection Class III.

User Manual Ver. 1.02 9 di 21
DOCTUS
3.3 Dimensions
A B C D E F
Model mm in mm in mm in mm in mm in mm in
DOCTUS 1 112 4.41 72 2.83 101 3.98 70 2.76 42 1.65 80 3.15
DOCTUS 3 157 6.18 95 3.74 145 5.71 70 2.76 39 1.54 124 4.88
DOCTUS 6 201 7.91 123 4.84 177 6.97 80 3.15 44 1.73 156 6.14
DOCTUS 12 265 10.43 163 6.42 227 8.94 95 3.74 48 1.89 204 8.03
4 Installation
4.1 Things to Consider
Plan the setup before mounting the product. This will guarantee a successful and durable installation. It is
recommended to carefully consider the following:
•Atmospheric conditions and ambient temperature of the installation site.
•Installation distances, adequate cable length and section.
•The quantity and model of the devices, and their power supply units.
•A correct protection from overvoltage.
•A correct orientation of the light beam.

User Manual Ver. 1.02 10 di 21
DOCTUS
4.2 Before the Installation
4.2.1 Check-up List for the Installation
•Prepare all cables and necessary accessories.
•Test the DOCTUS before installing. Pay attention not to damage cables/connectors during check-up.
•Ensure that all check-ups described within this document are thoroughly followed.
•Place the DOCTUS on the desired position. If the installation can’t be finished before nightfall, store
the devices and their cables inside a closed and dry place.
Before installation, please make sure that all devices and cables are kept in a dry place. This will avoid
humidity to be retained inside them, avoiding failure of the products.
4.2.2 Tips for the Installation
•DO NOT try to install the device in rainy or adverse meteorological conditions.
•DO NOT leave and expose the DOCTUS or their power supply unit disconnected in wet environment
or rain/snow conditions.
•IP rating failures caused by damaged/strained cables (during or after the installation) will cancel the
warranty issued by D.T.S. Illuminazione S.r.l.
•ALWAYS keep the cables protected from pointy objects and ensure that no cable is damaged.
•Failing to keep the DOCTUS into the -10 to 45 °C operating temperature range (14 to 113 °F) and the
-25 to 60 °C storage temperature range (-13 to 140 °F), will cancel the warranty issued by D.T.S.
Illuminazione S.r.l.
•Do not obstruct or submerge the Gore valve.
•Fasten the projector with screws, clamps, or other supports capable of sustaining their weight. If
necessary, use a safety cable.
•It is recommended the use of an adequate residual current device/circuit breaker on the power supply
mains.
•This fixture is susceptible to overvoltage. The installation of a protection device on the electrical
system can diminish the intensity of these phenomena, protecting the fixtures from possible damage.
4.2.3 Preparation Procedure for Cables and Connectors
•Test all DOCTUS units before the installation.
•Report any operational defects to D.T.S. Illuminazione S.r.l or their official distributor or dealer.
•Do not install any DOCTUS that presents any operational defect.
•Plan any potential cable folding (please refer to the following paragraph “Cable Folding”).
•Fasten both ends of the cables with connections fit for the environment in which they are made.
•Connect the DOCTUS to their power supply units with appropriate connection cables.
•Cut the cable to the necessary length.
•Should the length of the cables be insufficient, provide an extension by using a cable with the same
features. The junction between the two must be ranked at minimum IP65, or be made and left in a
closed and dry location.
•Should the cables be damaged, they must be adequately repaired by restoring their IP protection

User Manual Ver. 1.02 11 di 21
DOCTUS
rating.
4.2.4 Cable Folding
Cables MUST NOT be folded with a curvature radius inferior to four times their external diameter (4x cable
diameter).
The cable, when extending from the product, must be kept straight for a minimum length of 5 cm (1.97 in) next
to the cable gland.
Traction forces on contact points, and on the
cable gland, must be avoided as per procedure:
when extending from the product, the cable must
not be folded for at least 5 cm (1.97 in).
Bends on the cable must have a curvature radius
over four times the diameter of the cable itself.
Avoid positioning the fixtures with their cables
extending from them in a vertical position. If this
can’t be avoided:
•After the installation, add silicon glue to the
cable surface next to the device (picture on
the right, letter A);
•Place the cable in order to obtain a
“draining” ring (see picture on the right).
WARNING: do not use acetic silicones.

User Manual Ver. 1.02 12 di 21
DOCTUS
4.3 DOCTUS Mounting
4.3.1 Drilling Templates
DOCTUS 1
DOCTUS 3
DOCTUS 6
DOCTUS 12
NOTES:
The drilling templates are lined with the rotation axis of the product.
DOCTUS 1 and 3 brackets are provided with only one drilling template. As soon as the desired light beam
orientation has been obtained, accurately fasten the fixture.
For DOCTUS 6 and 12, use at least two of the provided drilling templates for fastening the product.

User Manual Ver. 1.02 13 di 21
DOCTUS
4.4 Vertical Orientation
4.4.1 Excursion
DOCTUS can be vertically oriented with a 230° excursion.
4.4.2 Adjustment
After installing the product, the vertical orientation of the light
beam may be obtained by manually rotating the head of the
fixture. The rotation system is manufactured within D.T.S.
Illuminazione Srl’s plants with a friction level which allows for its
manual positioning. After adjusting to the desired level, use the
“A” screw to fasten the head.
The screw must be fastened by using a 3 mm (0.118 in) hex key,
not included.

User Manual Ver. 1.02 14 di 21
DOCTUS
4.5 Power Supply
4.5.1 PSU Requirements
Not all power supply units are capable of driving DOCTUS fixtures. In order to select the correct PSU, please
consider the following:
•DOCTUS range is ranked with an IEC protection class III, therefore the PSU of this device must have
an SELV output and guarantee double isolation between input and output.
•Each channel must have driven current output, with a maximum constant current of 700 mA dc.
•The PSU’s output voltage must be able to reach a maximum voltage of at least 48 Vdc without
exceeding the maximum SELV regulations voltage.
•All constant current power supply units with 48 V output available on the D.T.S. Illuminazione Srl
catalogue, are able to provide correct power supply to all DOCTUS fixtures.
4.5.2 Connection Charts
DOCTUS FC and DOCTUS WH fixtures are provided with an end-stripped 8-pole cable.
Each conductor that makes up the cable has a color that allows to correctly identify their association with the
polarity of each LED color.
CONNECTIONS
LED CONDUCTOR’S COLOR “Drivenet” PSU
OUTPUT PIN
FC WHITE
RED + WHITE 1 + WHITE PIN 1
RED - WHITE 1 - BROWN PIN 2
GREEN + WHITE 2 + GREEN PIN 3
GREEN - WHITE 2 - YELLOW PIN 4
BLUE + WHITE 3 + GRAY PIN 5
BLUE - WHITE 3 - PINK PIN 6
WHITE + WHITE 4 + RED PIN 7
WHITE - WHITE 4 - BLUE PIN 8
More devices can be connected to the same output channel group.
The connection must be done serially through each single color of the conductors across devices.
One “Drivenet” (48 V models) output channel group, with an output current of 700 mA, can supply:
1x DOCTUS 12 2x DOCTUS 6 4x DOCTUS 3 12x DOCTUS 1
1x DOCTUS 6
2x DOCTUS 3
3x DOCTUS 3
3x DOCTUS 1
1x DOCTUS 6
1x DOCTUS 3
3x DOCTUS 1
2x DOCTUS 3
6x DOCTUS 1
1x DOCTUS 6
6x DOCTUS 1
1x DOCTUS 3
9x DOCTUS 1

User Manual Ver. 1.02 15 di 21
DOCTUS
4.5.3 Serial Connection
As stated in the previous paragraph, the serial connection of two or more DOCTUS FC or DOCTUS WH can be
done as seen below:
4.5.4 Maximum Distance
Should the PSU be moved away from the product, please consider the following:
•Cable junctions and connections must be done by following the instructions as stated before in this
document.
•With “Drivenet” set at 700 mA – 48 V, and using cables of the same type of those included with the
product, it is possible to have a maximum distance between the PSU and the farthest device
(considering cable length) of 100 m.
5 Maintenance
D.T.S. Illuminazione Srl’s products are of higher quality and design, therefore must be treated with care.
The following recommendations will help you keep your warranty intact, to make the best possible use of the
product, and to maximize their lifespan:
•Do not use the product (or products) before carefully reading this manual.
•Failing to comply with the instructions on this manual may cause injury or damage.
•Periodically check the status of the cables. Make sure the cables are not damaged.
•Ensure that a sufficient air flow is given to the device, removing any obstruction that may prevent
proper cooling of the product.
•DO NOT use aggressive chemicals, solvents or abrasive detergents to clean the product. For the
body, use a wet cloth. For the front panel, use window cleaning products.
•For the best duration of the product painting, periodic washing with fresh water is recommended.
Cleaning frequency varies in accordance with the salinity present in the place of installation Avoid high
pressure water jets.
•If the product does not work the way it is meant to, please contact the nearest authorized support

User Manual Ver. 1.02 16 di 21
DOCTUS
center or refer directly to D.T.S. Illuminazione S.r.l.
•Do not try to repair the product yourself. In case of need, please contact the nearest authorized
support center or refer directly to D.T.S. Illuminazione Srl.
6 Technical Specifications
DOCTUS FC
Model DOCTUS 1 DOCTUS 3 DOCTUS 6 DOCTUS 12
Body Painted aluminum
Light source High-power RGBW LED
Number of LEDs 1 3 6 12
Color temperature -
Lenses (**) (***) 10°; 25°; 35°; Elliptic 12°x40°; Elliptic 40°x12°
Maximum input current 700 mA cc (for each channel)
Total Maximum power @ 700 mA 8 W 24 W 48 W 96 W
Weight (*) 1 kg (2.20 lb)1.7 kg (3.74 lb) 2.5 kg (5.51 lb) 4,4 kg (9.70 lb)
Operating temperature range -10 to 45 °C (14 °F to 113 °F)
Storage temperature range -25 to 60 °C (-13 °F to 140 °F)
IEC Class Class III
IP grade IP65
N° of channels 4 independent channels, 1 for each color
Connection cable
Type 8 x 0,25 mm2 (8 x AVG 23)
Length (**) 1 m (39”) o 5 m (197”)
Honey-comb filter Unique models with filter already on board (refer to product’s code)
(*)Product’s weight includes 5 m (197”) cable
(**) Depending on model (see product’s code)
(***) Internal lens opening

User Manual Ver. 1.02 17 di 21
DOCTUS
DOCTUS WH
Model DOCTUS 1 DOCTUS 3 DOCTUS 6 DOCTUS 12
Body Painted aluminum
Light source High-power white LED
Number of LEDs (****) 1 3 6 12
Color temperature (**) 3000 K; 4000 K;
Lenses (**) (***) 10°; 25°; 35°; Elliptic 12°x40°; Elliptic 40°x12°
Maximum input current 700 mA cc (for each channel)
Total Maximum power @ 700 mA 8 W 24 W 48 W 96 W
Weight (*) 1 kg (2.20 lb) 1.7 kg (3.74 lb) 2.5 kg (5.51 lb) 4,4 kg (9.70 lb)
Operating temperature range -10 to 45 °C (14 °F to 113 °F)
Storage temperature range -25 to 60 °C (-13 °F to 140 °F)
IEC Class Class III
IP IP65
N° of channels 4 independent channels
Connection cable
Type 8 x 0,25 mm2 (8 x AVG 23)
Length (**) 1 m (39”) o 5 m (197”)
Honey comb filter Unique models with filter already on board (refer to product’s code)
(*)Product’s weight includes 5 m (197”) cable
(**) Depending on model (see product’s code)
(***) Internal lens opening
(****) LEDs are distributed on 4 different channels
NOTE:
As for all electrical devices, LEDs will degrade through time with a consequent reduction in their luminosity. This
explains why it is almost impossible to obtain identical photometric performances between two different LED devices
with different operating lifetime. LEDs lifespan varies greatly and is the result of a complex formula which considers
multiple factors such as operating efficiency, continuous operating time, and environment conditions (e.g., ambient
temperature).
All semi-conductor devices, such as LEDs, are subject to inherent variables related to their technical features. In
order to improve output and performance uniformity, D.T.S. Illuminazione Srl uses selected LEDs considering the
aforementioned factors, reducing to the minimum variations in output luminosity, color temperature and tone shift in
color between devices.

User Manual Ver. 1.02 18 di 21
DOCTUS
7 Troubleshooting
Warning: Make sure to unplug the devices from their power supply when connecting/disconnecting cables.
Problem Probable cause Possible solutions
The product, after
installation, doesn’t
turn on.
Wrong PSU connection
•Check connections between DOCTUS and their
power supply.
•Ensure correct polarity is respected.
•Check that the PSU is working properly
•Check the PSU’s correct connection to the
mains.
Presence of shadows
during projection Obstructed light source
•Check if cables, wires, or debris are obstructing
the light source or if they are placed between
the source and the illuminated surface.
LEDs’ intensity is too
low
Too many devices
connected or wrong setup
•Make sure the PSU is not overloaded by having
too many devices connected to it.
•Make sure the PSU is set up correctly.
•Make sure that the used cables have a proper
section and that their length is inferior to the
maximum length possible.
•Make sure that connections are properly made.
Flickering
Wrong input power
Too many devices
connected to the same
output
•Make sure the PSU has proper input voltage
•Make sure PSUs are not overloaded and that
they are working inside their proper operating
temperature range and voltage range.
•Make sure that connections are properly made.
•Make sure the PSU is not overloaded by having
too many devices connected to it.
If the problem persists or the product doesn’t work as specified, please contact the nearest authorized support
center or refer directly to D.T.S. Illuminazione S.r.l.
8 Accessories and their Installation
Three different accessories, which can be mounted during installation of the device, are designed for DOCTUS.
The accessories can be ordered separately from the product.
8.1 Safety Cable
In order to avoid accidental falls, a safety cable might be needed for temporary installation.
Using a safety cable doesn’t exempt from a correct installation of the product.
This manual suits for next models
8
Table of contents
Other DTS Dj Equipment manuals

DTS
DTS Synergy 7 Profile User manual

DTS
DTS SCENA LED 200 Series User manual

DTS
DTS XR2000 SPOT CMY User manual

DTS
DTS EUPHONY 3 User manual

DTS
DTS Synergy 5 Spot User manual

DTS
DTS DELTA 10 F User manual

DTS
DTS XR2000 SPOT CMY User manual

DTS
DTS Synergy 7 Profile User manual

DTS
DTS Alchemy 7 User manual

DTS
DTS MINI BRICK User manual

DTS
DTS ARTEMIO PROFILE User manual

DTS
DTS X-BRICK User manual

DTS
DTS Wonder D User manual

DTS
DTS NICK NRG 1401 User manual

DTS
DTS SOPRANO Series User manual

DTS
DTS XR250 WASH User manual

DTS
DTS ALCHEMY 5 User manual

DTS
DTS Titan HP User manual

DTS
DTS 03.MS014.EBLFP User manual

DTS
DTS SCENA LED 120 HQS User manual