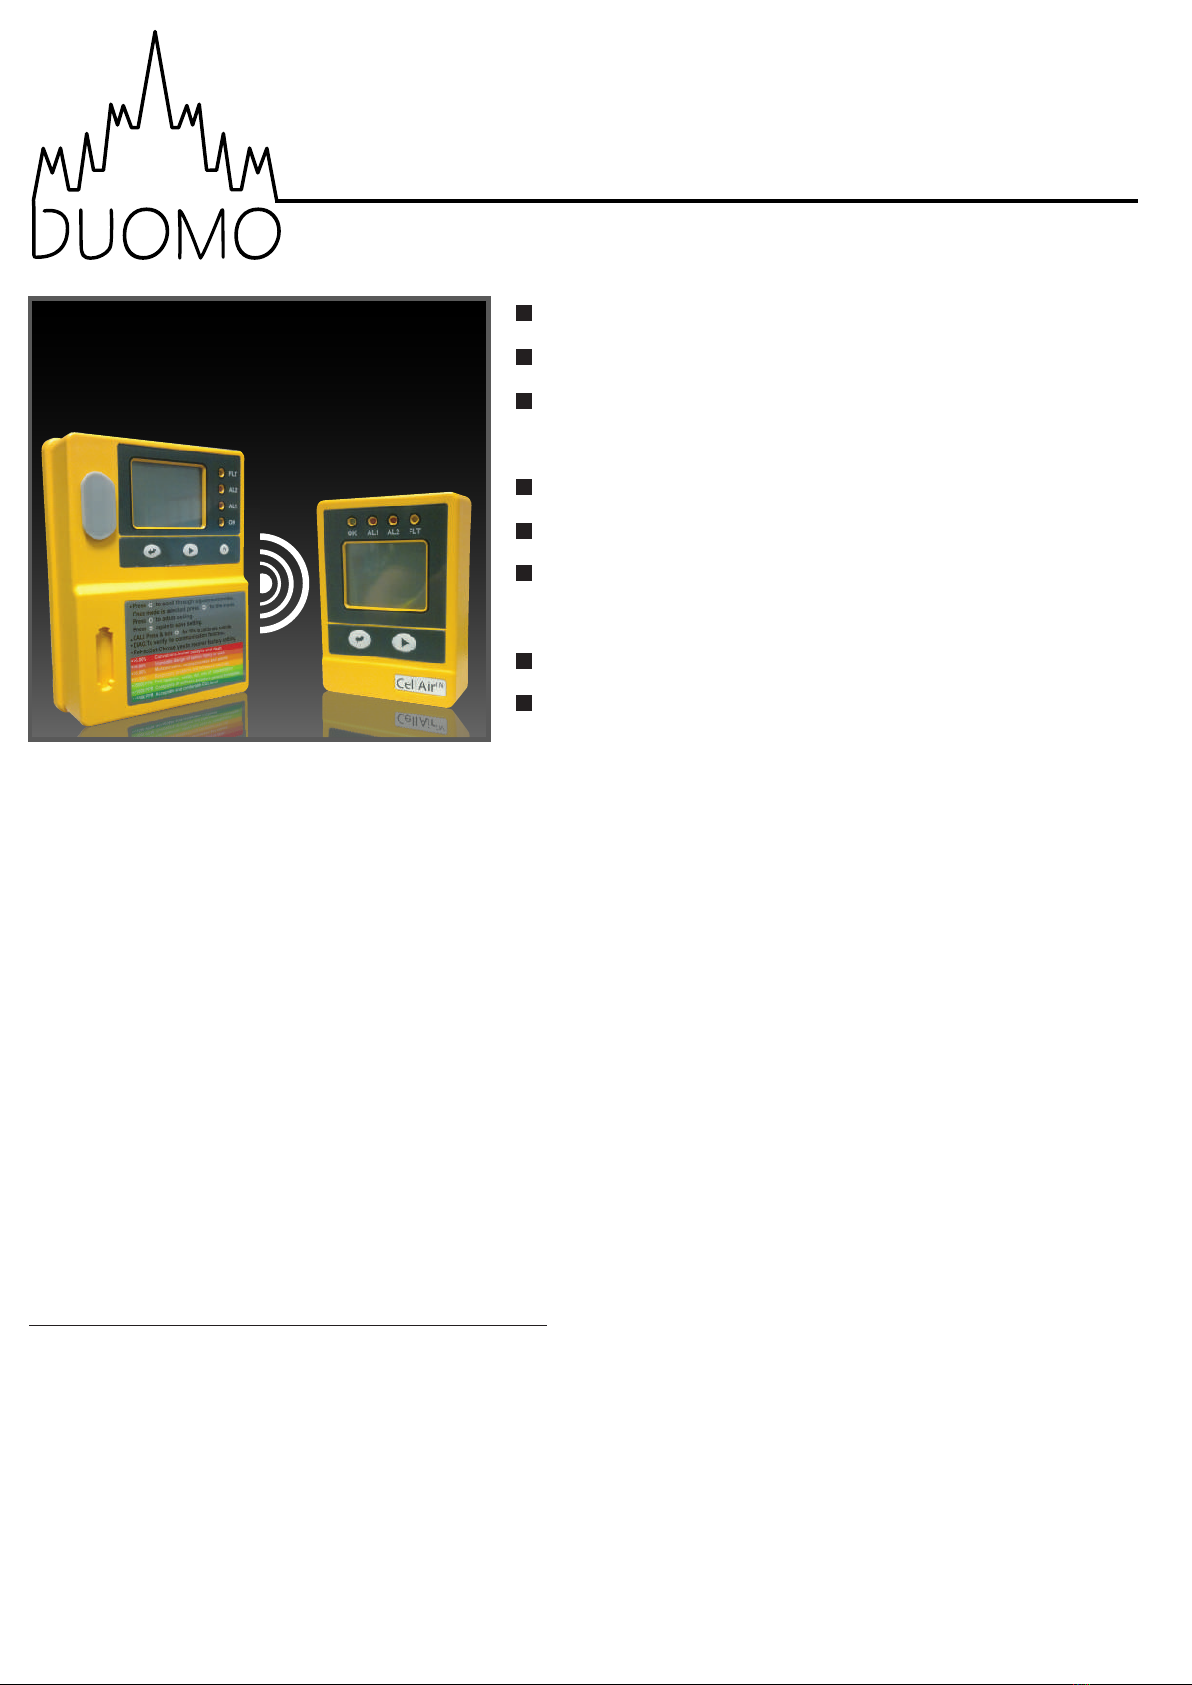
Choose a suitable location to install the SEU.Fix the panel holder on the wall at the recommended height of
about 0.45m (1.5 feet) from the floor and as close to the manifolds and valves as possible.
Put the SEU on the panel holder,making sure the connection is tight.
Fix another panel holder in a suitable location outside the monitored space. Push the RDU onto the panel
holder and stick the warning paper next to the RDU.
The communication cable is pre-wired to the SEU.Route this through to the RDU and plug it into the input
port.Communication between the two units is now established.
The CellAirTM has one relay output which is pre-wired to the SEU.The relay can be used to operate an external
alarm system or ventilation system.It will be triggered when the CO2concentration exceeds the first alarm
level.
After completing the installation,remove the rubber cap from the gas entry point,power the unit up and use
the "DIAG" function to verify the connection between the SEU and the RDU.
1.
2.
3.
4.
5.
6.
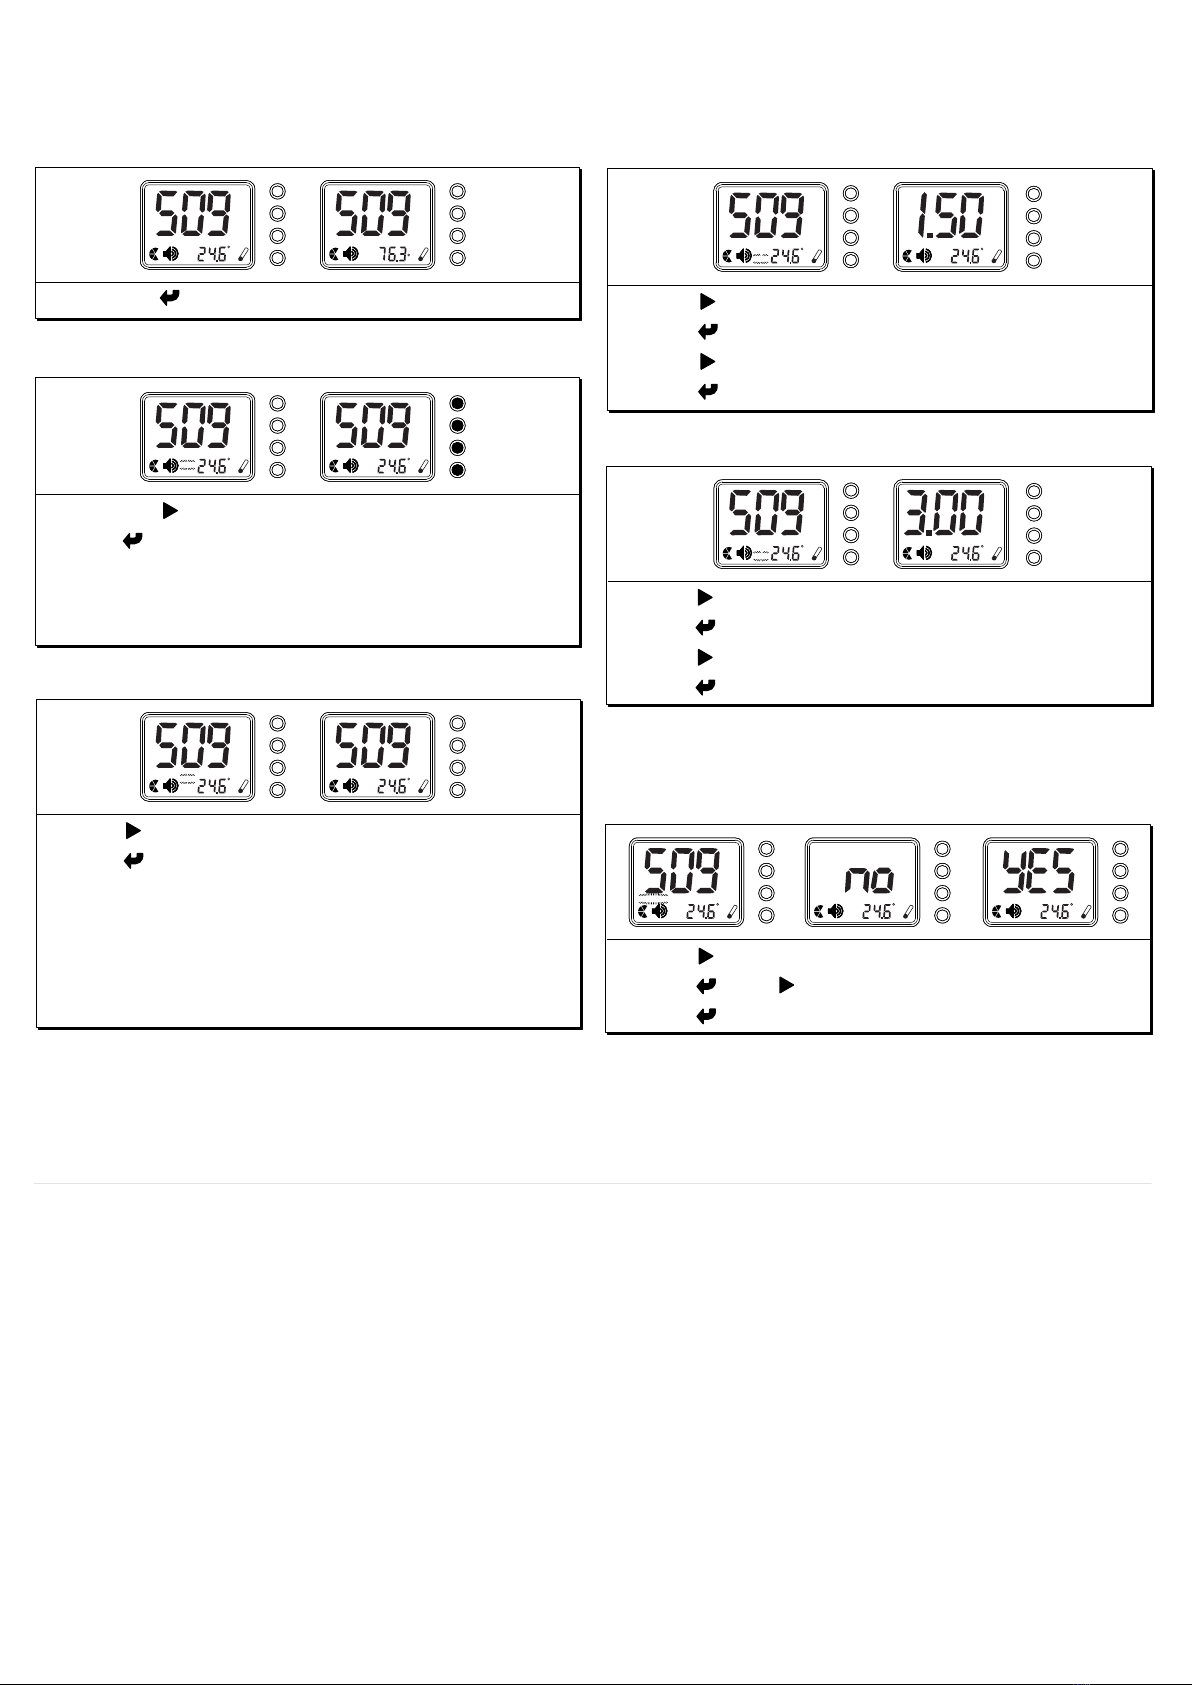
Temperature oC/oF
Setting the second alarm parameter
Using the "DIAG" function
Using the "CALI" function
Setting the first alarm parameter
Using the "ReFactSet" function
There are several settings on the CellAirTM that can be altered to personalise it for your application.
1.Press the button to switch between oC and oF
Installation Instructions
Customising Settings
w: www.duomo.co.uk - e: sales@duomo.co.uk - t: 01905797989 - f: 01905 774296 | ©Duomo (UK) Ltd.2007
1.Press the button until "DIAG" flashes
2.Press ,the four LED's on the SEU will flash and
its alarm will sound
3.The four LED's on the RDU will flash and its alarm
will sound
1.Press button until "AL1" flashes
2.Press ,the "AL1" icon shown on the LCD
3.Press to go through the parameters
4.Press again to save the setting
1.Press button until "AL2" flashes
2.Press ,the "AL2" icon shown on the LCD
3.Press to go through the parameters
4.Press again to save the setting
Note: The second alarm level should be higher than
the first alarm level.
Note: If possible,calibrate the SEU outside in ambient
air. Wait 10 minutes for the unit to stabilise before
calibrating.DO NOT breathe on or near the unit during
calibration.
1.Press button until "ReFactSet" flashes
2.Press ,then to select either "Yes" or "No"
3.Press again to save the setting
Press button until "CALI" flashes
Press ,the "CALI" icon shown on the LCD
Press and hold for at least 10 seconds.The "CALI"
icon will flash and the unit will calibrate
automatically. After 10 minutes the LCD will
display "Pass" or "Fail". If "Fail" appears please try
calibrating the unit again.
1.
2.
3.
Only use this function if you wish to return the sensor
to its factory default settings, or if the unit displays
"ESC" on the LCD under conditions of very high
concentrations.
PP
M
CO2
c
PP
M
CO2
F
PP
M
CO2
c
PP
M
CO2
c
DIAG DIAG
PP
M
CO2
c
PP
M
CO2
c
CALI CALI
PP
M
CO2
c
PP
M
%
CO2
c
AL2 AL2
PP
M
CO2
c
PP
M
%
CO2
c
AL1 AL1
PP
M
CO2
cCO2
c
ReFactSet ReFactSet ReFactSet CO2
c