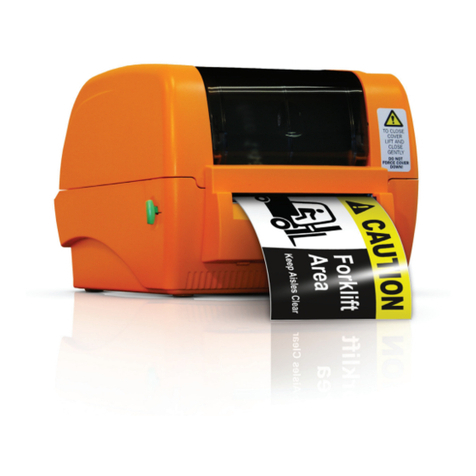
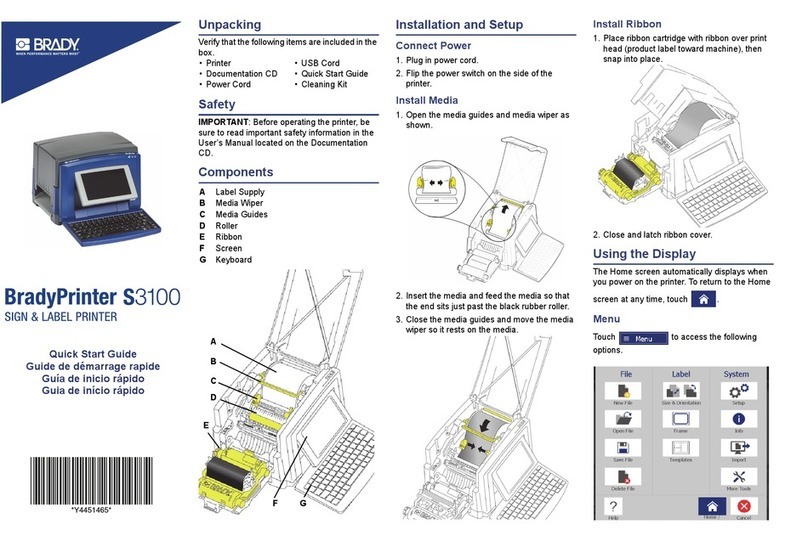
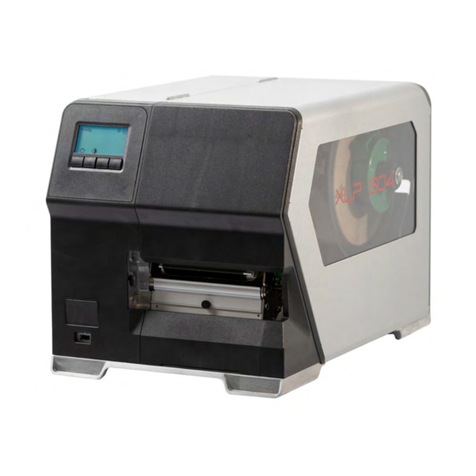
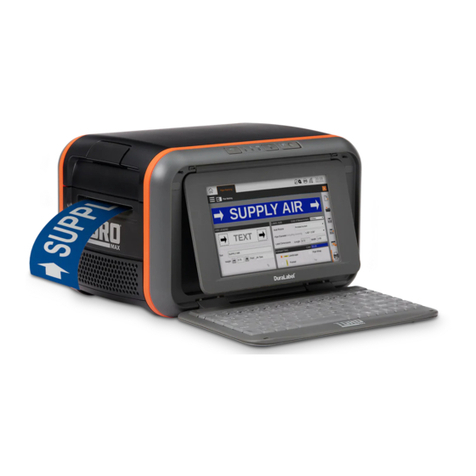
DuraLabel 2000 PLUS User manual

1-800-788-5572
International: +1 503-644-5572
info@GraphicProducts.com
www.GraphicProducts.com
www.DuraLabel.com
QuickStart Guide
DuraLabel®
2000 PLUS

CHARGING THE BATTERY
LED STATUS BATTERY
On...................................................Charging
Blinking every 2 seconds..............Fully Charged
Blinking every 1/2 second ...........Error
1. Pull up and out on the end of the
rubber battery compartment flap on the
bottom of the printer to open the battery
compartment.
2. Slide the battery into the printer until it
snaps into place.
3. Close the battery
compartment flap.
INSERTING THE BATTERY
IMPORTANT:
For optimal performance the battery must be charged before use.
Battery Charge Indicator LED
Power
Jack
Battery
Battery Charge
Indicator LED
Power Jack
-1-
1. The BATTERY

IMPORTANT:
Always power down the printer before removing the battery to
prevent damage to the LCD.
REMOVING THE BATTERY
uNOTE: Do not remove the pull tab.
Pull Tab
1. To remove the battery, first open the battery
compartment flap.
2. Pull gently on the pull tab.
-2-

INSTALLING THE RIBBON CARTRIDGE
Printer
Cover
Cover
Release
Lever
Ribbon
Ribbon Cartridge
Locking
Tab
2. The RIBBON CARTRIDGE
5. Lock the ribbon cartridge in place by
sliding the locking tab.
6. Turn the printer on and press
to tighten the ribbon.
3. Lift the ribbon cartridge slightly to
avoid snagging the ribbon on the parts
below. Gently slide the ribbon cartridge
into the side of the printer until it
snaps tightly and is flush with the side
of the printer.
2. Orient the ribbon cartridge so the
section of exposed ribbon faces up,
toward the underside of the LCD screen.
Rest the ribbon cartridge on the bottom
edge of the opening.
1. Open the printer
cover by pulling the
cover release lever.
LCD Screen
FEED
IMPORTANT:
The printer should be off prior to installing the ribbon cartridge.
-3-

2. Grasping the three parts of the supply
spindle, gently pull off the left spindle cap.
1. With the printer cover open, remove the supply spindle
from the printer.
LOADING THE SUPPLY SPINDLE
3. Slide the supply over the spindle shaft making
sure it unwinds in the direction indicated by the
arrows on each side of the supply spindle.
3. The SUPPLY SPINDLE
Left Spindle Cap
Spindle
Shaft
4. Replace the left spindle cap on the end of the
spindle shaft by pressing the caps together until
they touch the supply roll, making sure the spindle
hooks are aligned.
Loaded Supply Spindle
-4-

2”
½”
1”
INSTALLING THE SUPPLY SPINDLE IN THE PRINTER
4. Carefully close the printer cover without pinching
the supply inside, and lock it in place with the cover
release lever.
uNOTE:
Once the printer cover is closed and the printer is turned on, the printer
determines the width of the supply, and the supply is aligned for printing labels.
Cover Release Lever
3. Insert the end of the supply between
the platen roller and the black strip of
the guide plate, pushing it through the
slot at the top of the printer cover.
Drive Gear - turn to
manually advance supply
IMPORTANT:
The printer should be off prior to installing the supply spindle.
Guide
Plate
Platen
Roller
Slotted Round BarGently push while closing
Spindle
Shaft
End
Spindle
Slot
1. To secure the supply, place the spindle hooks in
the corresponding slots on the slotted round bar, as
seen in the diagram above.
2. Press the spindle shaft ends into
the spindle slots. Be sure the supply
spindle is fully seated.
Spindle
Slot
3. The SUPPLY SPINDLE
-5-

Your DuraLabel 2000 PLUS printer is now
fully loaded and ready to power on. Press
the power key to get started!
The printer interface image below
highlights the main navigational tools
needed to help you get started.
FILE TEXT IMAGE ALIGN
HALON
A 182 AP B
I
U 1/1
Status Bar
Soft Keys
Soft Key Menu
Direction Pad
Print Preview
Key
Function Key
Caps Lock Key
Escape Key
Menu Key
Power Key
Enter Key
Label Layout
Area
-6-
4. The PRINTER INTERFACE

Finished Label
1. From the main menu....................................................... MENU
2. Enable the bold setting................................................... TEXT BOLD
uNOTE: When enabled, a small box appears to the right of the menu option.
3. Type the label text ........................................................... HALON
4. Return to the main menu ............................................... MENU
5. Insert an image ............................................................... IMAGE ENTER
uNOTE: The image appears on the edit screen as a black place-holder.
6. Advance to the next line.................................................. ENTER
7. Disable the bold setting .................................................. TEXT BOLD
8. Change the text size to 30 pt ......................................... SIZE 30
uNOTE:
The auto-size indicator “A” disappears when the size is manually entered.
Red 2" Premium Vinyl Tape and White Ribbon Cartridge
5. MAKING LABELS
FILE TEXT IMAGE ALIGN
HALON
A 182 AP B
I
U 1/1
-7-

9. Return to the edit screen................................................ MENU
10. Type the label text ......................................................... FIRE SYSTEM 7A
11. Preview the label........................................................... PREVIEW
12. Print the label ................................................................... PRINT
uNOTE: After printing, cut the label by pulling the red cutter lever.
Cutter Lever
-8-

6. SAVING LABELS
1. From the main menu....................................................... MENU
2. Save the label by creating a new label........................... FILE NEW
3. Save the label................................................................... SAVE
4. Type the label name ........................................................ HALON ENTER
uNOTE: The label is saved and a blank edit screen appears.
-9-
SAVE DELETE
SAVED LABELS 1/32 EDIT [NEW]
HALON
Save current file?

See the explanation of the numbered items below the image.
1. Red key denitions active...................................
2. CAPS lock.............................................................
A(on) a(off)
3. Size....................................................................... TEXT SIZE
4. Auto-size............................................................... TEXT SIZE AUTO
5. Unit ....................................................................... TEXT SIZE UNITS
P(point size)
%
(percent of label)
"
(height in inches) M(height in millimeters)
6. Bold ...................................................................... TEXT BOLD
7. Italic ...................................................................... TEXT ITAL
8. Underline.............................................................. TEXT UNDER
9. Vertical alignment ............................................... ALIGN VERTICAL
(top) (center) (bottom)
10. Horizontal alignment ........................................ ALIGN HORIZONTAL
(left) (center) (right)
11. Border................................................................ > BORDER
(thin) (wide)
12. Line number over label line count
13. Battery life indicator
FILE TEXT IMAGE ALIGN
HALON
A 182 AP B IU 1/1
1 2 3 45 6 7 8 9 10 11 12 13
7. The EDIT SCREEN
Full Battery Partial Battery Empty Battery
-10-

SYMPTOMS & SOLUTIONS
Hard Reset - A hard reset may be performed to return the printer to a known
state if it is functioning “out of character.” To perform a hard reset, rst pull out
and reinsert the battery and then follow the steps below.
1. Press and hold the power key .......................................................................
2. While holding down the power button, press down the ESC key................ ESC
3. Continue to hold the ESC key but release the power button......................
4. Release the ESC key ...................................................................................... ESC
Display Stays Blank/Black When the Printer is Turned ON
• Make sure the printer is operating within temperature specications (see
User’s Guide, page 2).
• If the printer has been recently transferred from one temperature environment
to another, there may be slight condensation on the circuit board. This will
dissipate in approximately 10 minutes. Allow the printer to equalize with current
room temperature before operating.
• Make sure the battery is fully charged and properly installed.
• Perform a hard reset as described above.
Printer Attempts to Print, But Supply Does Not Feed Out of Printer
• Ensure the supply has been loaded properly and is not jammed inside the printer.
• Make sure a ribbon cartridge is loaded into the printer and that the ribbon
cartridge is not empty.
• Make sure the supply spindle is not too tight (the supply should easily feed).
• Clean the platen roller (see User’s Guide, page 46).
• Make sure the battery is fully charged. A depleted battery might still run the
LCD but might not have enough power to print labels.
The Printer Cover Will Not Close
• Ensure the cover release lever is in the locked position.
• Make sure the loaded supply is going under the metal guide plate (see page 5
of this manual).
Printing Appears Uneven in Density and is Spotty or Blurred
• Charge the battery.
8. TROUBLESHOOTING TIPS
-11-

• Clean the print head (see User’s Guide, page 45).
• Increase the heat settings (see User’s Guide, page 30).
Printed Characters Are Not Formed Properly
• Clean the platen roller (see User’s Guide, page 46).
• Charge the battery.
• Clean the print head (See User’s Guide, page 45) or adjust print density or
motor speed (See User’s Guide, pages 30-31).
• Make sure dust and foreign objects are not on the platen roller.
Printer Does Not Recognize Supply
• Make sure only Graphic Products’ supply is loaded in the printer.
• Make sure the supply has a barcode on the back of the liner.
Diagonal Lines Appear in Text Due to Ribbon Wrinkle
1. Open the printer cover to see the ribbon. Press FEED until wrinkles disappear.
2. Remove the ribbon cartridge. Tap on the gray portion of the ribbon cartridge
while the black portion rests on the table.
3. Or, install a new cartridge.
Error Says Lithium Battery is Low - Contact Graphic Products for
replacement options.
There is a Missing Line in the Printout in the Same Location on
Every Label
• Clean the print head (see User’s Guide, page 45).
• If line continues this indicates the print head pixels have been damaged in this
area. The DuraLabel 2000 PLUS prints in landscape mode, so the missing line
shows up throughout the entire label. Contact Graphic Products.
Printer Makes a Grinding Noise When Attempting to Print - The
printer makes noise during normal operation. If the noise is out of character the
clutch might need readjustment at the factory or might need to be replaced.
Faint Lines Appear On the Display - This primarily results in stress to
the LCD and is caused by removing the battery while the power is still ON. Always
remove the battery when the power is OFF. Lines should disappear within a
few days.
-12-

4
14
24
34
44
54
64
74
84
94
104
10
20
30
40
50
60
70
80
90
100
110
120
1
11
21
31
41
51
61
71
81
91
101
111
2
12
22
32
42
52
62
72
82
92
102
112
3
13
23
33
43
53
63
73
83
93
103
113 114
5
15
25
35
45
55
65
75
85
95
105
115
6
16
26
36
46
56
66
76
86
96
106
116
7
17
27
37
47
57
67
77
87
97
107
117
8
18
28
38
48
58
68
78
88
98
108
118
9
19
29
39
49
59
69
79
89
99
109
119
130
121 122 123 124 125 126 127 128 129
-13-
9. The IMAGE LIBRARY

140
150
160
170
180
190
200
210
220
230
240
250
131
141
151
161
171
181
191
201
211
221
231
241
132
142
152
162
172
182
192
202
212
222
232
242
133
143
153
163
173
183
193
203
213
223
233
243
134
144
154
164
174
184
194
204
214
224
234
244
135
145
155
165
175
185
195
205
215
225
235
245
136
146
156
166
176
186
196
206
216
226
236
246
137
147
157
167
177
187
197
207
217
227
237
247
138
148
158
168
178
188
198
208
218
228
238
248
139
149
159
169
179
189
199
209
219
229
239
249
-14-

www.DuraLabel.com
© 2011, Graphic Products, Inc. All Rights Reserved
1-800-788-5572 P.O. Box 4030
Beaverton, OR 97076
Version 2.6.3
To get the most out of your DuraLabel 2000 PLUS, optional accessories
may be ordered upon request. Call Graphic Products
at 1-800-788-5572 for details or visit www.DuraLabel.com
DL2000 PLUS Soft Case DL2000 PLUS Hard Case
Supply Spindle Rechargeable Battery
Cleaning Cards and Pen Battery Charger
Ribbon Cartridge - in white, red, blue,
yellow, green, and black.
Premium Vinyl Tape - ½", 1" and 2" rolls
in white, red, blue, yellow, green, orange,
black, and clear.
Two-Color Premium Vinyl Tape - 1" and 2"
rolls, white, with pre-printed red, yellow
and orange stripes.
Self-Laminating Wire Wraps - 2" x ½" and
1" x ¼" rolls in white, red, blue,
yellow, green, orange, and magenta.
Table of contents
Other DuraLabel Label Maker manuals

DuraLabel
DuraLabel Catalyst User manual

DuraLabel
DuraLabel Toro User manual

DuraLabel
DuraLabel 7000 User manual

DuraLabel
DuraLabel 9000 User manual

DuraLabel
DuraLabel Toro User manual

DuraLabel
DuraLabel Lobo User manual

DuraLabel
DuraLabel Bronco User manual

DuraLabel
DuraLabel LabPRO User manual

DuraLabel
DuraLabel Bronco User manual

DuraLabel
DuraLabel Kodiak User manual
Popular Label Maker manuals by other brands

Rongta Technology
Rongta Technology RPP320 user manual

Xiamen Hanin Electronic
Xiamen Hanin Electronic LPQ58 user manual

Collamat
Collamat Etiprint Inline operating instructions

Dymo
Dymo LabelWriter 450 Turbo installation guide

Datamax
Datamax M-Class Mark II quick start guide

BIXOLON
BIXOLON SPP-L3000 installation guide