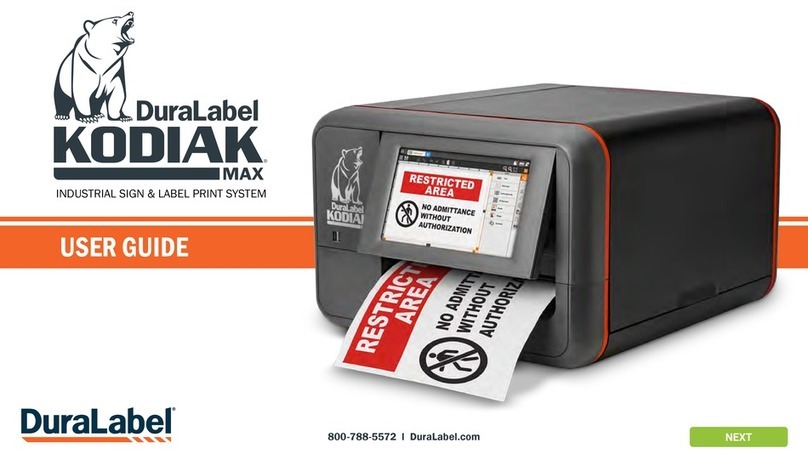
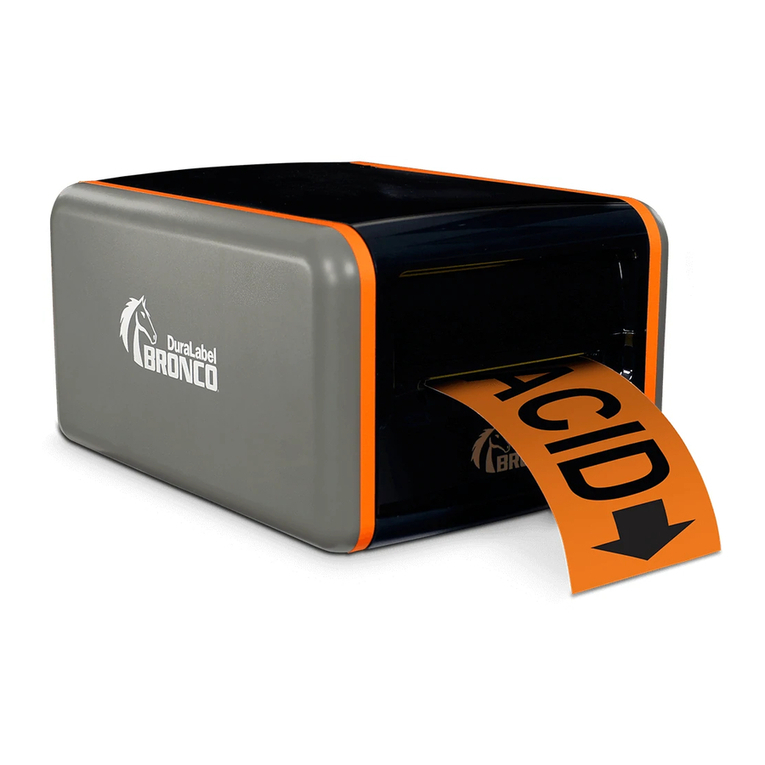
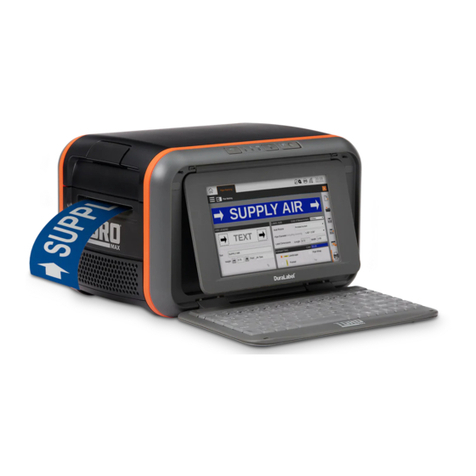
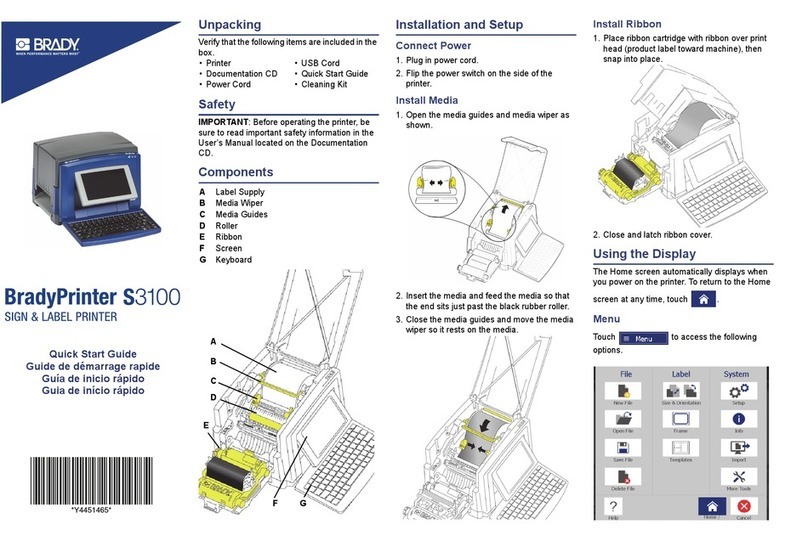
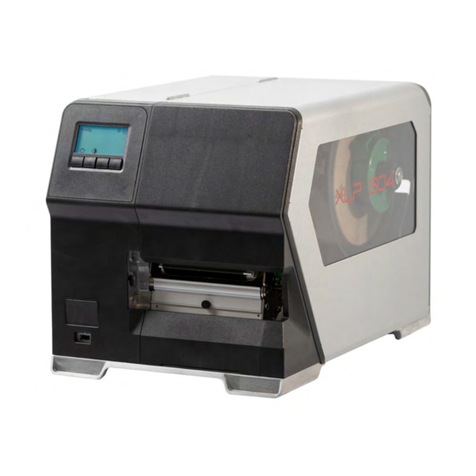
DuraLabel Toro User manual

800-788-5572
GraphicProducts.com
QUICKSTART GUIDE

877-534-5157 | GraphicProducts.com 1
SAFETY INSTRUCTIONS
Please review the following safety instructions before using the printer:
• Toro Max is intended for indoor use only. Keep Toro Max away from humidity, corrosive environments, and prolonged exposure
to direct sunlight.
• Use only with the power supply originally included with the system, or a replacement specied by your DuraLabel
representative.
• The Toro Max Battery is a Lithium-Ion (Li-ion) battery designed specically for use in this system; it should not be connected
to other hardware, and no other battery (including those for the original Toro printing system) should be connected to your
Toro Max. If the system and battery need to be shipped, they should be shipped separately. Damage to the battery, including
exposure to extreme temperatures, may cause leakage or re.
• To completely disconnect power from your Toro Max, remove the battery (if present) and unplug its power supply from the wall
socket.
• Do not pour liquids onto the printer or its parts. For ordinary cleaning, follow the instructions included in this guide.
• Only qualied service personnel should attempt to repair the printer.
• Toro Max supply may build a small static charge during loading or use. Do not operate Toro Max near ammable materials.
NOTE: Changes or modications not expressly approved by the party responsible for compliance could void the user’s authority
to operate the equipment.
For support, please contact Graphic Products by calling 800-788-5572 or visiting GraphicProducts.com.
GETTING STARTED
Thank you for choosing the DuraLabel Toro Max. With this standalone system, producing custom labels and signs is fast and
easy. This guide will show you how to set up your new Toro Max, load supplies, and start printing labels.
In the Box
In Toro Max’s box, you will nd
the following materials:
• Toro Max Printer
• Power Cord and AC Adapter
(“brick”)
• Notched Supply Spindle
• Fixing Tabs
• USB Cable
• USB Flash Drive with PC
software
• USB Wi-Fi Receiver
• Wireless Optical Mouse
• Stylus
The Toro Max battery will be
shipped in a separate box.

877-534-5157 | GraphicProducts.com 2
Initial Setup
1. Place the Toro Max printer on a secure, at surface, with the Control Panel (buttons) facing you.
2. Plug the AC Adapter (“brick”) into a standard, grounded three-prong wall outlet. Then, plug the other end of the power
cord into your Toro Max. (This connector uses a slider to latch into place, preventing accidental disconnects; to unplug the
connector from your Toro Max, grasp the plug slider and pull it away from the printer.)
3. Slide the Keyboard Release Slider (on the Control Panel) to the right, and swing the keyboard down.
4. To adjust the screen angle, push the Keyboard Release Button (to the right of the screen). The screen will pop forward, and
you can lift the screen to the desired angle.
5. Press the Power button (on the Control Panel) to turn on your Toro Max. Once the system powers up, use a nger or the
included stylus to navigate with the touchscreen.
6. (Optional) If you prefer, you can use the included wireless mouse instead of the touchscreen controls. Connect the mouse’s
small USB receiver (stowed in the underside of the mouse) to one of the USB-A ports on your Toro Max. Then, slide the
mouse’s power switch to ON. The wireless mouse uses one AA battery.
Installing the Battery
To use your Toro Max without an AC power supply connected, you will need the Toro Max battery installed and charged. When
fully charged, the battery will provide about three hours of continuous printing.
To install the battery:
1. Remove the battery cover from the back of your Toro Max by pushing the slider downward and pulling the door away.
2. Position the battery so the cut-outs are aligned and the contacts on the battery match up with the contacts in the Toro Max.
3. Press the battery in until it locks into place.
4. Return the battery cover to its position, and press it into place.
The Toro Max battery will charge automatically while your Toro Max is plugged in with its AC adapter, whether the system is
powered on or off. Charging will stop automatically when the battery is full.
IMPORTANT: If you have a battery for the original DuraLabel Toro system, do not use it in the Toro Max, as the older battery
was designed to use a separate charging system. Contact your DuraLabel representative for more information.
Supply Feed Power Button
Printer Status Light
Supply Status Light
Battery Status Light
Keyboard Release Slider
Control Panel

877-534-5157 | GraphicProducts.com 3
Loading Supplies
To load your Toro Max with printing ribbon (“ink”) and label stock, you will need to
fully raise the hinged cover and the attached ribbon rails.
1. Lift the cover release latch and raise the cover of the printer; the ribbon rails
will raise automatically. Make sure the cover and rails are fully raised before
continuing.
2. Slide the ribbon cartridge into the slot in the rails. The cartridge will only t the
correct way, and a magnet will hold it in place. (To remove a ribbon cartridge,
simply pull it out.)
3. Place the roll of label stock onto the supply spindle; for narrower supplies, hold the label stock roughly centered on the
spindle by sliding a xing tab onto the spindle from each side. Rest the supply in the supply well, with the spindle tting into
its slots. Fresh label stock should feed toward the cutter module, with the printable surface facing upward.
4. Feed the end of the roll of label stock between the two movable gray guides, and over the black rubber roller near the cutter
module. (You can ip the cutter module down for more room; simply pull the top edge away from the body of the printer.)
5. Slide the movable gray guides together so they hold the label stock neatly centered in the printer, without bending or
wrinkling the label stock.
6. If you lowered the cutter module, lift it back into its ready position; it will snap into place. Finally,
lower the cover until it latches closed; the ribbon rails will lower into place automatically.
Your Toro Max will recognize the supplies you have loaded and automatically adjust its print
settings for the best quality. Now you’re ready to design and print custom labels!
CLEANING YOUR TORO MAX
Through normal use, parts of your Toro Max may collect label adhesive or paper dust. Cleaning the system periodically (such as
after every few rolls of label stock) will extend the life of the printer and help maintain optimal printing quality.
IMPORTANT: Always turn the power off and disconnect Toro Max from all power sources before cleaning or performing
maintenance. After cleaning, wait at least 5 seconds before turning the power on again.
To clean your Toro Max:
1. Turn the printer off and disconnect it from all power sources (AC power and battery, if installed).
2. Lift the cover release latch and raise the cover of the printer. The cover mechanism will hold the printer open.
3. Remove the ribbon cartridge and label stock (if loaded), and place them on a clean, at surface.
4. Open an individually packaged cleaning swab, or lightly moisten a clean, soft cloth with isopropyl alcohol (isopropanol).
5. Gently rub the swab or cloth back and forth across the front and underside of the print head to remove any built-up adhesive
or residue.
6. Run the swab or cloth between and around the gray adjustable label guides in the oor of the printer, to clear any dust or
adhesive build-up.
7. Lift the two black latches on either side of the black rubber roller (“platen roller”) and lift it out. (You can use the notched
end of the supply spindle to help release the latches.) Use the swab or cloth to gently wipe away any material that has stuck
to the roller surface. Then, press the platen roller back into place, until the latch on each side has locked it down again.
8. Finally, use the swab or cloth to clean both sides of the cutter blade by gently inserting the swab into the slot of the cutter
module and sliding it from side to side. Repeat this process for the front and the back of the blade; the cutter module can
be ipped forward to make the back easier to reach.

877-534-5157 | GraphicProducts.com 4
WI-FI SETUP
Toro Max comes with a USB Wi-Fi adapter to allow it to be connected to your local network.
To set up this connection:
1. Open the Wi-Fi controls by clicking on the wireless icon in the toolbar, or navigate to the Settings menu from the main screen
and choose Networking.
2. Make sure the Wireless option is switched on (showing orange). A list of available wireless networks will appear. (If your Toro
Max is already connected to a wireless network, there will be a checkmark next to the entry for that network.)
3. Select your preferred wireless network. If the network is protected by a password, you will be prompted to enter it; then, click
“Connect.”
To remove saved details about a network, click the gear icon for that network’s entry in the list, and choose “Forget Network.”
Graphic Products®
, DuraLabel®
, PathFinder®
, Toro®, Toro Max®
, Bronco®, Lobo®and Kodiak® are Registered Trademarks of Graphic Products, Inc. ©2021. Graphic Products, Inc. grants a
limited revocable right to reuse portions of the material contained herein for non-commercial, internal, and educational/training use. Any use beyond that described here requires the
written consent of Graphic Products, Inc. Licensee agrees to reproduce the Trademark, Copyright, and Legal disclaimers in all works created under this license.
Other manuals for Toro
5
Table of contents
Other DuraLabel Label Maker manuals

DuraLabel
DuraLabel 7000 User manual
DuraLabel
DuraLabel 2000 PLUS User manual
DuraLabel
DuraLabel Bronco User manual
DuraLabel
DuraLabel LabPRO User manual

DuraLabel
DuraLabel LabPRO User manual

DuraLabel
DuraLabel Bronco User manual
DuraLabel
DuraLabel 9000 User manual

DuraLabel
DuraLabel 4000 User manual
DuraLabel
DuraLabel Kodiak User manual
DuraLabel
DuraLabel Catalyst User manual
